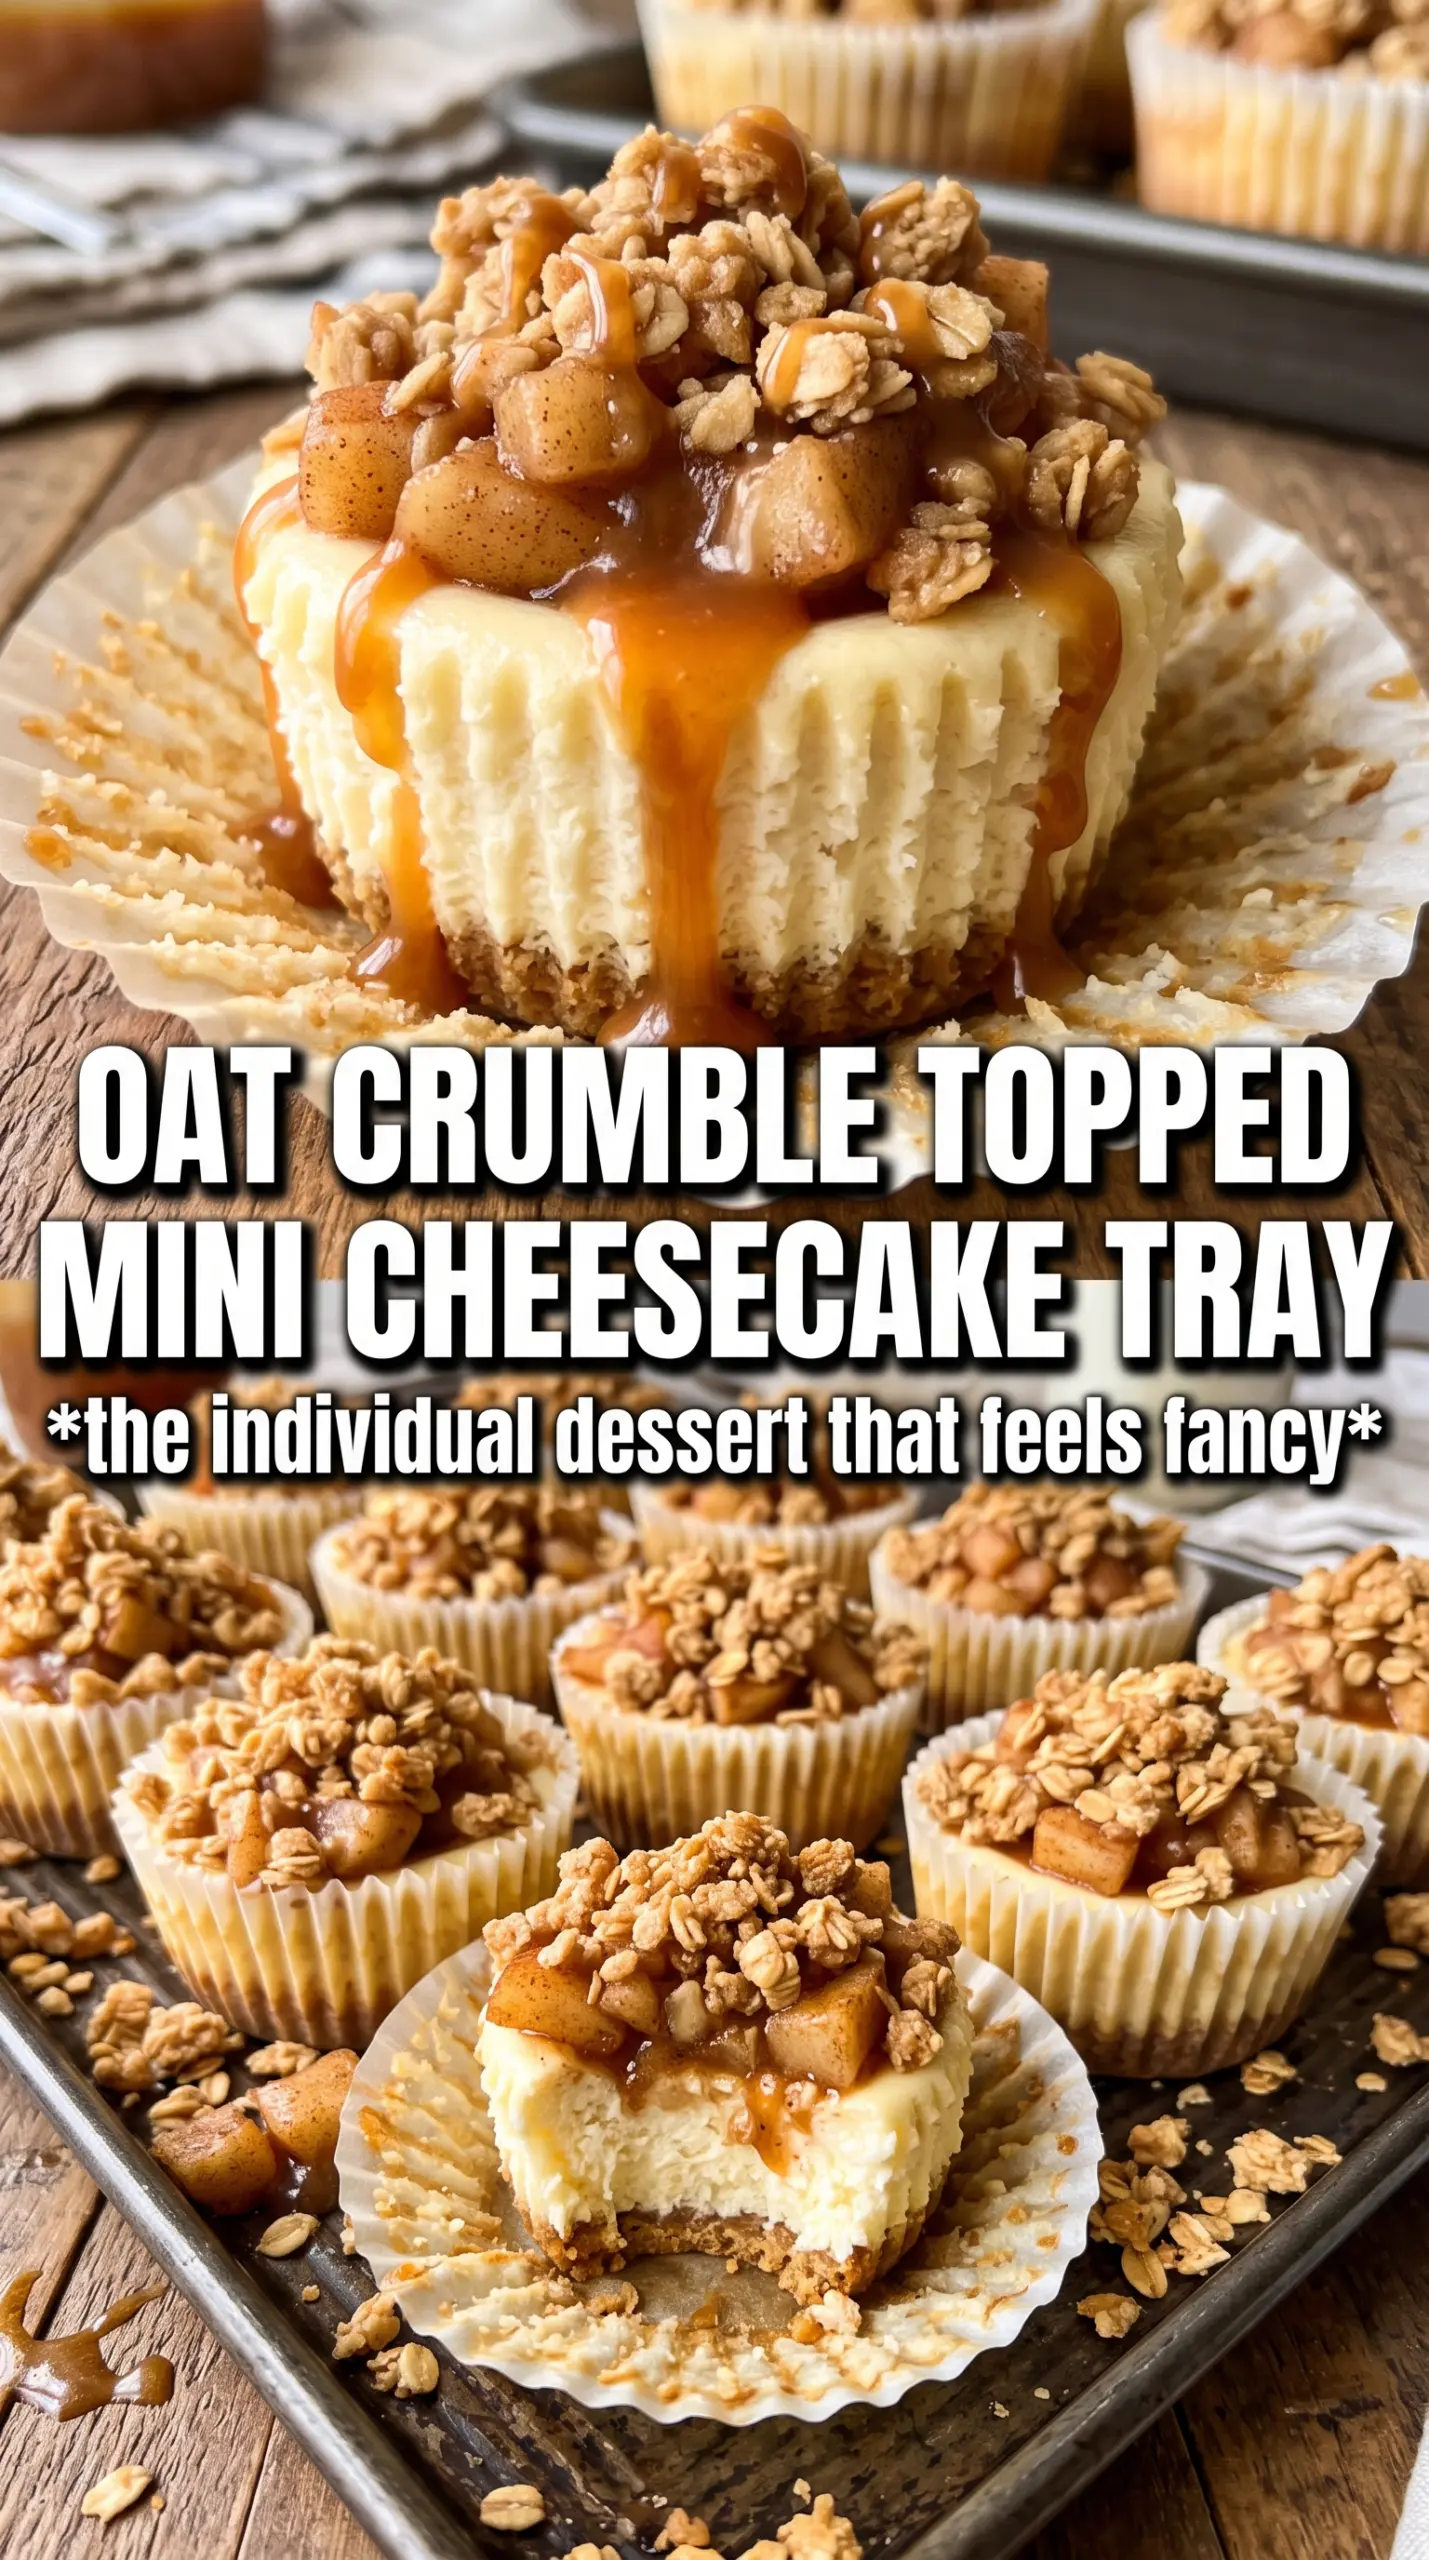
Apple crisp mini cheesecakes bring two dessert favorites together in one tidy little bite: a buttery graham crust, a smooth cinnamon cheesecake center, soft spiced apples, and a golden oat crumble on top. The finished texture is the part that gets me every time. You get creamy, tender, crisp, and just enough chew from the apples, all in the same forkful.
What makes this version work is the order. The crust gets a quick pre-bake so it stays sturdy under the filling, and the apple topping is cooked briefly before it goes on top so it softens without turning watery in the oven. The oat crumble also chills before baking, which helps it hold its shape and bake up in distinct little crags instead of melting into the cheesecake layer.
Below, I’m walking through the small details that matter most: how to keep the filling smooth, how to keep the topping from sinking, and the little timing choices that make these mini cheesecakes look bakery-worthy without any special equipment.
The cheesecake filling baked up perfectly smooth, and the oat topping stayed crisp even after chilling. I loved that the apple layer didn’t make the crust soggy.
Save these apple crisp mini cheesecakes for the days when you want a creamy dessert with a cinnamon apple crumble crown and no slicing required.
The Reason the Crumble Stays Separate Instead of Melting In
Mini cheesecakes can turn messy fast if the topping is too wet or the crumble starts baking before it hits the oven. That’s why the apple layer gets cooked just enough to take the raw edge off, then cooled before it goes on the cheesecake. If you pile hot fruit onto the filling, the top softens, the oats sink, and the pretty layered look disappears.
The other piece that matters is the oat crumble. Cold butter is what gives you those sandy little clumps that brown on top instead of blending into a paste. If the butter gets too warm while you mix it, the topping will bake up flat and dense instead of crisp.
- Pre-cooked apples — They keep the topping from leaking juice into the crust. A quick sauté softens the fruit enough to finish in the oven without turning it mushy.
- Cold butter in the oat crisp — This is what creates structure. The butter should stay in pea-sized bits when you mix it so the topping bakes into crunchy clusters.
- Room-temperature cream cheese — Cold cream cheese leaves lumps no mixer can fully beat out. Let it soften until it dents easily when pressed; that’s the difference between smooth filling and tiny white specks.
What Each Layer Is Actually Doing Here
- Graham cracker crumbs — These give you the classic cheesecake base and a sturdy bite. Pack them down firmly so they hold together under the filling; loose crumbs will fall apart when you peel the liner.
- Cream cheese — Full-fat cream cheese gives the filling its body and tang. Reduced-fat versions tend to bake up looser and less smooth, which matters in a mini cheesecake that needs to set cleanly.
- Sour cream — This adds a little extra richness and keeps the texture from feeling dense. Plain Greek yogurt can work in a pinch, but the flavor is sharper and the filling may set a touch firmer.
- Apples — Use a firm baking apple if you can. A softer variety will collapse too far in the pan, while a firmer apple keeps a little shape and gives you those sweet-tart pockets in each bite.
- Oats — Old-fashioned oats give the topping its craggy, crisp texture. Quick oats will work, but the crumble will be finer and less distinct.
Building the Layers Without Losing the Texture
Getting the Crust Firm First
Mix the graham crumbs, melted butter, and sugar until every crumb looks evenly moistened, then press the mixture into lined muffin cups with the bottom of a measuring spoon. You want a compact layer, not a loose sprinkle, because the cheesecake batter goes on top before the crust has had much time to set. A 5-minute bake is enough to lock it in and keep the crust from tasting sandy.
Cooking the Apples to the Right Point
Cook the diced apples with brown sugar, cinnamon, and butter just until the pieces start to soften and the pan smells warmly spiced. They should still hold their shape; if you cook them until fully tender, they’ll collapse during baking and turn the topping heavy. Cool the apples before assembling so they don’t warm the cheesecake filling and start the set too early.
Whipping the Filling Smooth
Beat the cream cheese and sugar first until there are no lumps left, then mix in the eggs one at a time, followed by the sour cream, vanilla, and cinnamon. Stop as soon as the batter looks smooth and glossy. If you keep beating after the eggs go in, you add air, and that extra air is what causes puffing and cracking in mini cheesecakes.
Finishing with Apples and Crumble
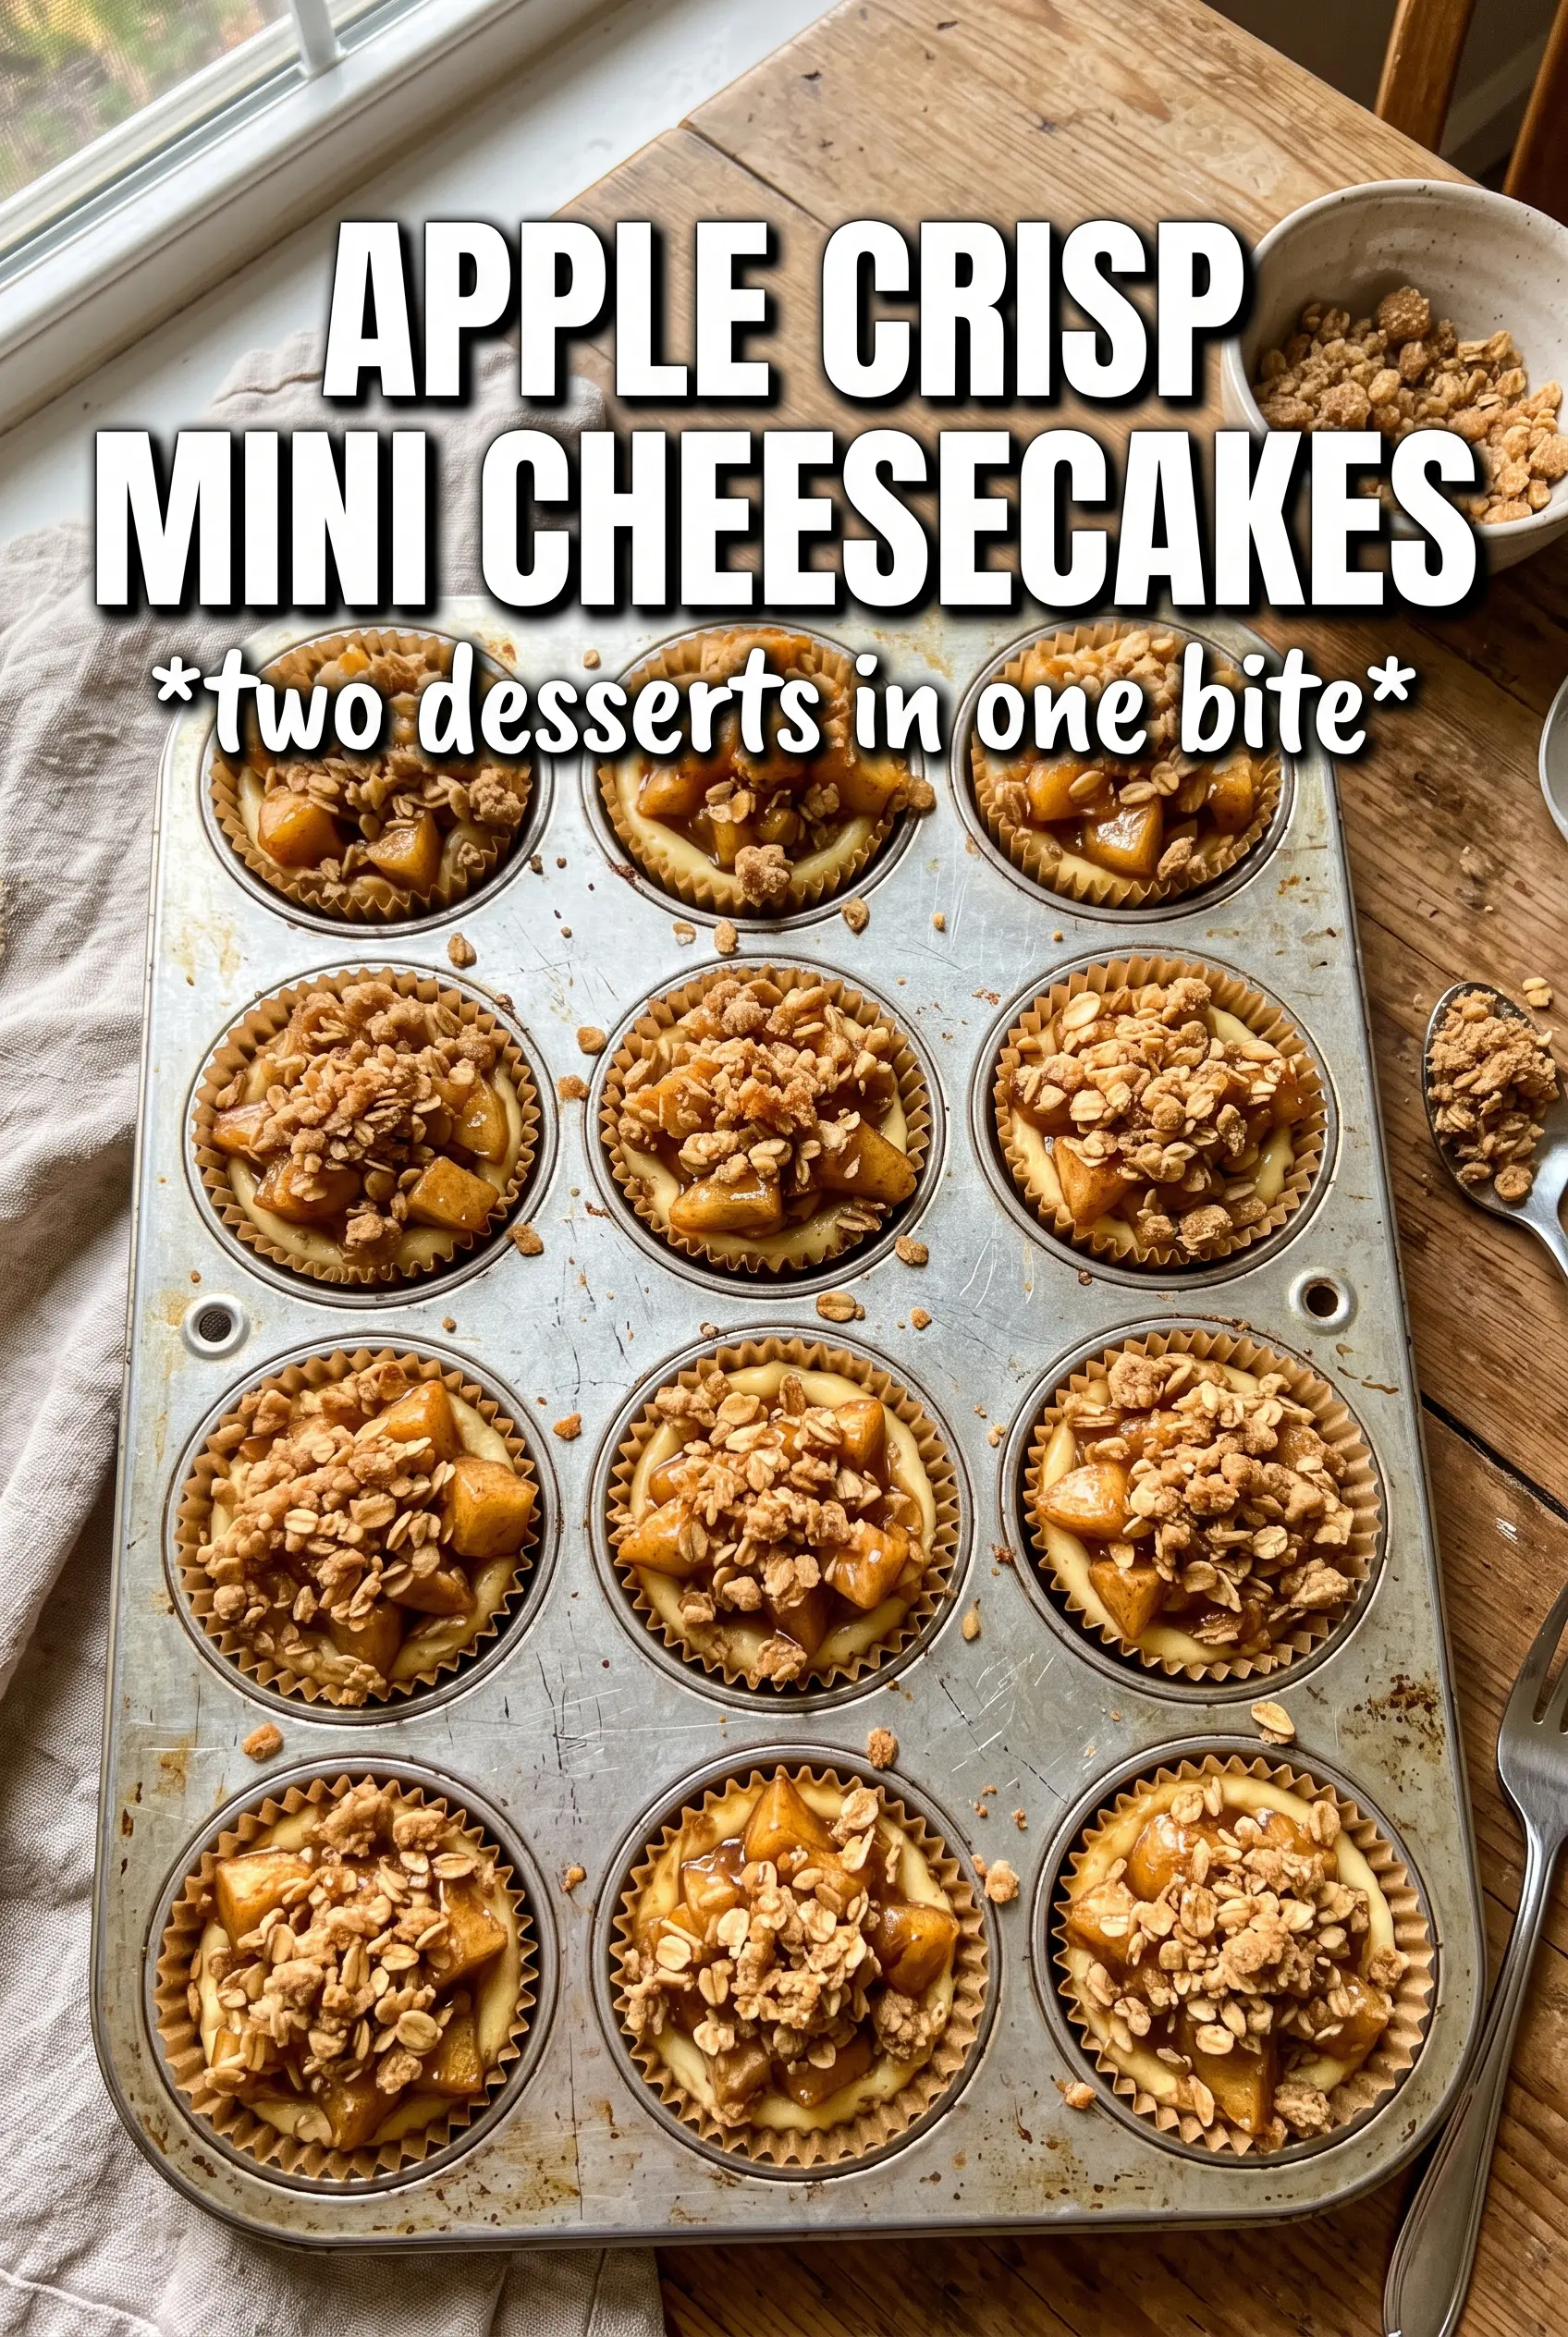
Spoon the filling into the crusts, top with the cooled apples, then scatter the chilled oat crumble over each one. Don’t press the crumble down; it should sit loosely on top so it bakes into little golden clumps. Bake until the centers are just set with a slight jiggle in the middle, then chill for the full three hours so the texture turns creamy and slice-clean instead of soft and shaky.
Three Ways to Adjust These Mini Cheesecakes Without Losing the Point
Gluten-Free Version
Use gluten-free graham crackers for the crust and swap the flour in the oat topping for a 1:1 gluten-free baking blend. The texture stays close to the original, though the crumble may bake a little more delicately, so chill it well before topping the cheesecakes.
Dairy-Free Adaptation
Use dairy-free cream cheese and a plant-based butter substitute in both the crust and crumble. The filling will be slightly softer and tangier, so keep the chill time full and don’t try to unmold them too early.
Make It a Little More Apple-Forward
Add a few extra spoonfuls of the cooked apple mixture on top of each cheesecake, but stop before the fruit starts sliding off the sides. More apple means a juicier bite, yet too much will overwhelm the cheesecake layer and soften the crumble faster.
Storage and Reheating
- Refrigerator: Store in an airtight container for up to 4 days. The crumble will soften a little over time, but the flavor holds up well.
- Freezer: These freeze well without the crumble getting ruined. Freeze on a tray until firm, then wrap and store for up to 2 months; add the topping after thawing if you want the crispest texture.
- Reheating: Serve chilled or let sit at room temperature for 15 to 20 minutes. Don’t microwave them unless you want the cheesecake texture to turn loose and the crumble to go soft.
Answers to the Questions Worth Asking
Apple Crisp Mini Cheesecakes
Ingredients
Equipment
Method
- Preheat the oven to 325°F and line a 12-cup muffin tin with paper liners. This keeps the mini cheesecakes from sticking and sets you up for even baking.
- Press graham crust into each liner and bake for 5 minutes. Look for a lightly set crust that smells toasty and turns a shade darker at the edges.
- Cook the apple topping for 5 minutes until softened, then cool completely. The apples should look glossy and slightly translucent with syrupy juices.
- Make the oat crisp and refrigerate until firm. The crumble should hold together when pinched and look dry, not greasy.
- Beat the cheesecake filling smooth, then divide it evenly among the crust cups. Aim for a silky batter with no visible lumps before portioning.
- Top each cheesecake with apple filling, then scatter oat crisp over the surface. Finish with a gentle, even layer so the crumble bakes into a golden crown.
- Bake for 20–22 minutes at 325°F until just set. The centers should be set but still slightly soft when lightly jiggled.
- Refrigerate the mini cheesecakes for 3 hours before serving. They should feel firm to the touch and slice cleanly with the apple layer held in place.