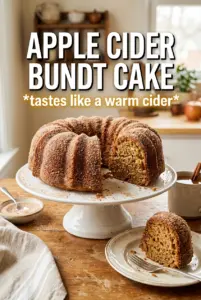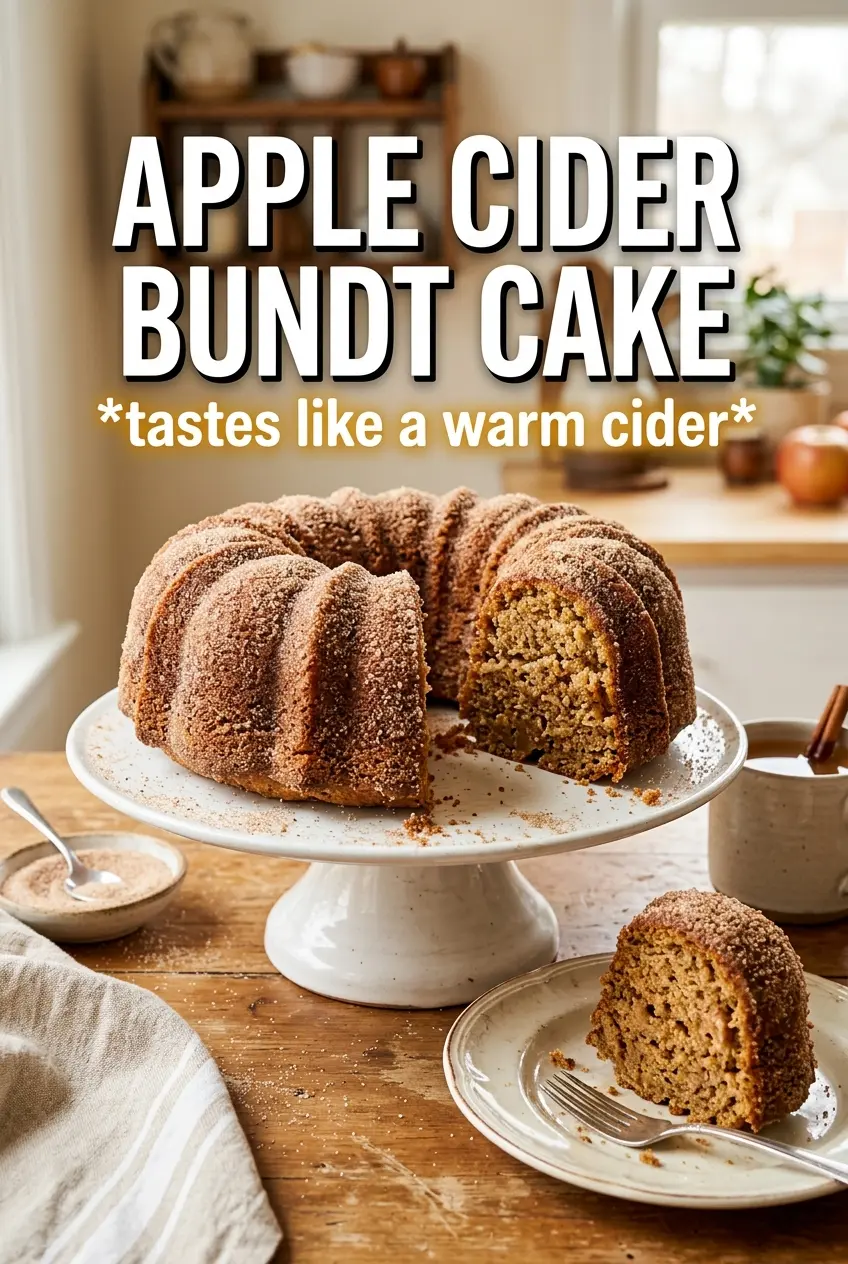
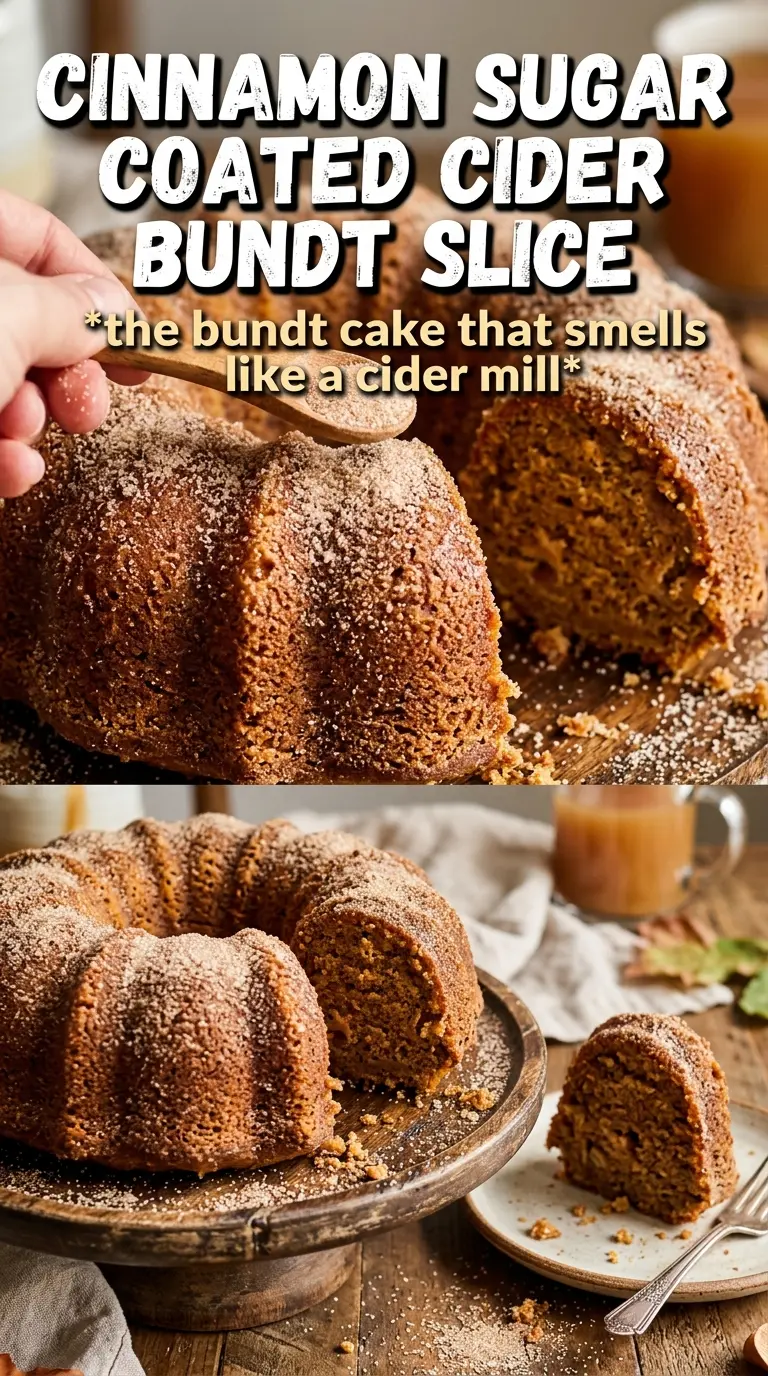
Apple cider bundt cake bakes up with a tight, tender crumb and a deep amber flavor that tastes like fall without leaning on spices alone. The cider glaze settles into the ridges and gives each slice a glossy finish, while the reduced cider in the batter keeps the apple flavor present even after baking. It’s the kind of cake that looks polished on a stand but still feels honest and homey on the plate.
The trick here is reducing the cider before it goes into the batter. That step concentrates the apple flavor and keeps the cake from tasting watered down, which is a common problem in cider cakes. Sour cream also matters more than people think; it adds moisture and a little tang, which keeps the crumb soft even with all that flour in play.
Below, I’ve included the details that matter most for a bundt cake that releases cleanly, bakes evenly, and holds onto its glaze instead of letting it run right off the sides.
The reduced cider made the cake taste like actual apples, not just spice, and the glaze set up perfectly in the ridges after about 20 minutes. Mine released from the pan cleanly, which never happens with my bundt cakes.
Save this apple cider bundt cake for the kind of dessert that stays moist, slices cleanly, and finishes with a glossy cider glaze.
The Part That Keeps Bundt Cakes from Sticking
A bundt cake lives or dies by the pan. The batter is rich, and the ridges are deep, which means any missed spot in the greasing stage can turn into a broken cake when you flip it out. A thorough coat of butter and flour works better than spray alone here, especially if your pan has detailed grooves. Take the extra minute and get into every curve.
Reducing the cider before mixing it in also helps the structure. You’re not adding extra liquid just for the sake of apple flavor; you’re adding concentrated cider that carries more taste without thinning the batter. That balance is what gives the cake its dense-but-tender crumb instead of a gummy middle.
- Apple cider — Reducing it to half a cup concentrates the flavor and gives the cake its warm amber note. Don’t skip the cooling step, or it can soften the butter mixture and throw off the texture.
- Sour cream — This is the moisture insurance. It keeps the cake soft for days and adds a subtle tang that keeps the sweetness from feeling flat. Plain Greek yogurt works in a pinch, but the cake will bake up a touch tighter.
- Butter — Use real butter here. It carries the cider and spice better than oil and helps the cake brown with a richer edge. Let it soften fully so it can whip with the sugar until pale and fluffy.
- Bundt pan — A 10-inch pan is the right size for this batter. Smaller pans can overflow, and larger pans can leave the cake too shallow to hold the glaze in those ridges.
What Each Ingredient Is Actually Doing in This Recipe
- Primary ingredient (the star) — Quality matters most. Choose the best you can find.
- Cooking medium (oil, butter, or broth) — This carries flavors and prevents dryness.
- Seasonings (salt, pepper, spices, herbs) — Layer flavors so nothing overpowers. Build depth gradually.
- Aromatics (garlic, onion, herbs) — Cook with fat to bloom flavors. Become the foundation.
- Supporting ingredients — Complement the main ingredient without overpowering it.
- Sauce or liquid (if applicable) — Brings flavors together. Balance richness with acid.
- Acid (lemon, vinegar, wine, or other) — Brightens and prevents flat-tasting results.
- Final finish (garnish, glaze, or sauce) — Prevents one-dimensional taste and adds visual appeal.
Building the Batter So the Cake Stays Tender
Reducing the Cider First
Pour the cider into a small saucepan and simmer it until you have 1/2 cup left. The smell gets deeper and sweeter as the liquid cooks down, and that’s the cue you’re after. Let it cool before adding it to the batter; hot cider can melt the butter mixture and make the cake bake up heavy.
Whipping Butter and Sugar the Right Way
Beat the butter and sugar until the mixture looks very light and a little fluffy. That step builds air into the cake, which gives you lift before the baking soda and powder take over. Add the eggs one at a time so the batter stays smooth instead of looking curdled, and mix in the vanilla and reduced cider only until combined.
Alternating the Dry Ingredients and Sour Cream
Add the flour mixture in parts, alternating with the sour cream. Start and end with the dry ingredients so the batter keeps its structure. If you dump everything in at once, the batter can turn dense and streaky, and overmixing at this stage makes the cake tough instead of tender.
Baking Until the Center Springs Back
Bake at 325°F until a tester comes out with just a few moist crumbs and the top springs back lightly when touched. Bundt cakes often need the full bake window because the middle is thick, so don’t pull it too early or the center will sink as it cools. Let it rest in the pan for 15 minutes, then invert while it’s still warm enough to release cleanly.
Brown Sugar for a Deeper Caramel Note
Swap up to half of the granulated sugar for packed brown sugar if you want a softer molasses edge. The cake will taste a little warmer and look slightly darker, but it may bake up a touch more tender and less airy. Keep the total sugar amount the same.
Dairy-Free Version
Use a plant-based butter and full-fat unsweetened coconut yogurt in place of the butter and sour cream. The crumb will still be moist, though the flavor will lean a little less rich and a little more coconut if your yogurt isn’t neutral. Choose an unflavored substitute so the cider stays in front.
Gluten-Free Adaptation
A good 1:1 gluten-free baking blend can work here if it already contains xanthan gum. The cake will be a little more delicate when warm, so let it cool fully before slicing. Don’t use a coarse almond-heavy blend unless you want a denser, more rustic crumb.
Make It in Loaf Pans
If you don’t have a bundt pan, divide the batter between two well-greased loaf pans. The bake time will drop, so start checking around 45 minutes. You’ll lose the dramatic glaze ridges, but the flavor stays the same and the slices are easier to wrap and freeze.
Storage and Reheating
- Refrigerator: Store covered for up to 5 days. The glaze will stay a little tacky, and the crumb gets even moister by day two.
- Freezer: Freeze unglazed slices tightly wrapped for up to 2 months. Add the glaze after thawing so it stays shiny instead of soggy.
- Reheating: Warm individual slices at room temperature or in short bursts in the microwave. Too much heat melts the glaze and dries the crumb, which is the fastest way to ruin the texture.