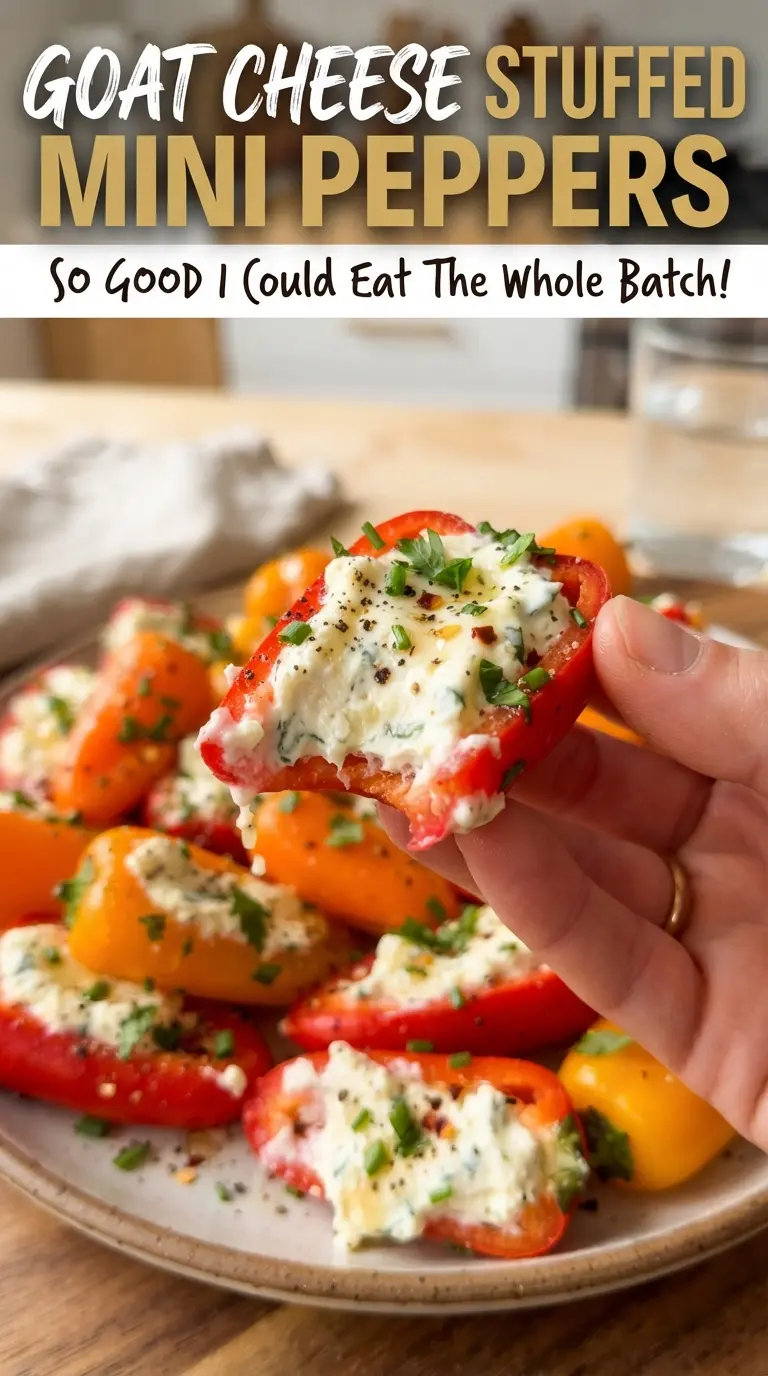
Goat cheese stuffed mini peppers come out with exactly what you want in a party appetizer: tender little pepper halves, a tangy creamy filling, and edges that pick up just enough heat in the oven to taste lightly roasted. The sweet peppers stay bright and snappy around the filling, so each bite lands creamy, herby, and fresh instead of heavy.
The trick is balancing the cheeses and keeping the filling soft enough to spoon, but not so loose that it melts out in the oven. Cream cheese smooths out the goat cheese, garlic gives it backbone, and basil, chives, and lemon zest keep the whole tray tasting clean. A short bake is all these peppers need; push them too far and they collapse before the filling gets any chance to set.
Below, I’ve included the part that matters most: how to keep the filling fluffy, how to tell when the peppers are done, and which swap works best if you want to make them ahead.
The peppers stayed crisp-tender and the goat cheese filling baked up smooth, not runny. I drizzled balsamic glaze on top and the whole tray disappeared before dinner started.
Save these goat cheese stuffed mini peppers for the appetizer tray you want to look fancy with almost no effort.
The Trick to Keeping the Filling Creamy Instead of Watery
Goat cheese and cream cheese behave best when they go into the oven already blended smooth. If the mixture is cold, it stays stiff in the center and the peppers can overcook before the filling softens. If it’s whipped until creamy before it goes in, it settles into the peppers evenly and bakes into a soft, mousse-like filling instead of a grainy one.
The other thing that matters here is moisture control. Mini sweet peppers release a little steam as they roast, but because they’re left cut-side up on parchment, they don’t trap enough liquid to turn soggy. That’s why you want the filling thick enough to hold a soft peak on a spoon and the peppers arranged in a single layer with a little breathing room.
What the Cheese, Herbs, and Citrus Are Each Doing Here
- Goat cheese — This is the sharp, tangy base that gives the filling its character. It’s worth using the good stuff here because cheaper goat cheese can taste chalky and won’t blend as smoothly.
- Cream cheese — This softens the goat cheese and gives the filling enough body to pipe or spoon cleanly. Full-fat cream cheese works best; reduced-fat versions can turn looser once baked.
- Fresh basil and chives — These keep the filling from tasting one-note and heavy. Dried herbs won’t give the same bright finish, so use fresh if you can.
- Lemon zest — This wakes up the cheese and keeps each bite tasting fresh after baking. Don’t swap in juice here; the extra liquid dulls the filling instead of brightening it.
- Honey or balsamic glaze — This is the finish that ties the sweet peppers and tangy cheese together. Honey gives a softer sweetness, while balsamic glaze adds a darker, sharper edge.
Baking the Peppers Until They’re Tender and Just Starting to Blister
Getting the Peppers Ready
Halve the peppers lengthwise and seed them cleanly so the filling has a flat base to sit in. Tossing them lightly with olive oil helps the edges soften and blister instead of drying out in the oven. Arrange them cut-side up so the cheese stays tucked in the pepper cup and the tops brown without spilling.
Mixing the Filling Until Smooth
Stir the cheeses, garlic, herbs, lemon zest, and pepper until the mixture looks fully blended and spreadable. You don’t want visible cold chunks of cream cheese here, because those pockets stay dense after baking. If the filling seems too stiff to spoon neatly, let it sit for a few minutes at room temperature rather than adding liquid.
Watching for the Right Finish in the Oven
Bake until the peppers are tender at the edges and just starting to collapse, with a few blistered spots on the skins. The filling should look set and glossy, not bubbling hard. Pull them before the peppers go limp; residual heat finishes the job, and that’s what keeps the texture bright instead of mushy.
How to Adapt These Stuffed Peppers for a Crowd or a Different Table
Make-Ahead Party Tray
Stuff the peppers up to a day ahead and refrigerate them covered on the baking sheet. Bake them just before serving so the peppers stay tender instead of watery, then add the honey or balsamic glaze right at the end.
Dairy-Free Version
Use a dairy-free soft cheese spread and a tangy plant-based cream cheese in the same ratio. The flavor will be a little less sharp than goat cheese, but the texture still holds up well if the filling is mixed until smooth and baked just until set.
Balsamic Finish Instead of Honey
Use balsamic glaze if you want a sharper, more savory finish. It cuts through the richness of the cheese a little more aggressively than honey, which makes the peppers feel a touch more appetizer-bar than brunchy.
Storage and Reheating
- Refrigerator: Store leftovers in an airtight container for up to 3 days. The peppers soften a little more as they sit, but the flavor stays good.
- Freezer: Not the best choice. The cheese filling can turn grainy after thawing, and the peppers lose their crisp-tender texture.
- Reheating: Warm in a 350°F oven for about 8 minutes, just until heated through. Microwaving makes the peppers slack and the filling split, so use the oven if you want the best texture.
Answers to the Questions Worth Asking

Goat Cheese Stuffed Mini Peppers
Ingredients
Equipment
Method
- Preheat the oven to 400F and line a sheet pan with parchment for easy cleanup.
- Toss the pepper halves with olive oil, then arrange them cut-side up in a single layer on the sheet pan.
- Mix goat cheese, cream cheese, garlic, basil, chives, lemon zest, and black pepper until smooth and spreadable.
- Spoon or pipe the filling into each pepper half so the centers are well covered.
- Bake for 12-15 minutes, until the peppers are tender and lightly blistered around the edges.
- Drizzle with honey or balsamic glaze and serve warm.