Honey baked ham earns its place on the table because the outside turns lacquered and crackly while the inside stays juicy and sliceable. The sweetness isn’t one-note here. Honey, butter, and a spiced sugar crust work together to give you that glossy, caramelized finish people remember long after dinner is over.
The trick is treating the ham like it already belongs in the oven-finished zone, because it does. It’s fully cooked, so the goal is gentle heat first, then a short blast of high heat to set the glaze and crust without drying out the meat. Spiral slicing helps the seasoning slip between the layers, which means every slice gets a little of that sticky edge and warm spice.
Below, I’m walking through the part that matters most: how to keep the ham moist while still building that shattery, burnished coating. There’s also a note on the sugar mix, because the texture of the crust changes depending on how you apply it.
The crust set up beautifully and stayed crackly after resting, and the honey butter soaked into the slices without making the whole thing soggy.
Like this honey baked ham? Save it to Pinterest for the holiday table or any dinner that needs a glossy, spiced crust.
The Crust Breaks If You Glaze Too Early
The biggest mistake with honey baked ham is loading on the sugary coating before the ham has warmed through. Sugar starts to darken fast, and if it spends too long in the oven, it goes from crackly to bitter before the center is hot. The gentler first bake brings the ham up to temperature without scorching the exterior, then the final high-heat basting sets the glaze into that shiny shell everyone wants.
Spiral-sliced ham is doing some of the work for you, but it also exposes more surface area. That means the sugar mixture can settle between the slices and caramelize on more than one layer, which is what gives each serving those sticky edges. If you skip the foil during the first stage, the outside dries before the inside is warm enough, and the crust never gets the right contrast.
What Each Ingredient Is Actually Doing In This Ham
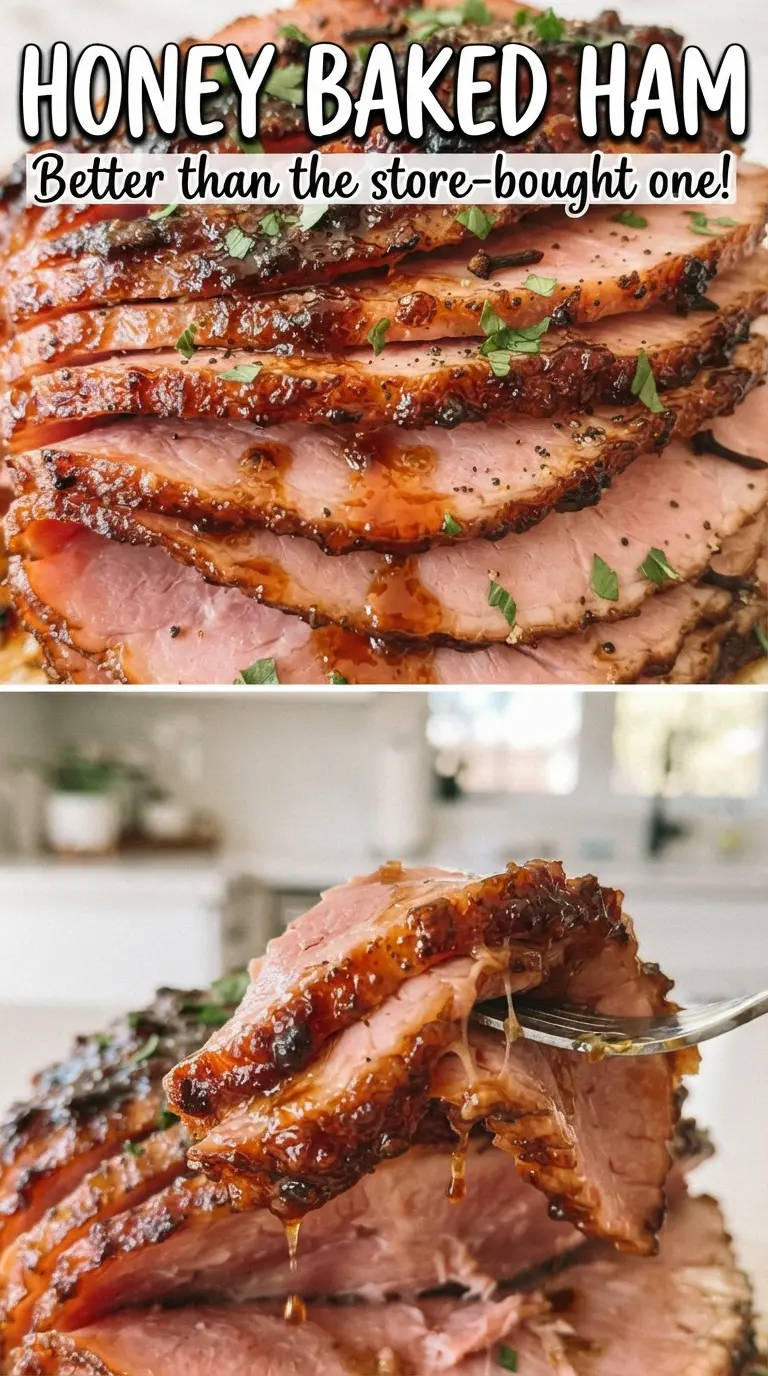
- Bone-in spiral-sliced ham — This is the right cut for even heating and easy serving. The bone helps the meat stay juicy, and the pre-sliced layers catch the glaze. A boneless ham works in a pinch, but you’ll lose some of that built-in moisture and the pretty fanned slices.
- Honey and butter — This is the gloss layer. The butter helps the honey spread evenly and keeps the glaze from seizing as soon as it hits the hot ham. If you only use honey, it can burn in spots before the sugar crust has time to set.
- Granulated sugar and brown sugar — Granulated sugar gives structure and that glassy snap, while brown sugar brings deeper caramel notes and a little molasses moisture. Together they make a crust that lands somewhere between brittle and chewy. Swapping in all brown sugar gives a softer finish, which tastes good but won’t crack the same way.
- Cinnamon, cloves, ginger, nutmeg, allspice, and paprika — These build the warm, old-fashioned ham glaze flavor and keep the sweetness from tasting flat. The paprika doesn’t make the ham taste smoky so much as it deepens the color. Freshly ground spices aren’t necessary here, but stale cloves or nutmeg will taste dull, so check the age of anything that’s been in the cabinet for years.
How to Build the Honey Glaze Without Burning the Sugar
Setting Up the First Bake
Put the ham cut-side down in the roasting pan and cover it tightly with foil. That cover matters because the steam trapped underneath keeps the spiral slices moist while the center warms to temperature. Bake it at 325F until the ham reaches about 120F inside, which gives you a hot base without overcooking the edges.
Painting On the Glaze
Melt the honey and butter together, then mix the sugars with the spices in a separate bowl so they’re evenly distributed before they hit the ham. Brush the honey butter over the surface, then pat on the spiced sugar instead of dumping it on. Patting helps the coating cling, and it gives you a thicker crust than spooning it over all at once.
Building the Crust in Layers
Raise the oven to 400F and bake the ham for 5 minutes, then repeat the brushing and sugaring two more times. Those short bursts are what turn the glaze into a lacquer instead of a wet coating. Watch for a deep golden color and small crackles at the edges; if it starts getting too dark too fast, the oven is running hot and the sugar layer needs less time between coats.
The Rest That Keeps It Juicy
Pull the ham when it reaches 140F, then let it rest for 15 minutes before slicing. That rest lets the juices settle back into the meat instead of spilling onto the board. If you cut it too soon, the slices will taste dry even though the ham was cooked correctly.
How to Adapt This for a Different Table
Make It Less Sweet
Cut the granulated sugar slightly and keep the brown sugar amount the same. You’ll still get a crackly top, but the glaze leans more savory and won’t read as candy-like. This works well if the ham is serving alongside rich sides like scalloped potatoes or mac and cheese.
Gluten-Free by Default
This recipe is naturally gluten-free as written, as long as your ham and spices are certified gluten-free if cross-contamination matters for your kitchen. The texture and glaze don’t change at all. That makes it an easy main when you’re cooking for a mixed crowd.
Use Maple Instead of Honey
Maple syrup can replace the honey in the glaze if that’s what you have, but the coating will set a little less firmly and the flavor will be earthier. Keep the butter and spice mix the same. The result is still glossy, just less floral and slightly deeper in flavor.
Storage and Reheating
- Refrigerator: Store sliced ham in an airtight container for up to 4 days. The crust softens in the fridge, but the flavor stays strong.
- Freezer: Freeze portions tightly wrapped for up to 2 months. Freeze the slices with a little glaze or pan juices so they don’t dry out after thawing.
- Reheating: Warm slices covered at 300F with a splash of pan juices or a little water until hot. Don’t blast them uncovered or the edges turn chewy before the center is warm.
Answers to the Questions Worth Asking
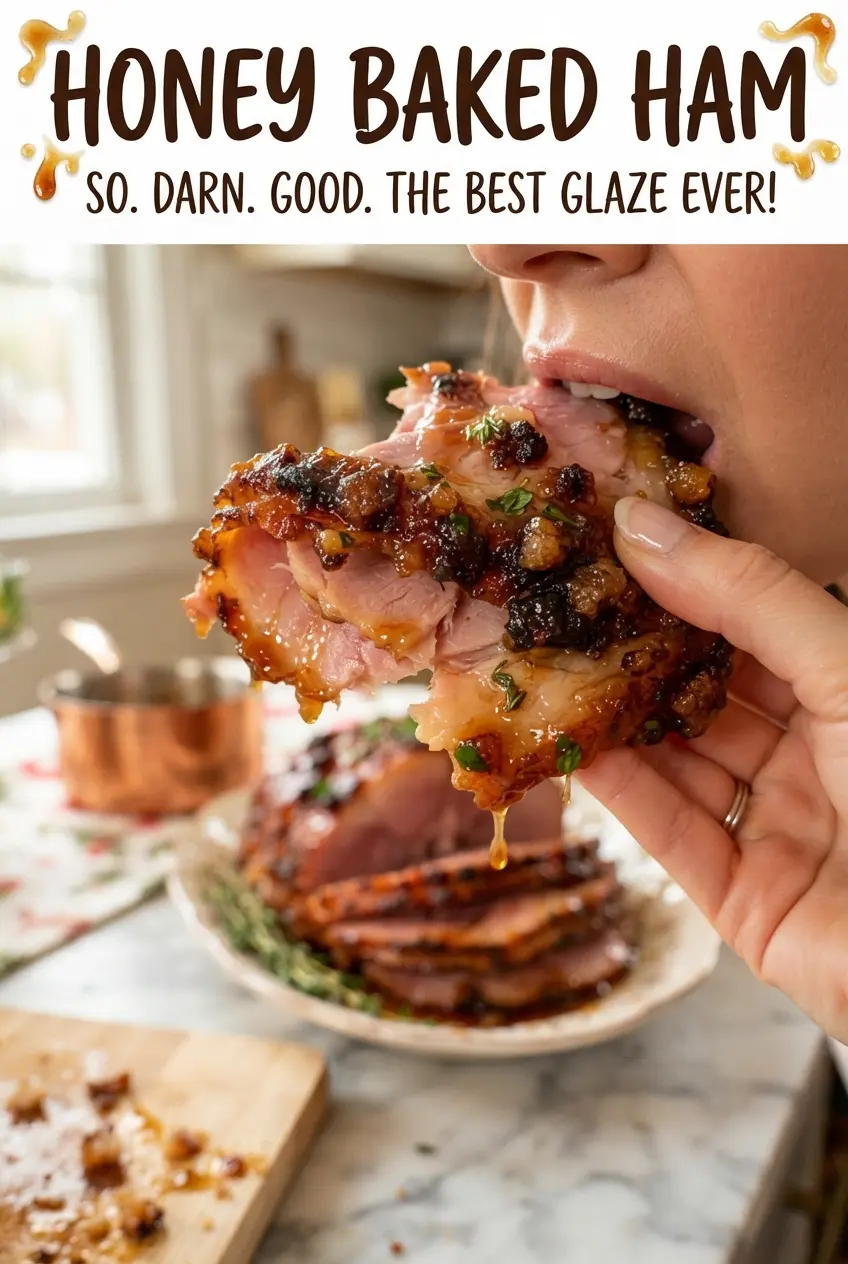
Honey Baked Ham
Ingredients
Equipment
Method
- Preheat oven to 325°F. Place the ham cut-side down in a roasting pan, then cover tightly with foil (visual cue: foil should fully seal around the edges).
- Bake the ham at 325°F for 12-14 minutes per pound, until the center reaches 120°F inside (visual cue: thermometer reads 120°F in the thickest part).
- Melt honey and butter together until smooth (visual cue: it looks glossy and pourable).
- Mix granulated sugar and brown sugar with cinnamon, cloves, ginger, nutmeg, allspice, and paprika in a separate bowl (visual cue: evenly speckled spiced sugar).
- Remove the foil and brush the ham generously with honey butter (visual cue: glaze coats the spiral ridges).
- Pat on a layer of the spiced sugar so it adheres to the honey butter (visual cue: dry sugar lightly clings and looks granular).
- Raise oven temperature to 400°F and bake for 5 minutes (visual cue: edges begin to bronze).
- Brush again with honey butter after the first 5 minutes (visual cue: shiny layer spreads over the sugar).
- Pat on another layer of spiced sugar (visual cue: sugar forms a thicker crust).
- Bake at 400°F for 5 minutes (visual cue: crust darkens and bubbles gently).
- Brush one more time with honey butter (visual cue: caramel-ready sheen).
- Pat on the remaining spiced sugar (visual cue: crackle-ready coating, not bare spots).
- Bake until the crust is deep golden and crackly and the ham reaches 140°F (visual cue: thermometer reads 140°F and the surface looks caramelized).
- Rest the ham for 15 minutes before serving (visual cue: juices settle and slices hold their shape).