Skillet corn with honey butter hits that sweet spot between simple side dish and the thing everyone keeps scooping onto their plate before the rest of dinner is even served. The corn gets dark, toasty edges in the skillet, then it’s glossed with butter and honey so each kernel tastes sweet, smoky, and a little sticky in the best way. It’s fast, but it doesn’t taste rushed.
The trick is letting the corn sit long enough to pick up color before you start tossing it around. That first hard sear is where the flavor comes from, especially if you’re using frozen corn that’s been thawed and patted dry. Once the garlic, smoked paprika, and cayenne go in, the heat comes down right away so the garlic softens instead of turning bitter.
Below, I’ve included the small details that matter most: how to get real char in a cast iron skillet, which corn works best, and a few easy ways to adapt it if you want it a little richer, spicier, or dairy-free.
The corn picked up those browned edges in just a few minutes, and the honey butter clung to every kernel without making it soggy. I served it with grilled chicken and my husband asked if there was any left for lunch the next day.
Save this skillet corn with honey butter for the nights when you want a glossy, charred side dish with almost no cleanup.
The Corn Needs Space Before It Gets Sweet
The biggest mistake with skillet corn is stirring too early. If the kernels are crowded and moved constantly, they steam and turn pale instead of picking up those browned spots that give the dish its depth. A large cast iron skillet works best here because it holds heat well and keeps the corn in direct contact with the pan.
Fresh corn and thawed frozen corn both work, but frozen corn needs one extra step: drain off any excess water and let it sit in a colander for a few minutes. Wet kernels cool the skillet fast, and that’s when char turns into soft, boiled corn. High heat at the start is what builds the flavor; lower heat comes later when the garlic and honey go in.
- Corn kernels — Fresh corn gives the brightest flavor, but frozen corn is absolutely fine if it’s thawed and dry. Don’t use canned corn here; it brings too much moisture and won’t sear the same way.
- Butter — Dividing it gives you two jobs: one part helps the corn char without sticking, and the rest finishes the dish with a glossy coating. Salted butter works in a pinch, but unsalted gives you more control over the final seasoning.
- Honey — This is what makes the butter cling to the corn instead of pooling at the bottom of the pan. Maple syrup can stand in, though the flavor gets a little deeper and less floral.
- Smoked paprika and cayenne — These are small amounts, but they matter. The paprika reinforces the skillet char, and the cayenne keeps the honey butter from tasting flat.
What Each Ingredient Is Actually Doing in This Recipe
- Primary ingredient (the star) — Quality matters most. Choose the best you can find.
- Cooking medium (oil, butter, or broth) — This carries flavors and prevents dryness.
- Seasonings (salt, pepper, spices, herbs) — Layer flavors so nothing overpowers. Build depth gradually.
- Aromatics (garlic, onion, herbs) — Cook with fat to bloom flavors. Become the foundation.
- Supporting ingredients — Complement the main ingredient without overpowering it.
- Sauce or liquid (if applicable) — Brings flavors together. Balance richness with acid.
- Acid (lemon, vinegar, wine, or other) — Brightens and prevents flat-tasting results.
- Final finish (garnish, glaze, or sauce) — Prevents one-dimensional taste and adds visual appeal.
How to Get the Char Without Burning the Garlic
Start With a Hot, Dry Skillet
Melt the first two tablespoons of butter over high heat, then add the corn in a single layer. You want to hear an immediate sizzle. Leave it alone for 3 to 4 minutes so the bottoms turn deep golden and a few kernels pick up darker spots. If you stir too soon, you lose the browning and end up with soft corn instead of skillet corn.
Wake Up the Spices Briefly
Once the corn has good color, toss it and let the other side cook for another few minutes. Then drop the heat before adding the garlic, smoked paprika, and cayenne. Garlic goes from fragrant to bitter fast in a hot cast iron pan, so 1 minute is enough to soften it and bloom the spices without scorching them.
Finish With Honey Butter
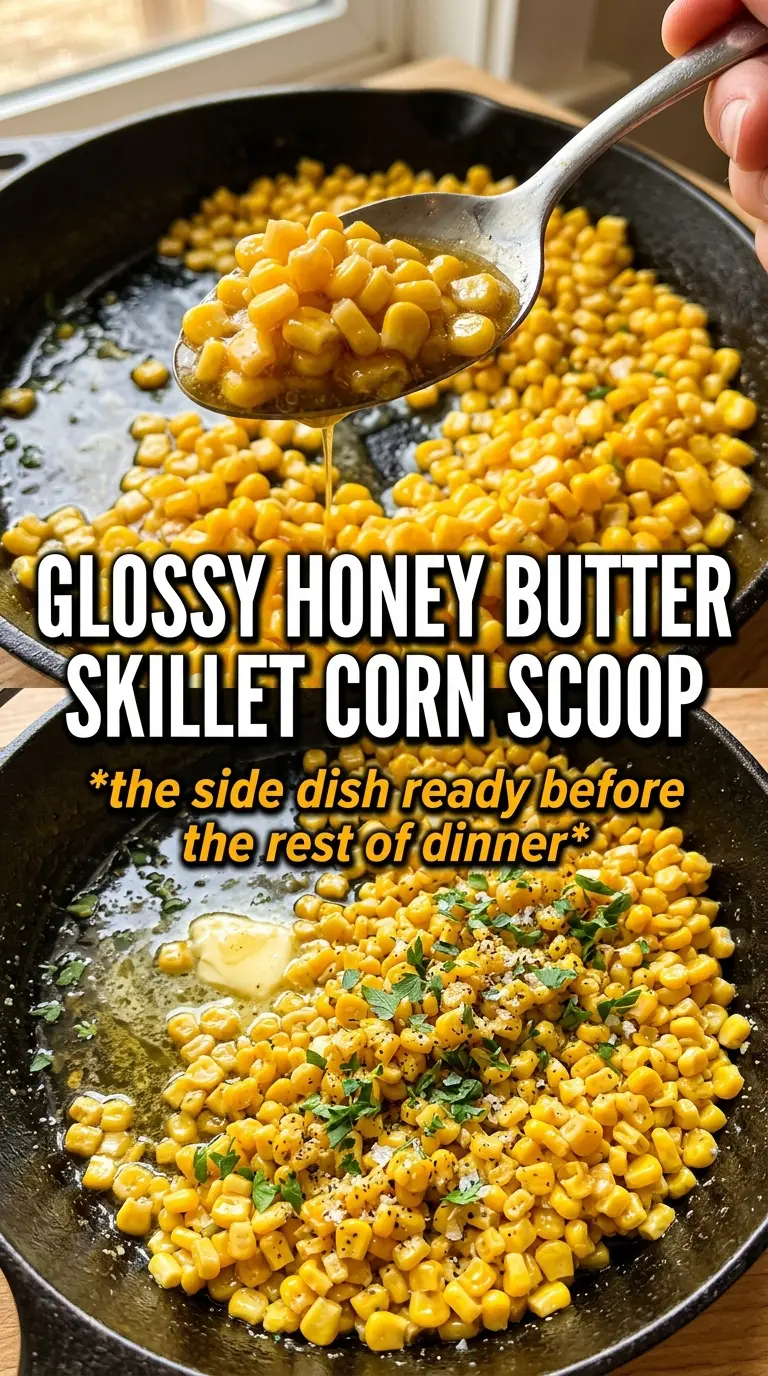
Add the remaining butter and the honey and toss until the kernels are evenly coated. The sauce should look shiny and lightly thickened, not watery. Season with salt and black pepper after the honey goes in, since the sweetness needs salt to taste balanced. Top with chives and a pinch of flaky sea salt right before serving so the corn stays bright and the finish stays crisp.
How to Adapt This for a Sweeter, Spicier, or Dairy-Free Finish
Make it dairy-free
Use a good plant-based butter that melts cleanly and has some fat to it, not a watery spread. The result will still be glossy and rich, though the flavor will be a little cleaner and less round than with real butter.
Turn up the heat
Double the cayenne or add a pinch of crushed red pepper with the garlic. That gives you a sharper finish that cuts through the honey, but it still lets the corn stay the star instead of turning the dish into hot sauce territory.
Use white corn or mixed corn
White corn cooks the same way but tastes a little softer and less sweet, which works nicely if you want a more savory side. A mix of yellow and white kernels gives you a pretty dish and a little contrast in sweetness.
Storage and Reheating
- Refrigerator: Store in an airtight container for up to 4 days. The corn stays tasty, though the char softens a bit as it sits.
- Freezer: It freezes, but the texture gets softer after thawing. Freeze only if you’re planning to use it later in quesadillas, bowls, or stirred into rice.
- Reheating: Warm it in a skillet over medium heat with a small pat of butter. Microwave reheating works, but it softens the char even more and can make the honey separate a little.
Answers to the Questions Worth Asking
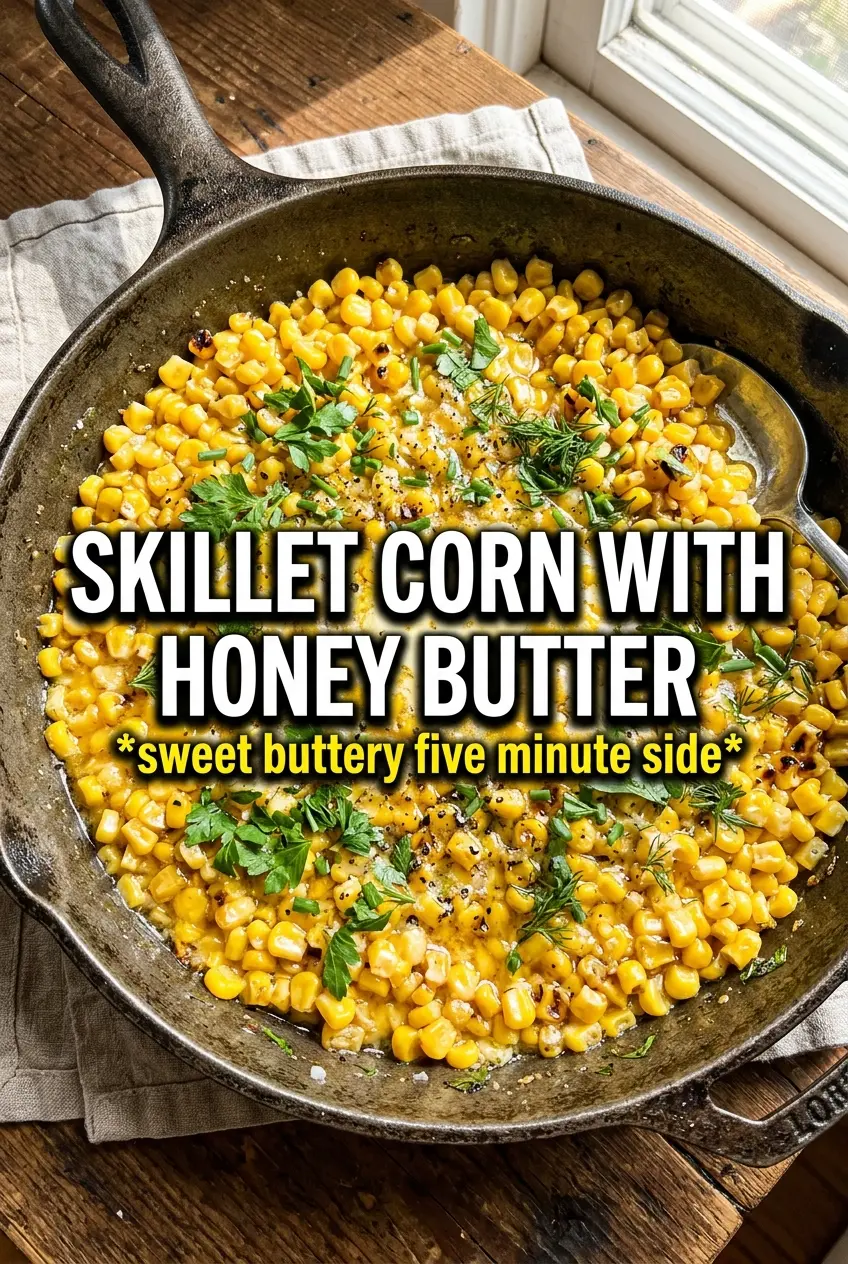
Skillet Corn With Honey Butter
Ingredients
Equipment
Method
- Melt 2 tablespoons butter in a large cast iron skillet over high heat. When it foams, it’s ready for the corn.
- Add corn in a single layer and cook without stirring 3-4 minutes until charred on the bottom. You should see dark caramelized spots forming.
- Toss the corn and cook another 3-4 minutes. Continue until the kernels look browned and glistening.
- Reduce heat, then add garlic, smoked paprika, and cayenne and cook for 1 minute. Stir just enough to keep the aromatics from scorching.
- Add the remaining butter and honey, then toss until the corn is coated. The sauce should look glossy and cling to the kernels.
- Season generously with salt and black pepper. Taste and adjust until the flavors pop.
- Top with fresh chives and flaky sea salt. Serve hot so the char stays crisp at the edges.