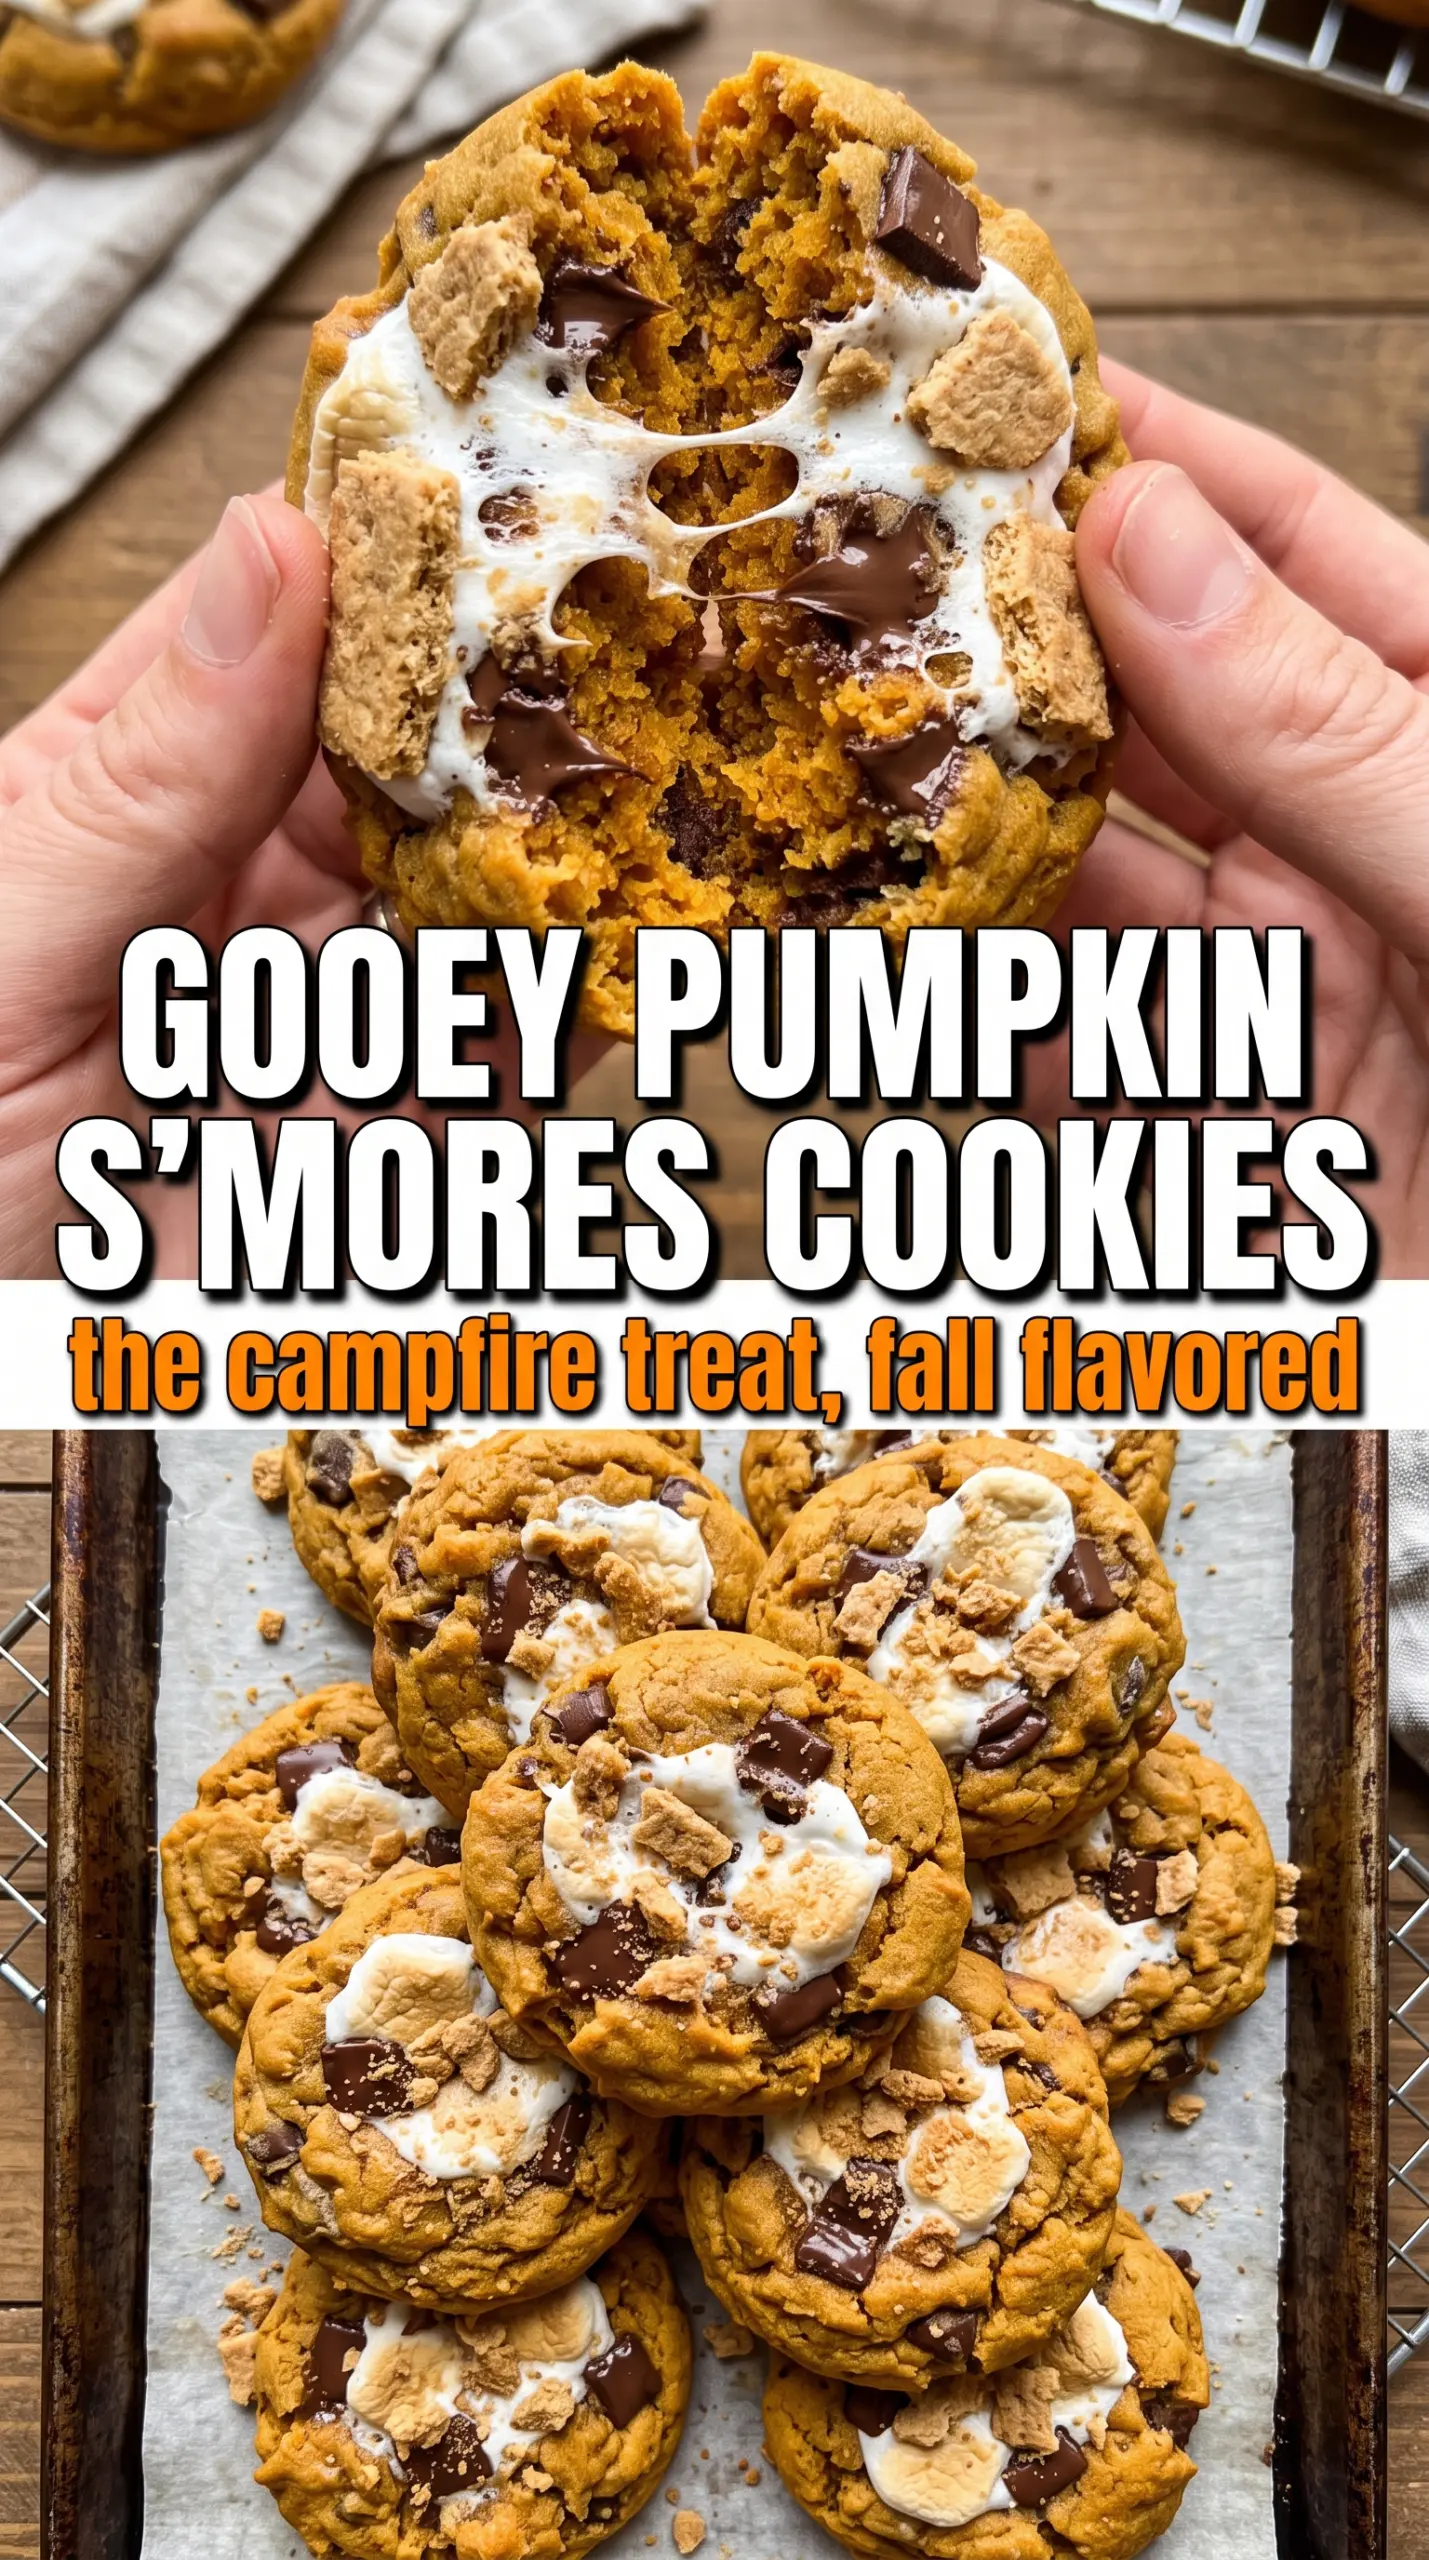
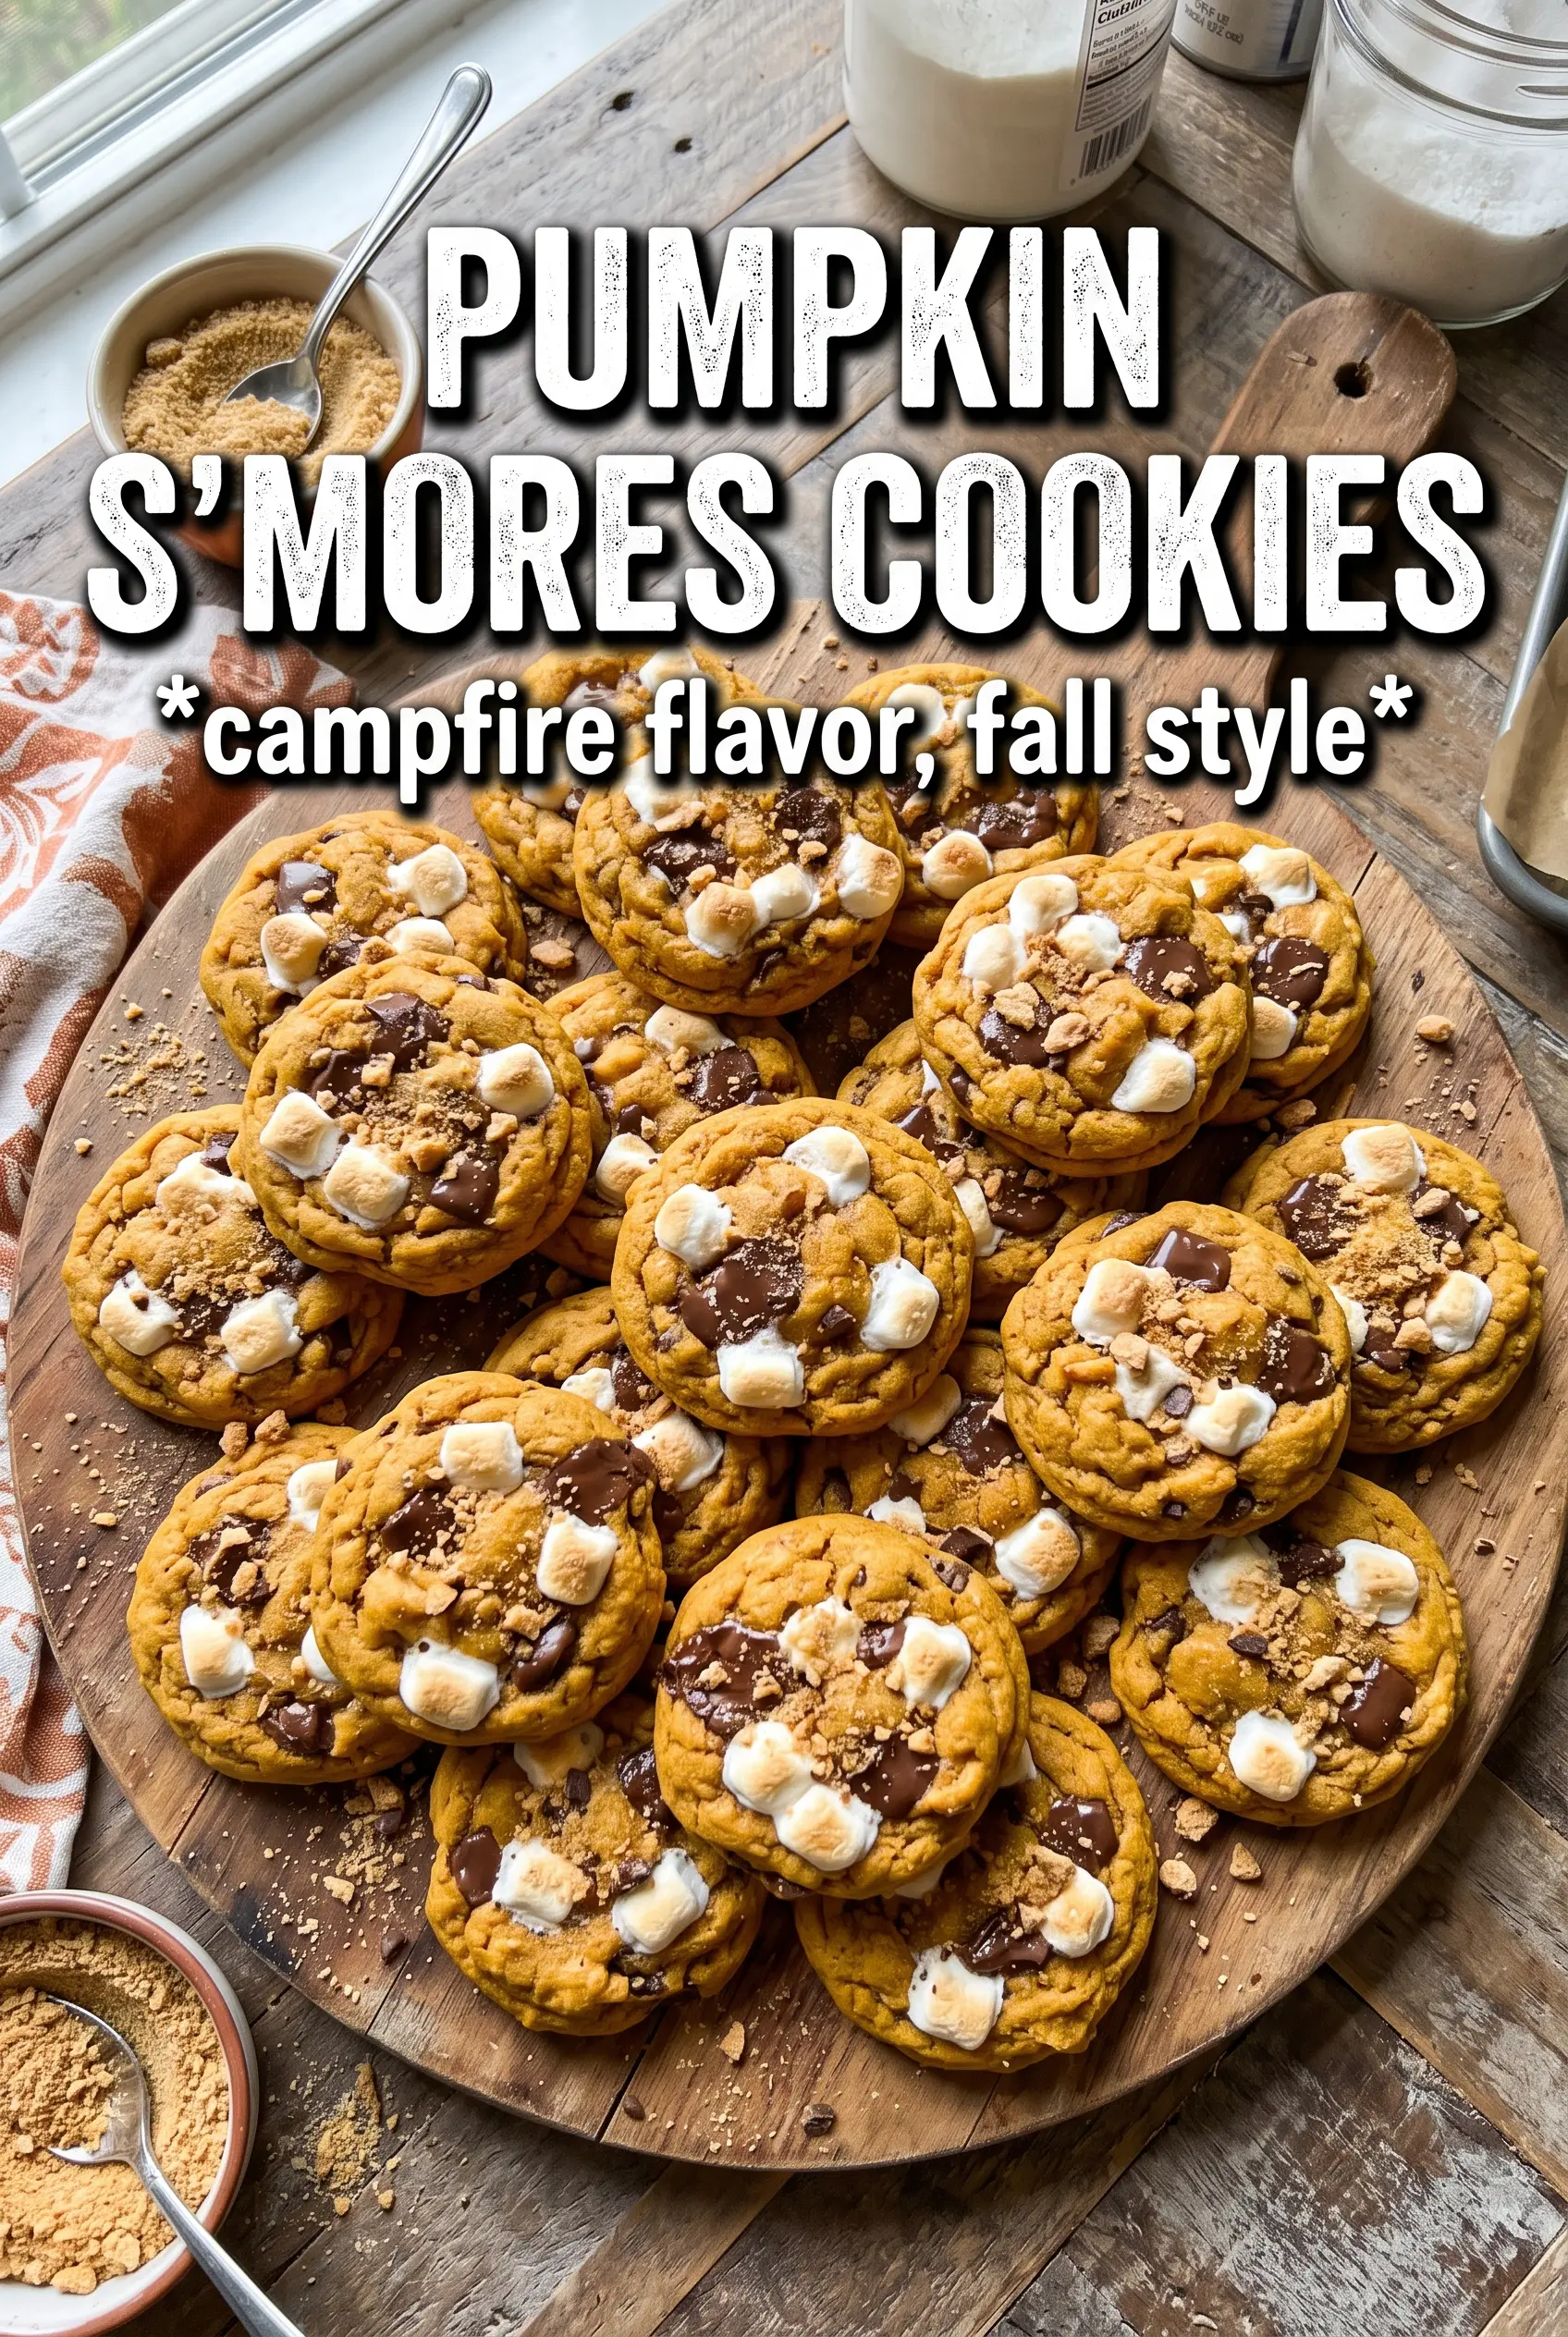
These pumpkin s’mores cookies bake up soft in the center with crisp edges, gooey marshmallow pockets, and those little graham cracker bits that give every bite a campfire feel. The pumpkin comes through as warmth more than heaviness, which keeps the cookies from turning cakey the way pumpkin cookies often do. You get chocolate that melts into the dough, toasted marshmallow on top, and just enough spice to make the whole tray smell like something worth guarding from the rest of the house.
What makes this version work is the dry pumpkin puree. That small extra step keeps the dough from getting wet and puffy, so the cookies spread instead of baking up like muffins. The marshmallows are split between the dough and the tops, which gives you gooey stretches inside and those browned, blistered tops that look and taste like a true s’mores cookie.
Below, I’ve included the little details that matter here: how to keep the marshmallows from disappearing into the dough, when a quick broil is worth it, and the swaps that still keep the cookies chewy instead of soft and bready.
The pumpkin flavor came through without making the dough cakey, and the marshmallows on top toasted up in under a minute. My kids kept picking off the gooey tops before the cookies even cooled.
Pumpkin s’mores cookies with toasted marshmallow tops belong on your Pinterest board for the days you want chewy centers, melted chocolate, and a little campfire drama.
The Trick to Keeping Pumpkin Cookies Chewy Instead of Puffy
Pumpkin is the ingredient that usually ruins the texture in cookies like this. It brings a lot of moisture, and moisture pushes cookies in the wrong direction if you add it straight from the can. Blotting the puree until it looks thick and almost paste-like gives you pumpkin flavor without the cakey middle. That’s the difference between a cookie that spreads with a soft chew and one that bakes up like a little muffin.
The other thing working here is the balance of brown sugar and granulated sugar. Brown sugar adds depth and keeps the centers tender, while granulated sugar helps the edges set and gives you a little more spread. If your dough looks sticky after mixing, that’s normal with pumpkin in the bowl. Chill isn’t necessary here if the pumpkin is blotted well and your butter is soft, not melted.
What Each Ingredient Is Actually Doing in These Cookies
- Pumpkin puree — Use plain pumpkin puree, not pumpkin pie filling. The filling has sugar and spices already added, and it throws off both the flavor and the texture. Blotting it dry is the move that keeps these cookies chewy.
- Graham cracker pieces — These give you the s’mores part without making the dough gritty. Break them by hand so you get a mix of small crumbs and bigger chunks. The crumbs melt into the dough a little, while the larger pieces stay recognizable.
- Dark chocolate chunks — Chunks hold their shape better than chips, so you get pockets of melted chocolate instead of tiny stiff bits. Semi-sweet works if that’s what you have, but darker chocolate keeps the cookies from tasting too sweet against the marshmallows.
- Mini marshmallows — Half folded into the dough and half pressed on top gives the best texture. If you put them all in the dough, they mostly disappear. If you only place them on top, you lose those gooey pockets inside.
- Brown sugar — This does more than sweeten. It helps the centers stay soft and adds the deep caramel note that makes pumpkin and chocolate taste richer together.
How to Build the Dough So the Marshmallows Stay Visible
Blotting the Pumpkin First
Start by pressing the pumpkin puree between paper towels until it loses that wet shine. You don’t need it bone dry, just thick enough that it no longer slips around on the spoon. If you skip this, the dough gets loose, the cookies puff too much, and the marshmallows sink instead of sitting in little pockets. This one step is the biggest difference between a good batch and a doughy batch.
Making the Base Smooth and Fluffy
Beat the butter with both sugars until the mixture looks pale and slightly fluffy. That traps air in the dough and helps the cookies spread in a controlled way. Add the pumpkin, egg, and vanilla next, and scrape the bowl well so the pumpkin blends evenly. If the mixture looks a little curdled at this stage, don’t panic; it comes together once the flour goes in.
Folding in the Mix-Ins
Stir in the dry ingredients just until the flour disappears, then fold in the graham crackers, chocolate chunks, and only half the marshmallows. Overmixing here makes the cookies tough and can crush the graham pieces into dust. Save the rest of the marshmallows for the tops so they stay visible and toast instead of melting into the dough. Press them on gently right before baking so they don’t fall off in the oven.
Baking for Soft Centers and Toasted Tops
Bake just until the edges are set and the centers still look a little soft. They’ll finish on the hot pan as they sit for five minutes after baking. If you want the marshmallow tops deeper gold, give them a quick broil at the end, but stay right there because marshmallows go from toasted to scorched fast. The cookies should look slightly underdone in the center when they come out; that’s what keeps them chewy after cooling.
Three Ways to Make These Pumpkin S’Mores Cookies Work for You
Gluten-Free Version
Swap in a 1:1 gluten-free baking flour that includes xanthan gum. The cookies will still spread and hold together, but the graham cracker pieces won’t have quite the same crisp snap if you also need gluten-free graham crackers. Let the dough sit for 10 minutes before scooping so the flour hydrates fully.
Dairy-Free Swap
Use plant-based butter sticks instead of regular butter. They work best when they’re formulated for baking, not a soft tub spread. The cookies may brown a little faster, so start checking them at 10 minutes. The texture stays close to the original, though the flavor is a touch less rich.
Less Sweet, More Chocolatey
Use extra-dark chocolate chunks and reduce the granulated sugar by 2 tablespoons. That keeps the cookies from leaning too sweet once the marshmallows melt. The centers will still stay soft, but the pumpkin spice and graham cracker flavor come through more clearly.
Storage and Reheating
- Refrigerator: Store in an airtight container for up to 5 days. The marshmallows soften a bit after the first day, but the cookies stay chewy.
- Freezer: Freeze baked cookies in a single layer, then transfer to a freezer bag for up to 2 months. You can also freeze scooped dough balls and bake from frozen, adding 1 to 2 minutes.
- Reheating: Warm a cookie in the microwave for 8 to 10 seconds to loosen the chocolate and marshmallow. Don’t overheat it or the marshmallows turn rubbery and the cookie dries out fast.
Answers to the Questions Worth Asking
Pumpkin S'Mores Cookies
Ingredients
Equipment
Method
- Preheat the oven to 375F and line baking sheets with parchment for easy release.
- Blot the pumpkin puree dry between paper towels until it looks less wet, which helps the cookies bake up instead of spreading.
- Beat the softened butter, brown sugar, and granulated sugar until fluffy, with the mixture looking lighter in color and texture.
- Add the blotted pumpkin puree, then mix in the egg and vanilla extract until fully combined and glossy.
- Whisk the flour, baking soda, pumpkin pie spice, cinnamon, and salt, then fold into the butter mixture until no dry streaks remain.
- Fold in the graham cracker pieces, dark chocolate chunks, and half of the mini marshmallows, distributing the mix evenly through the dough.
- Scoop the dough into 2-tablespoon rounds and space them on the baking sheet.
- Press the remaining mini marshmallows onto the tops so they sit centered on each cookie.
- Bake for 10–12 minutes at 375F, until the edges look set and the centers look slightly soft.
- If desired, broil for 60 seconds to toast the marshmallow tops until lightly golden in spots; watch closely to prevent burning.
- Cool the cookies on the pan for 5 minutes, until they firm up and the marshmallows settle.