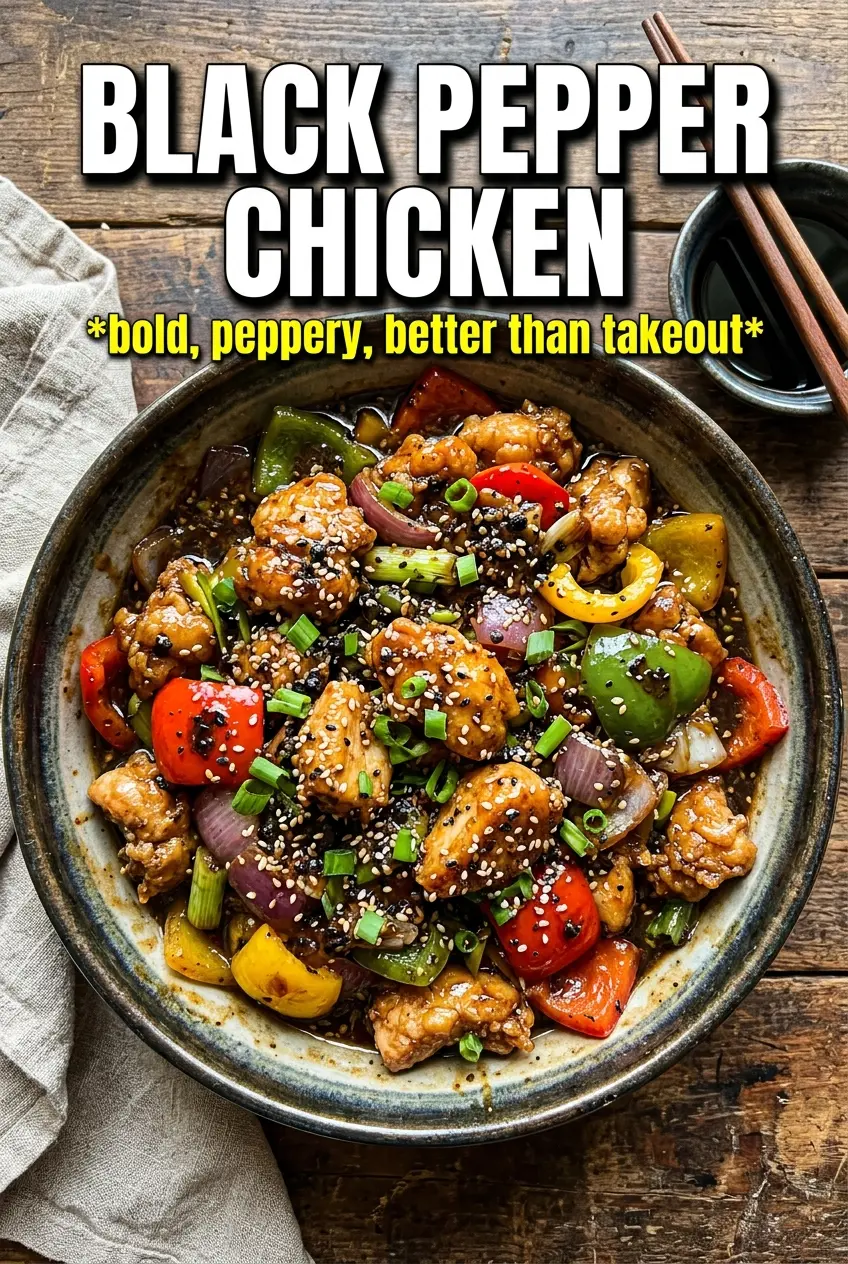
Black pepper chicken hits the table with glossy, clingy sauce, tender chicken, and just enough bite from the pepper to wake everything up. The sauce coats the meat instead of pooling under it, and the vegetables stay crisp at the edges instead of cooking down into softness. Over rice, it’s the kind of takeout-style dinner that disappears fast because every bite lands with salt, heat, and a little sweetness.
What makes this version work is the balance between high heat and a short sauce simmer. The chicken is seared in batches so it browns instead of steaming, then the vegetables go in just long enough to keep some structure. Freshly cracked black pepper matters here more than ground pepper from the tin, because it gives the sauce a sharp, aromatic finish instead of a flat heat.
Below, I’ve laid out the small details that keep the sauce glossy, the chicken tender, and the pepper flavor bold without tipping bitter. If you’ve ever had black pepper chicken come out watery or dull, the fixes are in the process notes.
The sauce thickened in just a couple minutes and coated every piece without getting sticky. I used the extra pepper at the end and it tasted just like our favorite takeout spot.
Save this black pepper chicken for the nights when you want glossy takeout-style sauce, crisp peppers, and a bold pepper finish over rice.
The Trick to Keeping the Sauce Glossy Instead of Watery
The most common failure with black pepper chicken is rushing the sauce into a pan that’s too crowded. When the chicken and vegetables are packed in tight, they steam, release moisture, and dilute everything you worked for. The fix is simple: sear the chicken in batches over high heat, then cook the vegetables briefly so they stay lively and don’t dump extra water into the pan.
Another thing that matters here is the cornstarch slurry. It doesn’t just thicken the sauce; it helps the sauce cling to the chicken and onions instead of sliding off. Add it only after the chicken is back in the pan and the sauce has come together, then let it bubble for a minute or two until it turns shiny and coats the spoon.
What Each Ingredient Is Actually Doing in This Dish
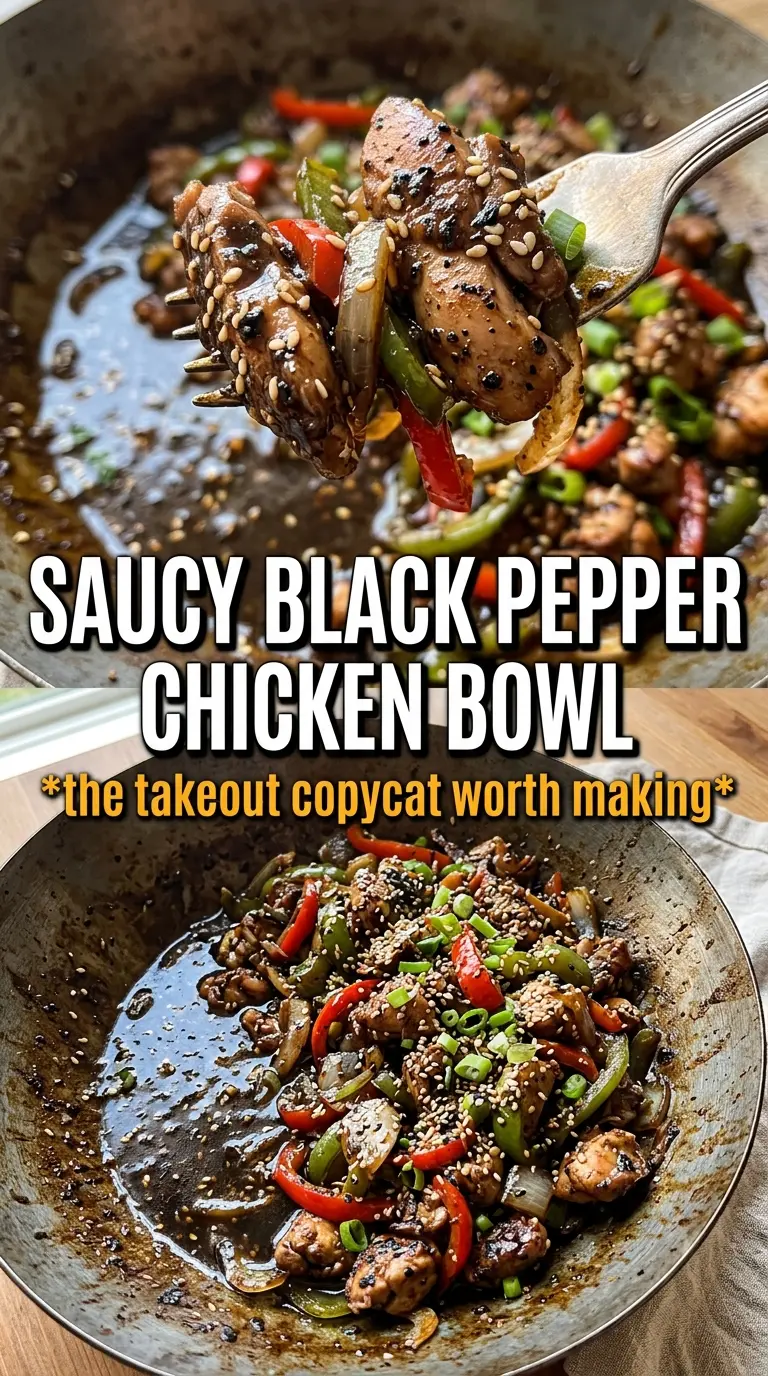
- Chicken breast — Slicing it thin helps it cook fast and stay tender. If the pieces are thick, they’ll dry out before they pick up enough color. Chicken thighs work too if you want a richer bite and don’t mind a slightly softer texture.
- Freshly cracked black pepper — This is the backbone of the dish. Pre-ground pepper tastes flatter and disappears into the sauce, while cracked pepper gives the sharp, aromatic finish that makes the dish taste alive. Use a generous hand here; the sauce should taste peppery, not mildly seasoned.
- Dark soy sauce and oyster sauce — These build the deep color and savory backbone that make the sauce look and taste like takeout. Dark soy sauce is more about color and mellow intensity than saltiness, so don’t swap it for regular soy and expect the same result. If you need a substitute for oyster sauce, use hoisin in a smaller amount and accept a sweeter sauce.
- Cornstarch slurry — This is what gives the sauce its glossy finish and helps it cling. Mix it with cold water first so it disperses evenly; if you dump dry cornstarch straight in, you’ll get lumps that never fully disappear.
- Bell pepper and onion — They bring sweetness and a little crunch that keeps the dish from feeling heavy. Slice them evenly so they cook at the same rate, and don’t let them go soft before the chicken returns to the pan.
- Garlic and ginger — These only need a short burst of heat. If they stay in the pan too long, they burn fast over high heat and turn bitter, which takes over the whole dish.
Building the Stir-Fry So the Pepper Stays Sharp
Mix the Sauce Before the Pan Gets Hot
Whisk the soy sauce, oyster sauce, dark soy sauce, brown sugar, black pepper, and cornstarch slurry together before you start cooking. Once the wok is hot, everything moves quickly, and you don’t want to be stirring cornstarch into a simmering pan at the last second. The sauce should look smooth and loose at this stage, with the pepper evenly suspended instead of clumped in one spot.
Brown the Chicken in Batches
Heat the oil until it shimmers, then add the chicken in a single layer. Let it sit long enough to pick up golden edges before stirring, because constant movement keeps it pale and soft. If your pan is crowded, remove the chicken in batches; that extra minute of work is what keeps the meat juicy and gives the finished dish more flavor.
Cook the Vegetables Just Until They Still Have Bite
Stir-fry the onion and bell pepper for about three minutes, just until the onion starts to turn translucent and the peppers lose their raw edge. Add the garlic and ginger at the end of that stage and cook only until fragrant. If they go in too early, the garlic burns before the sauce is added, and the ginger loses its sharpness.
Let the Sauce Bubble and Tighten
Return the chicken to the pan, pour in the sauce, and toss everything quickly so the cornstarch starts working right away. The sauce should go from thin and dark to glossy and slightly thick in a couple of minutes. Pull it from the heat when it coats the chicken and vegetables in a shiny layer; if you keep cooking after that, it can get sticky instead of silky.
How to Adjust Black Pepper Chicken for Different Kitchens and Different Nights
Make It Gluten-Free
Use tamari or a certified gluten-free soy sauce in place of regular soy sauce, and check that your oyster sauce is labeled gluten-free or swap in a gluten-free stir-fry sauce. The flavor stays close, but the sauce may finish a touch less deep unless your substitute has a dark, savory profile.
Use Chicken Thighs for a Richer Result
Boneless, skinless thighs stay a little more forgiving if you tend to cook chicken hard and fast. They won’t dry out as quickly as breast meat, and they give the dish a slightly richer finish, though the texture will be less lean and a bit softer.
Dial Back the Pepper Without Losing the Dish
If you want a gentler version, start with 1 teaspoon black pepper in the sauce and finish with a light pinch at the end. That keeps the dish savory and warm instead of sharply peppery, but the final bite will read more balanced than bold.
Storage and Reheating
- Refrigerator: Store in an airtight container for up to 4 days. The sauce will thicken more as it chills.
- Freezer: It freezes well for up to 2 months, though the bell peppers soften after thawing. Freeze in portions with rice on the side if you like easy lunches.
- Reheating: Warm it in a skillet over medium-low heat with a splash of water to loosen the sauce. The common mistake is blasting it on high heat, which tightens the chicken and makes the sauce go gummy before the center is hot.