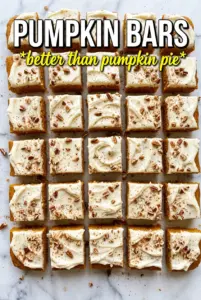
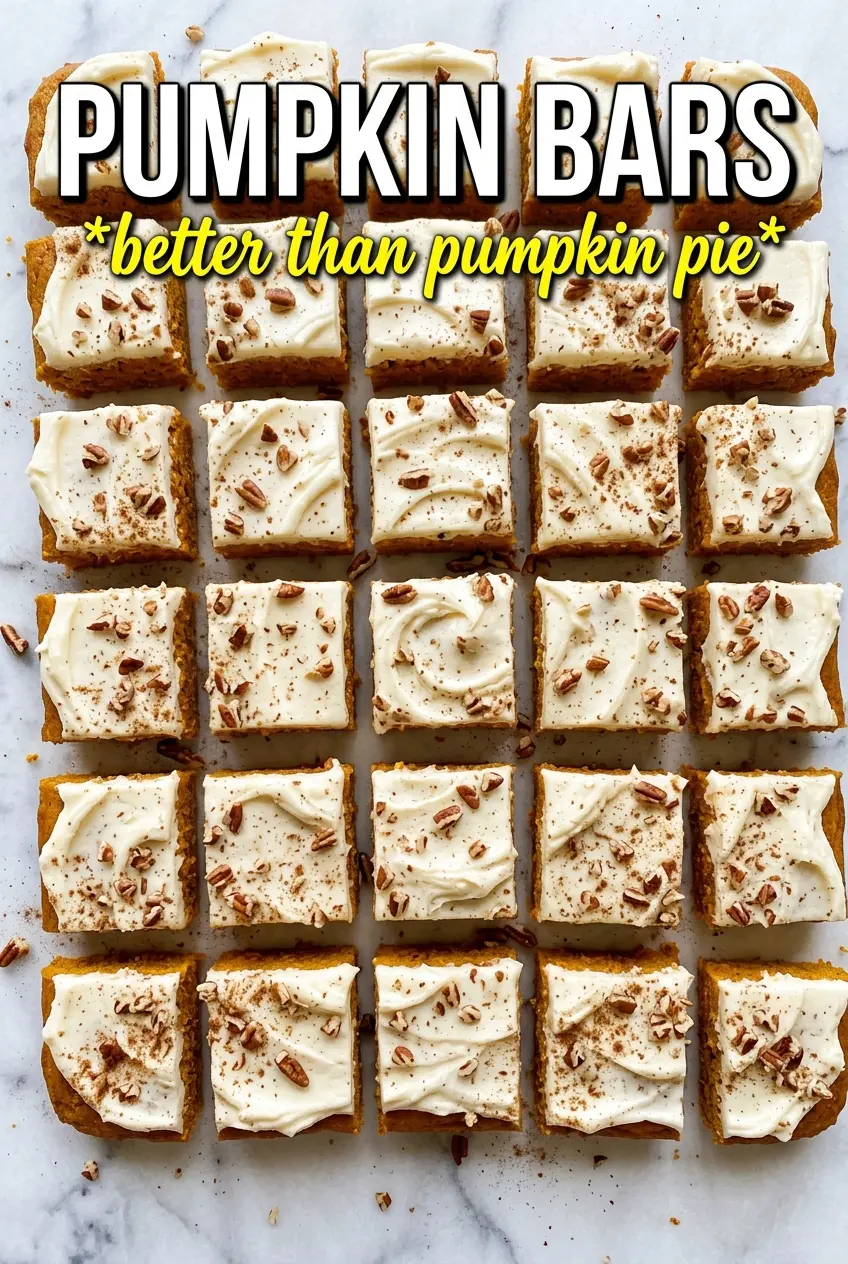
These pumpkin bars bake up soft and cakey with a tender crumb that holds a thick layer of cream cheese frosting without turning dense or gummy. The pumpkin keeps the bars moist for days, and the cinnamon-spiced frosting gives each bite that classic fall bakery feel without overpowering the cake underneath.
What makes this version work is the balance: enough oil for a plush texture, enough flour for structure, and just enough spice to taste warm instead of muddy. The batter comes together fast, but the real key is not overmixing once the flour goes in. That keeps the bars light instead of tough, especially in a pan this size where the cake bakes quickly and can dry out if you push it too far.
Below, I’ve included the one cooling step that keeps the frosting from sliding, plus a few swaps that still give you the same soft, frosted result.
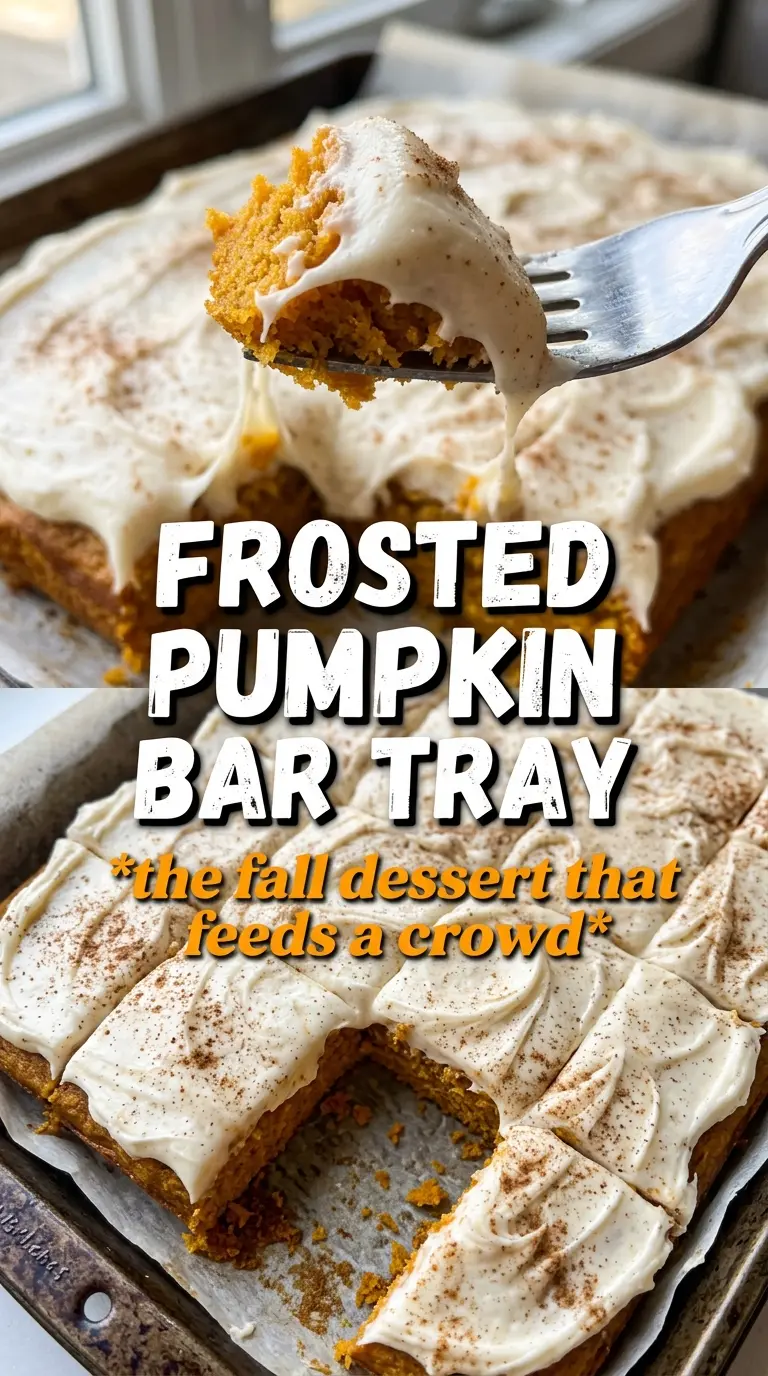
The bars stayed incredibly soft, and the frosting set up just enough after chilling so I could cut clean squares. The cinnamon in the frosting was the part that made everyone ask for seconds.
Save these pumpkin bars for the kind of dessert that stays soft, frosted, and easy to cut into neat squares.
The Reason Pumpkin Bars Stay Tender Instead of Turning Dense
Pumpkin bars have one common problem: they can go from light and cakey to heavy and wet if the batter is worked too long or the pan is overbaked. Pumpkin puree adds moisture, but it also makes the crumb delicate, so you need enough structure from the flour and eggs to support it without drying it out. That balance is what gives you a clean slice instead of a sticky square that falls apart when you lift it.
The other thing that matters is the pan. A 15×10 jelly roll pan gives the batter the right depth for bars that bake through evenly. If you use a smaller pan, the center stays too soft; if you use a deeper pan, the bars turn more cake-like and lose that classic bar texture. Pull them when a toothpick comes out clean or with a few moist crumbs, not when the top looks dark, because pumpkin bars can look done before the center actually is.
What Each Ingredient Is Actually Doing in These Pumpkin Bars
- Pumpkin puree — Use plain pumpkin puree, not pumpkin pie filling. Pie filling is already sweetened and spiced, which throws off both the texture and the balance of the bars. Canned puree gives you consistent moisture and that dense, smooth pumpkin flavor that bakes well.
- Vegetable oil — Oil keeps the crumb soft even after refrigeration, which is exactly what you want in frosted bars. Butter adds flavor, but these bars benefit more from the long-lasting tenderness oil gives. Any neutral oil works here.
- Eggs — Four eggs give the bars lift and structure so they set into neat squares. If you cut back on them, the bars bake up too fragile and can sink in the center. Bring them to room temperature if you can; they blend more smoothly into the batter.
- Cream cheese — Full-fat cream cheese is worth using for the frosting because low-fat versions can turn loose and grainy. Soften it fully before beating, or you’ll end up with little lumps that won’t disappear once the powdered sugar goes in.
- Cinnamon in both the batter and frosting — The bars need spice in both places. The cake batter gives you warmth throughout, while the frosting adds a brighter cinnamon finish on top. That layered spice is what makes the whole pan taste complete.
Building the Batter and Frosting Without Losing the Texture
Mix the Wet Ingredients Until They Look Creamy
Beat the eggs, sugar, oil, pumpkin puree, and vanilla until the mixture looks smooth and glossy. You’re not trying to whip in a lot of air here; you just want everything fully emulsified so the bars bake evenly. If you still see streaks of oil, keep mixing for another minute before adding the dry ingredients, because uneven batter can bake up greasy in pockets.
Fold the Flour in Just Until the Streaks Disappear
Add the flour mixture in two additions and stir only until you stop seeing dry patches. The batter will thicken fast, and that’s normal. Overmixing develops the gluten in the flour and turns the bars chewy instead of soft, which is the fastest way to miss the texture people love in pumpkin bars.
Bake Until the Center Springs Back
Spread the batter all the way into the corners of the pan so it bakes at the same rate from edge to edge. The top should look set and lightly golden, and a toothpick in the center should come out clean or with a few crumbs clinging to it. If the toothpick comes out wet, give it a few more minutes; if you wait until the whole surface looks deeply browned, the bars will dry out by the time the center finishes.
Cool Completely Before the Frosting Goes On
This step matters more than people think. If the bars are even slightly warm, the cream cheese frosting softens and slides, and the cinnamon dusting disappears into the top instead of sitting prettily on it. Let the pan cool all the way, then chill the frosted bars for about 30 minutes before cutting so you get neat edges and a clean layer of frosting on each square.
Three Practical Ways to Change These Bars Without Ruining Them
Make Them Dairy-Free
Use a plant-based cream cheese and butter substitute for the frosting. The bars themselves are already dairy-free, so this swap mainly changes the frosting texture, which may be a little softer and less tangy than classic cream cheese frosting. Chill it before spreading if it seems loose.
Turn Them Gluten-Free
Swap the all-purpose flour for a good 1:1 gluten-free baking blend that includes xanthan gum. The bars will still be tender, though they may crumb a little more when cut. Let them cool fully before slicing so the texture can set properly.
Make the Spice a Little Stronger
Add an extra 1/2 teaspoon of cinnamon or a pinch of cloves if you want a deeper spice note. That pushes the flavor closer to a bakery-style pumpkin bar, but don’t overdo the cloves or they’ll take over the whole pan. The frosting can handle a little extra spice without becoming bitter.
Storage and Reheating
- Refrigerator: Store covered for up to 5 days. The bars stay moist, and the frosting firms up in a way that actually helps with clean slicing.
- Freezer: These freeze well if you cut them first and wrap them individually. Freeze in a single layer, then transfer to a container; thaw in the refrigerator so the frosting doesn’t sweat.
- Reheating: These are best served chilled or at cool room temperature, not warm. If you want to soften a refrigerated bar, leave it on the counter for 15 to 20 minutes; microwaving melts the frosting and makes the top greasy.
Answers to the Questions Worth Asking
Pumpkin Bars
Ingredients
Equipment
Method
- Preheat oven to 350F and grease a 15x10 jelly roll pan so the batter releases cleanly.
- Whisk all-purpose flour, baking powder, baking soda, pumpkin pie spice, cinnamon, and salt until evenly combined and free of spice streaks.
- Beat eggs, granulated sugar, vegetable oil, pumpkin puree, and vanilla extract until smooth and glossy-looking.
- Fold the flour mixture into the wet ingredients just until combined, then pour the thick batter into the prepared pan.
- Bake at 350F for 25-30 minutes, until a toothpick inserted in the center comes out clean.
- Cool completely so the frosting won’t melt or slide off.
- Beat cream cheese and unsalted butter until smooth and creamy, then mix in powdered sugar, vanilla, and cinnamon until fluffy and spreadable.
- Spread the frosting over the cooled bars in an even layer, then dust lightly with cinnamon for a speckled top.
- Refrigerate for 30 minutes before cutting into bars so the slices hold their shape.