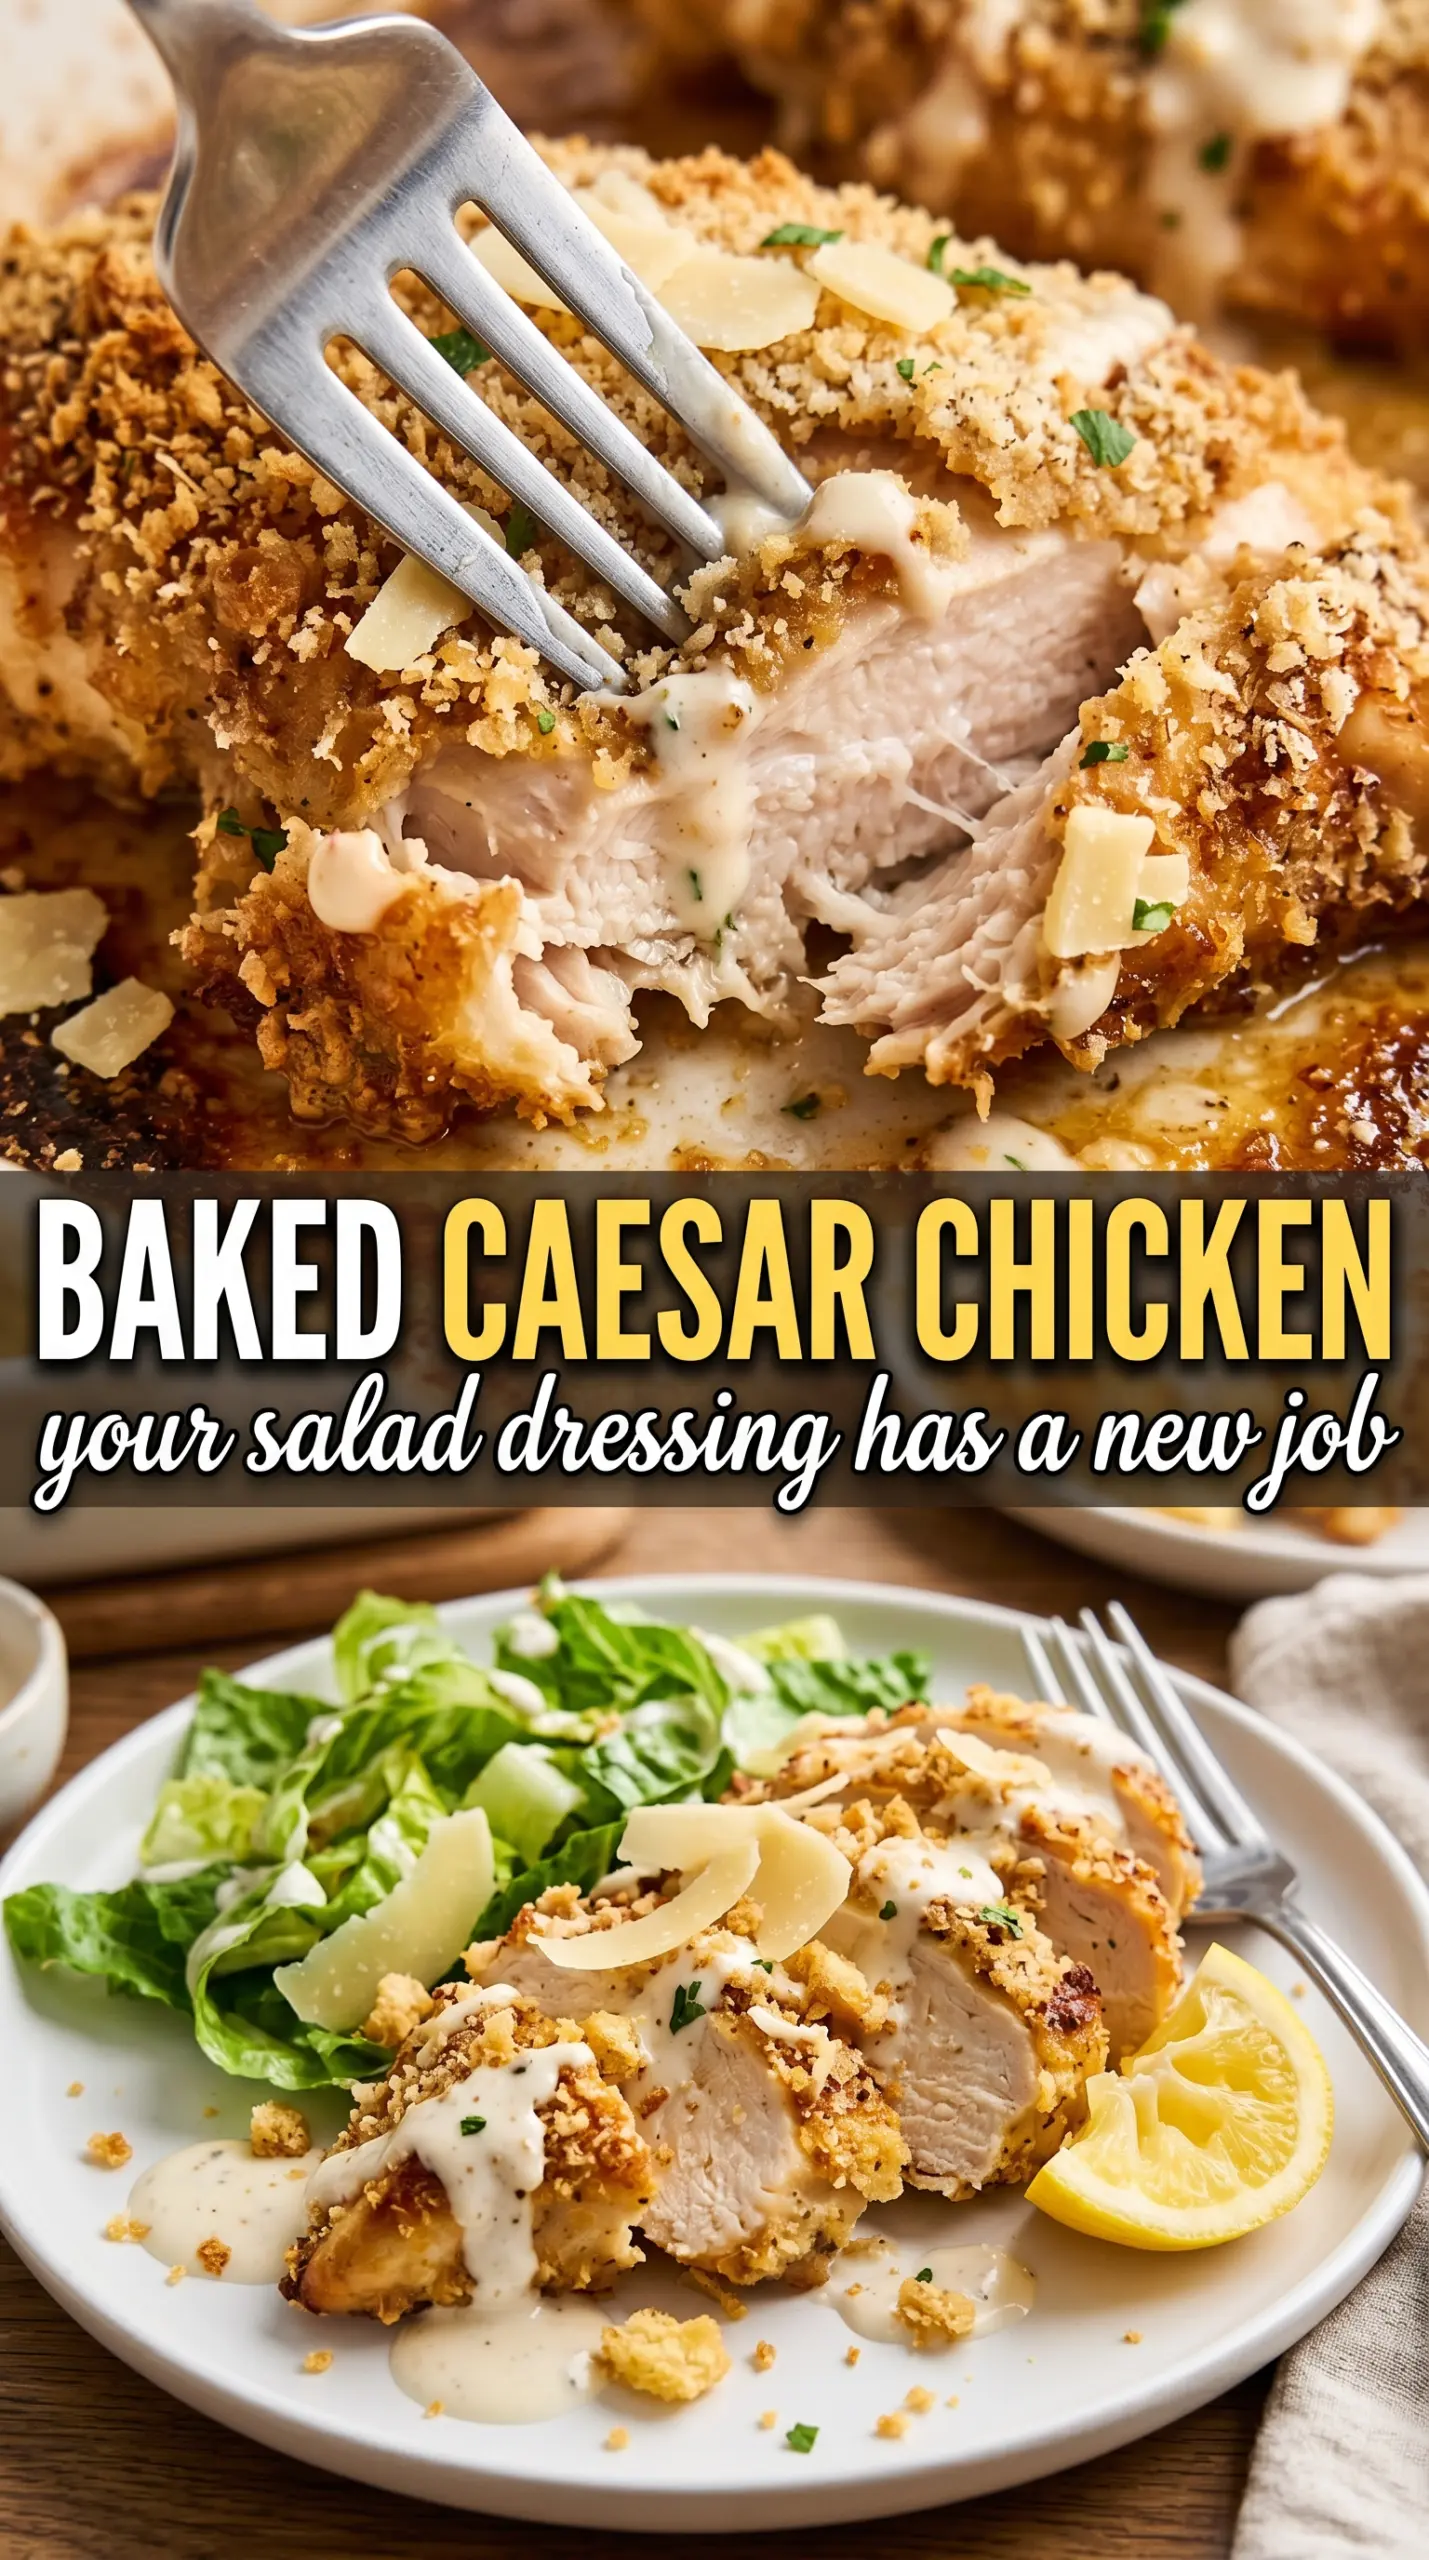
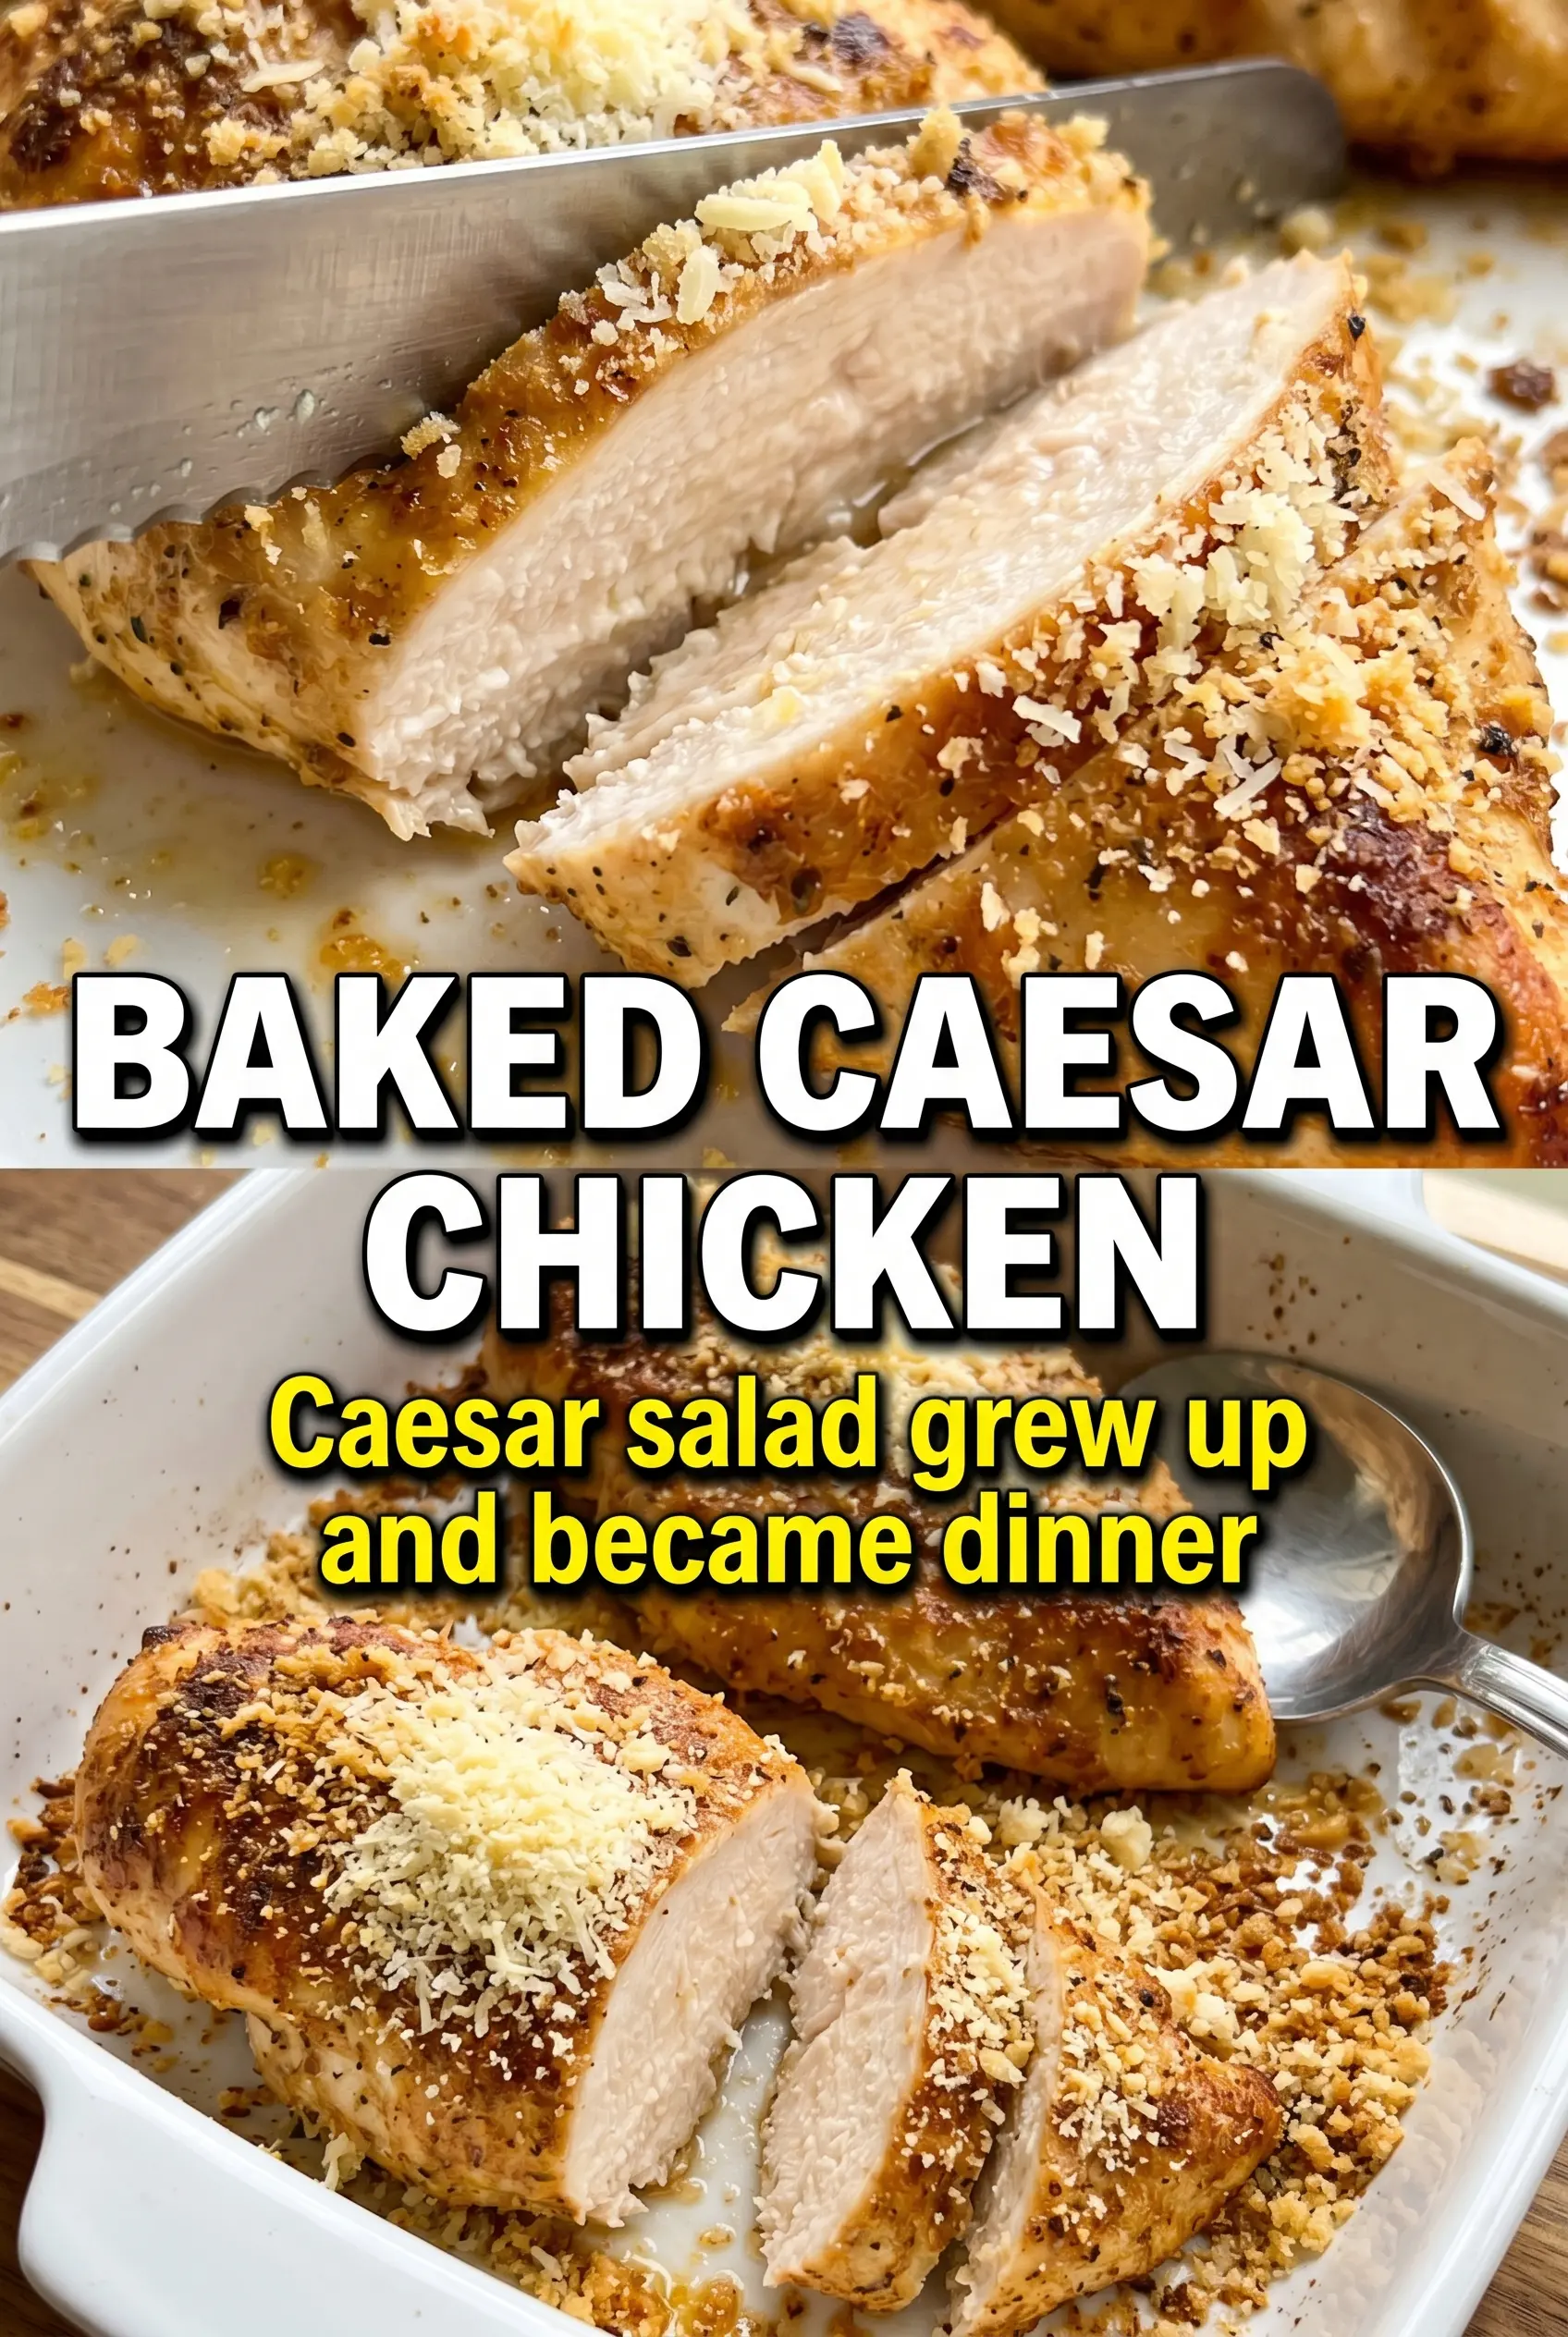
Golden, crackled Caesar chicken is the kind of dinner that disappears fast because it hits every note at once: salty, tangy, garlicky, and just rich enough from the Parmesan to feel like more than a plain baked chicken breast. The panko topping bakes into a crisp cap while the dressing underneath keeps the meat juicy, so you get contrast in every bite instead of dry chicken under a soggy crust.
The trick is treating the Caesar dressing like both marinade and seasoning base. It carries salt, acid, and fat into the chicken, which means the meat tastes seasoned all the way through instead of only on the surface. Grating the Parmesan fresh matters here too, because the fine shreds melt into the dressing and help the topping cling instead of sliding off in the oven.
Below you’ll find the small details that matter most: how long to marinate without turning the chicken soft, why the breadcrumb topping goes on after the marinade, and the easiest way to keep the crust browned while the chicken stays juicy.
The chicken stayed juicy and the Parmesan-panko crust came out crisp instead of soggy. I loved that the Caesar flavor went all the way through the meat, not just on top.
Love the golden Parmesan crust and juicy Caesar-marinated chicken? Save this baked Caesar chicken for the night you want a fast dinner that still feels special.
The Reason the Crust Stays Crisp Instead of Sliding Off
With baked chicken like this, the biggest mistake is piling on the topping before the marinade has done its job. The Caesar dressing needs that short rest on the chicken first so the seasoning gets into the meat. After that, the panko-Parmesan mixture belongs on top, not mixed into the marinade, or it turns heavy and pasty instead of crisp.
Another thing that helps: a hot oven and a shallow baking dish. Chicken breasts release some moisture as they cook, and if they’re crowded too closely, that steam softens the crust before it has a chance to brown. Give each piece a little breathing room and press the topping on firmly so it bakes into a proper shell.
What the Caesar Dressing and Parmesan Are Doing Here
- Caesar dressing — This is the backbone of the marinade. It brings salt, acid, garlic, and fat all at once, which means the chicken gets seasoned and tenderized without a separate brine. Store-bought works fine here, but pick one you actually like eating, because its flavor carries through the whole dish.
- Parmesan — Freshly grated Parmesan melts better and clings to the dressing in a way the shelf-stable stuff can’t match. It also bakes into that salty, golden crust you want on top. If you only have pre-grated Parmesan, use it in a pinch, but expect a drier, less unified topping.
- Panko breadcrumbs — Panko gives the crust its light crunch. Regular breadcrumbs can work, but they tend to bake up denser. If you need gluten-free, use a gluten-free panko so you still get that airy texture instead of a heavy cap.
- Lemon zest — This brightens the dressing so the chicken doesn’t taste flat. You don’t need much, but don’t skip it; the zest wakes up the Parmesan and keeps the whole dish from leaning too heavily on salt and garlic.
Building the Chicken So the Topping Bakes Cleanly
Mixing the Marinade
Stir the Caesar dressing, part of the Parmesan, garlic powder, and lemon zest together until the mixture looks smooth and thick. Coat the chicken all over and let it sit for 20 minutes. That short rest is enough to season the meat without making it loose or mushy, which can happen if the chicken sits in an acidic dressing for too long.
Pressing on the Crust
Move the marinated chicken into the greased baking dish, then combine the remaining Parmesan with the panko and press it onto the top of each breast. Press with your fingertips so the crumbs adhere, but don’t pack them down hard or they’ll bake into a dense layer. The topping should look rough and uneven before it goes in the oven; that’s what turns into those crisp golden edges.
Baking to the Right Temperature
Bake at 400°F until the crust is deeply golden and the thickest part of the chicken reaches 165°F, usually 22 to 25 minutes. If the top browns before the center is done, tent it loosely with foil for the last few minutes so it doesn’t burn. Let the chicken rest briefly before serving so the juices settle back into the meat instead of running onto the cutting board.
Finishing with Romaine and Extra Dressing
Add the chopped romaine, croutons, and a small drizzle of extra Caesar dressing right before serving. That fresh crunch makes the baked chicken taste more like a full Caesar-inspired meal than just a baked entrée. Shaved Parmesan on top gives you one last sharp, salty hit that cuts through the richness.
How to Adapt It When You Want It Lighter, Crispier, or Dairy-Free
Dairy-Free Version
Use a dairy-free Caesar dressing and swap the Parmesan for a finely grated dairy-free hard cheese or nutritional yeast blend. The crust won’t taste exactly the same, but you’ll still get the salty, savory top layer that makes the dish work. Choose a dressing with enough body to cling to the chicken, or the topping can slide off.
Gluten-Free Swap
Use gluten-free panko in place of regular panko. It keeps the same light crunch and avoids the dense, sandy texture that some gluten-free crumbs can give. Check your Caesar dressing label too, since some brands use wheat-based thickeners.
Extra Crispy Top
Toast the panko in a dry skillet for a few minutes before mixing it with the Parmesan. That gives the topping a head start on browning and makes the crust even crisper in the oven. Watch it closely, because toasted crumbs can go from golden to burnt fast.
Storage and Reheating
- Refrigerator: Store leftovers in an airtight container for up to 3 days. The crust softens a bit, but the flavor stays strong.
- Freezer: Freeze after baking if needed, wrapped tightly. The topping won’t stay as crisp after thawing, but the chicken itself holds up better than you might expect.
- Reheating: Warm in a 350°F oven until heated through. The oven is better than the microwave here, which turns the crust rubbery and can make the chicken dry at the edges before the center is hot.
Answers to the Questions Worth Asking
Baked Caesar Chicken
Ingredients
Equipment
Method
- Mix Caesar dressing, 1/2 cup Parmesan, garlic powder, and lemon zest until evenly combined. Add salt and pepper to taste and coat the chicken in the mixture.
- Let the chicken marinate for 20 minutes to absorb the Caesar-garlic-lemon flavor. Cover to prevent drying, and keep it refrigerated while it rests.
- Preheat the oven to 400°F and grease a baking dish or sheet pan. Have the dish ready so the chicken goes in right away after coating.
- Place the marinated chicken in the prepared baking dish, leaving space between breasts. Keep any excess marinade in the dish for gentle moisture.
- Mix the remaining 1/4 cup Parmesan with panko and press it firmly over the top of each breast. The topping should cling in an even layer so it browns and crackles.
- Bake at 400°F for 22-25 minutes, until the crust is golden and the internal temperature reaches 165°F. Look for a caramelized, browned top with visible crisp bits.
- Serve the chicken topped with chopped romaine and croutons. Add an extra drizzle of Caesar dressing over the finished breasts.
- Finish with shaved Parmesan immediately after baking. The hot chicken helps the Parmesan melt slightly and deepen the aroma.