These key lime pie bars hit the sweet spot between crisp crust and tangy, silky filling. You get the familiar snap of graham cracker base, but in bar form the whole dessert feels easier to slice, easier to share, and a little less fussy than pie. The filling sets up smooth and clean, with a bright lime flavor that stays sharp instead of getting lost under too much sweetness.
What makes this version work is the balance: enough lime juice to taste fresh and lively, enough egg yolk to give the filling structure, and just enough bake time to set it without turning rubbery. The crust gets a quick head start in the oven so it stays firm under the filling instead of going sandy or soggy. If you’ve ever had citrus bars crack, we’re avoiding that by pulling them when the center still has a slight jiggle and letting the fridge finish the job.
Below, I’ll walk through the parts that matter most, including the one place people usually overbake these bars and the best way to cut them clean once they’re chilled.
The filling set up perfectly after chilling and the crust stayed crisp all the way to the last bar. I added extra lime zest on top and it made the whole pan taste fresh instead of just sweet.
Save these key lime pie bars for the day you want a tart citrus dessert with a buttery graham crust and a clean, chilled slice.
The Step That Keeps the Filling Smooth Instead of Grainy
The filling for key lime bars looks simple, but the texture lives or dies by temperature and timing. If you bake it too long, the eggs tighten and you end up with a curd that looks set in the pan but eats dry at the edges. The sweetened condensed milk already gives you thickness, so the oven is only there to help the eggs finish the job.
The other thing that matters is pouring the filling onto a warm crust. That little bit of heat helps the layers bond without forcing the filling to overbake before the center sets. You want a bar that cuts cleanly but still tastes soft and creamy on the tongue. The center should wobble slightly when you nudge the pan, not slosh.
What Each Ingredient Is Actually Doing in These Bars
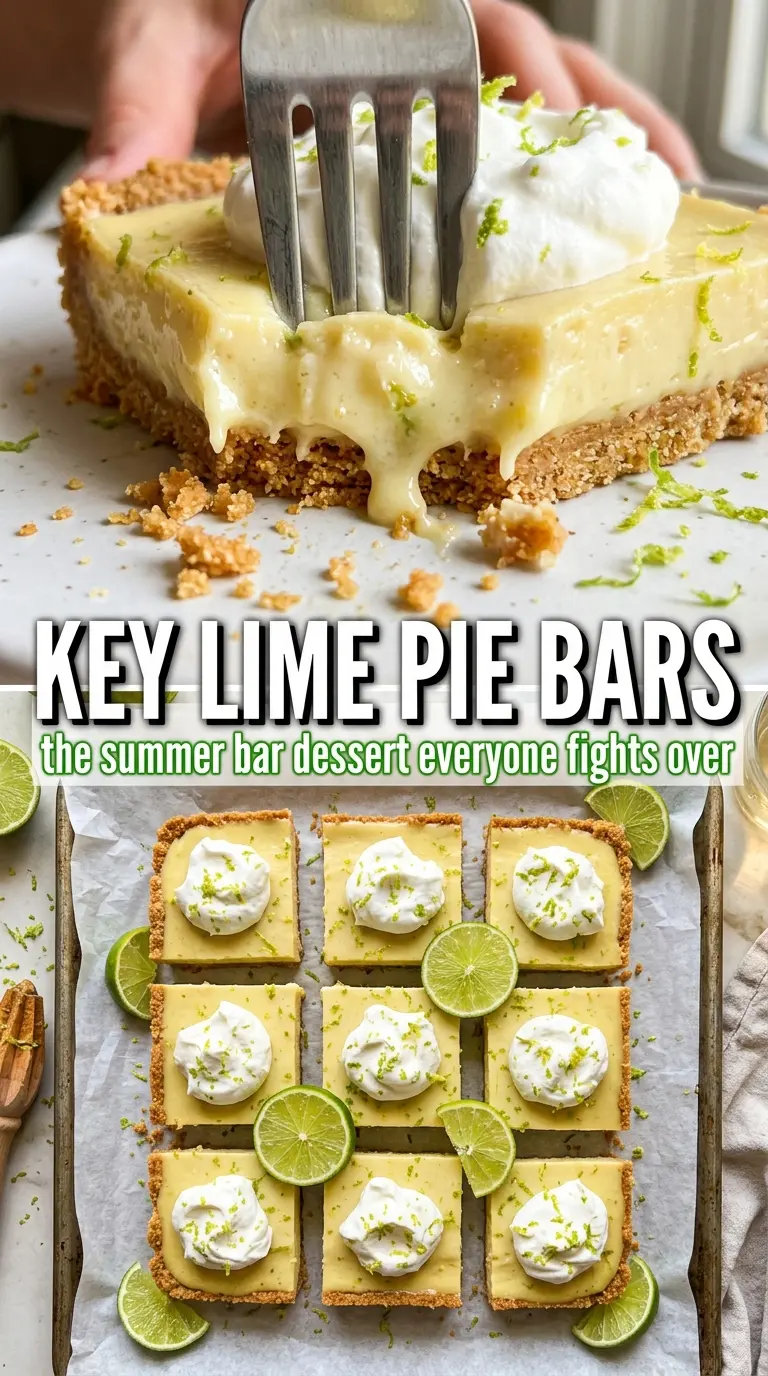
- Graham cracker crumbs — These give the bars their structure and that toasty, honeyed base you expect from key lime pie. Fresh crumbs make the crust a little more cohesive, but store-bought crumbs work well and save time.
- Butter — Melted butter is what turns dry crumbs into a crust that presses firmly and slices cleanly. If the mixture looks sandy and won’t hold together when squeezed, it needs a bit more butter, not more sugar.
- Sweetened condensed milk — This is the backbone of the filling. It adds sweetness and body at the same time, and there isn’t a substitute that gives the exact same creamy set.
- Egg yolks — The yolks help the filling thicken and turn silky in the oven. Don’t skip them; they’re part of what gives the bars a custardy finish instead of a loose citrus layer.
- Fresh key lime juice — Fresh juice brings the sharp, clean tang that makes these bars taste alive. Regular lime juice works if that’s what you have, but key limes give a more fragrant, slightly floral edge.
- Lime zest — The zest is not decorative here. It carries the brightest lime oil in the whole recipe, and it keeps the flavor from tasting flat after chilling.
- Green food coloring — Optional, and only for appearance. It doesn’t change the flavor, so skip it if you want a pale, natural-looking filling.
Building the Crust and Filling So the Bars Slice Cleanly
Pressing and Prebaking the Crust
Mix the graham crumbs, sugar, and melted butter until every crumb looks evenly moistened, then press the mixture firmly into the parchment-lined pan. A flat-bottomed cup helps pack it tightly, which matters because a loose crust crumbles when you cut the bars. Bake it just until fragrant and lightly darker around the edges, then let it cool for a few minutes so the filling doesn’t soak straight through.
Whisking the Lime Filling
Whisk the yolks, condensed milk, lime juice, zest, and food coloring until the mixture is completely smooth. You’re not trying to whip in lots of air; too much foam can leave tiny bubbles on the surface after baking. If you see streaks of yolk or pockets of zest, keep whisking until the mixture looks uniform and glossy.
Knowing When to Stop Baking
Pour the filling over the warm crust and bake until the edges are set and the center still has a slight jiggle. That last bit of movement is what keeps the bars creamy after they chill. If the top starts to brown or puff a lot, they’ve stayed in too long and the texture will firm up more than you want.
Cooling and Chilling Before Cutting
Let the pan cool completely on the counter first, then move it to the fridge for at least three hours. This is where the bars finish setting, so rushing this part leads to messy slices and a soft center that smears on the knife. For the cleanest cut, use a sharp knife wiped warm between slices and dust with powdered sugar right before serving.
How to Adapt These Bars for Different Kitchens and Different Moods
Regular Lime Instead of Key Lime
Regular lime juice gives you a sharper, slightly less floral flavor, and it works fine when key limes aren’t available. Keep the zest in the recipe, since that helps bring back some of the brightness you lose with the swap.
Gluten-Free Crust
Use gluten-free graham-style crumbs in the same amount. The crust will still press and bake the same way, though some brands are a little drier, so watch for a texture that holds when squeezed in your hand before you press it into the pan.
A Less Sweet Finish
If you want a sharper dessert, reduce the powdered sugar topping and add extra lime zest on top instead. Don’t cut the condensed milk in the filling, though; that changes the set and can leave the bars loose.
Storage and Reheating
- Refrigerator: Store covered for up to 5 days. The crust softens a little over time, but the bars still hold their shape well.
- Freezer: These freeze well. Wrap the cut bars tightly and freeze in a single layer before stacking; thaw in the refrigerator so the filling doesn’t get watery.
- Reheating: No reheating needed. Serve them cold from the fridge, which keeps the filling firm and the slices neat.
Answers to the Questions Worth Asking
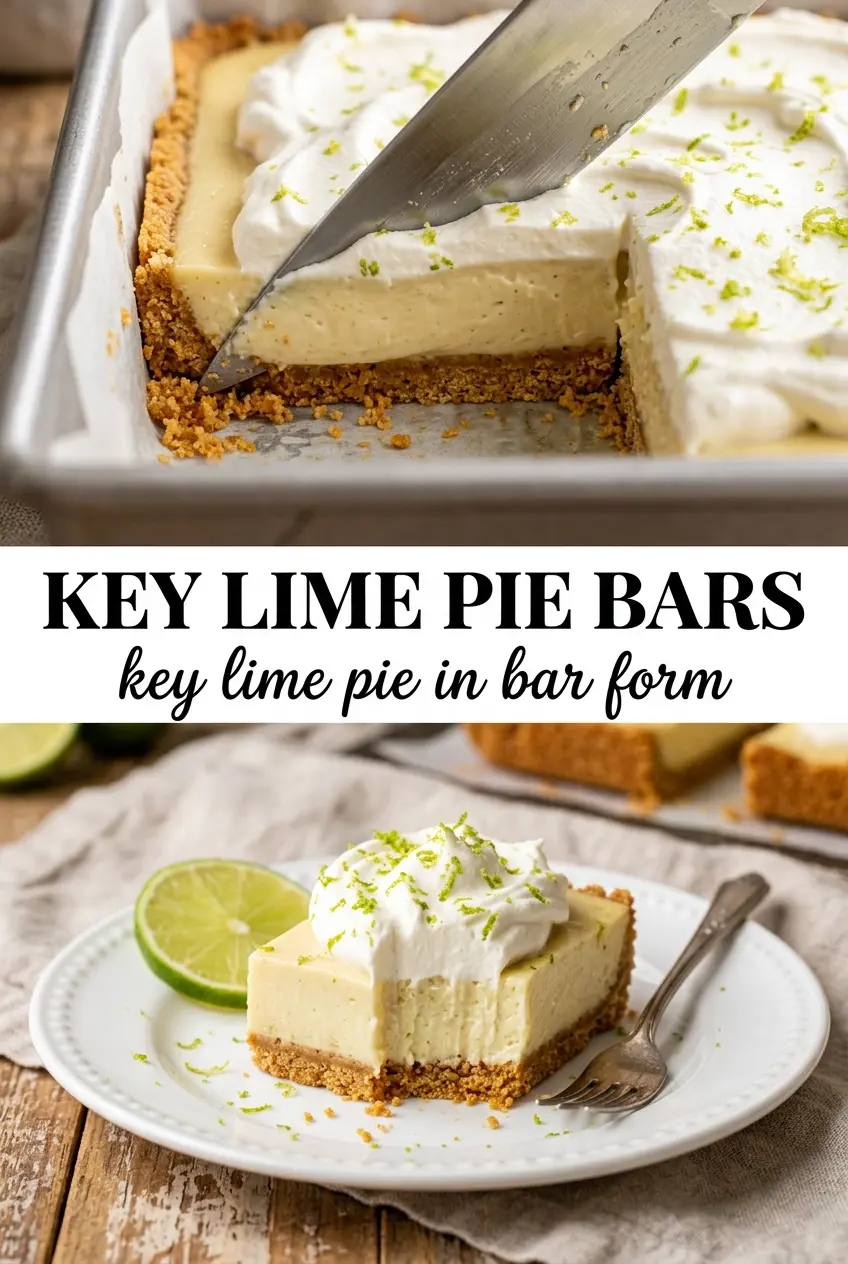
Key Lime Pie Bars
Ingredients
Equipment
Method
- Preheat oven to 350°F, then mix graham cracker crumbs, granulated sugar, and melted butter until the mixture looks evenly damp. Press firmly into a parchment-lined 9x13 pan for a tight, even crust.
- Bake the crust for 8 minutes, then cool slightly while you prepare the filling. The crust should look set and lightly fragrant.
- Whisk egg yolks, sweetened condensed milk, key lime juice (or regular lime juice), lime zest, and a drop of green food coloring until smooth and combined. Stop when the mixture looks glossy and free of streaks.
- Pour the key lime filling over the warm crust and spread evenly across the surface. Tap the pan lightly to settle any small bubbles.
- Bake for 18-20 minutes until the filling is just set with a slight jiggle in the center. The edges should look set while the center still wobbles gently when the pan is moved.
- Cool completely at room temperature, then refrigerate at least 3 hours until firm. For best sliceable bars, chill until the center no longer jiggles.
- Dust with powdered sugar and scatter lime zest over the top before slicing into 16 bars to serve. Cut clean squares so the pale green filling stays defined.