Flaky puff pastry, a light cream cheese layer, and a bright pile of berries give these tarts the kind of finish that looks bakery-made without asking for much from the cook. The pastry shatters at the edges, the center stays creamy, and the fruit turns jammy just enough in the oven to feel deliberate instead of thrown on top.
The trick is keeping the filling thin and staying inside the scored border so the pastry can rise around it. A little lemon zest keeps the cream cheese from tasting heavy, and the apricot glaze at the end gives the berries a polished shine while adding a whisper of sweetness that doesn’t bury their fresh flavor.
Below you’ll find the small details that matter here: how to keep puff pastry crisp, how to stop the berry topping from weeping, and a few smart swaps if your fruit looks different from what’s in the recipe.
The pastry puffed up in neat, crisp layers and the cream cheese stayed smooth instead of running all over the pan. The apricot glaze made the berries look glossy, and they tasted like something from a pastry case.
Save these mixed berry puff pastry tarts for when you want a crisp, creamy dessert with a glossy berry finish and almost no fuss.
The Border Is What Keeps These Tarts Puffing Instead of Sinking
Scoring a border around each rectangle isn’t decoration. It’s what tells the pastry where to rise, and that lift is the difference between a tidy tart and a flat, soggy sheet with toppings sliding everywhere. Cut only halfway through the dough so the center stays attached; if you cut all the way through, the border loses its job and the pastry bakes up much less evenly.
The other place these tarts can fail is moisture. Puff pastry wants a dry surface and quick heat, so the cream cheese layer should stay thin and the berries should go on unbattered, not mashed. Overfilling seems generous, but it usually just pushes juice into the pastry and softens the bottom before the edges finish browning.
What Each Ingredient Is Actually Doing In This Tart

- Puff pastry — This is the structure and the drama. Frozen pastry works beautifully here as long as it’s thawed enough to unfold without cracking but still cold enough to puff in the oven. If it gets warm and sticky before baking, the layers smear and you lose that crisp rise.
- Cream cheese — Softened cream cheese gives you a smooth, tangy base that keeps the tarts from tasting like plain fruit on bread. Full-fat cream cheese gives the best texture; lower-fat versions can bake up looser and less rich. Beat it until completely smooth before spreading, or you’ll get little lumps that stay visible after baking.
- Mixed berries — A mix gives you better color and a more interesting bite than any single berry. Strawberries should be chopped into small pieces so they soften at the same pace as the blueberries and raspberries. If your berries are very juicy, pat them dry first so they don’t flood the filling.
- Apricot jam — The glaze is worth keeping because it adds shine and helps the berries look finished, not dry. Apricot works best because its flavor is quiet and its color stays clear; another jam can work in a pinch, but choose one that won’t overpower the fruit. Warm it just enough to brush on smoothly, not so hot that it runs off the tart.
Building The Tarts So The Filling Stays Creamy And The Pastry Stays Crisp
Cutting And Scoring The Pastry
Lay the thawed pastry on parchment while it’s still cold and cut it into clean rectangles with a sharp knife or pizza cutter. Then score a 1/2-inch border around each piece, keeping the center untouched. If the dough starts to soften and stretch as you work, slide it back into the fridge for a few minutes; cold pastry rises higher and bakes cleaner.
Mixing The Cream Cheese Base
Beat the cream cheese, powdered sugar, vanilla, and lemon zest until the mixture looks completely smooth and fluffy, with no pale streaks or lumps. Spread a thin layer inside the scored border only. A thick layer looks generous but steals oven heat from the pastry and makes the center bubble before the edges are ready.
Adding The Berries And Egg Wash
Arrange the berries over the cream cheese in a single layer, pressing them in just enough so they stay put. Brush the exposed border with egg wash, but keep it off the cut edges inside the frame or they’ll seal and rise less. The egg wash is what gives the crust that deep golden color, so don’t skip the corners.
Baking And Finishing
Bake until the borders are deeply golden and the pastry looks puffed and crisp all the way around, not pale and soft in the middle. The filling may look a little soft when the tarts come out; that’s normal, and it settles as they cool. Brush the warm berries with apricot jam while the tarts are still hot so the glaze melts into a smooth shine, then dust with powdered sugar right before serving.
How To Adapt These Puff Pastry Tarts Without Losing The Crisp Edge
Make Them With Just One Berry
If you only have blueberries or raspberries, use them. Blueberries hold their shape and give you cleaner tart tops, while raspberries break down faster and create a juicier finish. With raspberries, keep the layer a little lighter so the pastry doesn’t get wet underneath.
Dairy-Free Version
Use a dairy-free cream cheese that spreads smoothly and isn’t overly soft straight from the tub. The tart will still bake nicely, but the filling may taste a little less rich and tangy than the original. Keep the layer thin so the pastry can stay crisp around the edges.
Gluten-Free Shortcut
Use a gluten-free puff pastry if you can find one that bakes in layers instead of turning crumbly. The method stays the same, but watch the oven a little more closely because gluten-free versions can brown faster at the edges. If the pastry seems soft after baking, give it an extra few minutes on the sheet before moving it.
Swap The Jam Finish
Apricot jam is the cleanest glaze, but seedless raspberry jam or strained orange marmalade can work if that’s what you have. Raspberry jam deepens the berry flavor and gives a slightly richer color, while marmalade adds a sharper citrus note. Warm it first so it brushes on in a thin coat instead of clumping on the fruit.
Storage And Reheating
- Refrigerator: Store in an airtight container for up to 2 days. The pastry will soften a bit, especially under the berries, but it still tastes good.
- Freezer: I don’t recommend freezing the finished tarts. The berries and cream cheese turn watery after thawing, and the pastry loses its crisp layers.
- Reheating: Warm in a 325°F oven for 8 to 10 minutes. Skip the microwave; it makes the pastry chewy and the filling loose instead of crisping the edges back up.
Answers To The Questions Worth Asking
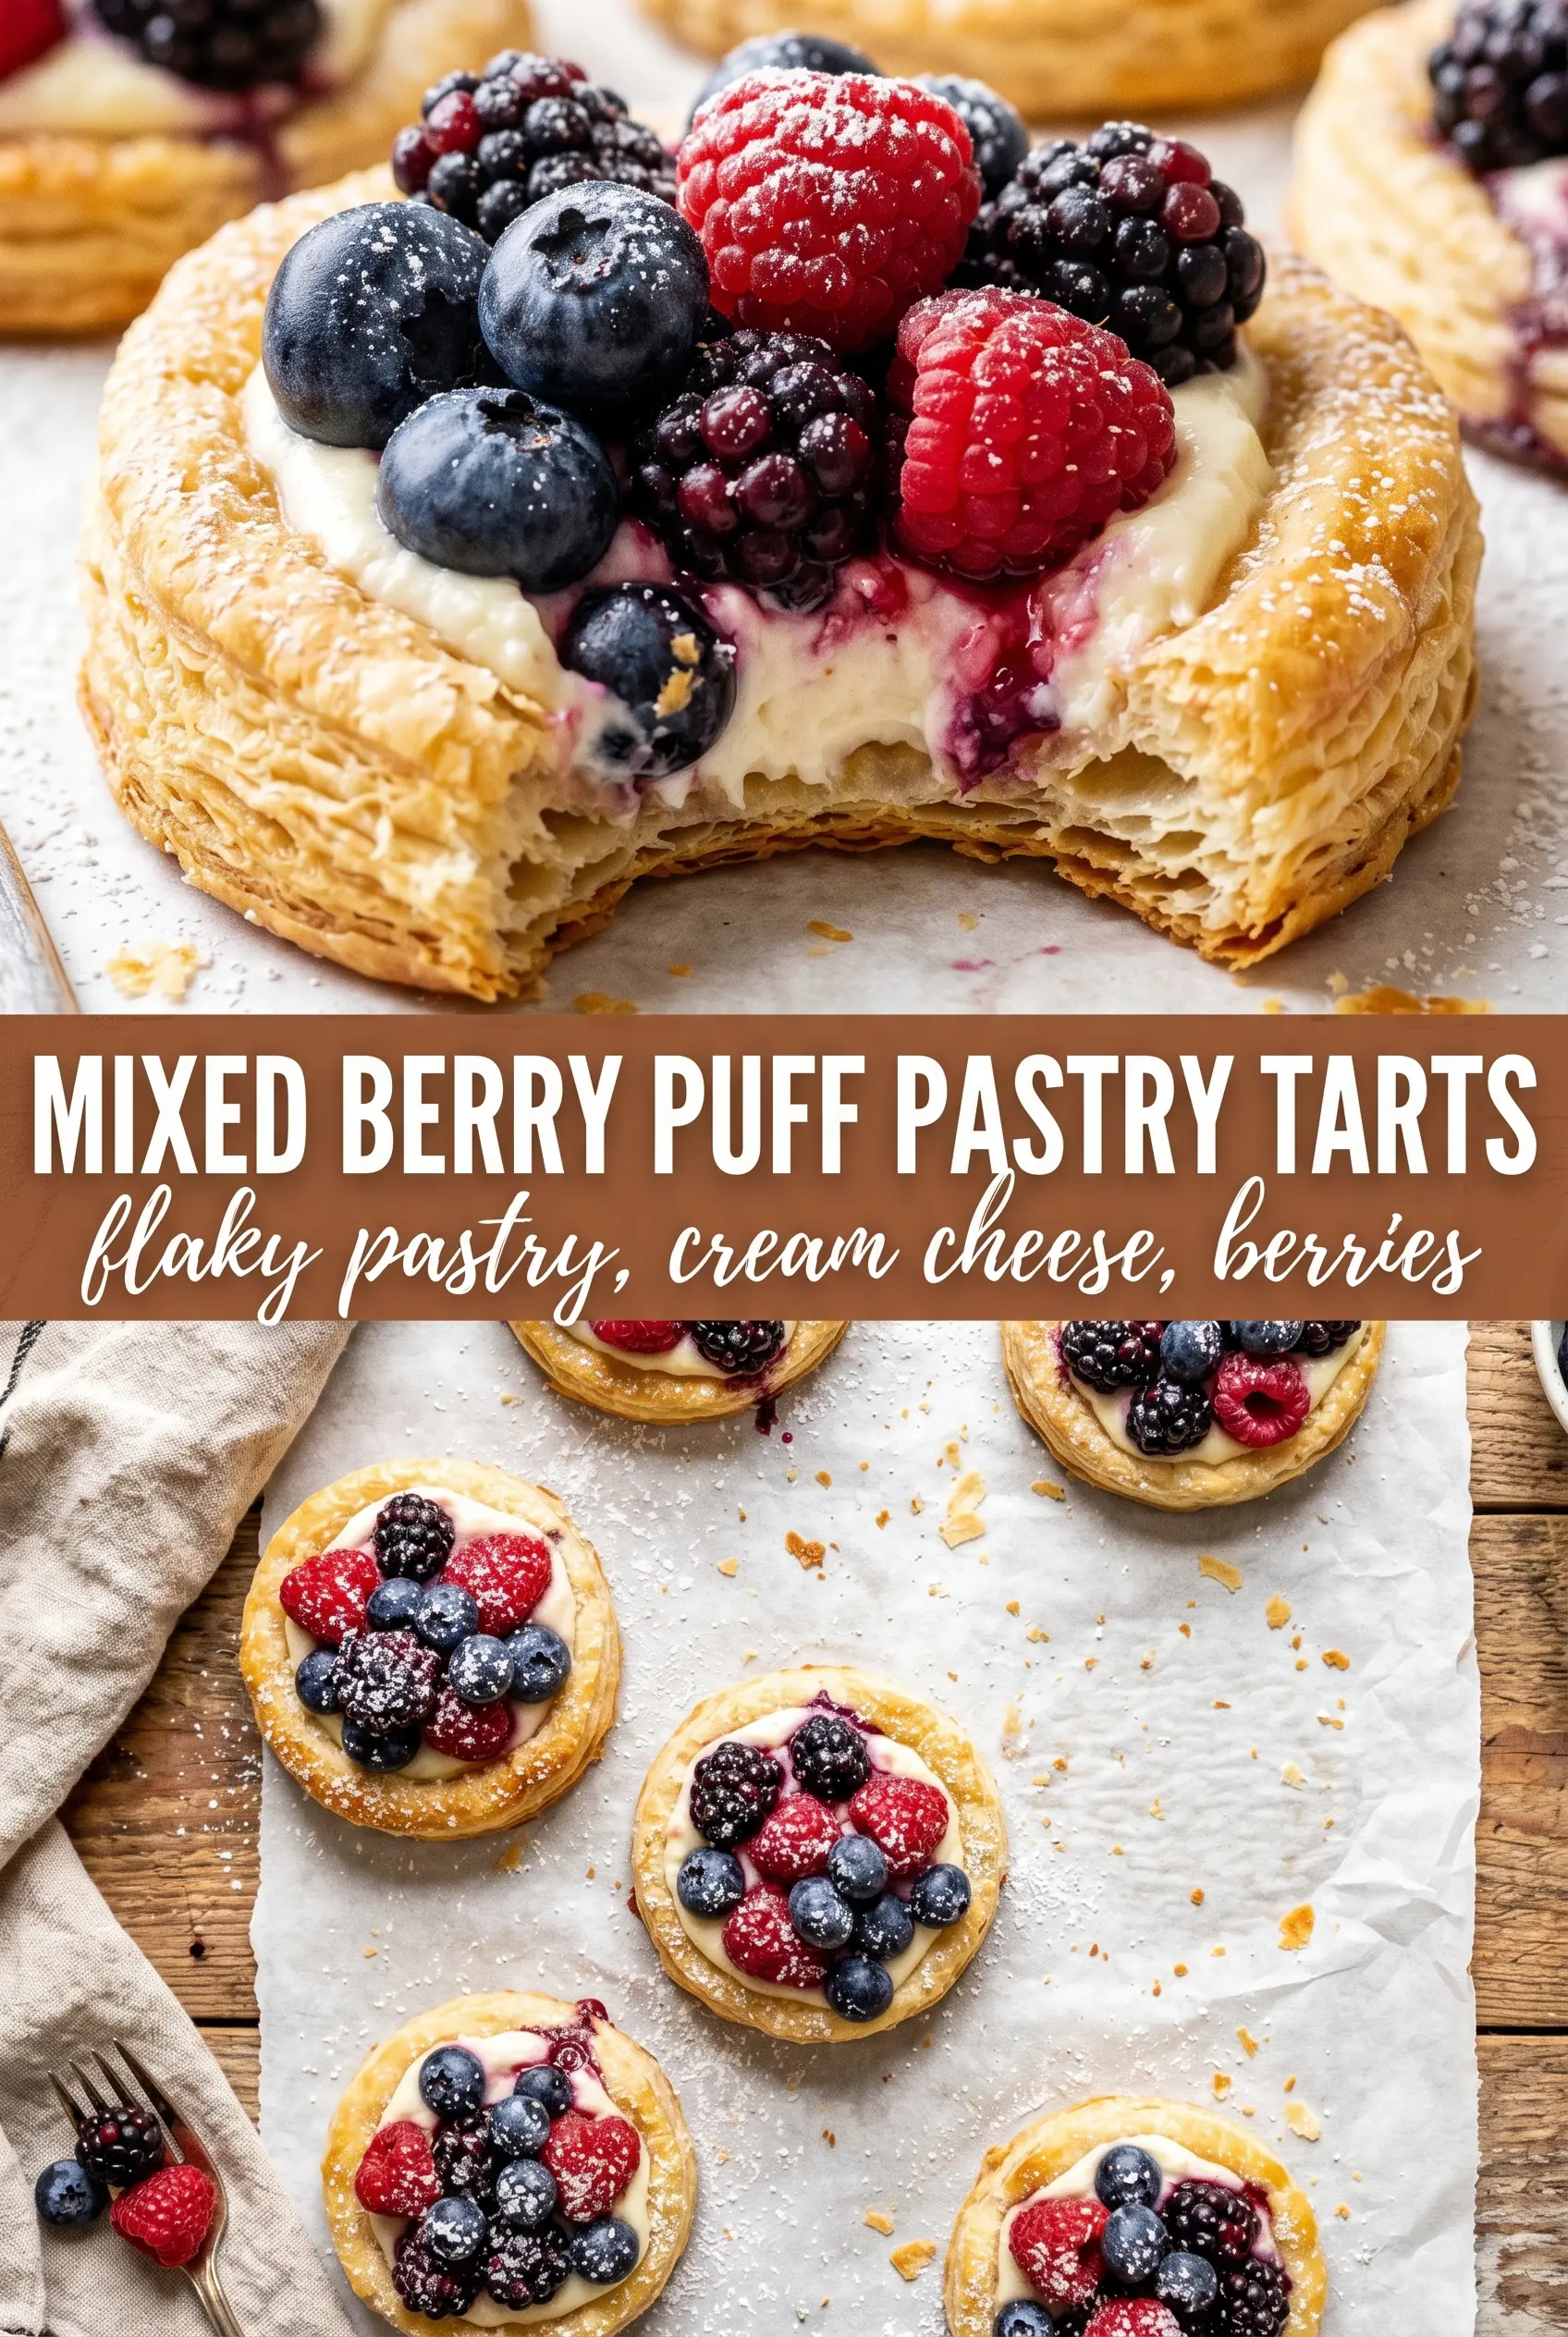
Mixed Berry Puff Pastry Tarts
Ingredients
Equipment
Method
- Preheat the oven to 400°F and line a sheet pan with parchment paper. This ensures the puff pastry starts baking immediately for maximum lift.
- Unfold the puff pastry and cut it into 6 rectangles. Score a 1/2-inch border around each rectangle without cutting all the way through.
- Beat the cream cheese, powdered sugar, vanilla extract, and lemon zest until smooth. Spread the mixture within the scored border of each rectangle.
- Top the cream cheese with mixed berries. Brush the border with the egg wash so the edges turn deeply golden.
- Bake for 18-20 minutes at 400°F until the pastry is deeply golden and puffed around the edges. Look for a crisp, risen border that holds its shape above the filling.
- Brush the berries with warmed apricot jam for a glossy finish, then dust with powdered sugar and serve warm. The jam should lightly coat the berries without soaking the pastry.