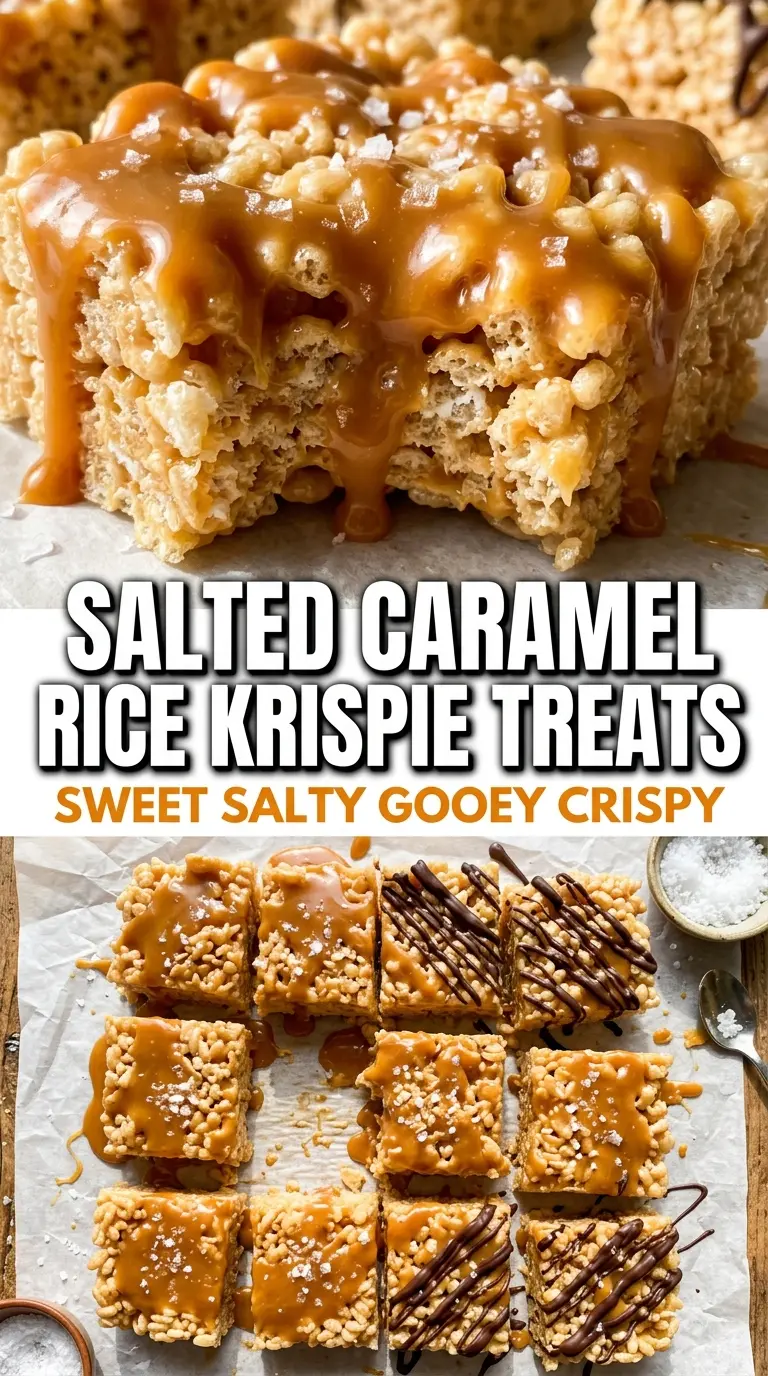
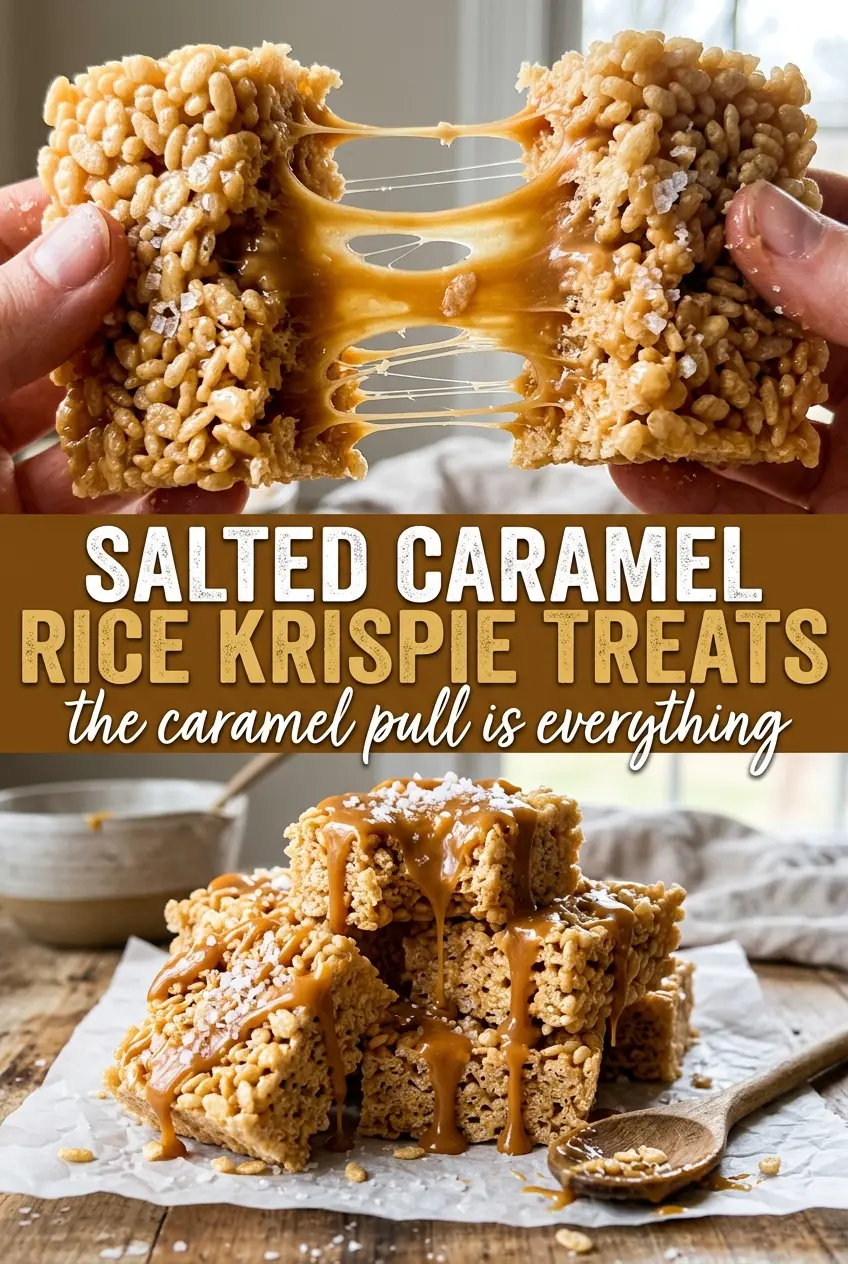
Salted caramel Rice Krispie treats hit that sweet spot between nostalgic and slightly grown-up: chewy marshmallow bars with pockets of extra melt, a buttery caramel finish, and just enough flaky salt to keep the sweetness from flattening out. They cut cleanly when they’ve had time to set, but the center still pulls apart in long, stretchy strands. That contrast is what keeps people going back for a second piece before the pan is even halfway gone.
The trick here is keeping the marshmallow base smooth before the cereal goes in, then folding fast once the Rice Krispies are added so the mixture stays light instead of turning dense and sticky. The extra cup of marshmallows isn’t decoration; it creates little soft pockets that make each bite feel more like a caramel-marshmallow bar than a standard cereal square. The drizzle and salt go on while the top is still warm, which helps both cling instead of sliding off later.
Below, you’ll find the small timing and texture details that make these bars worth repeating, plus the substitutions that still keep the chewy center intact.
The caramel stayed gooey instead of hardening, and the extra marshmallows gave them these soft pockets that made every bite better than the last. I cut them after 30 minutes and they held their shape perfectly.
Want those chewy salted caramel Rice Krispie treats with the glossy drizzle and flaky sea salt on top? Save this one for the next time you need a no-bake dessert that disappears fast.
The Small Mistake That Makes These Bars Dense Instead of Chewy
Rice Krispie treats go wrong when the marshmallow mixture gets cooked too hard or pressed too aggressively. Both problems squeeze out the air that gives these bars their soft, bendy texture. Here, the butter and marshmallows melt over medium-low heat, which keeps the base smooth without taking it past the point where it stays stretchy.
The other trap is waiting too long after the cereal goes in. Once the marshmallow mixture starts to cool, it gets harder to coat the cereal evenly and you end up with dry patches or clumps that don’t hold together well. Fold fast, then press the mixture into the pan with buttered hands just until it settles into the corners.
- Extra mini marshmallows — These are what create the gooey pockets in the finished bars. Stir them in at the end so they soften but don’t fully disappear.
- Store-bought caramel sauce — A thick, pourable caramel works better than hard caramel candies here because it blends straight into the warm marshmallow base. If yours is very thin, use a little less so the mixture doesn’t turn loose.
- Flaky sea salt — This is the finishing move. Fine salt disappears into the bars, but flaky salt stays on top and gives you those little bursts of contrast against the caramel.
- Butter — It coats the pot and helps keep the marshmallows from sticking and scorching. Salted or unsalted both work; just keep the added salt in the recipe if you use unsalted butter.
What Each Ingredient Is Doing in the Pan
- Butter — It adds richness and keeps the marshmallows from grabbing the pot. If you brown it slightly, you’ll get a deeper toasty note, but don’t go so far that the milk solids turn dark.
- Mini marshmallows — Mini marshmallows melt evenly and give you a smoother base than large ones. If you only have large marshmallows, cut them up first so they melt without leaving lumps.
- Caramel sauce — This brings the signature caramel flavor without changing the texture too much. A thick sauce is best; caramel topping that’s made for ice cream generally folds in better than a runny dessert sauce.
- Vanilla and salt — Vanilla softens the caramel edges, and salt keeps the sweetness from tasting flat. That little bit of salt inside the bars matters just as much as the flaky salt on top.
- Rice Krispies cereal — This gives the bars their structure and crunch. Stale cereal won’t ruin them, but fresher cereal gives a lighter snap and keeps the bars from tasting dusty.
The Fast Fold and Gentle Press That Keep the Texture Right
Melting the Base Slowly
Set the butter over medium-low heat and let it melt before adding the marshmallows. Stir constantly until the mixture turns glossy and smooth with no hard pieces left. If the heat is too high, the marshmallows tighten up and the final bars can taste chewy in a tough way instead of soft and stretchy.
Adding the Caramel Without Seizing the Mixture
Take the pot off the heat before stirring in the caramel, vanilla, and salt. That keeps the sauce from thinning out too much or sticking in streaks on the bottom of the pot. The mixture should look uniform and shiny before the cereal goes in.
Folding in the Cereal and Extra Marshmallows
Add the Rice Krispies all at once and fold quickly with a sturdy spatula. You want every piece coated, but you don’t want to crush the cereal into crumbs. Stir in the extra cup of marshmallows at the end so they stay visible and create soft, melty pockets rather than disappearing into the base.
Pressing and Finishing
Turn the mixture into the prepared pan and press it down with buttered hands or a piece of parchment. Use enough pressure to level the surface, but stop before it gets compacted and hard. Drizzle with more caramel while the top is still warm, then finish with flaky sea salt so it sticks before the surface sets.
How to Adapt These Bars Without Losing the Chewy Center
Dairy-Free Version
Use a plant-based butter and check that your caramel sauce is dairy-free. The bars will still set, but the flavor will be a little less rich and a touch more neutral, so the flaky salt becomes even more important.
Extra Gooey, Softer Bars
Use the full extra cup of marshmallows and press the mixture very lightly into the pan. You’ll get a softer, more pull-apart texture, but the bars may need a few extra minutes to set before cutting cleanly.
Gluten-Free Swap
Use certified gluten-free crisp rice cereal. The texture stays close to the original, and the rest of the ingredients are naturally gluten-free as long as your caramel sauce is labeled safe.
Make-Ahead Storage
Store the cut bars in an airtight container at room temperature with parchment between layers. Keep them out of the fridge unless your kitchen is very warm, because refrigeration firms the marshmallow and dulls that soft, stretchy bite.
Salted Caramel Rice Krispie Treats
Ingredients
Equipment
Method
- Line a 9x13 pan with parchment paper and spray lightly with cooking spray, so the bars release cleanly after setting.
- Melt butter in a large pot over medium-low heat, then add mini marshmallows and stir constantly until fully melted and smooth, about 5–7 minutes.
- Remove from heat and stir in caramel sauce, vanilla extract, and salt until combined and glossy, about 1 minute.
- Fold in Rice Krispies cereal quickly until evenly coated and the mixture looks thick and golden, about 1–2 minutes.
- Fold in the extra mini marshmallows for gooey pockets, then mix just until distributed, about 30–45 seconds.
- Press the mixture into the prepared pan using buttered hands, pressing firmly but not too hard to keep the bars chewy.
- Drizzle generously with additional caramel sauce and immediately sprinkle with flaky sea salt so it adheres while the surface is still tacky.
- Let set for 30 minutes before cutting into 16 bars; the surface should look set and the center should stretch when pulled.