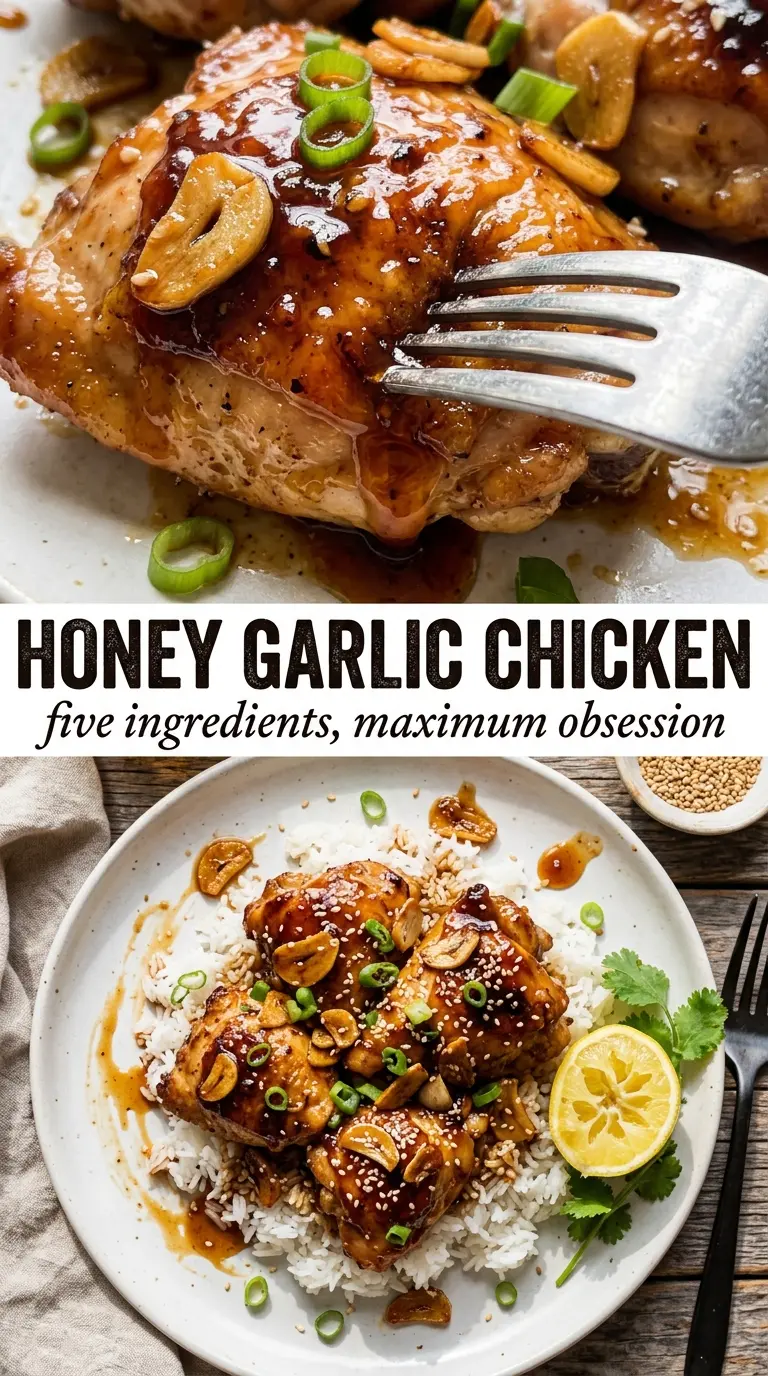
Caramelized honey garlic chicken earns its spot in the dinner rotation because the glaze turns sticky, glossy, and just a little bit blistered in the pan. The chicken stays tender underneath, but the outside picks up those deep amber edges that make every bite taste like it came straight from a good takeout order, only fresher and a lot less cloying.
The trick is keeping the sauce balanced and the heat controlled. Honey gives you shine and body, soy sauce brings salt and depth, and a small splash of rice vinegar keeps the glaze from tasting heavy. The cornstarch slurry matters too: it thickens the sauce fast enough to coat the chicken without reducing it so long that the sugars scorch.
Below, I’ll show you how to get the chicken properly browned first, how to build the glaze in the same pan, and what to watch for if your sauce starts tightening too quickly. There’s also a practical swap section for using thighs or making the dish gluten-free without losing that sticky finish.
The sauce thickened into that sticky, glossy coating right in the skillet, and the chicken stayed juicy instead of drying out. I served it over rice and my husband scraped the pan clean for the last bit of glaze.
Save this sticky honey garlic chicken for the nights when you want a glossy skillet glaze and minimal cleanup.
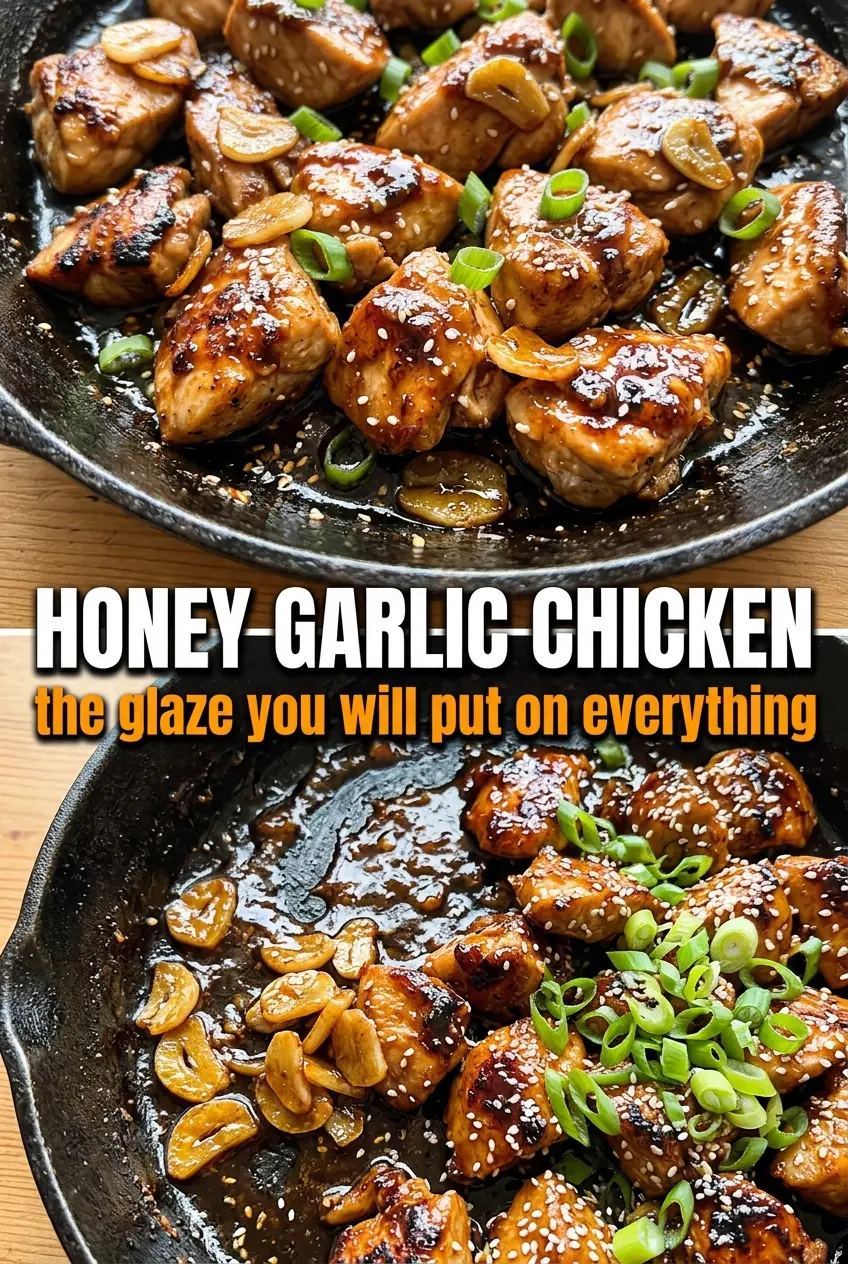
The Reason the Glaze Stays Sticky Instead of Burning
Honey garlic chicken fails when the sauce goes in too early or cooks too hard. Honey has a narrow window between glossy and scorched, which is why the chicken gets seared first and the glaze is built in the same pan after the garlic has had only a minute to bloom in butter. That short cooking time keeps the garlic sweet instead of bitter.
The cornstarch slurry is what gives the sauce that clingy, lacquered texture. Without it, the honey mixture can stay thin and slide off the chicken. The vinegar keeps the glaze from tasting one-note, and it also helps cut through the richness of the butter so the finished sauce tastes balanced instead of flat.
- Chicken breasts — Boneless, skinless breasts work because they sear cleanly and slice neatly under a sticky glaze. Pound thicker ends lightly if one side is much thicker than the other; that keeps the center from drying out before the outside browns.
- Honey — This is the body of the sauce and the ingredient that gives you that deep shine. Cheap honey works fine here because it’s being cooked with soy sauce and vinegar, not eaten raw.
- Soy sauce — It adds salt, color, and the savory base that keeps the glaze from tasting like candy. Use low-sodium if that’s what you keep around, but don’t swap in plain salt alone or you’ll lose the depth.
- Rice vinegar — You only need a small amount, but it matters. If you don’t have it, apple cider vinegar is the closest substitute; use the same amount and keep the rest of the sauce unchanged.
What Each Ingredient Is Actually Doing in This Recipe
- Primary ingredient (the star) — This carries the main flavor and defines the dish. Quality matters here.
- Base sauce or cooking medium (the carrier) — This brings all flavors together and keeps the dish from being dry.
- Aromatics (onion, garlic, ginger) — These add depth and complexity. They mellow and become sweet when cooked.
- Seasonings (salt, spices, herbs) — These define the personality and prevent the dish from tasting one-dimensional.
- Vegetables (nutrition and texture) — These add freshness and color. Cut to size so they cook evenly.
- Acid (lemon, vinegar, tomato, wine) — This brightens the dish and prevents it from tasting heavy or flat.
- Fat (oil, butter, cream) — This carries flavors and creates a satisfying mouthfeel. Don’t skip it.
- Proper technique (heat, time, temperature) — The right method turns good ingredients into great food. Follow the instructions carefully.
How to Build the Glaze in the Same Pan Without Losing the Browning
Searing the Chicken First
Season the chicken generously, then lay it into a hot skillet with the oil and leave it alone until the underside releases with a deep golden crust. If you move it too soon, it tears and leaves the browned bits behind, and those bits are part of the sauce later. The chicken should reach 165°F in the thickest part before you pull it out, but it can finish while it rests because it goes back into the glaze at the end.
Softening the Garlic in Butter
When the chicken is out, keep the pan on the heat and add the butter and garlic. Stir just until the garlic smells fragrant and looks pale gold at the edges, not brown. If it starts to darken, lower the heat immediately; burnt garlic carries bitterness straight through the glaze and there’s no fixing that later.
Thickening the Honey Sauce
Pour in the honey, soy sauce, and rice vinegar, then stir in the cornstarch slurry and let the mixture simmer until it turns syrupy and starts to bubble in slower, heavier pops. You’re looking for a sauce that coats the back of a spoon and leaves a clear trail when you drag a spatula through the pan. If it gets too thick, splash in a teaspoon of water; if it stays thin, give it another minute before you decide it needs more heat.
Coating the Chicken at the End
Return the chicken to the pan and turn it in the glaze until every surface looks lacquered. Keep it on the heat for just a minute or two so the sauce clings and the chicken warms through without overcooking. Finish with sesame seeds and green onions right before serving so the garnish stays bright and the sesame keeps a little crunch.
What to Change When You Want a Different Finish
Use Chicken Thighs for a Juicier Result
Boneless thighs work well here and give you a little more forgiveness if your skillet runs hot. They need a few extra minutes to cook through, but they stay succulent under the glaze and bring a richer flavor than breasts.
Make It Gluten-Free Without Losing the Shine
Swap the soy sauce for tamari or coconut aminos and keep everything else the same. Tamari gives the closest match in color and saltiness; coconut aminos are a little sweeter, so the sauce will taste softer and less sharp.
Cut the Sweetness Back Slightly
If you like a less sweet glaze, reduce the honey by 1 to 2 tablespoons and add a touch more vinegar. The sauce will still cling, but it’ll land more on the savory side and won’t pool as heavily on the plate.
Storage and Reheating
- Refrigerator: Store leftovers in an airtight container for up to 4 days. The glaze will thicken as it chills, and the chicken may lose a little of its fresh sear.
- Freezer: This freezes well for up to 2 months, though the sauce may loosen slightly after thawing. Freeze in portions with rice if you want an easy reheat meal.
- Reheating: Warm gently in a skillet over low heat with a splash of water to loosen the glaze. The biggest mistake is blasting it in the microwave or over high heat, which tightens the chicken and turns the sauce sticky in the wrong way.
Questions I Get Asked About This Recipe
Honey Garlic Chicken
Ingredients
Equipment
Method
- Pat the boneless skinless chicken breasts dry, then season both sides with salt, pepper, and garlic powder to taste. Heat olive oil in a large skillet over medium-high heat until shimmering.
- Add the chicken and sear for 5-6 minutes per side until deep golden and the internal temperature reaches 165°F. Transfer to a plate and keep warm.
- In the same pan, reduce heat to medium and cook the minced garlic in butter for 1 minute until fragrant. Stir constantly so the garlic doesn’t brown too quickly.
- Add honey, soy sauce, and rice vinegar, stirring to combine and loosen the browned bits in the pan. Bring the mixture to a gentle simmer.
- Stir in the cornstarch slurry and simmer for 2-3 minutes until the sauce thickens into a sticky glaze with a glossy sheen. The glaze should look amber and cling to the spoon.
- Return the chicken to the pan and turn to coat in the honey garlic glaze. Cook for 1-2 more minutes so the glaze blisters lightly and pools at the edges.
- Turn off the heat and garnish with sesame seeds and sliced green onions. Spoon extra sauce over the chicken before serving.


