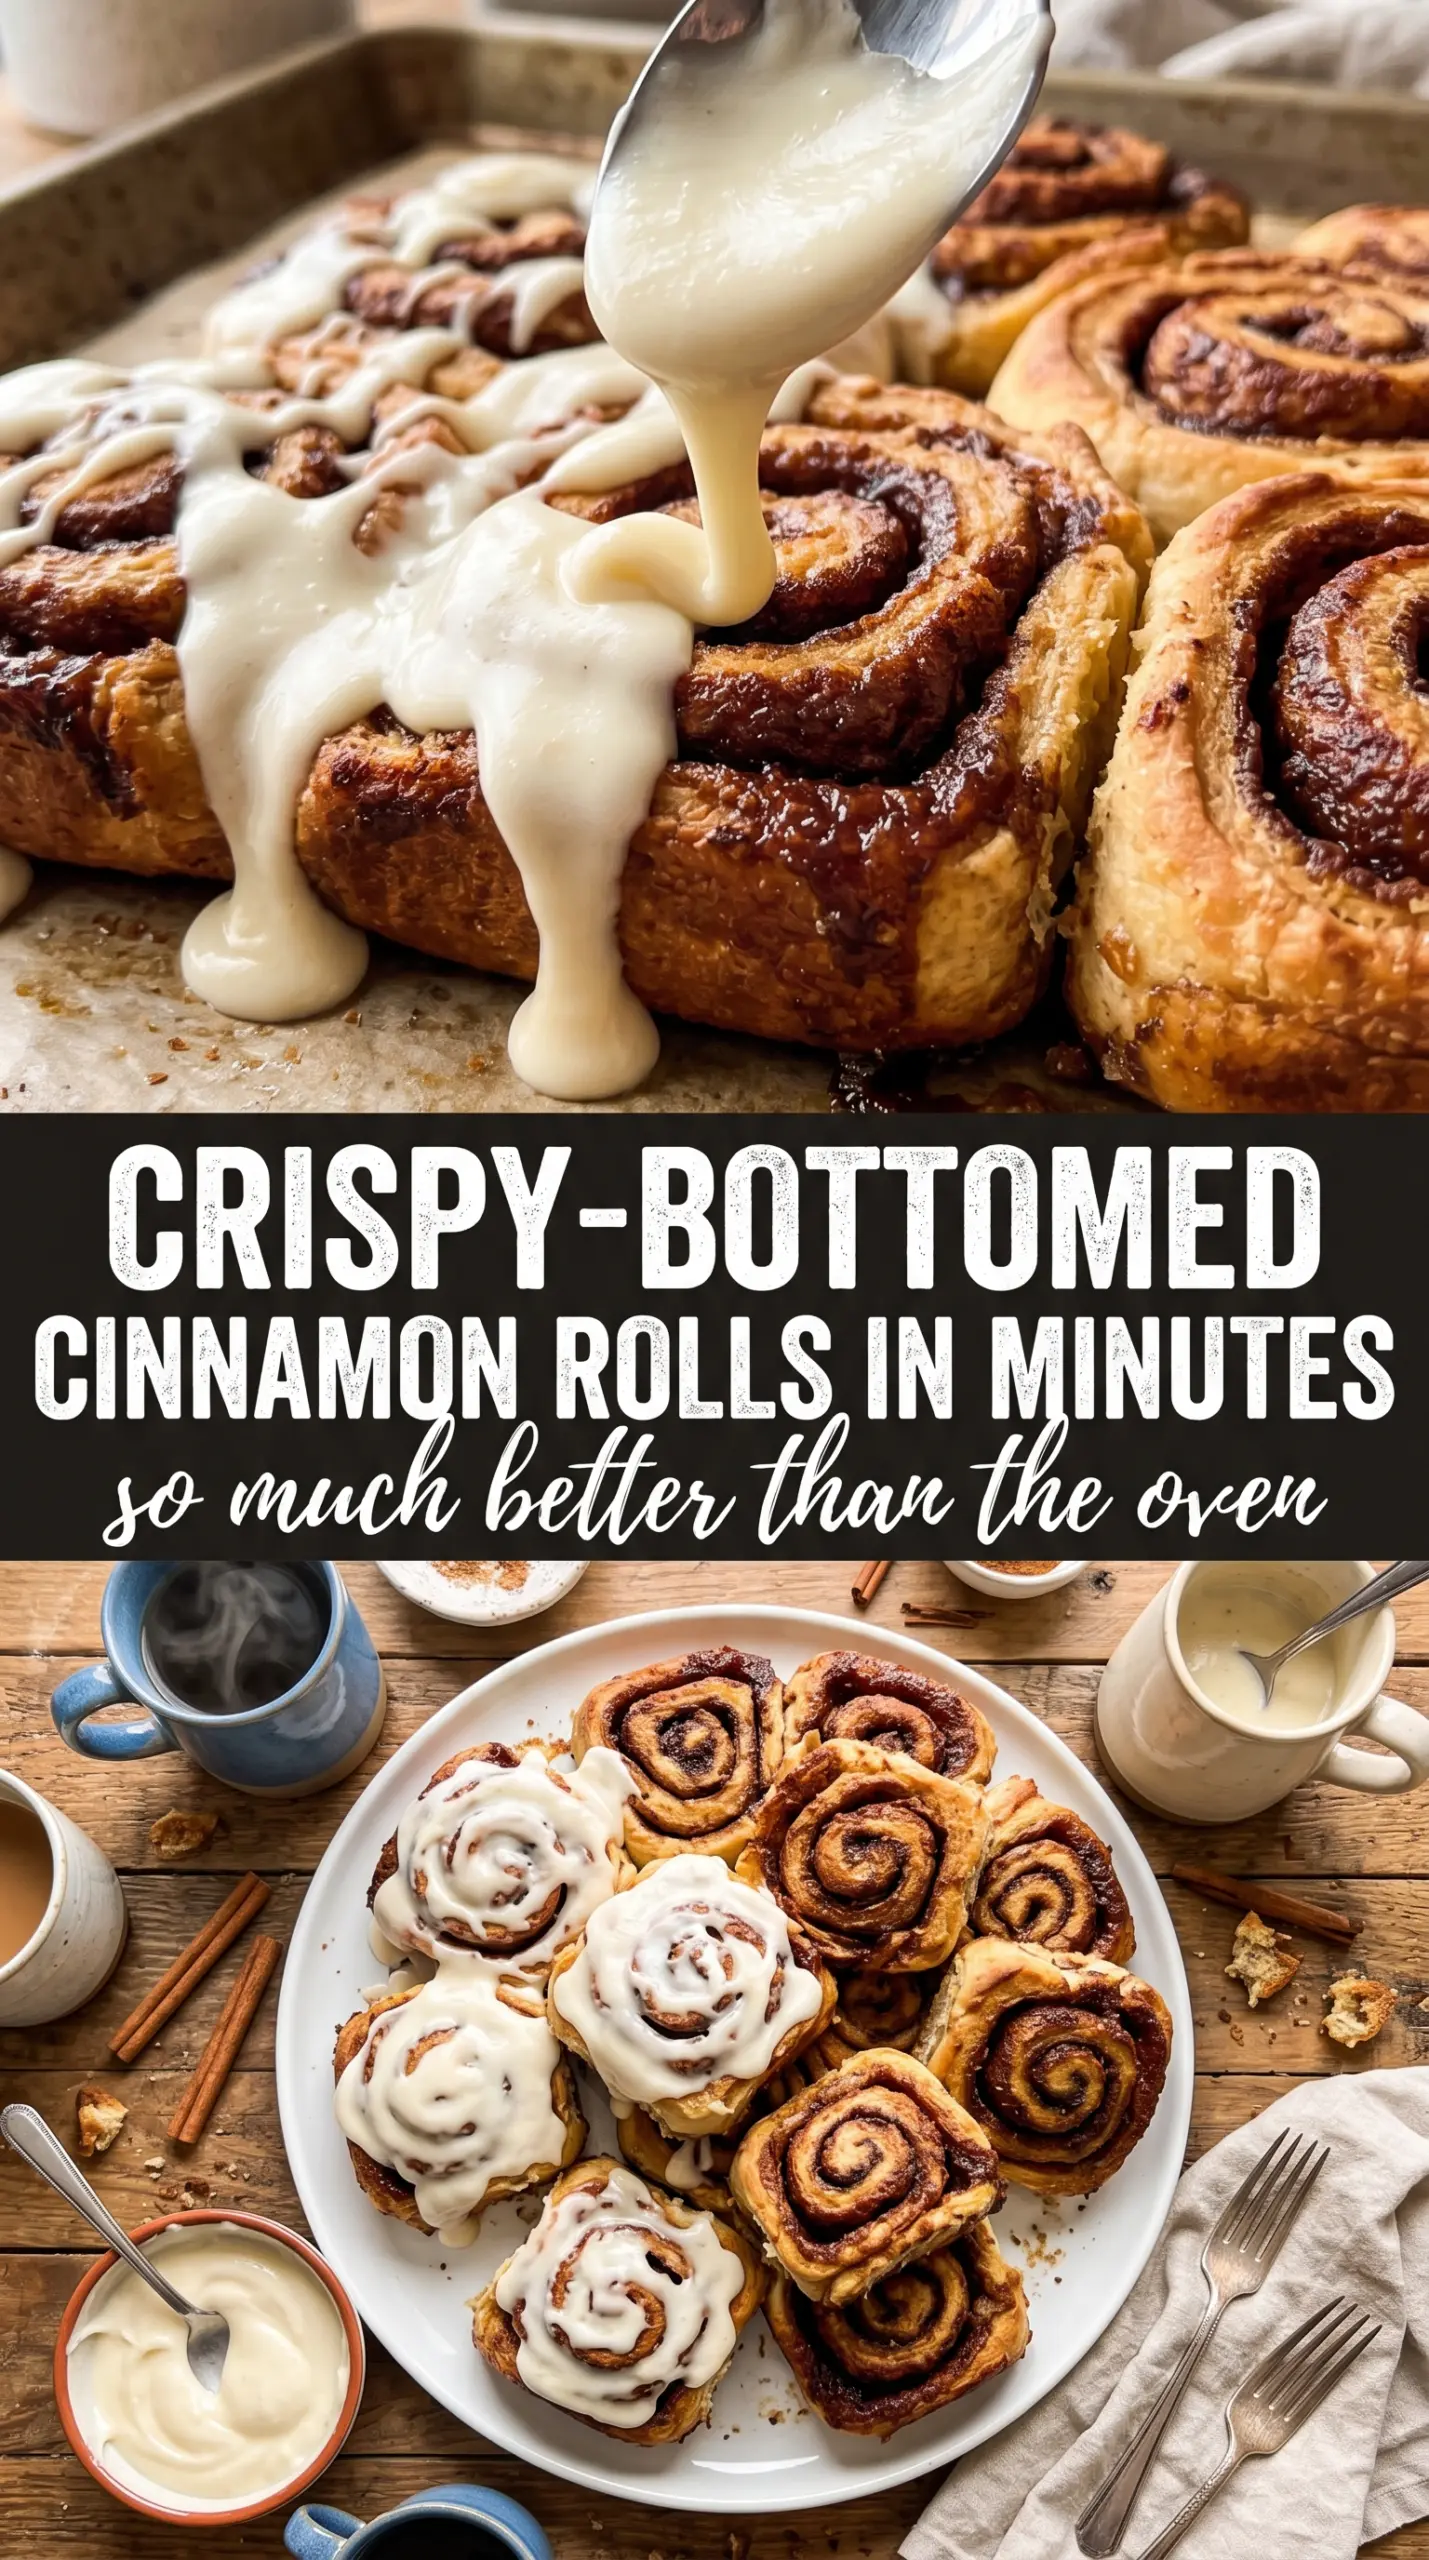
Flattened cinnamon rolls on a hot Blackstone come off with crisp, caramelized edges, a soft middle, and that glossy icing melting into every ridge. The smash changes the whole texture of the canned rolls. Instead of puffing into the usual spiral, they cook like a griddled pastry with more surface area for butter, more browning, and more of that sticky-sweet bite people fight over first.
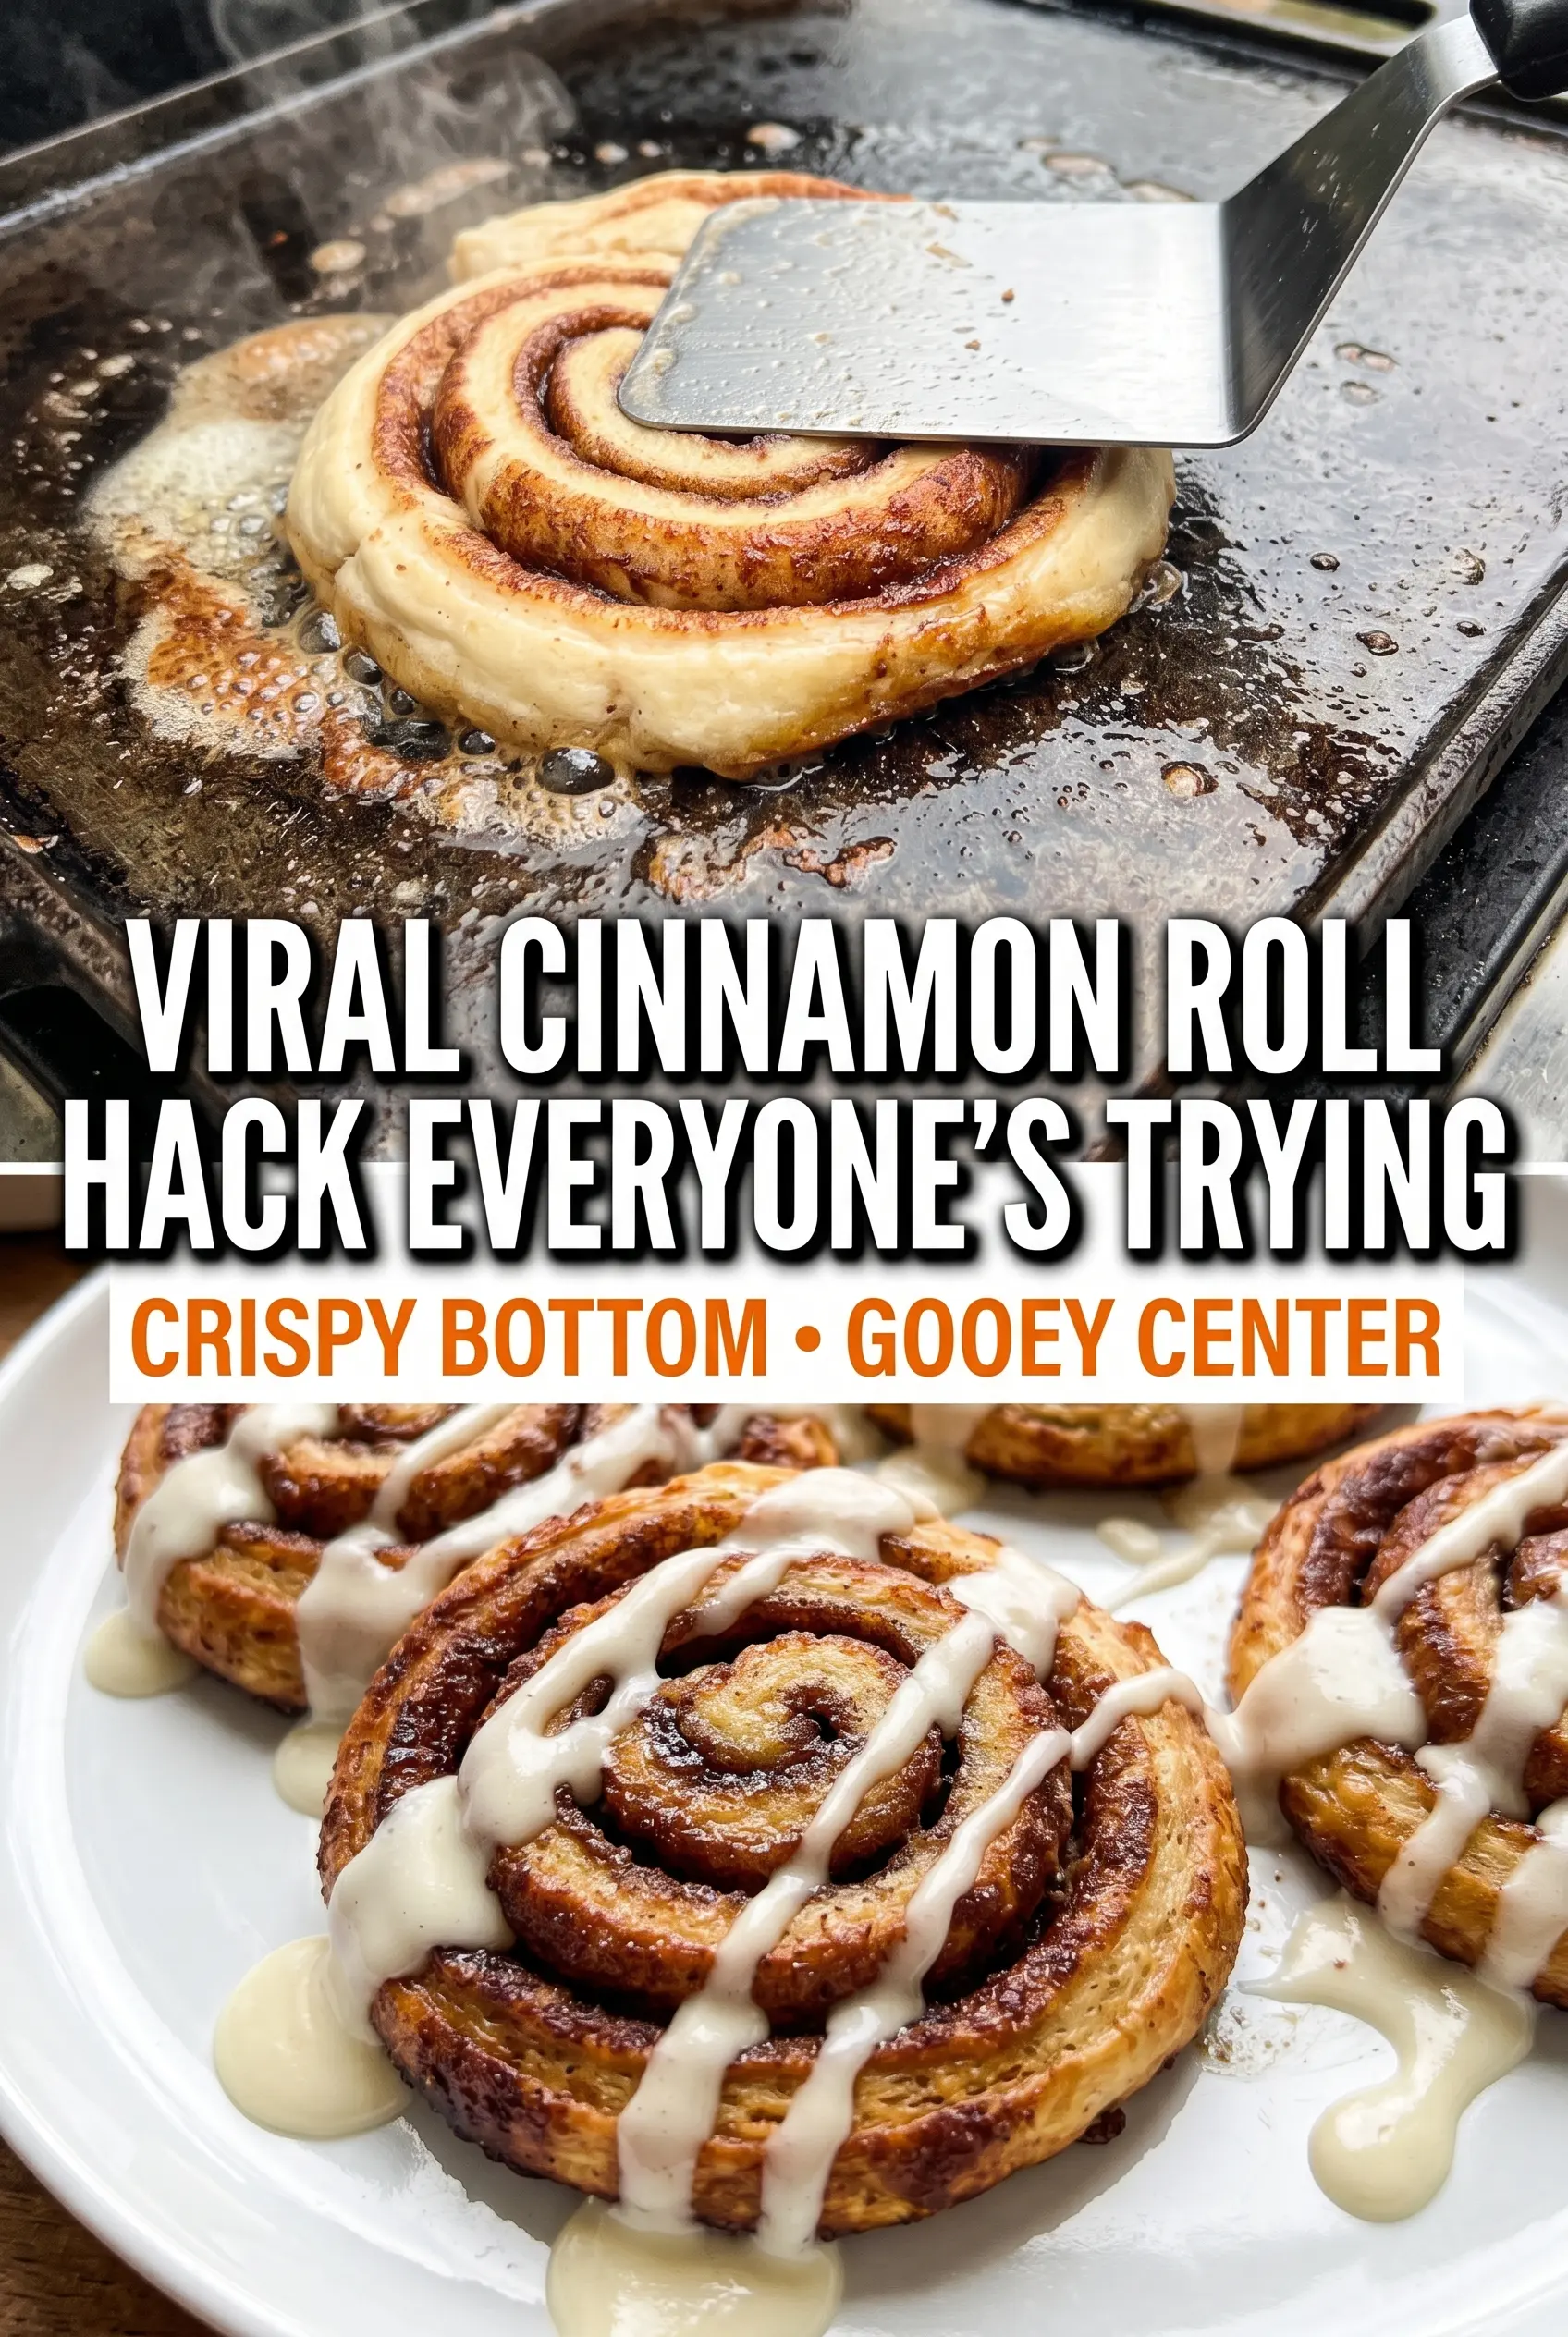
The key is keeping the griddle at medium-low. Too hot, and the outside darkens before the center has time to cook through. The butter matters here too because it helps the rolls release cleanly while building that fried, almost toasty crust on the pan. A heavy spatula gives you the pressure you need, and the quick flip keeps both sides crisp without drying out the middle.
Below, I’ve included the timing cues that matter most, plus the small finishing touches that make these taste like a diner treat instead of a shortcut. If you’ve only ever baked cinnamon rolls in the oven, this griddle version is worth keeping in your back pocket.
The centers stayed soft while the outside turned crisp and buttery, and the cream cheese icing melted right into the grooves. My husband said they tasted like a fair breakfast, only faster.
Love the smashed, caramelized edges and icing-dripping center? Save these Blackstone cinnamon rolls for the morning you want bakery-style breakfast with almost no effort.
The Part That Stops Them From Burning Before They Set
Blackstone cinnamon rolls go wrong when the griddle is too hot or the rolls get smashed and left alone. The outside caramelizes fast because the dough is already sweet, and once the sugar hits high heat, it can turn dark before the center finishes cooking. Medium-low gives you control. You want a steady sizzle, not aggressive browning.
The other piece that matters is the smash itself. Pressing them flat increases contact with the griddle, which is what gives you those crisp edges, but that same pressure also makes the dough cook thinner and faster. Use a firm press once, then leave them be long enough to form a crust before flipping. If you keep nudging them, they lose that clean browned surface.
- Butter first — it keeps the rolls from sticking and adds the fried, toasted flavor that makes these taste special.
- Medium-low heat — the safest setting for getting the center cooked without scorching the sugar.
- One solid smash — enough to flatten the roll, not so much that the dough tears apart.
- Quick flip — once the first side is golden, turn them so both sides get that crisp edge.
What the Canned Dough Is Doing for You Here
- Refrigerated cinnamon rolls — the shortcut is the whole point. The dough is already portioned, proofed, and lightly sweetened, so it can focus on browning instead of rising. Any standard tube roll works here.
- Butter — use real butter, not a spread. It browns more cleanly and gives the rolls that rich edge you can taste under the icing. If you’re out, a neutral oil will keep them from sticking, but you’ll lose a lot of flavor.
- Included icing — the packet gives you the classic finish and melts nicely over the hot rolls. If you want a thicker, tangier topping, add cream cheese icing after the rolls come off the griddle so it softens without sliding off completely.
- Cinnamon sugar — this is optional, but it adds a little crunch and boosts the spice note. Sprinkle it while the rolls are still warm so it clings to the butter and icing.
Smashing, Flipping, and Finishing on the Griddle
Heating the Surface
Set the Blackstone to medium-low and let it heat evenly before the butter goes down. The butter should melt and shimmer, not smoke. If it sizzles violently the second it hits the griddle, the surface is too hot and the sugar in the rolls will brown too fast.
Pressing the Rolls Flat
Place the rolls in the butter and use a heavy spatula to smash each one into a flatter round. Press firmly once so the dough makes full contact with the hot surface. If the edges crack a little, that’s fine; those broken spots become the crispiest parts. What you don’t want is repeated pressing, which can squeeze out too much of the structure and leave the center dense.
Building the First Crust
Cook the first side for 4 to 5 minutes until the bottom is deep golden and caramelized. Peek underneath with a spatula, but don’t move them around the whole time. The rolls need stillness to brown properly. If they’re sticking, give them another minute; they usually release once the crust forms.
Finishing the Second Side
Flip the rolls and cook 3 to 4 minutes more until both sides are crisp and the centers feel set when pressed lightly. You’re looking for a tender middle, not a dry one, so pull them off as soon as they feel springy and the edges have color. Drizzle the icing over them immediately while they’re hot enough to melt it into every crack.
The Final Sweet Touch
Finish with cinnamon sugar while the rolls are still warm and glossy. That little shower of sugar sticks best right after the icing goes on. Serve them right away, because the texture is at its best when the crust is crisp and the middle is still soft and warm.
Three Ways to Adjust These Without Losing the Good Part
Cream Cheese Icing Upgrade
Use the packet icing for a classic finish, or whisk in extra cream cheese icing for a thicker, tangier topping. Add it after the rolls come off the griddle so it softens from the heat without thinning out too much. This version tastes closer to a bakery roll and balances the sweetness better.
Gluten-Free Version
Use gluten-free refrigerated cinnamon rolls if you can find them, but keep the heat gentle because gluten-free doughs tend to brown faster on the outside. They can be a little more fragile when smashed, so press once and stop. The texture will still be crisp on the outside, but the center may stay a touch more tender.
Extra Crisp Edges
If you want more crunch, leave the rolls on the first side for the full 5 minutes and don’t crowd the griddle. Space lets steam escape, and steam is what softens the crust. You’ll get a deeper caramel edge and a slightly less pillowy center.
Storage and Reheating
- Refrigerator: Store leftovers in an airtight container for up to 2 days. The crust softens as they sit, but the flavor stays good.
- Freezer: Freeze only if you need to; the texture gets softer after thawing. Wrap tightly and freeze for up to 1 month, then thaw in the fridge before reheating.
- Reheating: Warm them in a skillet over low heat or in a 300°F oven until just heated through. The mistake is blasting them in the microwave, which turns the crisp edges rubbery fast.
Answers to the Questions Worth Asking
Smashed Blackstone Cinnamon Rolls
Ingredients
Equipment
Method
- Heat Blackstone griddle to medium-low heat and add butter.
- Place cinnamon rolls on the griddle and use a heavy spatula to smash them flat.
- Cook for 4-5 minutes until the bottom is golden and caramelized, keeping the heat at medium-low and watching the edges turn amber.
- Flip the rolls and cook another 3-4 minutes until both sides are crispy and set.
- Remove the rolls from the griddle and immediately drizzle with the included icing or additional cream cheese icing so it melts and pools.
- Sprinkle with cinnamon sugar and serve warm for a crisp, sweet finish.


