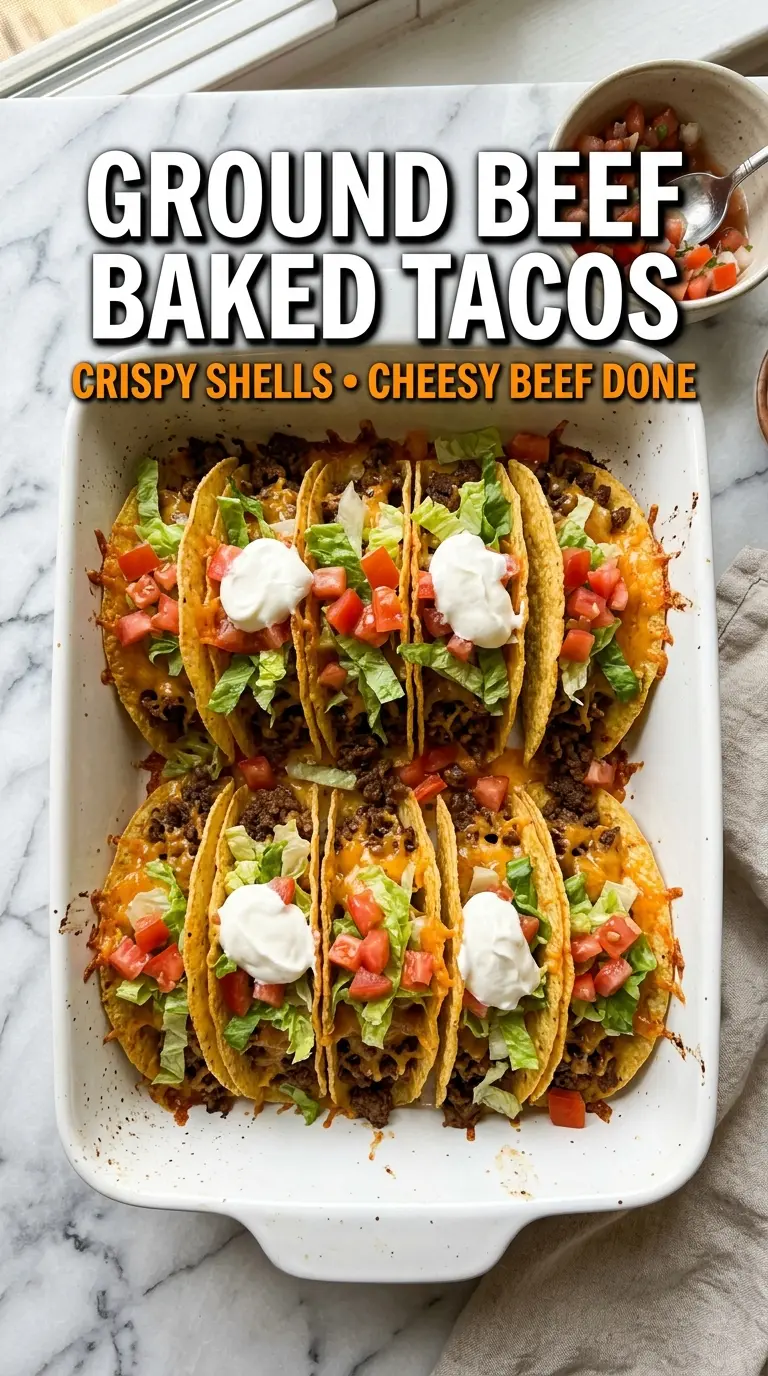
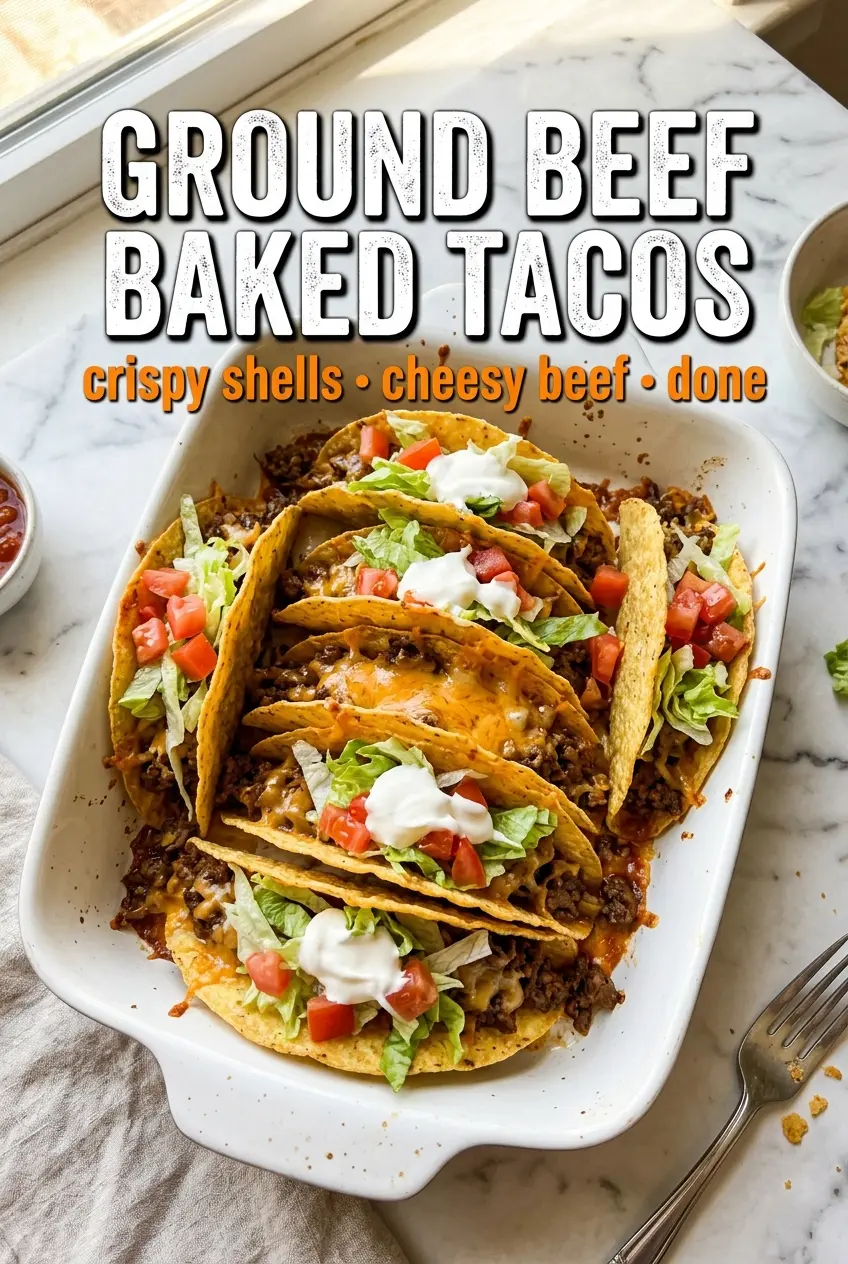
Ground beef baked tacos hit that sweet spot between crispy and comforting: crunchy shells, savory seasoned beef, and melted cheese that holds everything together just long enough for the first bite. Baking the filled tacos instead of serving them straight from the skillet gives the shells a toasty edge and makes the whole pan feel a little more pulled together, even on a busy night.
The trick is keeping the filling on the thick side so it doesn’t soak the shells before they hit the oven. A quick simmer after adding the taco seasoning helps the beef pick up flavor and keeps the mixture cohesive, while the cheese acts like a light blanket over the top, not a greasy layer sliding off the sides. That balance is what keeps these tacos crisp instead of soft.
Below, you’ll find the little details that matter most: how to keep hard shells upright in the baking dish, what to do if your beef mixture looks too wet, and a few simple variations if you want to change up the toppings or stretch the filling a little further.
The beef stayed nice and juicy, and the shells actually stayed crisp in the oven instead of turning chewy. I loved that the cheese melted over the top before the lettuce and tomato went on.
Crispy baked ground beef tacos deserve a spot in your dinner rotation when you want crunchy shells, melty cheese, and almost no cleanup.
The Part That Keeps the Shells Crisp After Baking
Most baked tacos go soft for one simple reason: the filling is too wet or too hot when it hits the shell. A loose, saucy beef mixture steams the taco shells from the inside, and once that happens, the crunch is gone before dinner even starts. The fix is to simmer the seasoned beef just long enough for the liquid to reduce and cling to the meat instead of pooling in the pan.
Standing the shells upright matters too. When they’re packed snugly in a baking dish, they hold their shape and keep the filling where it belongs. If a shell cracks a little as you press it in, it’s still usable as long as it’s supported on both sides. The goal is a shell that feels dry and sturdy going into the oven, not one that’s already bending under the weight of the filling.
What the Beef, Cheese, and Shells Are Each Doing Here
- Ground beef — Use an 80/20 blend if you can. It has enough fat for flavor, but draining the excess after browning keeps the tacos from turning greasy. Leaner beef works too, though you may want to add a splash more water with the seasoning so the filling doesn’t taste flat.
- Taco seasoning — This does the heavy lifting for flavor in a very short cook. Store-bought seasoning is fine, but if yours tastes salty, start with a slightly lighter hand and let the cheese and toppings finish the job. A homemade blend works the same way as long as it includes chili powder, cumin, garlic, and salt.
- Hard taco shells — The shell is the whole point here, so use a sturdy brand that can stand upright without collapsing. Softer shells won’t give you the same crisp finish after baking, and they tend to bend before the filling is hot. If a shell breaks, tuck it into the middle of the pan where it’s better supported.
- Cheddar cheese — Sharp cheddar melts well and gives these tacos a stronger bite than mild cheese. Pre-shredded cheese is convenient, though freshly shredded melts a little smoother because it doesn’t carry the anti-caking coating. Either way, spread it over the beef in a light layer so it melts into the filling instead of sealing the top in a thick blanket.
- Tomatoes, lettuce, sour cream, and jalapeño — These belong on after baking, not before. Fresh toppings add contrast, but they’ll water down the shells if they go in too early. If you want a milder finish, skip the jalapeño or use just a few slices on a single taco for heat control.
Building the Filling So It Stays Rich, Not Watery
Browning the Beef
Cook the ground beef over medium-high heat until it’s no longer pink and you see some deeper browned bits on the bottom of the skillet. Those browned bits are where the flavor lives, so don’t rush past them. If a lot of fat collects in the pan, drain it off before adding the seasoning. Leaving too much fat behind makes the filling slick and can soften the shells from the bottom.
Reducing the Seasoned Mixture
Stir in the taco seasoning and water, then let the mixture simmer for 2 to 3 minutes until the liquid thickens and coats the meat. You’re looking for a spoonable filling, not a broth. If there’s still a puddle in the pan, keep it on the heat a little longer. That extra minute is what keeps the tacos from going soggy during baking.
Filling and Baking the Shells
Set the shells upright in a baking dish and divide the beef evenly among them. Add the cheese on top, not underneath, so it melts into the beef and helps hold the filling in place. Bake just until the cheese is melted and the shells smell toasty, usually 10 to 12 minutes. If they stay in too long, the shells can get hard instead of crisp, and the cheese can turn oily.
Finishing With Fresh Toppings
Add the tomatoes, lettuce, sour cream, and jalapeño after the tacos come out of the oven. That keeps the vegetables bright and the sour cream cool and clean against the hot filling. Salsa goes on the side so each person can decide how much moisture they want on top. Once the tacos are topped, serve them right away for the best crunch.
Ways to Adjust These Tacos Without Losing the Crunch
Make Them Spicier
Add extra diced jalapeño inside the taco after baking, or stir a little hot sauce into the beef when you add the seasoning. That gives you heat without watering down the shells. If you want stronger spice, use pepper jack in place of part of the cheddar.
Make Them Lower-Carb
Serve the seasoned beef in lettuce cups or over chopped romaine instead of using hard shells. You’ll lose the classic baked taco crunch, but the filling and toppings still work together cleanly. If you want a closer match, bake the beef and cheese in small ramekins and top with lettuce after.
Make Them Dairy-Free
Skip the cheese and finish the tacos with avocado or a dairy-free crema after baking. The shells will still crisp, but you’ll want to serve them fast so the filling stays hot and doesn’t soften the shell while sitting. A little extra salsa helps replace the richness that cheese would normally add.
Storage and Reheating
- Refrigerator: Store the beef filling separately for up to 4 days. Assembled tacos won’t stay crisp, so keep the shells and toppings apart if you want leftovers to taste good.
- Freezer: The beef filling freezes well for up to 2 months. Cool it completely first, then pack it airtight. Don’t freeze assembled tacos; the shells and fresh toppings don’t recover well.
- Reheating: Reheat the beef in a skillet or the microwave until hot, then fill fresh shells and bake briefly if you want the crisp finish back. If you reheat already assembled tacos, the shells will soften instead of turning crunchy again.
Answers to the Questions Worth Asking
Ground Beef Baked Tacos
Ingredients
Equipment
Method
- Preheat the oven to 350°F. Place a skillet over medium-high heat and start browning the ground beef.
- Brown the ground beef in the skillet, breaking it into crumbles as it cooks. Cook until no longer pink, then drain excess fat.
- Add taco seasoning and water to the beef, stirring to combine. Simmer for 2-3 minutes until the mixture thickens and looks evenly coated.
- Arrange the hard taco shells in a baking dish, standing them upright. Divide the seasoned ground beef among the shells so each shell has a mound.
- Sprinkle shredded cheddar cheese over each taco. Bake for 10-12 minutes at 350°F until the shells are crispy and the cheese is melted and lightly bubbling.
- Top each taco with diced tomatoes, shredded lettuce, and a dollop of sour cream. Add diced jalapeño on top and serve immediately.
- Serve with salsa for serving on the side. Drizzle or spoon as desired.