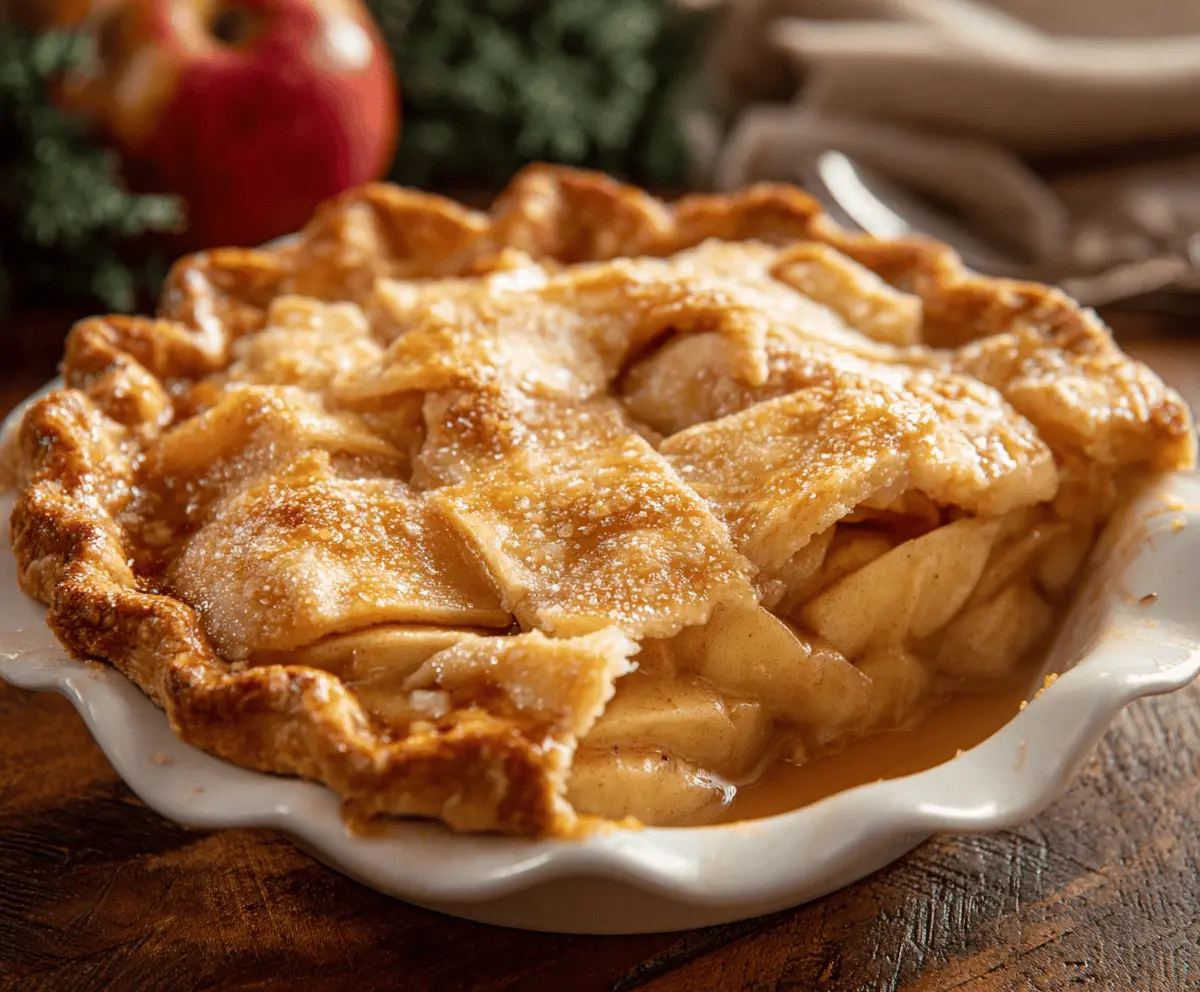
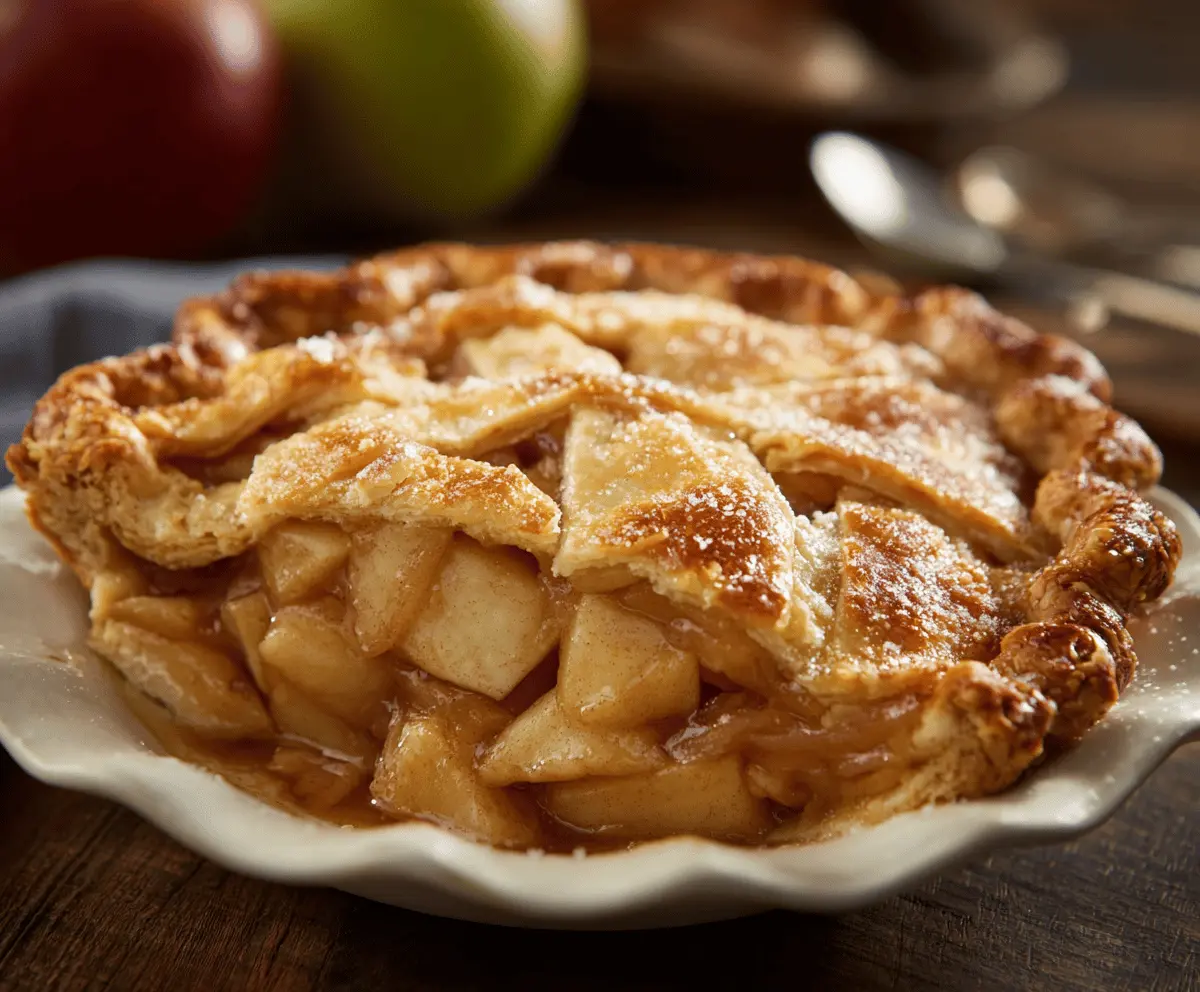
This Maple Apple Pie is a warm and cozy treat, mixing sweet apples with rich maple syrup. It’s wrapped in a flaky crust that makes every bite just delightful!
When I bake this pie, the sweet smell fills my kitchen, and I might sneak a piece even before it cools down. Who can resist a good pie, right? 😄
I love to serve it with a scoop of vanilla ice cream on the side. It adds a creamy touch that pairs perfectly with the pie’s sweetness. Yum!
Key Ingredients & Substitutions
Apples: I love using a mix of Granny Smith and Honeycrisp apples. The tartness of Granny Smith balances the sweetness perfectly. If you can’t find those, try other tart apples like Jonagold or Braeburn.
Maple Syrup: Pure maple syrup gives this pie its signature flavor. If you need a substitute, think about using agave syrup or honey. But remember, the taste will slightly change.
Sugar: This recipe uses both granulated and brown sugar to enhance sweetness. For a healthier option, consider coconut sugar or honey for a more natural sweetness.
Pie Crust: I often use store-bought pie crusts for convenience. If you’re up for it, homemade crust made with butter creates a richer taste. You can also use gluten-free pie crust for a gluten-free alternative.
How Do I Achieve the Perfect Pie Crust?
Getting the pie crust just right can be a bit tricky, but it’s key for a delicious pie. Here are some tips:
- Keep ingredients cold! Use ice-cold water and chilled butter to maintain flakiness.
- Don’t overwork the dough. Mix until just combined to avoid a tough crust.
- Roll out on a floured surface to prevent sticking, and dust the surface lightly as you roll.
- Chill the crust before baking. This helps it hold shape and reduces shrinkage.
Trust me, a little extra care with the crust leads to a great pie! Enjoy baking! 😊
Maple Apple Pie
Ingredients You’ll Need:
For the Filling:
- 6 to 7 medium-sized apples (such as Granny Smith, Honeycrisp, or a mix), peeled, cored, and sliced
- 3/4 cup pure maple syrup
- 1/2 cup granulated sugar
- 1/4 cup brown sugar, packed
- 2 tablespoons all-purpose flour
- 1 teaspoon ground cinnamon
- 1/4 teaspoon ground nutmeg
- 1/4 teaspoon salt
- 1 tablespoon lemon juice
- 1 teaspoon vanilla extract
- 2 tablespoons unsalted butter, cut into small pieces
For the Crust:
- 1 package (14 oz) refrigerated pie crusts or homemade pie dough for top and bottom crust
For the Egg Wash:
- 1 egg, beaten (for egg wash)
- Coarse sugar for sprinkling (optional)
How Much Time Will You Need?
This delicious Maple Apple Pie takes about 30 minutes to prepare and about 1 hour to bake, plus at least 2 hours of cooling time to help the filling set. So, all in all, you should have this pie ready for serving in about 3 hours!
Step-by-Step Instructions:
1. Preheat Your Oven:
First things first, let’s get the oven heated! Preheat your oven to 425°F (220°C) so it’s hot and ready for the pie.
2. Prepare the Apples:
In a large mixing bowl, toss the sliced apples with lemon juice and vanilla extract. This helps keep the apples from browning and adds a lovely flavor!
3. Make the Sweet Filling:
In a small bowl, whisk together the maple syrup, granulated sugar, brown sugar, flour, cinnamon, nutmeg, and salt until everything is nicely blended. This mixture will sweeten and thicken your apple filling.
4. Combine Apples and Filling:
Pour the sweet maple mixture over your apples and gently toss everything together until all the apple slices are coated. You want all those flavors to mingle!
5. Prepare the Pie Crust:
Roll out one of your pie crusts and fit it snugly into a 9-inch pie dish, trimming any excess edges as needed.
6. Fill the Pie:
Pour the apple filling into the pie crust, making sure it’s spread out evenly. Dot the filling with small pieces of butter for added richness.
7. Add the Top Crust:
Roll out the second pie crust. You can either lay it on top whole and cut slits for steam to escape or create a pretty lattice pattern by weaving strips of dough over the filling. It’s up to you!
8. Seal the Edges:
Trim the overhanging crust and crimp the edges to seal the pie. This keeps all that delicious filling locked in!
9. Brush and Sprinkle:
Brush the top crust with the beaten egg to give it that beautiful golden color when baked. If you’d like, sprinkle some coarse sugar on top for a little crunch.
10. Bake the Pie:
Now it’s time to bake! Place your pie on the middle rack of the oven and bake for 15 minutes at 425°F (220°C).
11. Lower the Temperature:
After 15 minutes, reduce the oven temperature to 350°F (175°C) and bake for another 40 to 50 minutes. Keep an eye on it; you’re looking for a golden brown crust and bubbling filling!
12. Shield Those Edges:
If the edges of your crust start to brown too quickly, cover them loosely with foil or a pie shield to prevent burning.
13. Cool Down:
Once done, take your pie out of the oven and let it cool on a wire rack for at least 2 hours. This allows the filling to set perfectly for slicing.
14. Serve and Enjoy:
Now the exciting part! Slice the pie and serve it warm or at room temperature. I highly recommend adding a scoop of vanilla ice cream or some whipped cream on the side. Enjoy every delicious bite!
This Maple Apple Pie combines the warm flavors of cinnamon-spiced apples with the rich sweetness of maple syrup, all encased in a flaky golden crust—perfect for cozy gatherings and dessert lovers alike!
Can I Use Different Apple Varieties for This Pie?
Absolutely! A mix of tart and sweet apples works best. Granny Smith for tartness and Honeycrisp for sweetness make a great combo. Feel free to experiment with other varieties like Braeburn or Fuji as well!
Can I Make this Maple Apple Pie Ahead of Time?
Yes! You can prepare the pie a day in advance and store it in the fridge unbaked. Just bake it the next day when you’re ready to serve. If it’s already baked, let it cool completely and refrigerate it, covered, for up to 3 days.
How Do I Store Leftover Pie?
Leftover pie can be covered and stored in the refrigerator for up to 3 days. For longer storage, you can freeze it for up to 2 months. Just make sure it’s wrapped tightly in plastic wrap and then aluminum foil to avoid freezer burn!
Can I Use a Gluten-Free Pie Crust?
Yes, you can definitely use a gluten-free pie crust! There are many store-bought options available, or you can make your own using gluten-free flour. Just be sure to follow the instructions on the package for the best results!