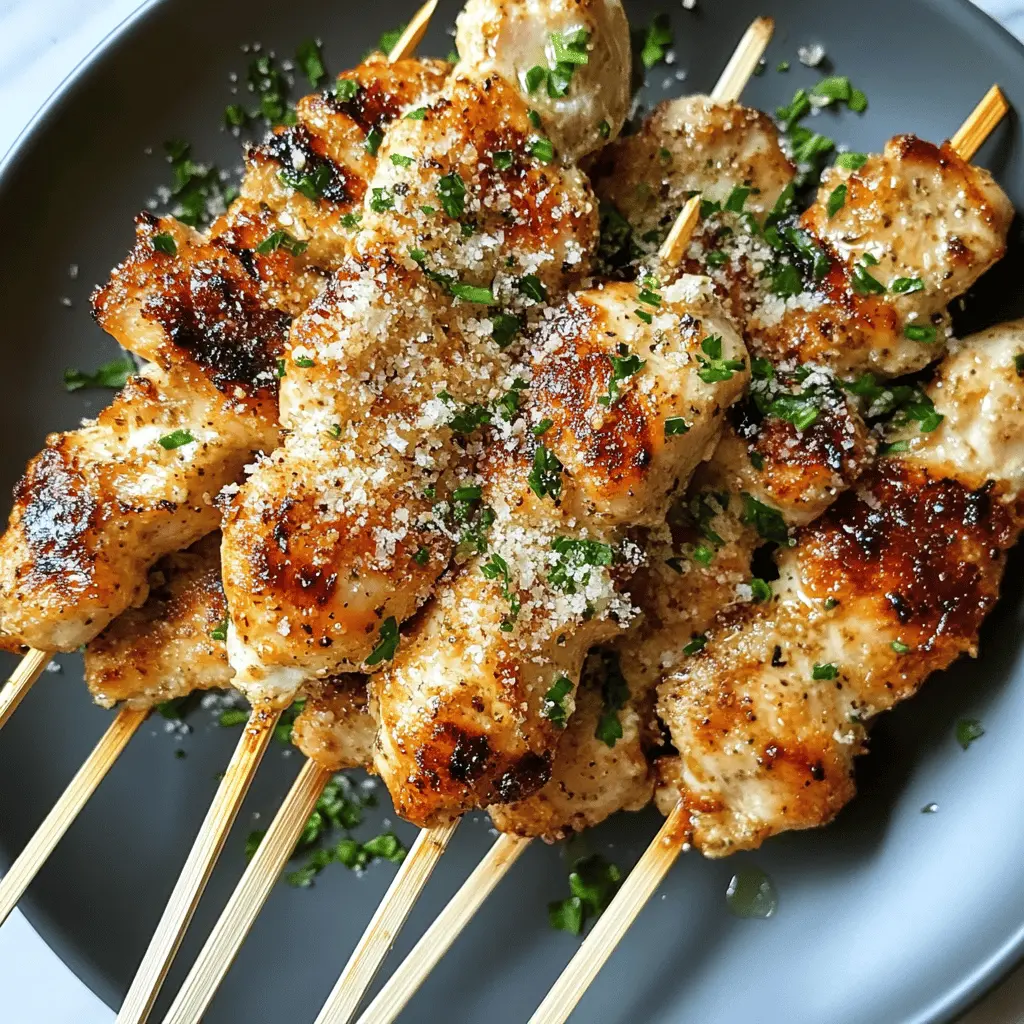
These Garlic Parmesan Chicken Skewers are a tasty treat that’s super easy to make! Juicy chicken bites are tossed in a yummy garlic and parmesan mix, making every bite delicious.
Who knew skewers could be so fun? I love them for dinner or at parties. Plus, they cook up fast, so you won’t be waiting long to enjoy them! 🍗✨
Key Ingredients & Substitutions
Chicken Breast: Use boneless, skinless chicken breast for this recipe. If you prefer dark meat, thighs work great too. For a different flavor, you can try tofu or paneer for a vegetarian option.
Parmesan Cheese: Freshly grated Parmesan gives the best flavor. If you can’t find it, Pecorino Romano is a good substitute. Nutritional yeast can be used for a dairy-free alternative.
Breadcrumbs: Panko breadcrumbs add extra crunch to the skewers. If you don’t have Panko, regular breadcrumbs work fine too. You could even crush some crackers for a unique texture.
Garlic: Fresh garlic enhances the flavor, but garlic powder can be a quick substitute if you’re in a pinch. Adjust the amount to your taste preference!
Italian Seasoning: This blend adds a great herby flavor. If you don’t have it, mix oregano, basil, and thyme in a pinch. You can also use fresh herbs if available!
How Do I Ensure My Chicken Skewers Cook Evenly?
Cooking chicken skewers evenly can be tricky, but it’s all about preparation and technique!
- Soaking the Skewers: If you’re using wooden skewers, soak them in water for at least 30 minutes before grilling to prevent burning.
- Evenly Cut Pieces: Cut chicken into uniform, bite-sized pieces, usually about 1 to 1.5 inches, to ensure they cook at the same rate.
- Spacing on Skewers: Leave some space between each chicken piece on the skewer. This allows the heat to circulate and cook everything evenly.
- Grilling Temperature: Preheat your grill to medium-high. This helps achieve a nice sear on the outside without drying out the inside.
- Watch the Cooking Time: Grill for about 5-7 minutes on each side or until the internal temperature reaches 165°F. Always check for doneness!
How to Make Garlic Parmesan Chicken Skewers
Ingredients You’ll Need:
Main Ingredients:
- 1 lb chicken breast, cut into bite-sized pieces
- 1/4 cup grated Parmesan cheese
- 1/4 cup breadcrumbs (preferably Panko for extra crunch)
- 4 garlic cloves, minced
- 2 tbsp olive oil
- 1 tsp Italian seasoning
- 1/2 tsp paprika
- Salt and pepper to taste
- Fresh parsley, chopped (for garnish)
- Skewers (wooden or metal)
How Much Time Will You Need?
This delicious recipe takes about 15 minutes of prep time and an additional 15 minutes for grilling. Make sure to plan for soaking wooden skewers for 30 minutes if you’re using them. Altogether, you can have these tasty skewers ready in about 1 hour!
Step-by-Step Instructions:
1. Prepare the Skewers:
If you’re using wooden skewers, remember to soak them in water for at least 30 minutes. This will help them not burn on the grill and ensures your delicious chicken stays intact while cooking!
2. Marinate the Chicken:
In a large mixing bowl, place the bite-sized chicken pieces. Add in the olive oil, minced garlic, Italian seasoning, paprika, and a sprinkle of salt and pepper. Mix everything well, making sure each piece of chicken is coated in the tasty marinade.
3. Add Cheese and Breadcrumbs:
Next, sprinkle in the grated Parmesan cheese and Panko breadcrumbs. Stir gently until the chicken is evenly coated with this delicious mixture. This will give your chicken amazing flavor and a lovely crunch once grilled!
4. Preheat the Grill:
Turn on your grill or grill pan and heat it to medium-high temperature. A hot grill will help give those lovely grill marks and keep the chicken juicy!
5. Thread the Chicken onto Skewers:
Now it’s time to assemble! Take your marinated chicken and thread them onto the skewers. Make sure to leave a little space between each piece for even cooking. This will help them grill perfectly!
6. Grill the Skewers:
Place the skewers on the preheated grill. Grill for about 5-7 minutes on each side, or until the chicken is cooked through and shows nice golden grill marks. You can always cut a piece to check if it’s no longer pink in the center!
7. Let Them Rest:
Once cooked, carefully remove the skewers from the grill and let them rest for a couple of minutes. This helps the juices stay in the chicken, making them even more delicious!
8. Garnish and Serve:
Just before serving, sprinkle the skewers with chopped fresh parsley and add extra Parmesan cheese if you like. These skewers can be enjoyed as a tasty appetizer or perfect alongside your favorite side dish. Enjoy your meal!
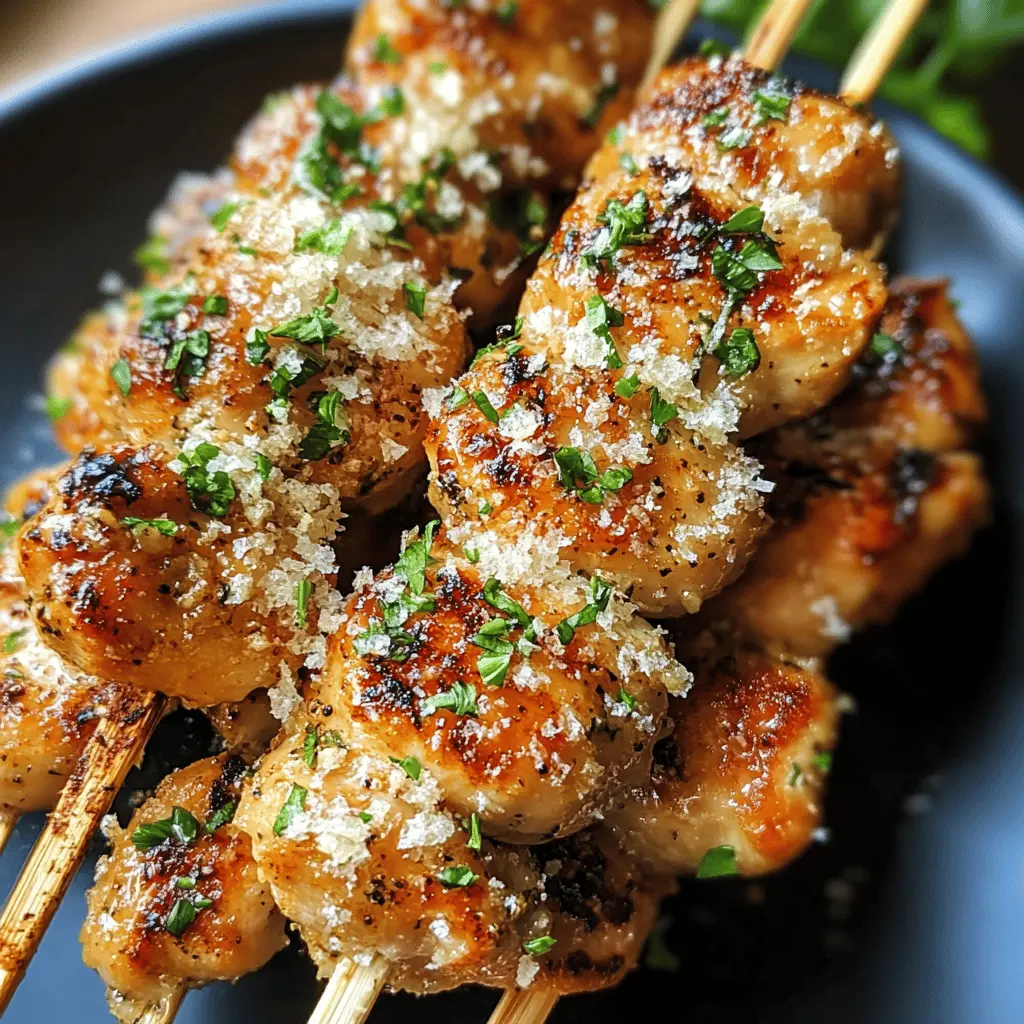
Can I Substitute Chicken with Another Protein?
Absolutely! You can use shrimp, diced firm tofu, or even cubed pork tenderloin instead of chicken. Just make sure to adjust the cooking time: shrimp takes about 2-3 minutes per side, while pork should be cooked until it reaches an internal temperature of 145°F.
What If I Don’t Have Panko Breadcrumbs?
No worries! Regular breadcrumbs can be used instead. For added crunch, you could also crush some crackers or even use crushed cornflakes as a substitute. Just remember that regular breadcrumbs may not be as crispy as Panko breadcrumbs.
How to Store Leftover Chicken Skewers?
Store any leftovers in an airtight container in the fridge for up to 3 days. To reheat, simply place them on a grill pan over low heat for a few minutes, or you can use the microwave, but be cautious as this may lead to a softer texture.
Can These Skewers Be Made Ahead of Time?
Yes! You can marinate the chicken skewers ahead of time. Just prep them and store them in the fridge for up to 24 hours before grilling. This allows the flavors to penetrate the chicken even more, making it tastier!