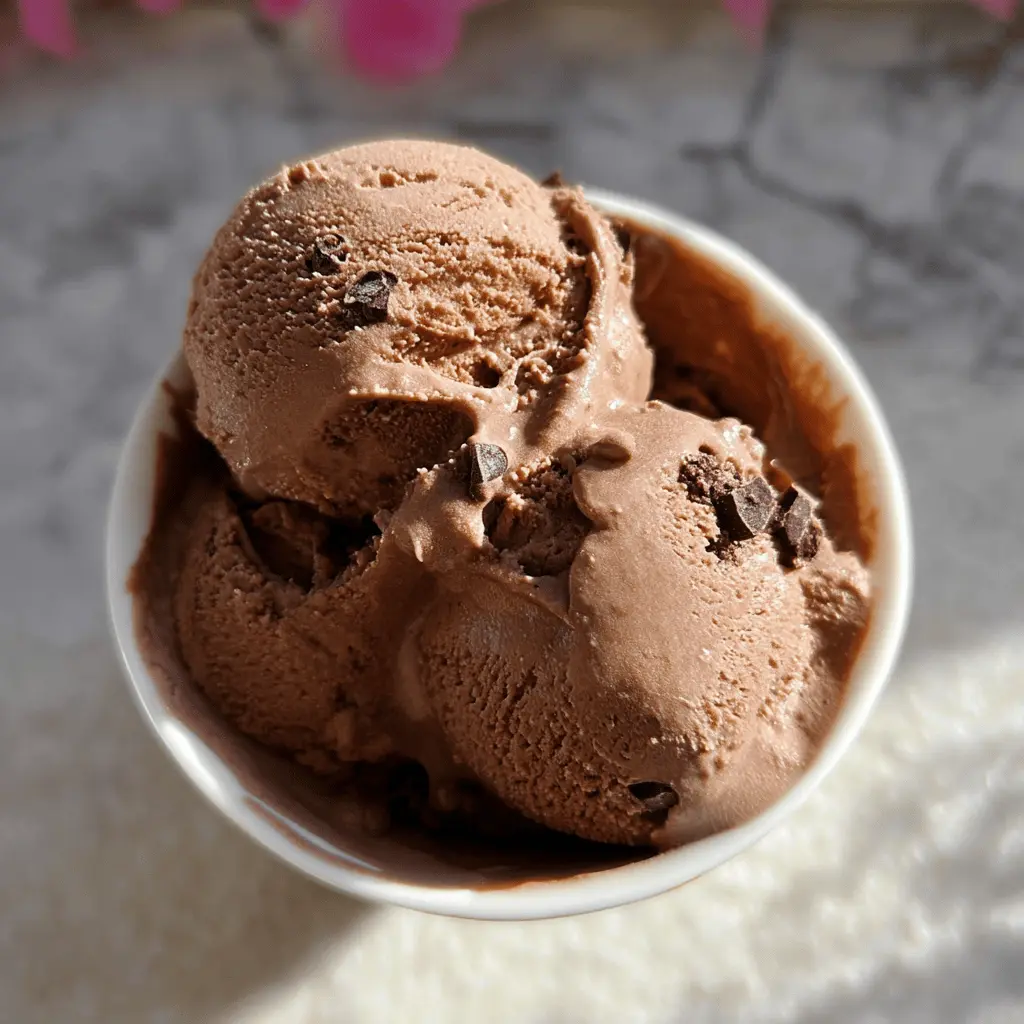
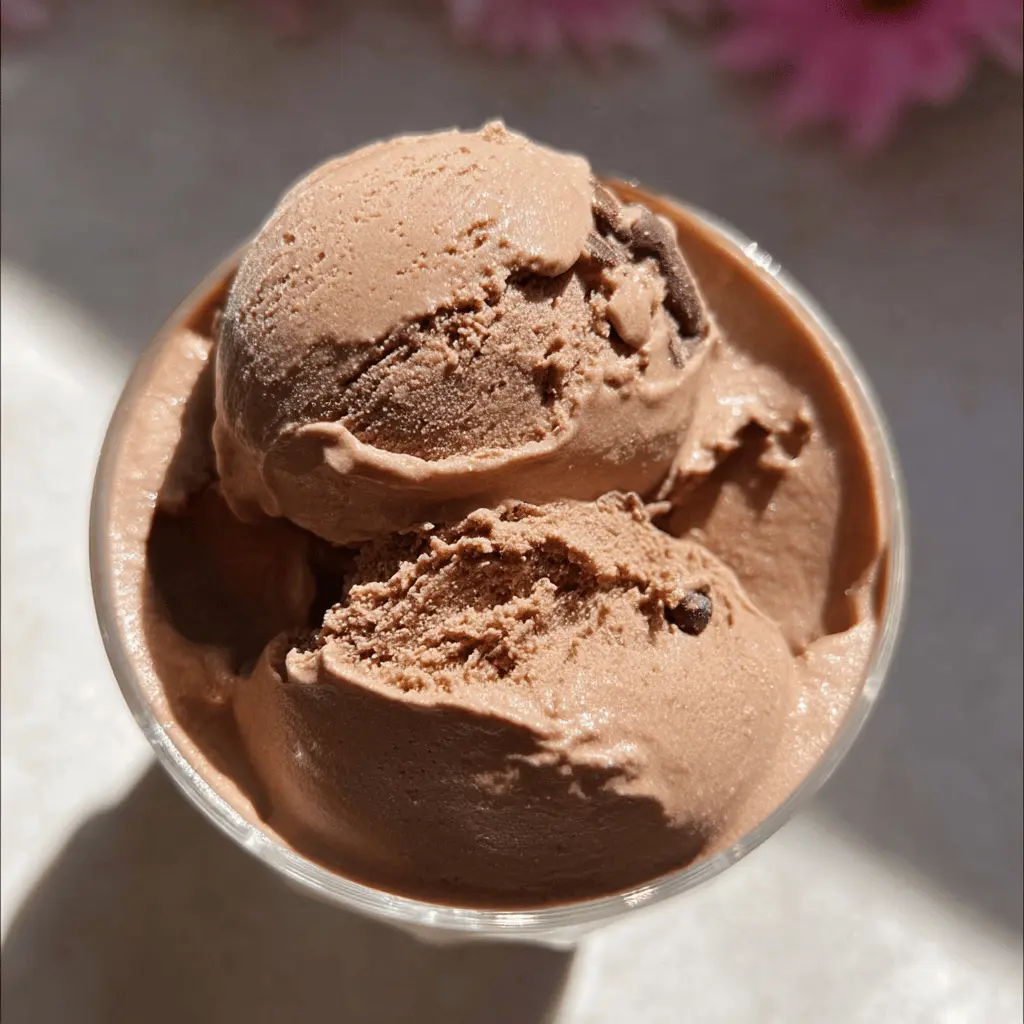
This creamy chocolate custard ice cream is such a treat on hot days! With rich cocoa and a velvety texture, it’s like a chocolate hug in a bowl.
Honestly, who can resist the charm of homemade ice cream? I love whipping this up for family movie nights. Plus, it’s super easy to scoop right from the freezer! 🍦
Key Ingredients & Substitutions
Whole Milk: Whole milk gives a creamier texture. If you need a lower-fat option, you can substitute with 2% milk, but the ice cream won’t be as rich.
Heavy Cream: This is crucial for the creamy mouthfeel. If you want something lighter, you could use half-and-half, but it might be less rich.
Cocoa Powder: Unsweetened cocoa powder is a must for that deep chocolate flavor. You may use Dutch-processed cocoa for a smoother taste, just remember it might alter the flavor slightly.
Bittersweet/Semisweet Chocolate: The chocolate adds richness. If you prefer, use milk chocolate for a sweeter taste, or dark chocolate for a more intense flavor. Just adjust the sugar a bit to balance the sweetness.
Egg Yolks: These contribute to the custard base. For a vegan version, try using silken tofu blended until smooth, though the texture will be different.
How Do You Achieve the Creamiest Texture in Ice Cream?
To get that lovely creamy texture, focus on proper cooking and chilling techniques. After whisking your egg yolk mixture, it’s important to temper it slowly with hot milk so it doesn’t scramble. Follow these steps:
- Heat your mixture gently; don’t let it boil. Boiling can create an unwanted texture.
- Stir constantly while cooking and watch for when it thickens enough to coat the back of a spoon. This step is key!
- Chill the mixture thoroughly; it should be very cold before churning to ensure a smoother final product.
Enjoy the process! Homemade ice cream is a labor of love that pays off with its rich flavors and textures. Happy churning!
How to Make Creamy Homemade Chocolate Custard Ice Cream
Ingredients You’ll Need:
- 2 cups whole milk
- 1 cup heavy cream
- 3/4 cup granulated sugar
- 4 large egg yolks
- 1/2 cup unsweetened cocoa powder
- 4 oz bittersweet or semisweet chocolate, finely chopped
- 1 teaspoon pure vanilla extract
- Pinch of salt
- Chocolate shavings or curls (for garnish, optional)
How Much Time Will You Need?
This recipe takes about 15 minutes to prepare, plus chilling time of at least 4 hours, and an additional 20-25 minutes for churning. Plan to have about 4.5 hours or more before you can scoop and enjoy the ice cream, but the results will be totally worth the wait!
Step-by-Step Instructions:
1. Heating the Milk and Cream:
Start by taking a medium saucepan and combining the whole milk, heavy cream, and half of the granulated sugar. Place it over medium heat. Stir occasionally until the mixture is hot, but be careful not to let it boil.
2. Preparing the Egg Yolks:
While the milk mixture is heating, take a separate bowl and whisk together the egg yolks, the remaining sugar, cocoa powder, and a pinch of salt. You want this mixture to become smooth and pale.
3. Tempering the Egg Mixture:
Now it’s time to combine the hot liquid with your egg mixture. Slowly pour about 1 cup of the hot milk mixture into the egg yolks while constantly whisking. This process, known as tempering, prevents the eggs from scrambling.
4. Combining Mixtures:
Once tempered, pour the egg mixture back into the saucepan with the remaining milk mixture. Stir well to combine.
5. Cooking the Custard:
Place the saucepan back over low heat. Stir the mixture constantly using a wooden spoon or a heatproof spatula. You want to heat it until it thickens enough to coat the back of your spoon—this takes about 5 to 7 minutes. Remember, don’t let it boil!
6. Adding Chocolate:
Once thickened, take the saucepan off the heat and add the finely chopped chocolate and vanilla extract. Whisk until everything is smooth and melted together.
7. Straining the Custard:
To ensure your custard is silky smooth, strain it through a fine-mesh sieve into a clean bowl. This step removes any cooked bits for a perfect texture.
8. Cooling the Custard:
Cover the bowl with plastic wrap, pressing the wrap directly onto the surface of the custard to avoid a skin forming. Place it in the refrigerator for at least 4 hours or overnight for the best results.
9. Churning the Ice Cream:
Once your custard is chilled, pour it into your ice cream maker. Churn it according to the manufacturer’s instructions, which generally takes about 20 to 25 minutes until it reaches a soft-serve thinkness.
10. Freezing the Ice Cream:
Transfer the churned ice cream into a suitable container and freeze it for at least 2 hours to firm up.
11. Serve and Enjoy:
When you’re ready to indulge, scoop the ice cream into bowls or cones. Feel free to garnish with chocolate shavings or curls if you like. Enjoy your rich, creamy chocolate custard ice cream—it’s delicious!
This recipe will give you smooth, deeply flavored chocolate ice cream that’s perfect for any occasion. Happy eating!
Frequently Asked Questions
Can I Use Low-Fat Milk Instead of Whole Milk?
While you can substitute low-fat milk, keep in mind this may result in a less creamy texture. For the best results, whole milk and heavy cream work together to create that rich, velvety mouthfeel.
How Long Can I Store Leftover Ice Cream?
Your homemade chocolate custard ice cream will stay fresh in the freezer for up to 2-3 weeks. Just make sure to store it in an airtight container to prevent ice crystals from forming!
What if I Don’t Have an Ice Cream Maker?
No worries! You can freeze the custard in a shallow dish. Stir the mixture every 30 minutes for the first 2-3 hours to break up ice crystals, then freeze until solid. This will help achieve a creamier texture, although it may not be as smooth as churned ice cream.
Can I Make This Ice Cream Dairy-Free?
Yes! You can use coconut milk or almond milk as a substitute for the whole milk and heavy cream. Also, opt for a non-dairy chocolate and a suitable egg replacer, such as a blend of silken tofu and a little sweetener for the custard base.