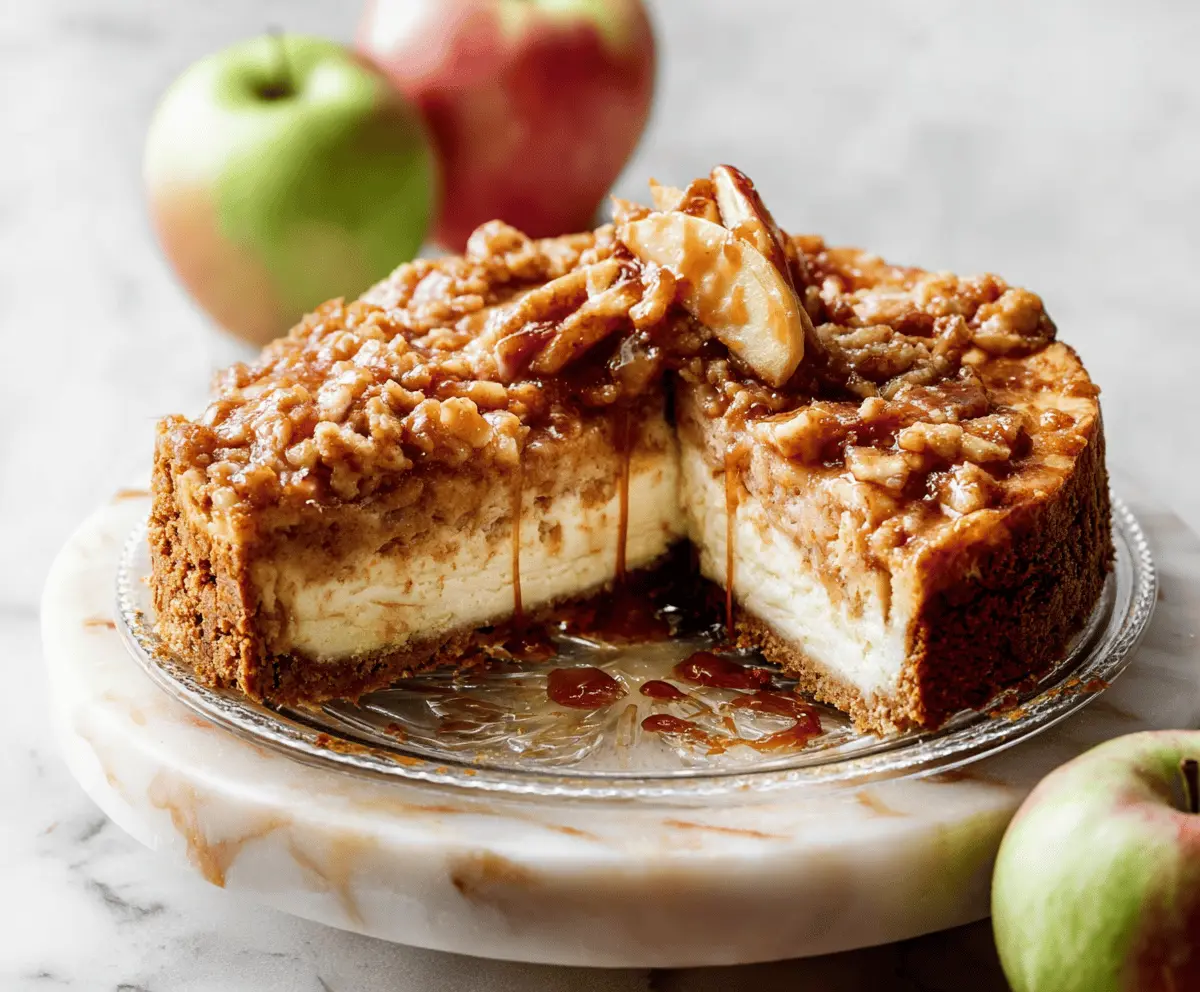
This Apple Pie Cheesecake is a delicious mix of creamy cheesecake and sweet apple pie flavors. With a crunchy crust and dreamy topping, it’s a dessert that brings smiles!
Key Ingredients & Substitutions
Graham Cracker Crumbs: This is the base for your crust. You can use digestive biscuits or even crushed vanilla wafers if you can’t find graham crackers. They add a sweet and crunchy vibe to your cheesecake.
Cream Cheese: You’ll need softened cream cheese for the cheesecake layer. If you’re looking for a lighter option, try Neufchâtel cheese for a similar texture. Cream cheese alternatives like vegan cream cheese can work too for a dairy-free version.
Apples: Granny Smith apples are great for a tart flavor, but mix in some Honeycrisp or Fuji apples for sweetness! Just remember to peel and core them for seamless eating.
Sour Cream: This adds richness and tang to your cheesecake. Greek yogurt can be a good substitute if you want a lower-fat option while still keeping a creamy texture.
Nuts: Chopped pecans or walnuts in the topping offer a nice crunch. If you’re nut-free, feel free to skip them or use toasted oats for some extra texture!
How Do You Avoid Cracking Your Cheesecake?
Cracks can be tricky with cheesecakes, but here are some tips to help you keep it smooth:
- Make sure all your ingredients, especially the cream cheese, are at room temperature before mixing. Cold ingredients can create lumps.
- Avoid overmixing the batter; this incorporates too much air, which can lead to cracking.
- While baking, remember that the cheesecake should be set around the edges but slightly jiggly in the center. It’s okay if it’s a bit wobbly!
- After baking, turn off the oven and crack the door open, allowing the cheesecake to cool gradually. This prevents sudden temperature changes that cause cracks.
These tips will help you create a beautiful, crack-free Apple Pie Cheesecake that’s sure to impress your family and friends! Enjoy your baking!
How to Make Apple Pie Cheesecake
Ingredients You’ll Need:
For the Crust:
- 2 cups graham cracker crumbs
- 1/4 cup granulated sugar
- 1/2 cup unsalted butter, melted
For the Cheesecake Layer:
- 24 oz (3 packages) cream cheese, softened
- 1 cup granulated sugar
- 1 tsp vanilla extract
- 3 large eggs
- 1 cup sour cream
For the Apple Pie Topping:
- 3 medium apples (Granny Smith or a mix of tart and sweet), peeled, cored, and thinly sliced
- 1/4 cup unsalted butter
- 1/2 cup packed brown sugar
- 1 tsp ground cinnamon
- 1/4 tsp ground nutmeg
- 1 tsp lemon juice
- 2 tbsp all-purpose flour
- 1/4 cup chopped pecans or walnuts (optional)
How Much Time Will You Need?
This recipe takes about 20 minutes of prep time and approximately 1 hour and 15 minutes of baking time. Don’t forget at least 4 hours for chilling in the fridge afterward. So, overall, you are looking at about 6 hours total, including the chill time, but much of that time is hands-off and perfect for other activities!
Step-by-Step Instructions:
1. Prepare the Crust:
Preheat your oven to 325°F (163°C). In a medium bowl, combine the graham cracker crumbs, granulated sugar, and melted butter. Mix well until everything is evenly moistened. Press this mixture firmly into the bottom and about 1 inch up the sides of a 9-inch springform pan. Bake for 10 minutes, then set it aside to cool.
2. Make the Cheesecake Filling:
In a large mixing bowl, beat the softened cream cheese with a mixer on medium speed until smooth and creamy, about 2-3 minutes. Add in the granulated sugar and vanilla extract; mix until combined. Then, add eggs one at a time, mixing well after each addition. Finally, add the sour cream and mix until just blended – try not to overmix!
3. Bake the Cheesecake Layer:
Pour the cheesecake batter over the warm crust, smoothing the top with a spatula. Place the springform pan on a baking sheet to catch any drips and bake for 50-60 minutes. The edges should be mostly set while the center remains slightly jiggly. Once done, turn off the oven and leave the cheesecake in there with the door slightly ajar for about 1 hour. This helps prevent cracking! Then, remove it from the oven and let it cool completely on a wire rack.
4. Prepare the Apple Topping:
While the cheesecake cools, melt the butter in a large skillet over medium heat. Add the sliced apples, brown sugar, cinnamon, nutmeg, and lemon juice. Cook and stir until the apples are tender and caramelized, about 7-10 minutes. Stir in the flour and cook for another minute until thickened. Remove from heat and fold in the chopped nuts if you’re using them; let it cool slightly.
5. Assemble and Chill:
Spoon the warm apple topping evenly over the cooled cheesecake. Cover it and refrigerate for at least 4 hours, or preferably overnight. This allows it to set properly and the flavors to meld together beautifully!
6. Serve:
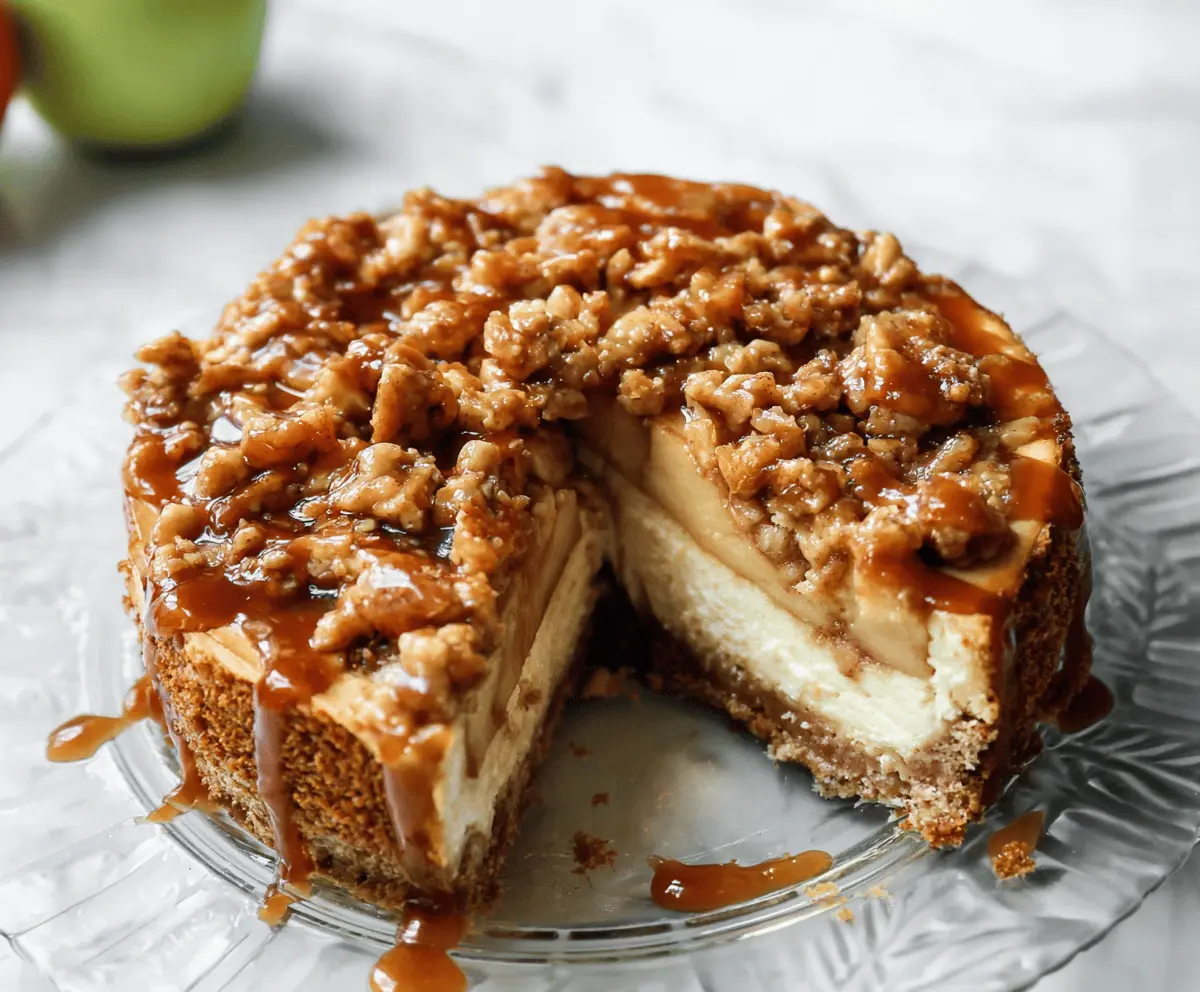
Carefully remove the cheesecake from the springform pan. Slice it up, and if desired, drizzle any remaining caramel sauce from the pan over the slices. Enjoy your rich, luscious Apple Pie Cheesecake!
This delightful dessert combines the best of two worlds: creamy cheesecake and sweet apple pie, all in one bite. It’s perfect for gatherings, holidays, or simply when you crave a comforting dessert. Happy baking!
Can I Use Different Types of Apples for the Topping?
Absolutely! While Granny Smith apples provide a nice tartness, mixing in sweeter varieties like Honeycrisp or Fuji can enhance the flavor. Feel free to use your favorite apples or a combination for a more complex taste!
Can I Make This Cheesecake in Advance?
Yes! This cheesecake is perfect for making ahead. You can prepare it a day or two in advance, allowing the flavors to meld beautifully while it chills in the refrigerator. Just be sure to cover it well to keep it fresh!
How Should I Store Leftovers?
Store any leftovers in an airtight container in the fridge for up to 5 days. When ready to enjoy, you can eat it cold or let it sit at room temperature for about 30 minutes for a softer texture.
Can I Freeze Apple Pie Cheesecake?
Yes, you can freeze this cheesecake! Wrap it tightly in plastic wrap and then aluminum foil to prevent freezer burn. It will keep well for up to 2 months. Thaw it overnight in the fridge before serving!