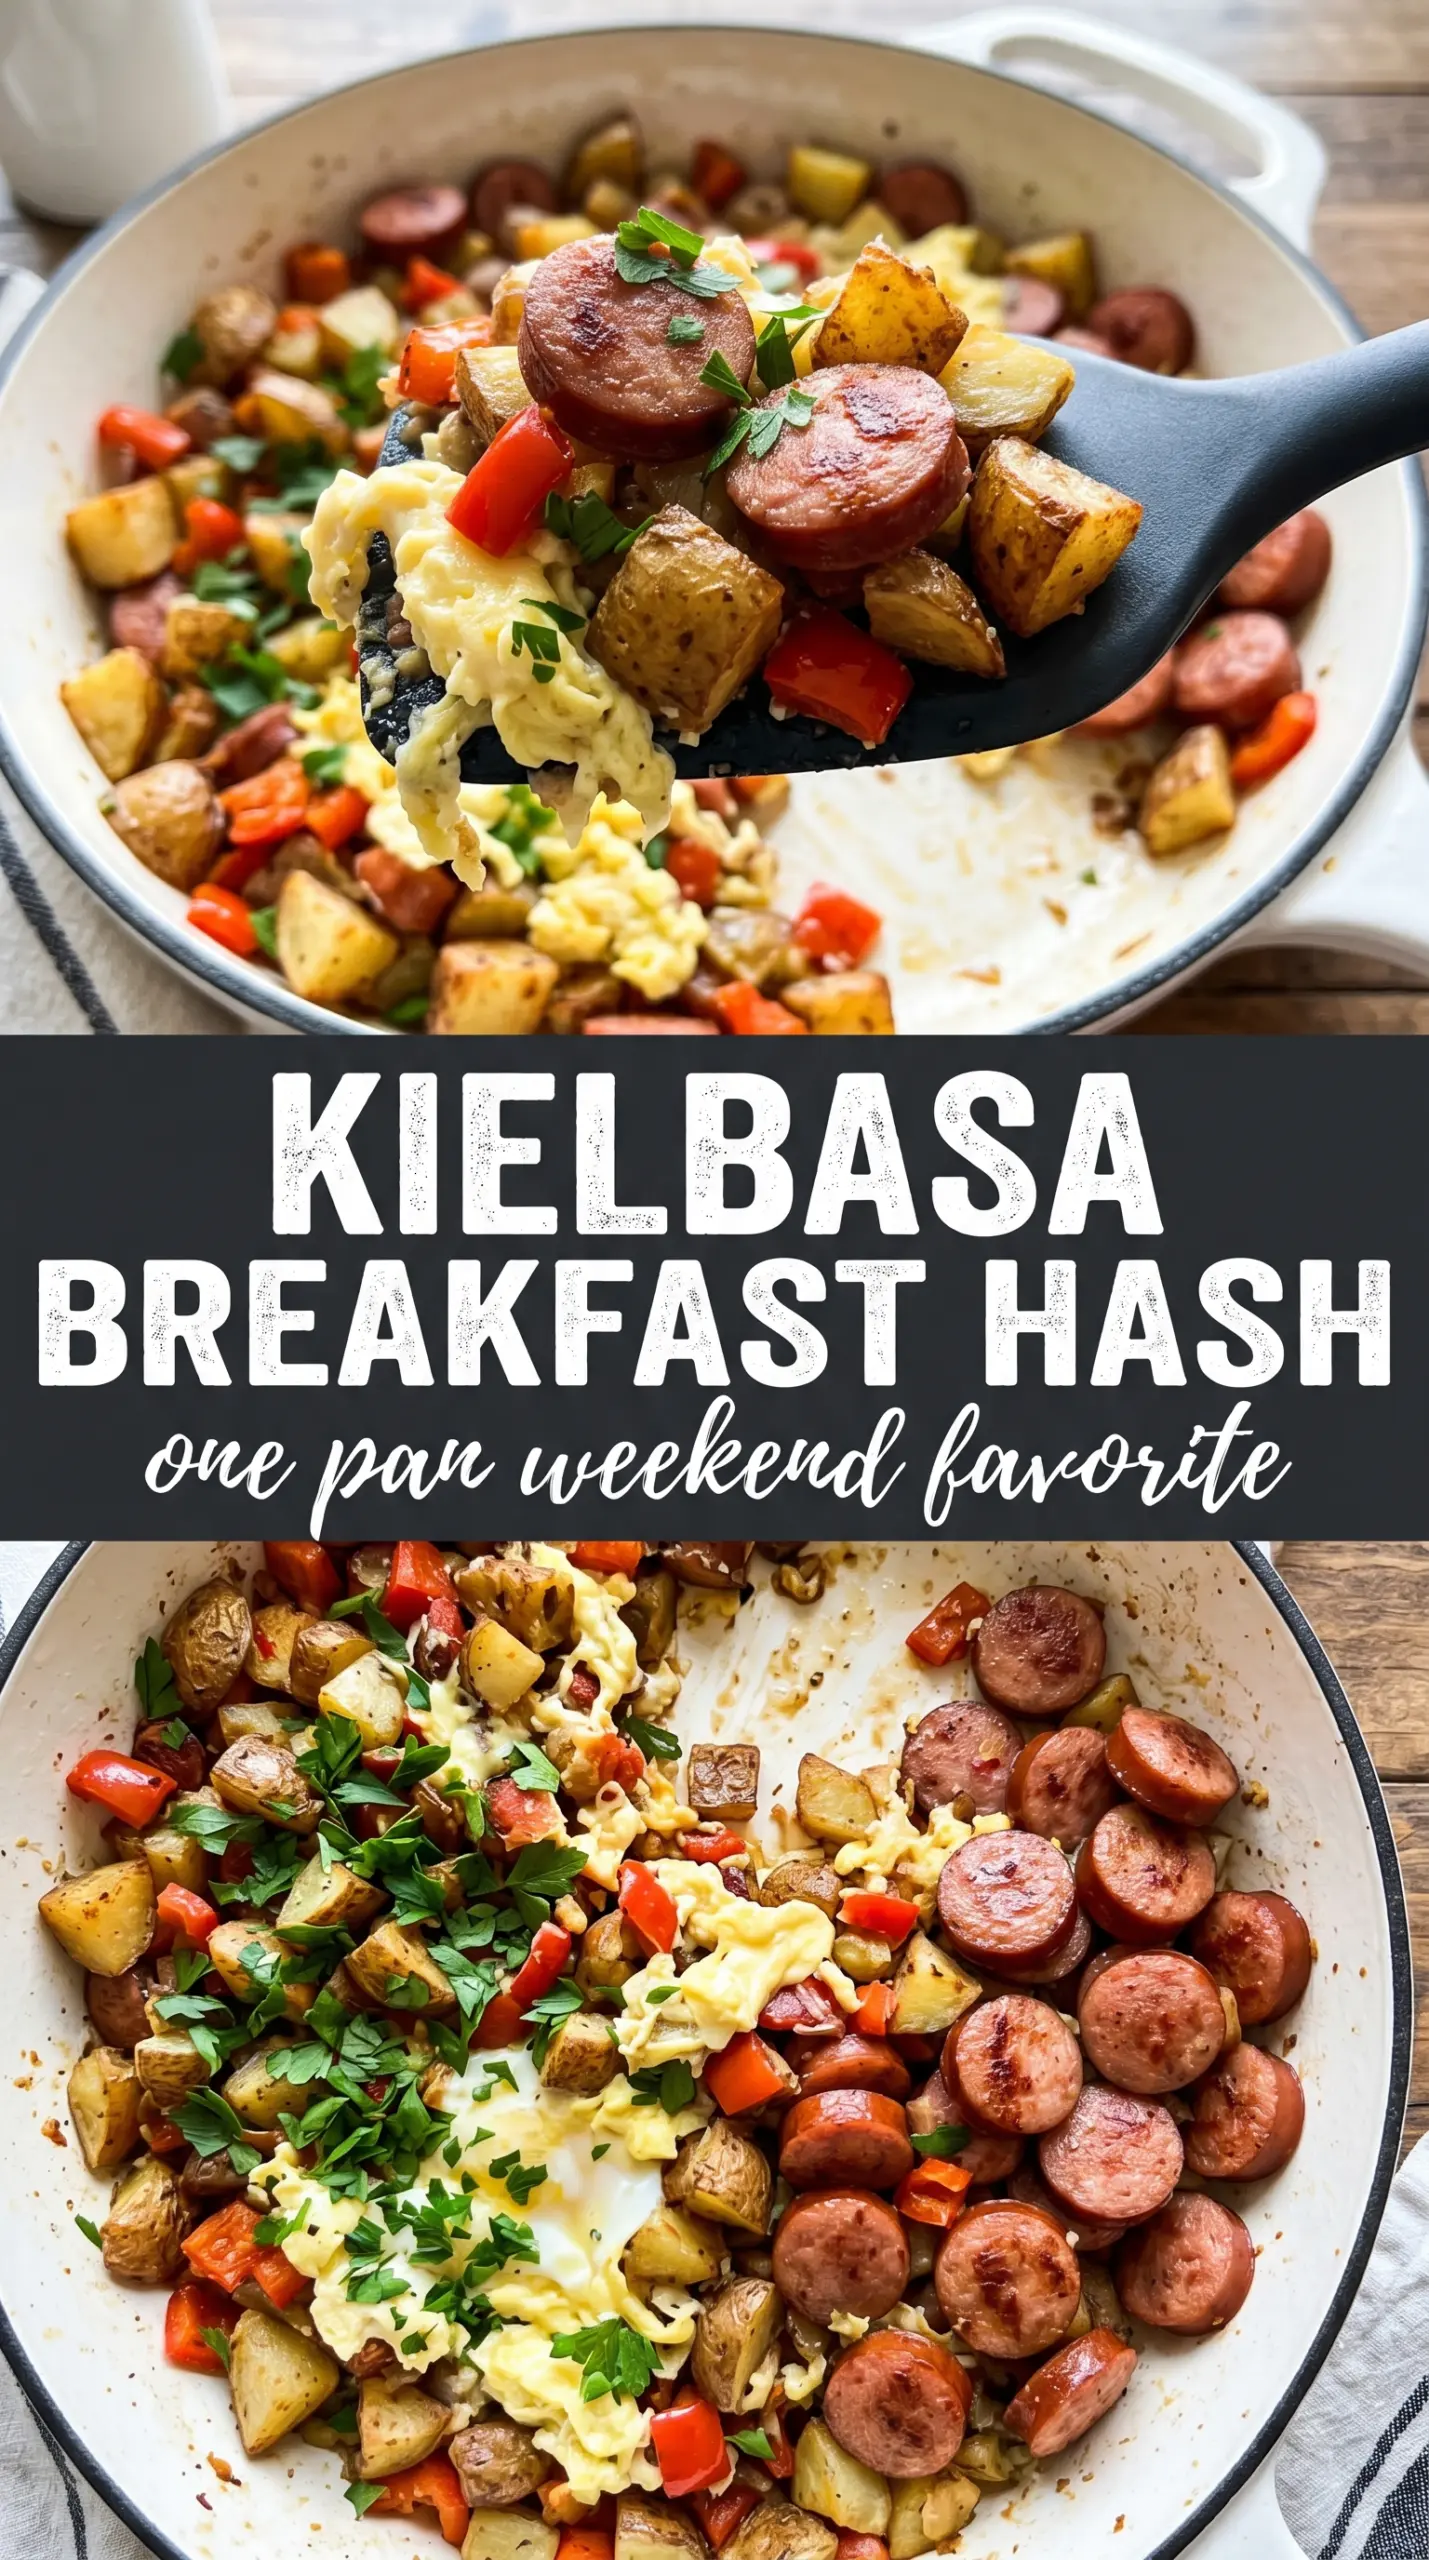
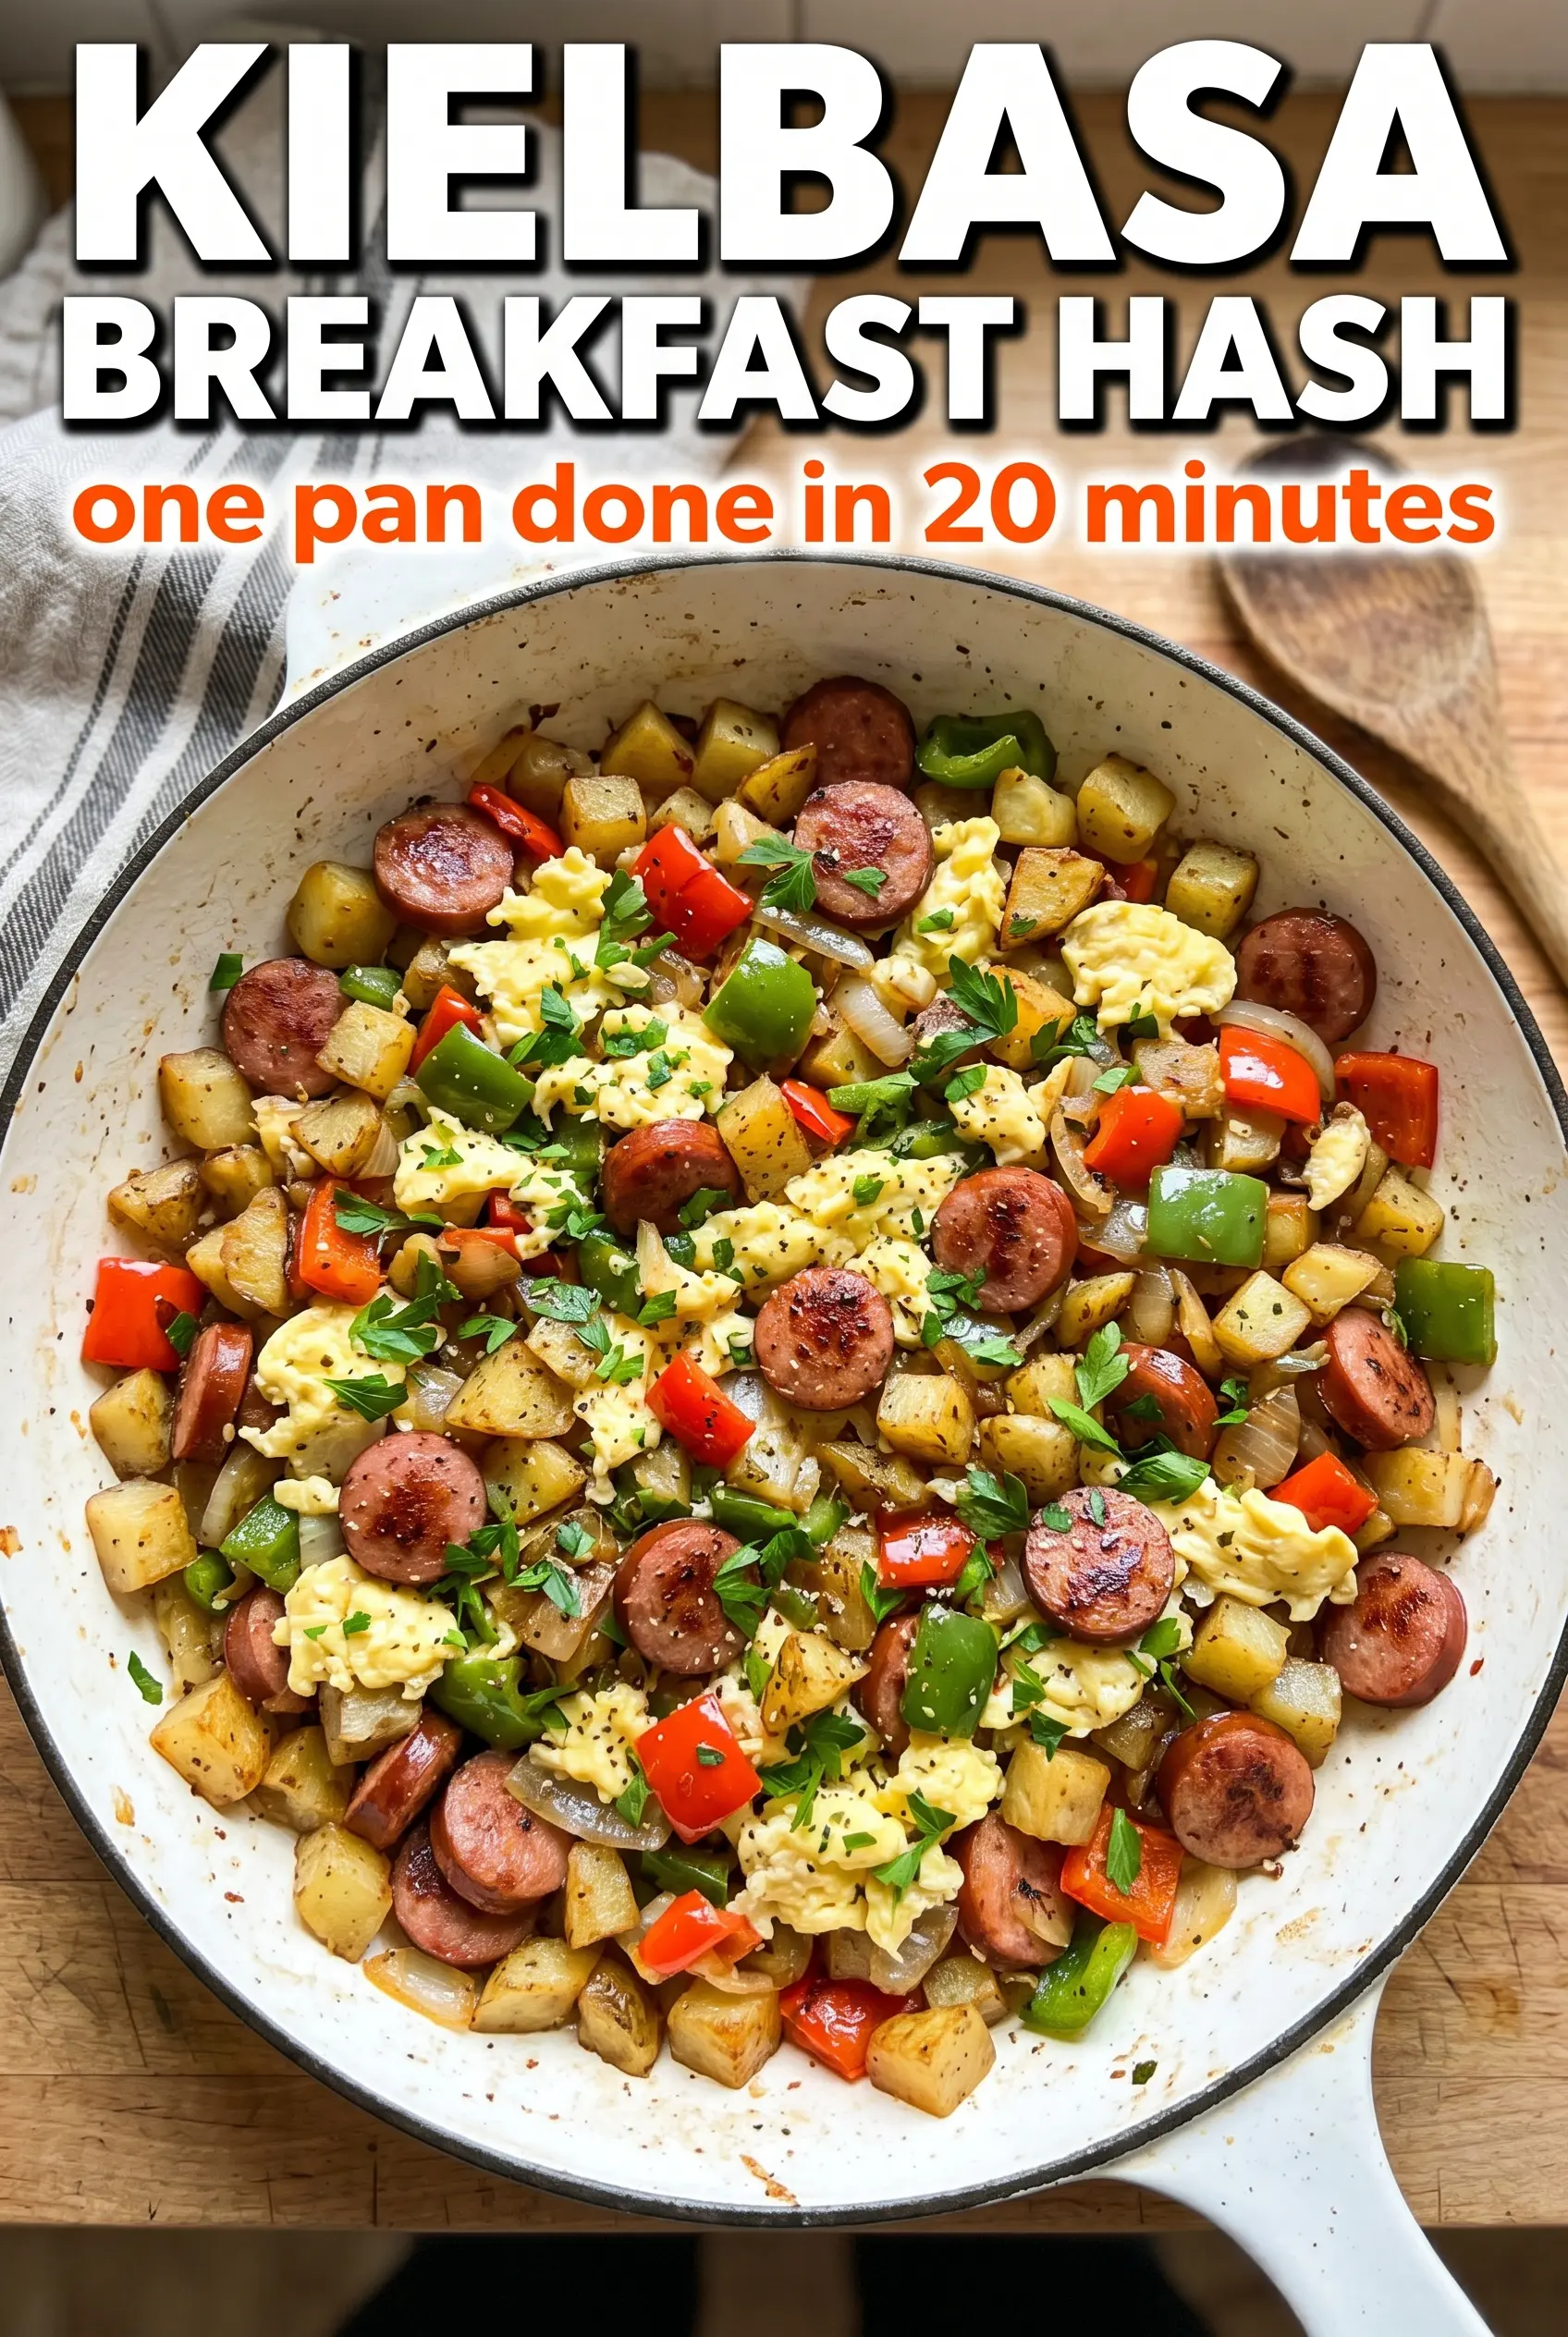
Crispy potatoes, browned kielbasa, and a runny egg yolk are what make breakfast hash worth putting on repeat. This version keeps the pan moving just enough to build color, then leaves the potatoes alone long enough to form those deep golden edges that make the whole skillet taste richer. The kielbasa brings smoky saltiness, the peppers and onion round it out, and the eggs turn it into a full breakfast without a separate pan.
The trick is in the order. Kielbasa goes in first so it can render a little fat and start browning before the potatoes hit the skillet. Then the potatoes need a stretch of undisturbed heat; if you stir them too soon, they steam and stay soft. Once the vegetables soften and the edges crisp up, the eggs go right on top so the yolks stay glossy and the whites set without drying out.
Below you’ll find the timing that keeps the potatoes from going pale, the best skillet setup for getting crisp edges, and a few practical ways to adapt this if you need to use what’s already in the fridge.
The potatoes actually crisped up instead of turning mushy, and the eggs came out with set whites and runny yolks right on time. My husband went back for seconds before I even sat down.
Save this kielbasa breakfast hash for the mornings when you want crispy potatoes, smoky sausage, and runny eggs in one skillet.
The Step That Keeps the Potatoes Crispy Instead of Soft
Potatoes are the part that usually go wrong in breakfast hash. If the pan is crowded or the heat is too low, they steam before they brown, and you end up with a skillet full of pale cubes that taste cooked but not satisfying. The fix is simple: give them contact with the hot skillet and leave them alone long enough to build a crust.
This recipe works because the kielbasa goes in first. That gives you a little rendered fat and a hot surface with flavor already on it, which helps the potatoes start coloring right away. Once the potatoes are in, resist the urge to stir constantly. You’re looking for browned bottoms, tender centers, and edges that sound a little sharp when you scrape the pan.
What the Kielbasa, Potatoes, and Eggs Each Bring to the Pan
- Kielbasa — This does more than add protein. It seasons the whole skillet as it browns, and the little bit of fat it gives off helps the potatoes crisp. Any fully cooked smoked sausage can stand in, but kielbasa has that garlicky, smoky edge that makes the hash taste complete.
- Potatoes — A waxy potato holds together best here, but any medium potato works if you dice it evenly. The key is size; small, even pieces cook through at the same rate and brown instead of breaking apart. If you’re using russets, they’ll crisp faster but can get crumbly if you stir too early.
- Butter — Butter adds flavor and helps the browning happen, but it can burn if the pan is too hot before the sausage goes in. If you need to swap it, use a neutral oil plus a small knob of butter at the end for flavor. That gives you the crisping power without the burnt milk solids.
- Eggs — The eggs turn this from a side dish into breakfast. Covering the skillet traps enough heat to set the whites while keeping the yolks soft. If you want firmer yolks, leave the lid on a minute or two longer, but once the whites are opaque, pull the pan so the eggs don’t go chalky.
Building the Hash in the Right Order
Letting the Kielbasa Brown First
Melt the butter in a large cast iron skillet over medium-high heat, then add the diced kielbasa. Give it about 3 minutes so the edges start to brown and the pieces pick up a little color. That first browning stage matters because it seasons the fat in the pan, and that seasoned fat coats the potatoes. If the sausage just warms through, the whole hash tastes flatter.
Giving the Potatoes Time to Set Up
Add the potatoes next and spread them into a single layer as much as possible. Leave them undisturbed for 5 to 7 minutes so the undersides can crisp before you stir. If you keep moving them, they release steam and never get that golden crust. Once you stir, do it with purpose so you turn the browned sides into the center and expose new surfaces to the heat.
Softening the Vegetables Without Losing the Crunch
Stir in the onion and red bell pepper and cook until the potatoes are tender and the edges are deep golden brown, about 5 minutes more. The onion should turn translucent and sweet, not browned and bitter, while the pepper softens just enough to lose its raw snap. If the pan starts looking dry before the vegetables are done, add a small splash of water and scrape up the browned bits instead of lowering the heat too much.
Finishing With the Eggs in Place
Make four wells in the hash and crack an egg into each one. Cover the skillet and cook until the whites are set and the yolks are still runny, about 4 minutes. If your eggs are cold from the fridge, they may need an extra minute. Pull the skillet as soon as the whites turn opaque, season with salt and pepper, and finish with chives so the top stays bright and the yolks stay glossy.
How to Change the Skillet Without Losing the Good Parts
Use smoked sausage instead of kielbasa
Andouille, turkey sausage, or another smoked sausage will still give you a hearty skillet, but the flavor shifts depending on the seasoning. Turkey sausage is leaner, so you may need a touch more butter to keep the potatoes from sticking. Andouille brings heat, which works well if you want the hash to feel a little bolder.
Make it dairy-free
Swap the butter for olive oil or avocado oil. You’ll lose a little of the buttery finish, but the potatoes will still brown nicely if the skillet is hot enough. Start with a light hand on the oil so the hash doesn’t turn greasy, then finish with fresh chives for brightness.
Make it vegetarian
Skip the kielbasa and add mushrooms, extra peppers, or a plant-based sausage if you want the same one-pan feel. You’ll need a little more seasoning because the smoked sausage normally carries a lot of the salt and depth. A pinch of smoked paprika helps replace some of that savory backbone.
Use leftovers without starting over
Leftover roasted potatoes work here, and they’ll cut the cooking time down a lot. Add them after the kielbasa and let them re-crisp before stirring in the vegetables. The result won’t be quite as evenly browned as fresh diced potatoes, but it’s a smart way to turn yesterday’s side dish into breakfast.
Storage and Reheating
- Refrigerator: Store the hash without the eggs for up to 4 days. The potatoes soften a little in the fridge, but the flavor holds well.
- Freezer: Freeze the potato and kielbasa mixture for up to 2 months. Eggs don’t freeze well here, so cook them fresh after reheating.
- Reheating: Reheat the hash in a skillet over medium heat so the potatoes can crisp again. The microwave works in a pinch, but it softens everything and wipes out the texture you worked for.
Questions I Get Asked About This Recipe
Kielbasa Breakfast Hash
Ingredients
Equipment
Method
- Melt the butter in a large cast iron skillet over medium-high heat. Add diced kielbasa and cook for 3 minutes, until it begins to brown (look for lightly toasted edges).
- Add the diced potatoes to the skillet. Cook without stirring for 5-7 minutes, so they crisp and turn golden brown on the bottom (watch for a sizzle and color change).
- Stir in the diced onion and red bell pepper. Cook for another 5 minutes until the potatoes are tender and the edges look deep golden (stir enough to keep everything cooking evenly).
- Make four wells in the hash and crack an egg into each well. Cover the skillet and cook until the eggs reach your desired doneness, about 4 minutes for runny yolks (the whites should be set while yolks stay liquid).
- Season with salt and pepper and garnish with fresh chives. Serve directly from the skillet, aiming for a runny yolk that spreads over the crispy potatoes.


