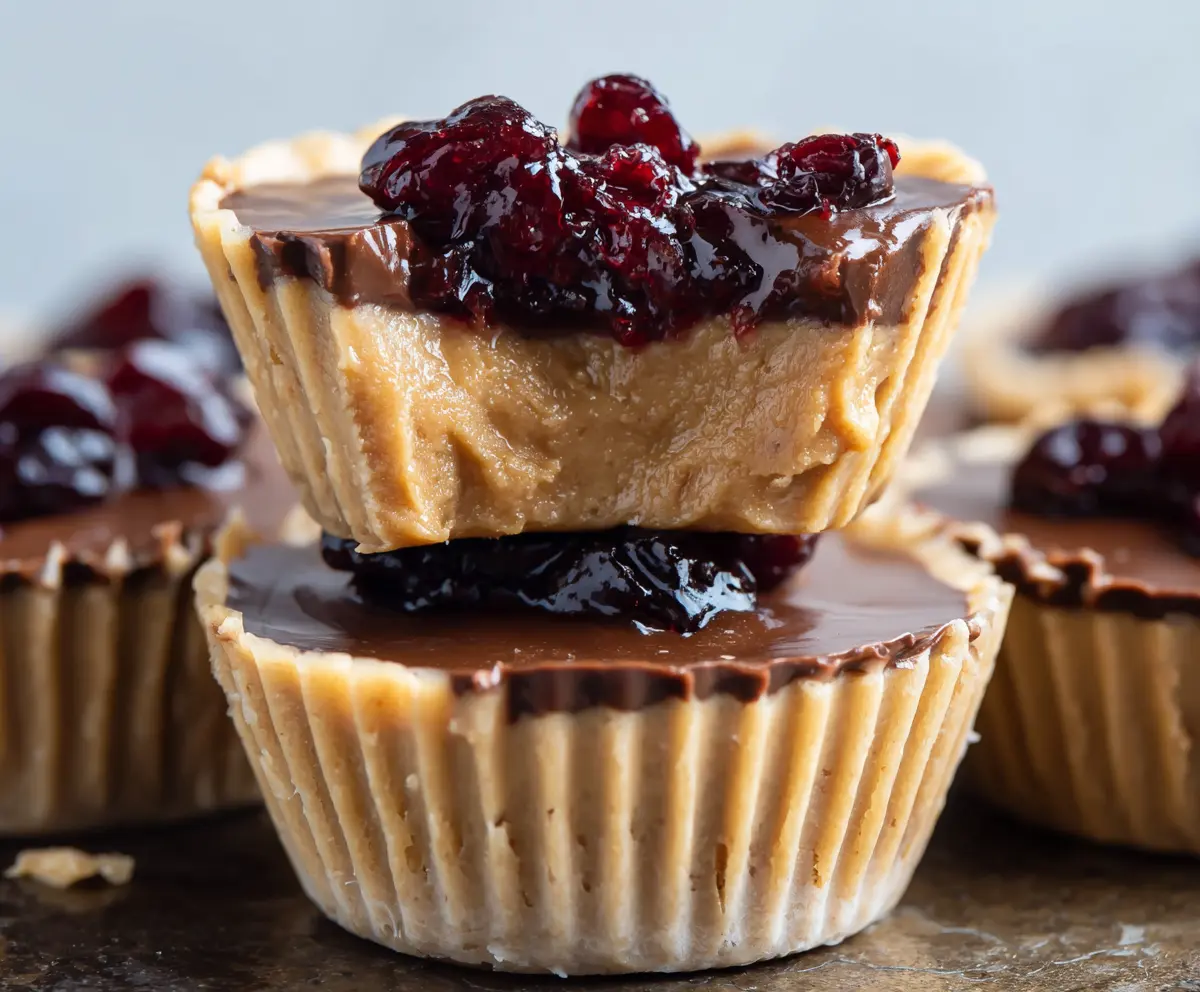
These Healthy Peanut Butter and Jelly Cups are a tasty twist on the classic sandwich! Made with wholesome ingredients, they’re filled with creamy peanut butter and your favorite fruit jam.
Who doesn’t love a good PB&J? 🍇 They’re perfect for a snack or dessert, and I enjoy making a big batch and keeping them in the fridge. They always hit the spot when I’m craving something sweet!
Key Ingredients & Substitutions
Peanut Butter: Use natural, creamy peanut butter for the best flavor and texture. You can substitute almond or cashew butter if you have nut allergies.
Maple Syrup or Honey: Both add sweetness. If you’re vegan, stick with maple syrup. For lower-calorie options, try agave syrup or stevia, adjusting to taste.
Coconut Oil: This gives a great texture and richness. You can swap it for unsalted butter if you prefer, but the flavor will change a bit.
Almond Flour: It helps bind the mixture. You can use finely ground oats or even coconut flour, but be cautious with the amount since coconut flour is more absorbent.
Dark Chocolate: A higher cocoa content means less sugar. You could use semi-sweet chocolate if you want a sweeter taste. Enjoy dairy-free? Choose dairy-free chocolate chips!
Berry Jelly: Sugar-free options work well, but feel free to experiment with any fruit preserves you like. Homemade fruit compote is a great choice too!
How Do I Make Sure My Peanut Butter Cups Set Perfectly?
Setting your peanut butter cups right is key to enjoying them. Here are some tips:
- Make sure to chill the peanut butter base well before adding the jelly and chocolate. This keeps the layers from mixing together.
- When melting the chocolate, do it slowly! Use a double boiler or microwave in short bursts (15-20 seconds), stirring each time to prevent burning.
- Spread the jelly gently; it should stay mostly in the center. Otherwise, it may spill out when you add the chocolate layer.
- Let them chill thoroughly after adding the chocolate. This ensures they hold their shape when you take them out of the molds.
Keep these tips in mind, and your healthy peanut butter and jelly cups will turn out fantastic!

How to Make Healthy Peanut Butter And Jelly Cups
Ingredients You’ll Need:
- 1 cup natural creamy peanut butter (no sugar added)
- 1/4 cup pure maple syrup or honey
- 1/4 cup coconut oil, melted
- 1 1/2 cups almond flour or finely ground oats
- 1/4 tsp sea salt
- 1 cup dark chocolate chips or chopped dark chocolate (70% cocoa or higher)
- 2 tbsp coconut oil (for chocolate layer)
- 1/2 cup sugar-free or low-sugar berry jelly or fruit preserves (e.g., raspberry or mixed berry)
How Much Time Will You Need?
This recipe will take about 30 minutes of active preparation time, plus an additional 45 minutes to an hour for chilling in the freezer. This includes time for setting each layer so you can enjoy the perfect, delicious peanut butter and jelly cups!
Step-by-Step Instructions:
1. Prepare Your Muffin Tin:
Start by lining a 12-cup mini muffin tin with paper liners or using silicone muffin molds. This makes it easier to remove the cups later!
2. Mix the Peanut Butter Base:
In a mixing bowl, combine the natural creamy peanut butter, maple syrup (or honey), melted coconut oil, almond flour, and sea salt. Stir everything together until you have a smooth, dough-like mixture. This will be the delicious base for our cups!
3. Create the Base Layer:
Take about 1 to 1 1/2 tablespoons of the peanut butter mixture and press it firmly into the bottom of each muffin cup. Make sure each layer is even. Once done, place the muffin tray in the freezer for about 15 minutes to let the base firm up.
4. Melt the Chocolate Topping:
While your peanut butter base is chilling, you can prepare the chocolate topping. Melt the dark chocolate along with the 2 tablespoons of coconut oil in a heatproof bowl set over simmering water (or in the microwave in short bursts). Stir it until smooth and well combined.
5. Add the Jelly Layer:
After the peanut butter cups have chilled, remove them from the freezer. Spoon about 1 teaspoon of your favorite jelly onto each cup, spreading it gently while keeping it mostly centered to avoid spills.
6. Top with Chocolate:
Now, pour or spoon the melted chocolate over the jelly layer, making sure to cover it completely. This creates a delicious layer that makes every bite special!
7. Final Chill:
Return the muffin tray to the freezer and chill the cups until they are completely firm, about 20-30 minutes. This helps them set perfectly!
8. Serve and Enjoy:
Once set, gently remove the peanut butter and jelly cups from the tins. Store them in an airtight container in the refrigerator for up to 1 week. They make for a fantastic snack or treat any time you’re craving something sweet and healthy!
Enjoy these delicious Healthy Peanut Butter And Jelly Cups chilled!
Can I Use Other Nut Butters?
Absolutely! You can substitute almond, cashew, or sunflower seed butter for the peanut butter. Just be mindful of any allergies and adjust the sweetness according to your nut butter’s flavor.
How Can I Make These Cups Vegan?
To make these cups vegan, simply stick with maple syrup as your sweetener, and ensure you use dairy-free chocolate chips. Everything else in the recipe is already plant-based!
Can I Freeze These Peanut Butter Cups?
Yes! These cups freeze really well. Just make sure to store them in an airtight container or freezer-safe bag. They can be frozen for up to 2 months. Thaw them overnight in the fridge when you’re ready to enjoy them!
What Can I Use Instead of Coconut Oil?
If you don’t have coconut oil on hand, you can use unsalted butter, ghee, or another neutral oil like avocado oil. Just know that using a different oil might slightly affect the flavor and texture.


