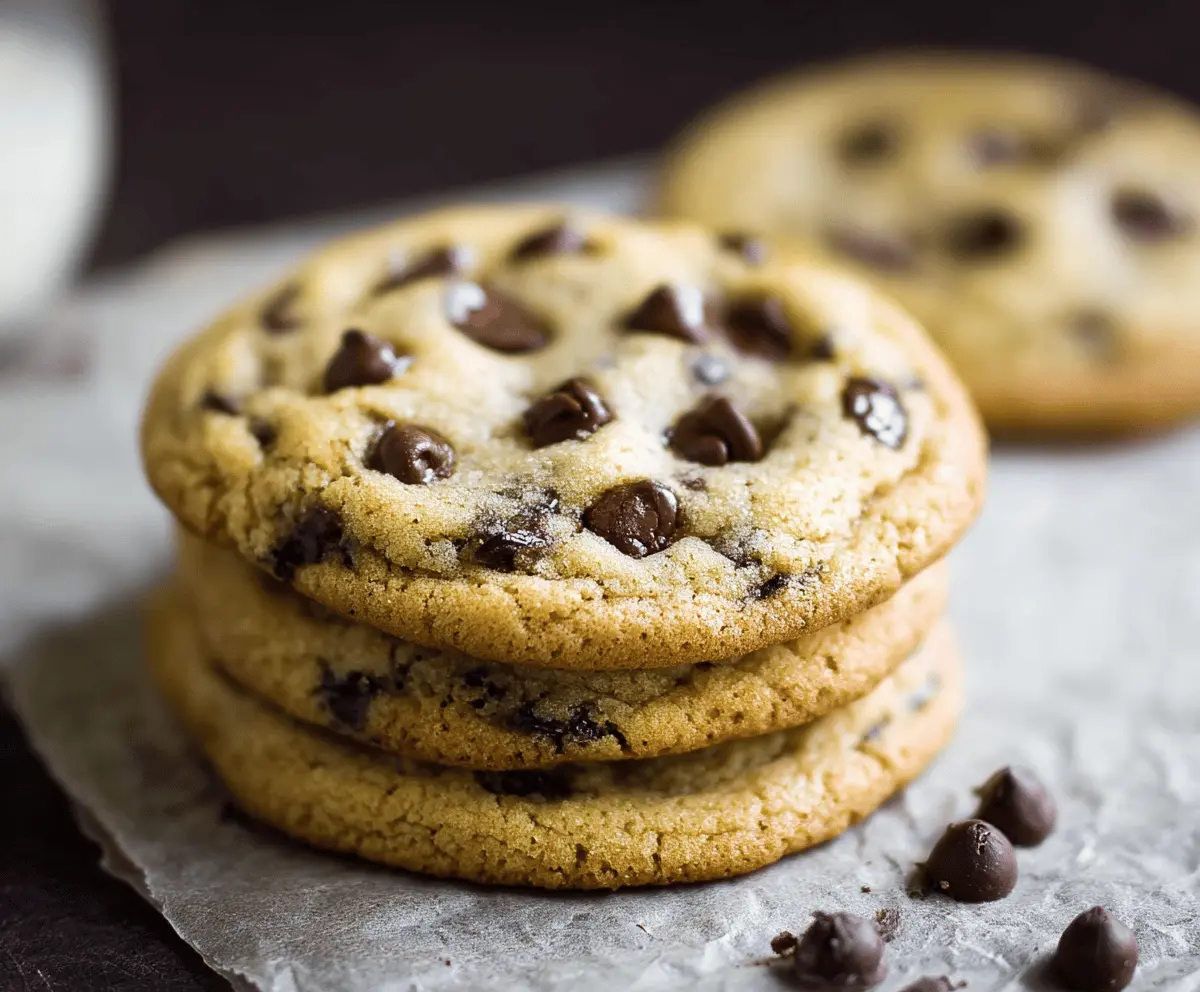
These chocolate chip cookies are soft, chewy, and packed with gooey chocolate goodness! Perfect for snacks and sharing with friends or family.
Let’s be real, who can resist that warm, melty chocolate? 😍 I love making a big batch so there are always some ready to enjoy, especially with a glass of milk!
Key Ingredients & Substitutions
Butter: Unsalted butter is best because it allows you to control the salt level in your cookies. If you’re dairy-free, use coconut oil or a dairy-free butter substitute. It keeps the texture rich!
Sugars: I’ll always go for a mix of granulated and brown sugar. Granulated sugar adds crispness, while brown sugar adds moisture and chewiness. If you need it, coconut sugar works well too.
Flour: All-purpose flour is a standard choice, but if you’re gluten-free, you can replace it with a gluten-free flour blend or almond flour. Just be cautious with the ratios!
Chocolate Chips: While semisweet chips are classic, feel free to use dark chocolate for a richer flavor or milk chocolate for sweetness. You could even mix in some nuts for crunch!
How Do You Achieve the Perfect Cookie Texture?
The texture of your cookies is key! To get them just right, pay attention to the following steps:
- When creaming the butter and sugars, mix until light and fluffy. This incorporates air, helping them rise.
- Don’t overmix once you add the flour; this can make the cookies tough.
- Chill the dough for about 30 minutes before baking. It helps the cookies maintain their shape and enhances the flavor.
- Keep an eye on baking time, as every oven is different. Take them out when the edges are golden but the centers look slightly underbaked.
These tips will help you create perfectly chewy and delicious chocolate chip cookies every time! Enjoy baking!
How to Make Classic Chocolate Chip Cookies
Ingredients You’ll Need:
- 1 cup (225g) unsalted butter, softened
- 3/4 cup (150g) granulated sugar
- 3/4 cup (165g) packed brown sugar
- 2 large eggs
- 2 teaspoons vanilla extract
- 2 1/4 cups (280g) all-purpose flour
- 1 teaspoon baking soda
- 1/2 teaspoon salt
- 2 cups (340g) semisweet chocolate chips
How Much Time Will You Need?
This classic chocolate chip cookie recipe takes about 15 minutes of preparation time and 8 to 10 minutes of baking time. Allow about 10 minutes for the cookies to cool after baking. In total, you’re looking at just about 35 minutes from start to finish!
Step-by-Step Instructions:
1. Preheat the Oven:
Start by preheating your oven to 375°F (190°C). While that’s heating up, grab your baking sheets and line them with parchment paper. This will keep your cookies from sticking!
2. Cream the Butter and Sugars:
In a large mixing bowl, combine the softened unsalted butter, granulated sugar, and brown sugar. Using a mixer or a sturdy spoon, cream the mixture together until it’s nice and smooth. You want it to look light and fluffy!
3. Add Eggs and Vanilla:
Next, beat in the eggs one at a time, making sure to mix well after each addition. Then, stir in the vanilla extract, letting that delicious flavor blend in.
4. Mix the Dry Ingredients:
In a separate bowl, whisk together the all-purpose flour, baking soda, and salt. This helps to evenly distribute the baking soda and prevents any clumps.
5. Combine Wet and Dry Ingredients:
Gradually add the dry ingredients to the wet ingredients, mixing slowly until everything is just combined. Be careful not to overmix, or your cookies might turn out tough!
6. Fold in the Chocolate Chips:
Now it’s time for the chocolate! Gently fold in the semisweet chocolate chips until they’re evenly distributed throughout the dough.
7. Scoop the Dough:
Using a tablespoon or a cookie scoop, drop rounded tablespoons of dough onto the prepared baking sheets. Make sure to leave about 2 inches of space between each cookie to allow them room to spread as they bake.
8. Bake the Cookies:
Pop the baking sheets into your preheated oven and bake for 8 to 10 minutes. You want the edges to be golden brown, but the centers should still look a bit soft.
9. Cool the Cookies:
Once baked, remove the cookies from the oven and let them sit on the baking sheet for about 2 minutes. This helps them firm up a little. Then, transfer them to a wire rack to cool completely.
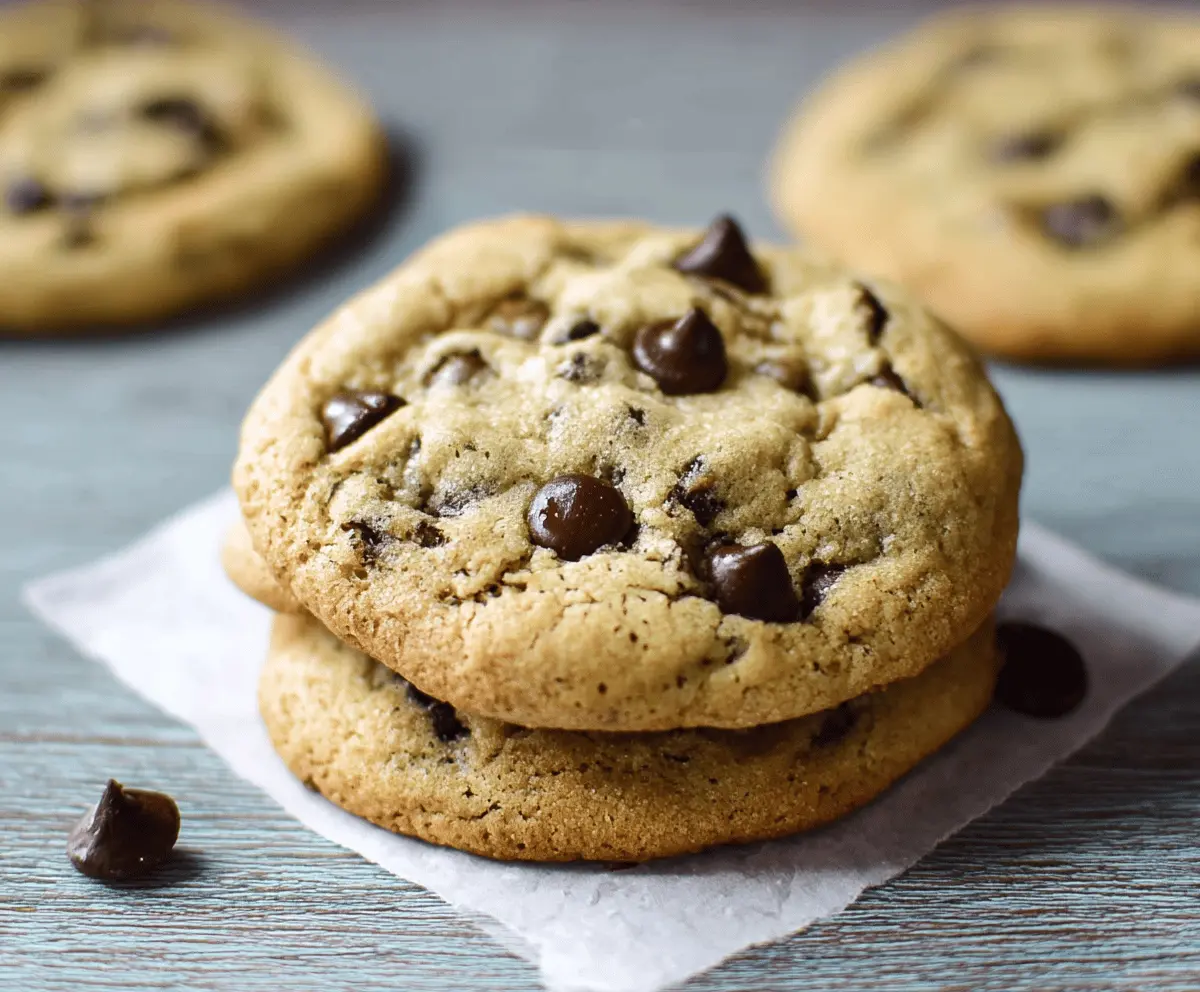
10. Enjoy!
Your cookies are ready to be enjoyed! Pair them with a cold glass of milk for a classic treat that everyone will love!
Can I Use Margarine Instead of Butter?
Yes, you can substitute margarine for butter in this recipe! Just be sure to use a baking margarine for the best results, as regular margarine may yield a different texture.
How Do I Know When My Cookies Are Done?
Look for the edges to be golden brown while the centers still appear slightly soft. They’ll continue to cook a bit on the baking sheet after removing them from the oven, so don’t wait too long to take them out!
Can I Freeze Cookie Dough for Later Use?
Absolutely! You can scoop the dough into balls and freeze them on a baking sheet. Once they’re frozen, transfer them to a zip-top bag. When you’re ready to bake, just add a couple of extra minutes to the baking time!
What If My Cookies Spread Too Much?
If your cookies spread too much, it could be due to a few factors such as melted butter or not enough flour. Make sure the butter is softened properly, and try chilling the dough for about 30 minutes before baking to help retain their shape.