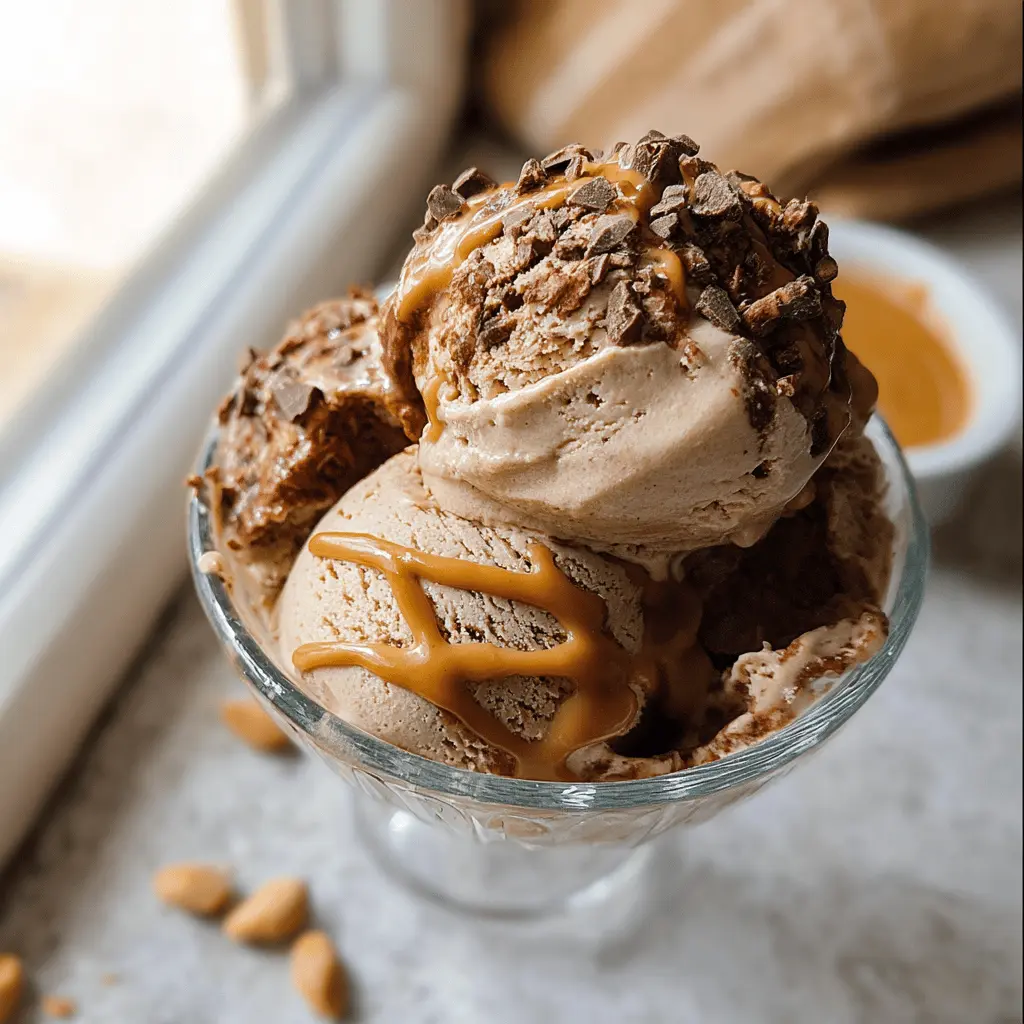
This rich and creamy chocolate peanut butter ice cream is a dream come true for dessert lovers! Made with simple ingredients, it really brings the peanut butter flavor to life.
Who doesn’t love chocolate and peanut butter? 😋 I usually have a scoop ready for those late-night cravings. It’s so easy to whip up, and my friends always ask for seconds!
Key Ingredients & Substitutions
Whole Milk: Whole milk adds creaminess to the ice cream. If you need a lower-fat option, you can substitute 2% milk, but it may be less rich.
Heavy Cream: This gives the ice cream that luxurious texture. You can use half-and-half in a pinch, but the ice cream won’t be as creamy.
Sugar: Granulated sugar is standard, but you can use coconut sugar or a sugar substitute if you’re looking for a healthier version. Just check the conversion ratio!
Unsweetened Cocoa Powder: Try Dutch-processed cocoa for a deeper chocolate flavor, or swap it with carob powder if you’re avoiding chocolate.
Peanut Butter: Use creamy for a smooth texture, or chunky if you like some crunch. Almond butter or sunflower seed butter are great nut-free alternatives.
Vanilla Extract: Pure vanilla extract elevates flavor, but you can use vanilla paste or imitation vanilla in a pinch.
How Do I Get the Ice Cream to Be Creamy and Smooth?
The key to getting a creamy texture lies in your mixing and freezing method. Start with well-mixed ingredients to ensure everything blends seamlessly. Here’s how:
- When mixing, whisk the ingredients thoroughly until the sugar and cocoa powder dissolve completely; this prevents graininess.
- After freezing, let the mixture sit at room temperature for about 5-10 minutes before processing in the Ninja Creami. This helps soften it slightly.
- If your ice cream is crumbly after the first spin, just use the “Remix” function. This is a lifesaver for achieving that smooth consistency you want!
Keep in mind that every freezer is different, so allowing extra freezing time can help achieve the perfect texture. Enjoy scooping!

Easy Ninja Creami Chocolate Peanut Butter Ice Cream
Ingredients You’ll Need:
- 1 1/2 cups whole milk
- 1 cup heavy cream
- 3/4 cup sugar
- 1/3 cup unsweetened cocoa powder
- 1/2 cup peanut butter (creamy or chunky based on preference)
- 1 teaspoon vanilla extract
- Pinch of salt
- Optional toppings: additional peanut butter for drizzle, chopped peanuts or granola
Time Needed:
This recipe requires about 15 minutes of hands-on preparation time to mix the ingredients. After that, it needs to freeze for at least 24 hours to become solid and ready to be churned. Your total waiting time will be around 25 hours, but the actual work is quick!
Step-by-Step Instructions:
1. Mix the Dry Ingredients:
In a medium mixing bowl, whisk together the sugar, cocoa powder, and salt. Make sure everything is evenly combined and there are no lumps left. This is important so your ice cream has a smooth texture!
2. Combine with Wet Ingredients:
Next, pour in the whole milk and heavy cream. Whisk them all together until the sugar and cocoa powder are completely dissolved. This mixture should be nice and creamy!
3. Add Peanut Butter and Vanilla:
Stir in the peanut butter and vanilla extract. Mix well until everything is smooth and blended together. You want that rich flavor of peanut butter to shine through!
4. Prepare for Freezing:
Carefully pour the mixture into your Ninja Creami pint container, making sure to fill it to the max fill line. Secure the lid tightly.
5. Freeze Everything:
Put the container in your freezer and allow it to freeze for at least 24 hours. This step is crucial for achieving that perfect ice cream consistency!
6. Process in the Ninja Creami:
Once frozen solid, take the lid off and install the pint into the Ninja Creami machine. Select the “Ice Cream” function and let it churn!
7. Achieve Creamy Texture:
If your ice cream looks crumbly after the first spin, don’t worry! Just use the “Remix” function to whip it into a creamy, smooth delight.
8. Ready to Serve:
Scoop your ice cream into bowls and feel free to drizzle some extra peanut butter on top or add chopped peanuts or granola for a delightful crunch.
9. Enjoy!
Savor each bite of your homemade creamy chocolate peanut butter ice cream. It’s a delicious treat perfect for any occasion!
This recipe not only creates a wonderfully rich and creamy ice cream combining chocolate and peanut butter, but it’s also super easy to make with your Ninja Creami machine. Enjoy making and sharing it!
FAQ for Easy Ninja Creami Chocolate Peanut Butter Ice Cream
Can I Use Low-Fat Milk Instead of Whole Milk?
Yes, you can use low-fat milk or even skim milk if you’re looking for a lighter version. Just keep in mind that it may not be as creamy as using whole milk, which contributes to the rich texture of the ice cream.
How Can I Sweeten This Recipe Naturally?
If you prefer natural sweeteners, you can try using honey, maple syrup, or agave nectar in place of granulated sugar. Be sure to adjust the quantity based on your sweetness preference, as these alternatives are often sweeter than regular sugar.
What Should I Do if My Ice Cream is Too Hard to Scoop?
If your ice cream is too hard after freezing, let it sit at room temperature for about 5-10 minutes before scooping. This will soften it enough to scoop easily. Alternatively, you can use the “Remix” function in the Ninja Creami for a creamier texture immediately after taking it out of the freezer.
How Do I Store Leftover Ice Cream?
Store any leftover ice cream in an airtight container in the freezer. It’s best to consume it within a week for optimal flavor and texture, but it can last longer—just be aware it may become harder over time.
Feel free to dive into this delicious homemade treat and enjoy experimenting with different flavors and toppings!