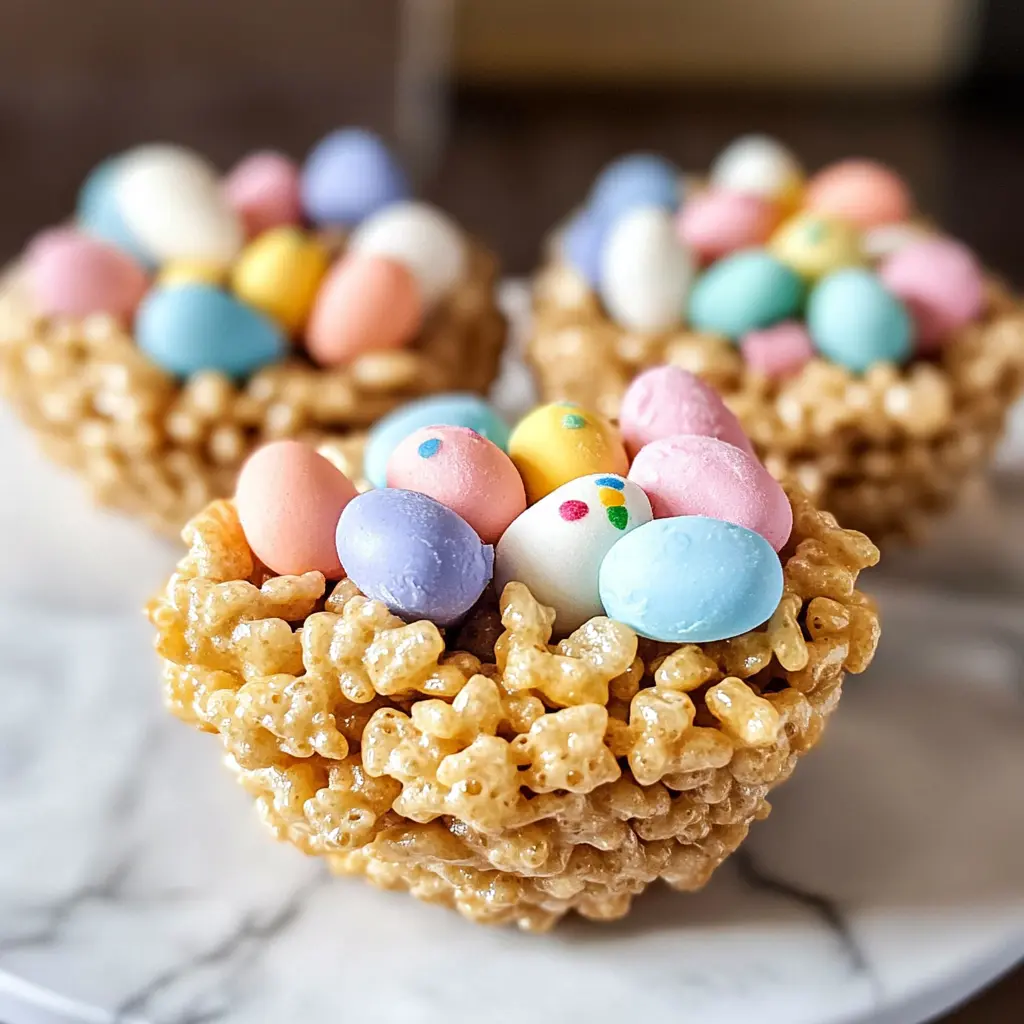
These colorful Easter Rice Krispie Treat Nests are not only cute but super easy to make! Just mix melted marshmallows and Rice Krispies, shape them into nests, and fill them with chocolate eggs.
Making these treats is so much fun, especially when the kids help! They love adding the chocolate eggs and can’t wait to eat their creations later. Perfect for Easter celebrations!
I’ve found that they look great on the table and taste even better. Plus, they’re quick to whip up if you need a last-minute treat. Everyone will want a taste of these delightful nests!
Ingredients & Substitutions
Rice Krispies Cereal: This is the classic base for our nests. If you’re looking for a gluten-free option, try using a gluten-free puffed rice cereal. It’s just as crispy and will work perfectly!
Butter: I recommend unsalted butter for better control over the sweetness. If you’re dairy-free, coconut oil or dairy-free margarine can be good replacements. Just melt them the same way!
Marshmallows: You can use mini or regular marshmallows here. If you’re looking to cut down on sugar, try using sugar-free marshmallows. Just remember they can behave a little differently when melted.
Chocolate Frosting: Store-bought frosting is convenient, but if you’re up for it, homemade chocolate frosting is easy and delicious. You can also use cream cheese frosting for a tangy twist!
Chocolate Eggs/Candies: Feel free to get creative with your toppings. Any small candies work well – think jellybeans or gummy bunnies! You can even use nuts or dried fruit for a healthier option.
How Do I Make Sure My Nests Hold Shape?
Forming the nests can be a bit tricky, but it’s all about timing and technique. First, let the mixture cool a bit before handling it, so it’s easier to mold.
- Press the mixture firmly into the muffin tins, but don’t crush it too much – you want them to be light and airy too.
- When creating the indentation, use a small measuring cup or your fingers, but do it gently; a little pressure goes a long way!
- Let them sit for at least 10-15 minutes to cool completely. They will firm up nicely if you resist the temptation to remove them too early.
How to Make Easter Rice Krispie Treat Nests
Ingredients You’ll Need:
For The Rice Krispie Nests:
- 4 cups Rice Krispies cereal
- 3 tablespoons butter
- 10 oz marshmallows (mini or regular)
For Decorating:
- 1/2 cup chocolate frosting (store-bought or homemade)
- Chocolate eggs or Easter candies (for decoration)
- Optional: pastel colored sprinkles (for garnish)
How Much Time Will You Need?
This recipe takes about 15 minutes to prepare, plus another 10-15 minutes for the nests to cool. It’s a quick and fun project that results in a tasty treat perfect for Easter festivities!
Step-by-Step Instructions:
1. Preparing the Baking Dish:
Start by greasing a muffin tin or silicone cupcake molds with some cooking spray or butter. This little step will make it much easier to get the nests out once they’re ready. Just lightly coat each cup and set your tin aside.
2. Melting Butter and Marshmallows:
In a large saucepan, place the butter and heat it over low. Once melted, add in the marshmallows. Keep stirring continuously until they are completely melted and the mixture becomes nice and smooth. Be patient—this is where the gooey goodness starts!
3. Mixing in Rice Krispies:
Remove the saucepan from the heat and quickly add the Rice Krispies cereal. Stir well until all the cereal is coated in that delicious marshmallow mixture. Make sure everything is thoroughly mixed for the best texture!
4. Forming the Nests:
With a spatula or your hands (just be careful as it might be warm), press the mixture into the greased muffin tins, shaping it like little nests. Don’t forget to make an indentation in the center of each nest for the frosting and candies. Let them cool for about 10-15 minutes, so they harden a bit.
5. Adding Chocolate Frosting:
Once the nests have cooled and are firm, gently pop them out of the molds. Using a piping bag or a small spatula, dollop some chocolate frosting into the center of each nest. This is where the fun really begins!
6. Decorating with Eggs:
Now it’s time to add your toppings! Place chocolate eggs or any of your favorite Easter candies on top of the frosting. If you’d like, sprinkle some pastel colored sprinkles around for that extra festive touch.
7. Serve and Enjoy:
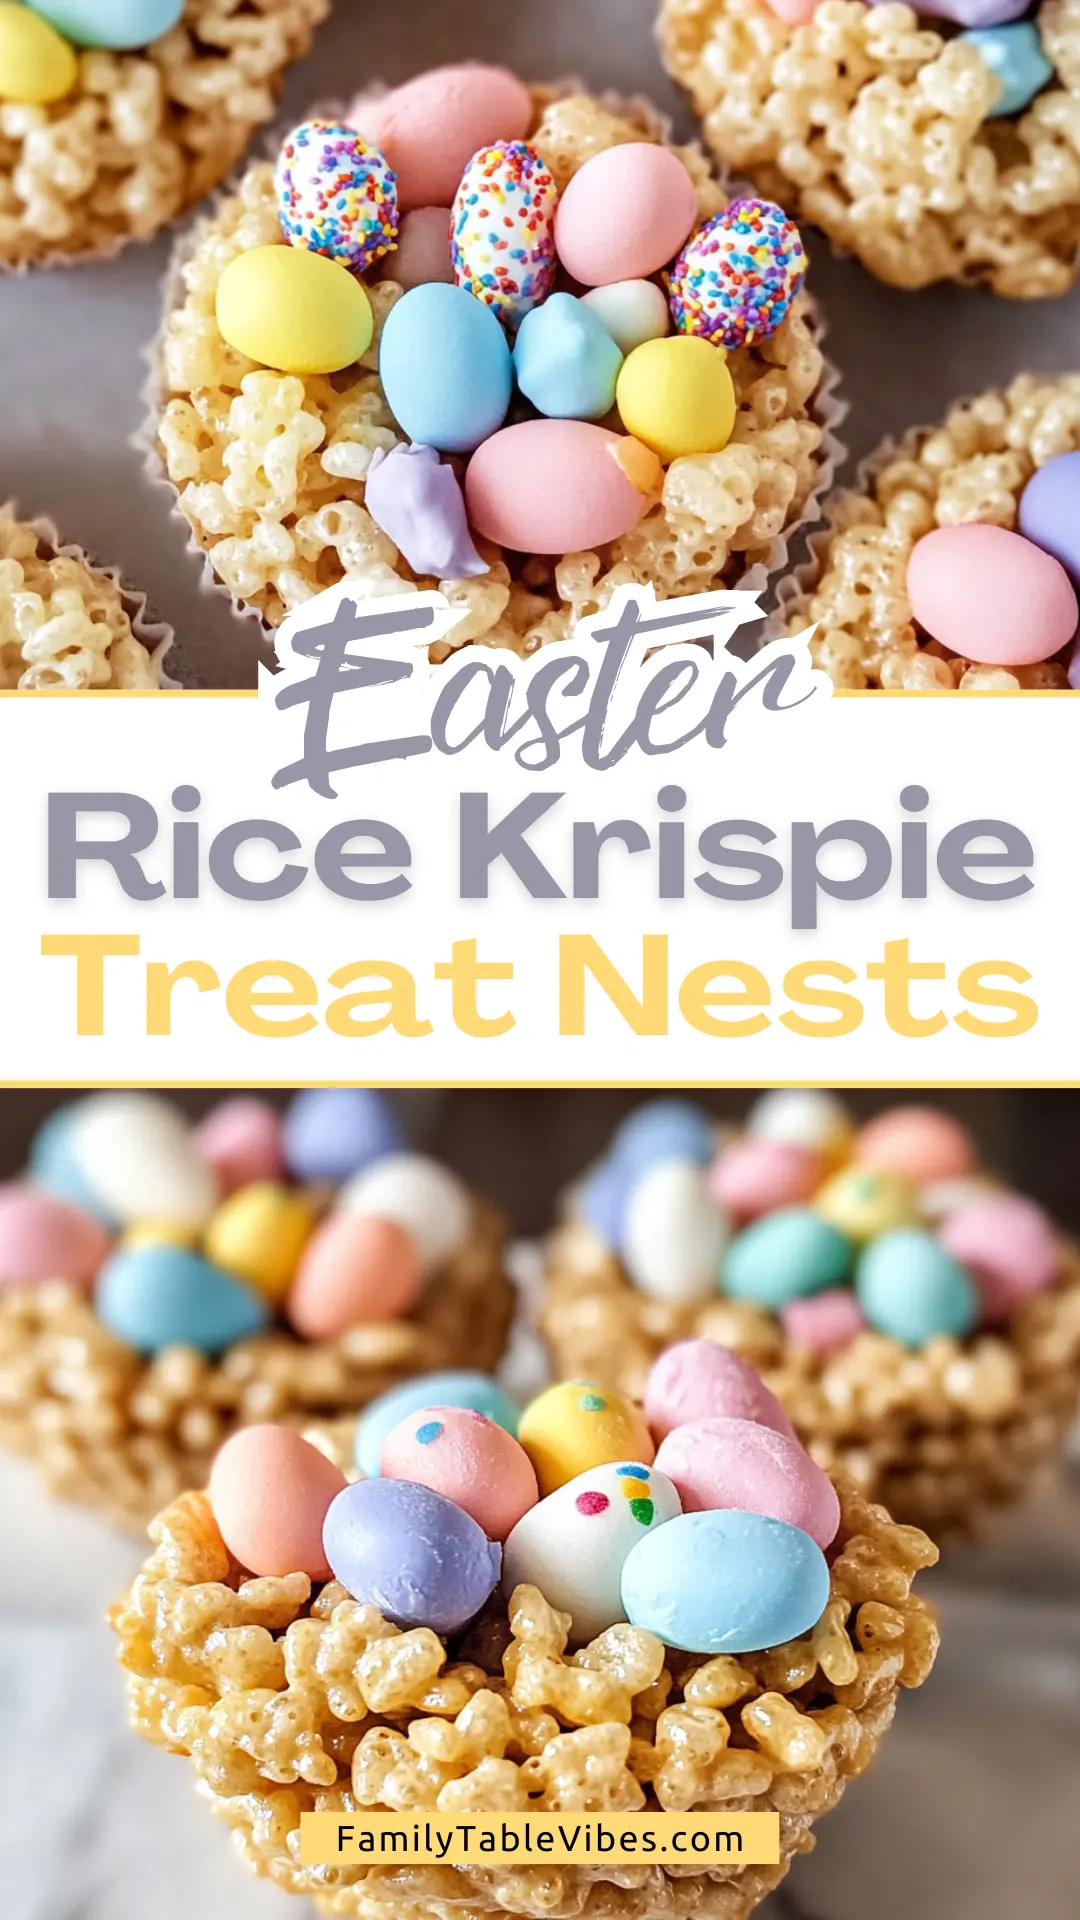
Your Easter Rice Krispie Treat Nests are ready to be enjoyed! You can serve them right away or store them in an airtight container for a couple of days. They make a delightful and beautiful treat for any Easter celebration. Enjoy every tasty bite!
Can I Use Different Types of Cereal?
Absolutely! While Rice Krispies are classic, you can substitute with other cereals like Cornflakes or Fruity Pebbles for a different flavor and texture. Just keep the proportions similar to ensure the treat holds together well!
How Can I Store Leftovers?
To keep your nests fresh, store them in an airtight container at room temperature for up to 2-3 days. If you need to store them longer, you can refrigerate them, but they may lose some of their crunchiness. Reheat briefly in a microwave for a few seconds if they become too hard.
What if I Don’t Have a Muffin Tin?
No problem! You can shape the nests freehand by forming small balls of the mixture and then creating an indentation in the center with your fingers. For larger nests, use a baking sheet lined with parchment paper and mold them directly on it!
Can I Substitute the Chocolate Frosting?
Yes, you can substitute chocolate frosting with other options like cream cheese frosting or even melted chocolate for a richer taste. If you want a healthier option, consider Greek yogurt mixed with cocoa powder and a bit of honey as a lighter alternative!
