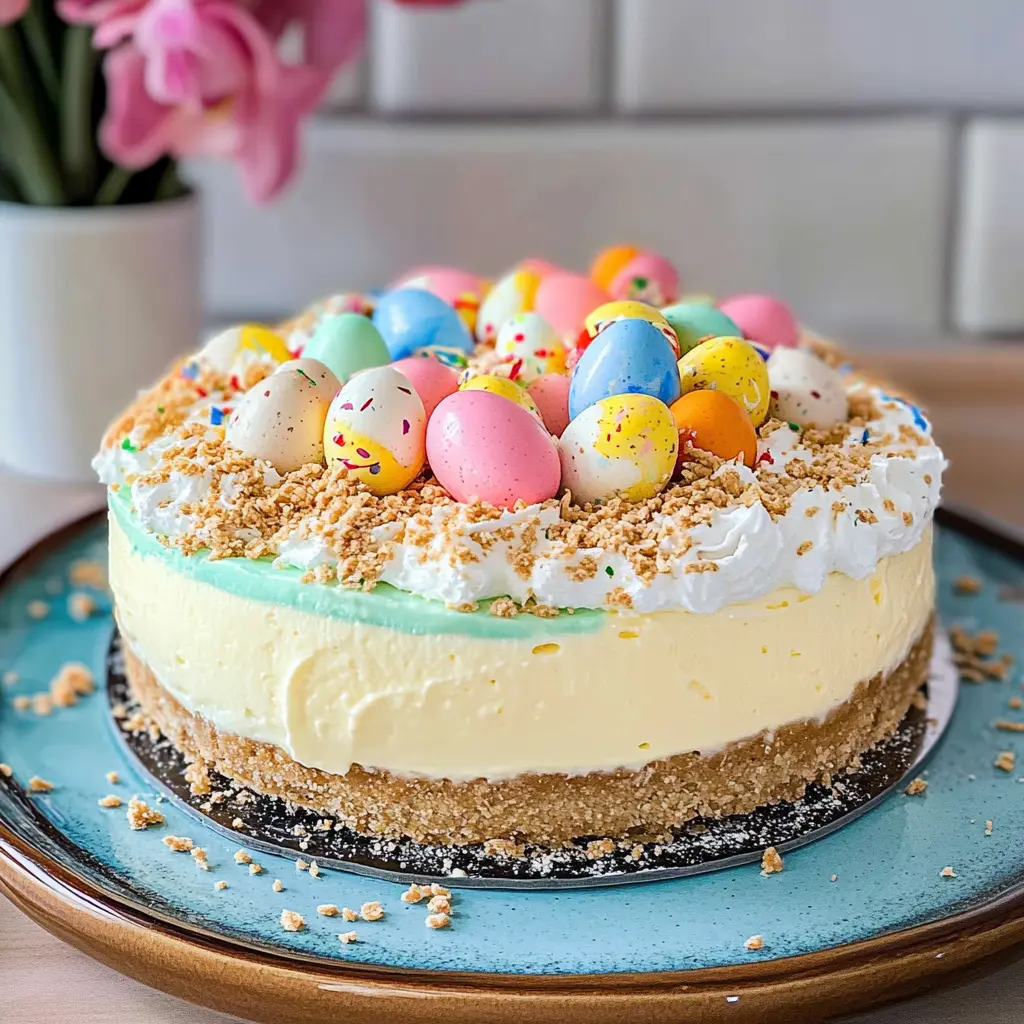
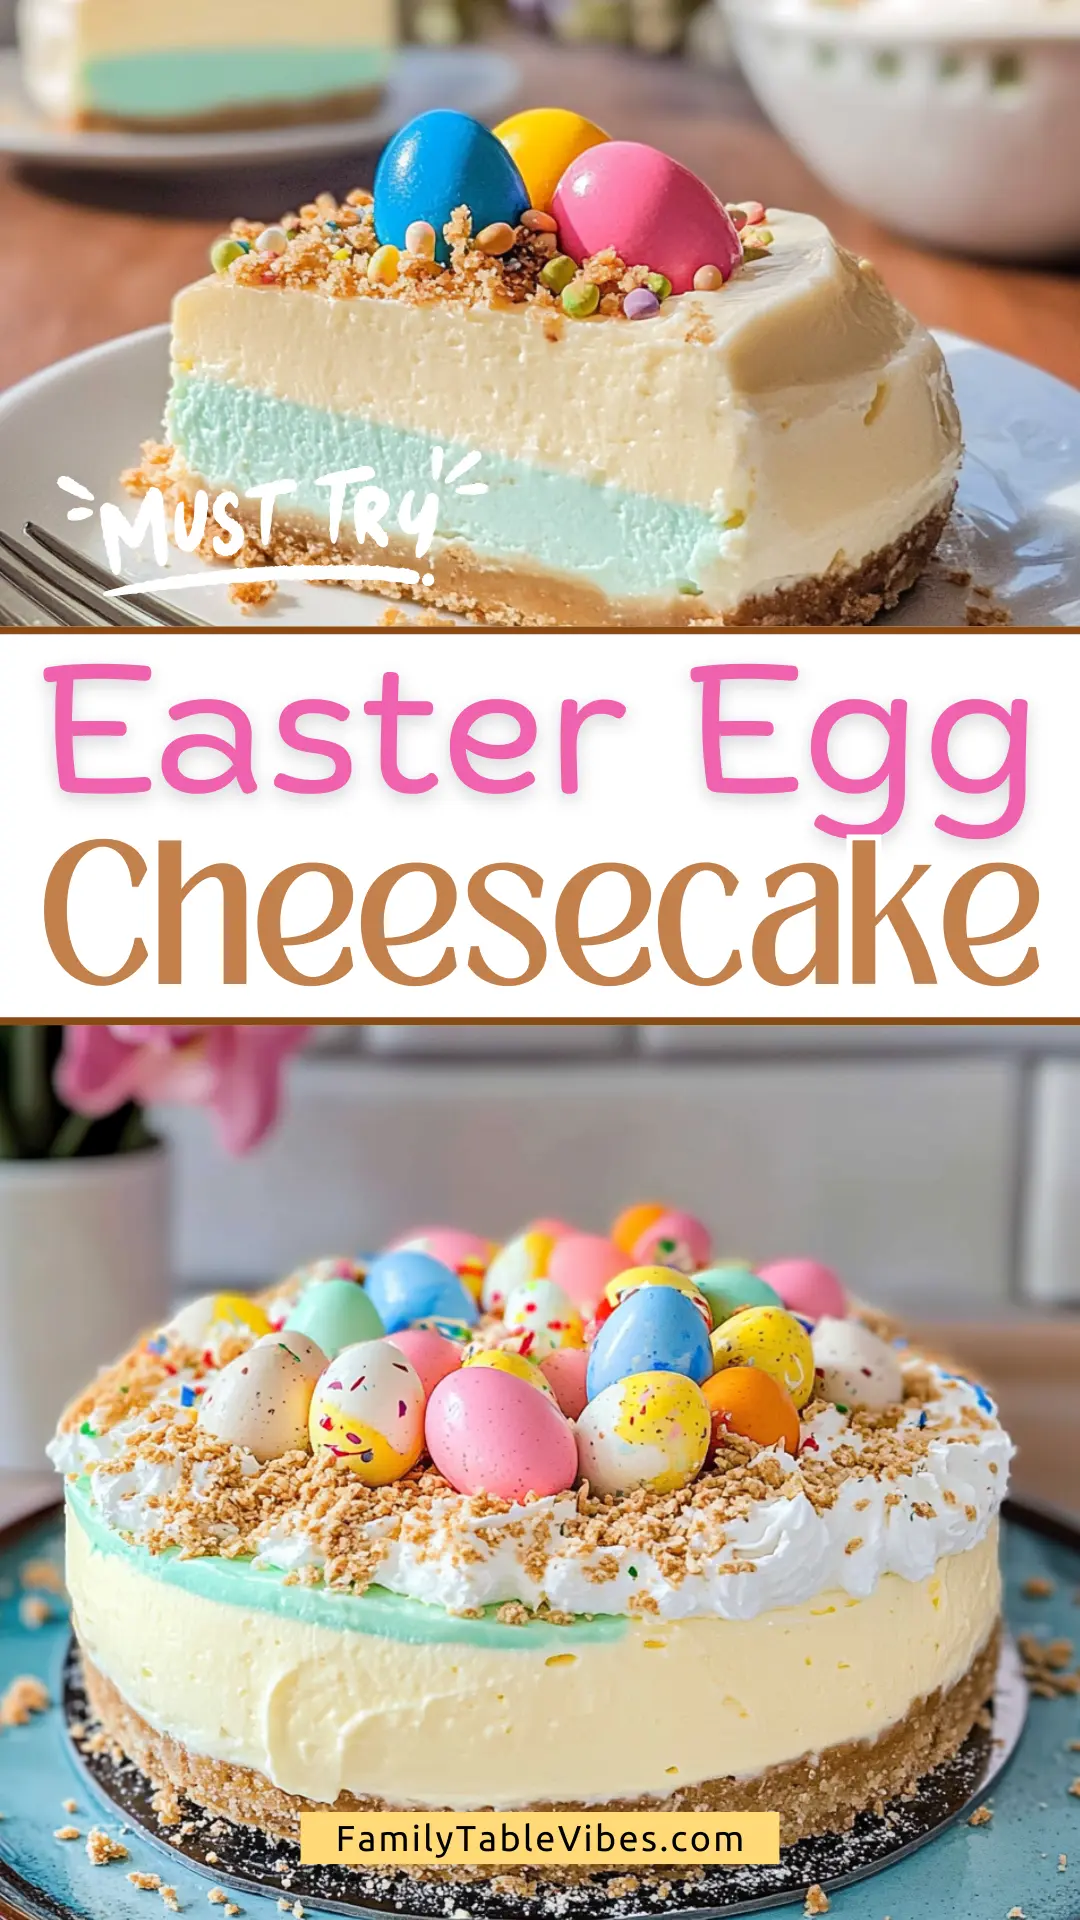
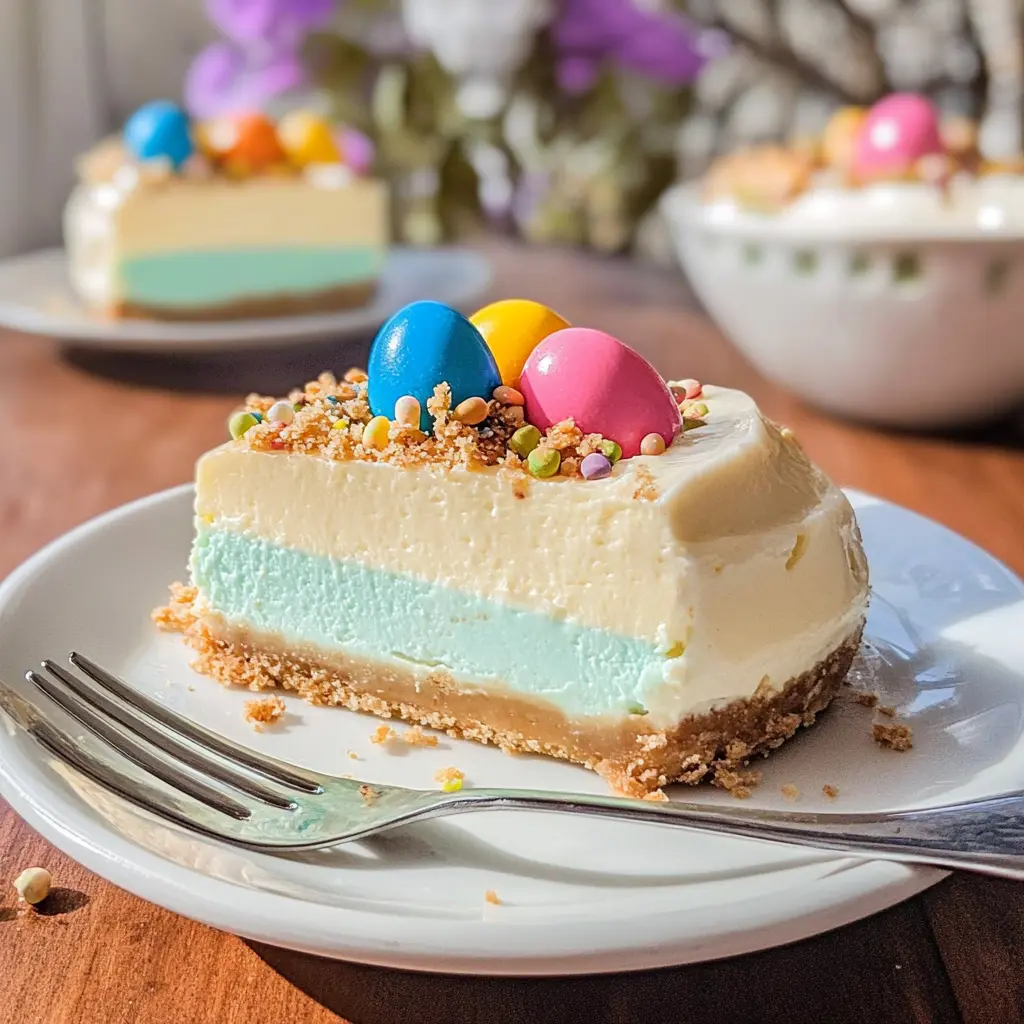
This Easter Egg Cheesecake is a fun and festive dessert that combines a creamy cheesecake with colorful chocolate eggs. It’s perfect for celebrating spring!
Honestly, who can resist a cheesecake that looks this cute? I love serving it at family gatherings, and watching everyone get excited about the hidden treats inside! 🐣
Making this cheesecake is a breeze! Just blend the ingredients, add the eggs, and pop it in the fridge. It’s like a spring party on a plate—yummy and easy!
Key Ingredients & Substitutions
Graham Cracker Crumbs: This is the base for your crust. If you don’t have them, crushed digestive biscuits or vanilla wafers work well as alternatives. I like using cinnamon graham crackers for an extra hint of flavor.
Cream Cheese: A must for a rich and creamy filling. If you need a lighter option, you can use Neufchâtel cheese. Some people also enjoy adding a bit of ricotta for texture.
Heavy Whipping Cream: This gives the cheesecake its light fluffiness. If you’re looking to reduce calories, you can use whipped coconut cream as a dairy-free alternative, but the texture will be slightly different.
Blue Raspberry Gelatin: This adds vibrant color and a sweet-tart flavor. If you want a different flavor or a natural option, you could use fruit purée or a similar flavored gelatin, like strawberry or lemon. Just adjust the color accordingly.
How Do You Make a Smooth Cheesecake Filling?
To achieve a creamy cheesecake filling, the key is in the beating! Start with softened cream cheese; it’ll blend more easily. Use an electric mixer on medium speed until smooth before adding sugar and vanilla, mixing well. Gradually fold in the whipped cream instead of stirring to keep that fluffy texture.
- Ensure your cream cheese is at room temperature for the best results.
- Whip the heavy cream until stiff peaks form; this adds volume.
- Gently incorporate the whipped cream into the cream cheese mixture with a spatula; avoid overmixing.
Taking these steps helps prevent lumps, giving you that silky cheesecake texture everyone loves!

How to Make Easter Egg Cheesecake
Ingredients You’ll Need:
For The Crust:
- 1 ½ cups graham cracker crumbs
- ½ cup unsalted butter, melted
- ¼ cup granulated sugar
For The Cheesecake Filling:
- 16 oz cream cheese, softened
- ½ cup granulated sugar
- 1 tsp vanilla extract
- 1 cup heavy whipping cream
For The Topping:
- 1 cup blue raspberry flavored gelatin (like Jell-O)
- 1 cup boiling water
- 1 cup cold water
- 1 ½ cups whipped topping (like Cool Whip)
- 1 cup Easter-themed candy (such as chocolate eggs, mini eggs, and pastel candy-coated chocolates) for decoration
How Much Time Will You Need?
This delightful Easter Egg Cheesecake requires about 30 minutes of preparation time, plus at least 4 hours to chill in the refrigerator. It’s a simple process that results in a festive and delicious dessert your family will love!
Step-by-Step Instructions:
1. Preparing the Crust:
In a medium bowl, mix together the graham cracker crumbs, melted butter, and granulated sugar. Stir with a fork until it’s well combined and looks like wet sand. Next, press this crumb mixture firmly into the bottom of a 9-inch springform pan to form a nice, even layer. Once it’s set, pop it into the refrigerator while you prepare the filling.
2. Making the Cheesecake Filling:
In a large mixing bowl, use an electric mixer to beat the softened cream cheese until it’s smooth and creamy. Add in the granulated sugar and vanilla extract, and mix again until everything is well combined. In a separate bowl, whip the heavy cream until you see stiff peaks. Carefully fold the whipped cream into the cream cheese mixture until it’s all blended nicely. Pour this creamy filling over your chilled crust and spread it evenly.
3. Preparing the Gelatin Topping:
Grab a medium bowl and dissolve the blue raspberry gelatin in 1 cup of boiling water, stirring until fully dissolved. Then, add the cold water and mix well. Let this cool slightly. Once it’s cooled, gently mix the whipped topping into the gelatin until everything is nicely combined. Now, pour this beautiful mixture over the cheesecake layer, spreading it evenly on top.
4. Chilling and Decorating:
Cover the cheesecake and chill in the refrigerator for at least 4 hours, or until it’s set firm. When it’s ready, carefully remove the cheesecake from the springform pan. Decorate the top with your assorted Easter-themed candy, making it colorful and festive!
5. Serving:
Slice this lovely cheesecake and serve it chilled. Enjoy your festive Easter dessert with friends and family!

Can I Substitute Grahams Crackers with Another Crust?
Absolutely! If you’re looking for a gluten-free option, try using almond flour or gluten-free graham crackers. For a chocolate crust, crushed Oreo cookies work wonderfully—just replace the graham cracker crumbs with an equal amount of crushed Oreos, and omit the sugar in the crust since Oreos are already sweet.
How Do I Store Leftover Cheesecake?
Store any leftover cheesecake in an airtight container in the refrigerator. It will keep well for up to 5 days. To prevent the whipped topping from losing its fluffiness, you can wrap the cheesecake tightly with plastic wrap before storing it. For longer storage, consider freezing it for up to 2 months—just be sure to slice it before freezing for easier serving later!
Can I Make This Cheesecake in Advance?
You can definitely prepare this cheesecake a day or two ahead of time! After chilling it, cover it carefully with plastic wrap and keep it in the refrigerator. Just add the Easter-themed candies right before serving to keep them fresh and visually appealing.
What If I Don’t Have Heavy Whipping Cream?
If you don’t have heavy whipping cream, you can substitute it with an equal amount of sour cream for a tangy flavor or use a mix of cream cheese and milk blended until smooth. Keep in mind that this will slightly alter the texture and taste of the cheesecake.


