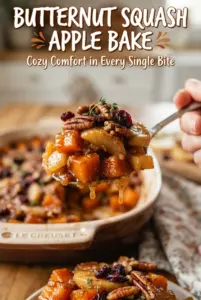
Soft cubes of butternut squash and tender apple slices bake together under a cinnamon-brown sugar glaze, then finish with an oat-pecan crumble that turns crisp at the edges while the fruit underneath stays silky and spoonable. It’s the kind of side dish that lands on the table looking rustic and generous, with just enough sweetness to work next to roast chicken, pork, or a holiday spread, but not so much that it feels like dessert pretending to be dinner.
The trick is layering the bake in two stages. The squash and apples get covered first so they can steam and soften before the topping goes on, which keeps the fruit from drying out and helps the spices sink in. The crumble waits until the end, so the oats and pecans stay nutty and browned instead of fading into the filling. A little flour in the topping helps it clump, and cold butter gives you those uneven crisp bits that make each bite better.
Below you’ll find a few details that matter more than they look on paper, including the best apple choice, what to watch for if your squash cubes run large, and how to keep the topping crisp if you’re making this ahead.
The squash came out tender without turning mushy, and the topping stayed crunchy even after I let it sit for 15 minutes. The apples held their shape and the cinnamon-brown sugar butter made the whole dish taste like fall without being overly sweet.
Save this butternut squash apple bake for the dinner where you want tender squash, soft apples, and a crisp pecan crumble in one pan.
The Part That Keeps the Squash Tender Instead of Watery
The biggest mistake with a bake like this is rushing everything uncovered from the start. Butternut squash needs enough time to soften before the topping goes on, and the foil traps heat and steam so the cubes cook through evenly. If you skip that covered stage, the topping can brown before the center of the squash is even close to done.
The apples matter too. Use a firm baking apple that holds its shape, not one that collapses into sauce. You want slices that stay distinct so the final dish has texture, not just sweet mash under crumbs. The butter and brown sugar coating does the heavy lifting here; the seasoning is there to deepen the fruit, not bury it.
What Each Ingredient Is Actually Doing in This Bake
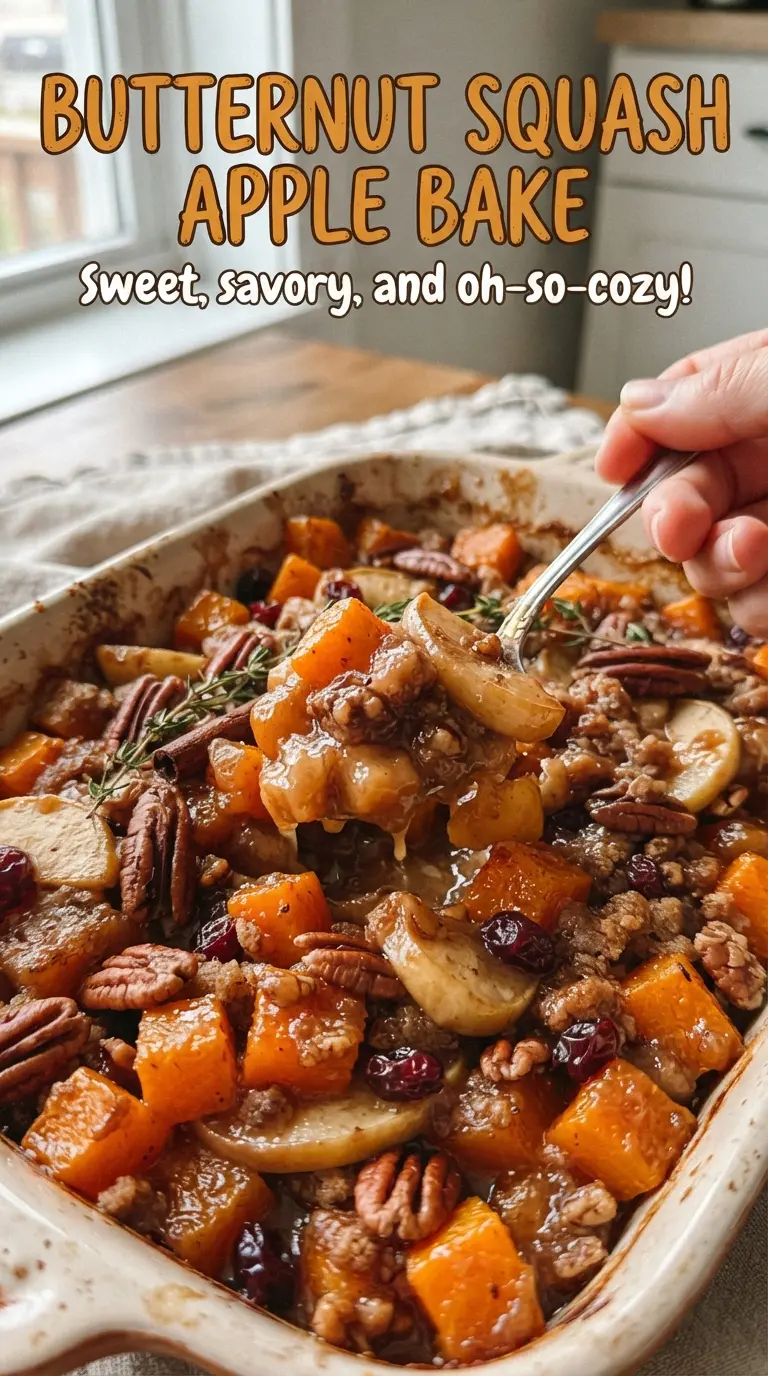
- Butternut squash — This is the base of the dish, and it needs to be cut into even 1-inch cubes so it cooks at the same rate as the apples. Larger chunks stay firm in the center after the topping browns.
- Apples — A firm variety keeps some bite after baking. If you use a softer apple, it turns to sauce and blends into the squash, which changes the whole texture.
- Brown sugar and melted butter — These create the glossy coating that flavors the squash and apples before the bake starts. The butter carries the cinnamon and nutmeg across the surface so every bite tastes seasoned.
- Oats, pecans, flour, brown sugar, and cold butter — This is the crumble. Cold butter is the key detail; it creates small pockets that brown into crisp bits instead of melting into a paste.
Building the Bake in Two Distinct Textures
Coating the Fruit
Toss the squash and apples until every piece looks lightly glazed, not drenched. The brown sugar should cling to the cut surfaces and the melted butter should pool only slightly in the bowl. If you see a lot of liquid collecting, the fruit may have been cut too small or sat too long before baking, and that extra moisture can make the finished dish soft instead of plush.
Covered Baking
Spread the mixture in the dish and cover it tightly with foil. That first 30 minutes is where the squash softens and the apples start to release just enough juice to create a little syrup at the bottom. Pull the foil off only after the squash is partially tender; if it still feels firm when pierced with a knife, give it a few more minutes before adding the topping.
Making the Crumble
Rub the oats, pecans, flour, brown sugar, and cold butter together until the mixture looks sandy with some pea-size clumps. Those uneven bits are what bake into a good topping. If the butter warms too much, the mixture turns greasy and compact, so work quickly and stop once it holds together when squeezed.
Finishing to a Golden Top
Once the topping goes on, bake until the crumble is browned and the squash gives easily when pierced. The edges should bubble a little, and the pan should smell nutty and caramelized. If the top darkens too fast, lay the foil back loosely over the dish for the final minutes so the topping doesn’t burn before the squash is tender.
How to Adapt the Bake When You Need a Different Finish
Make it gluten-free
Swap the all-purpose flour in the crumble for a good 1:1 gluten-free blend. The topping will still brown and clump, though it may be a little more delicate when serving. The rest of the bake is naturally gluten-free as written.
Make it dairy-free
Use a plant-based butter that bakes well in both the fruit mixture and the topping. Look for one with a higher fat content, since very soft spreads can make the crumble greasy instead of crisp. The flavor stays close to the original because the brown sugar and spices still carry the dish.
Use pears instead of apples
Firm pears can stand in for apples if that’s what you have on hand. They soften faster, though, so keep an eye on the covered bake and check for tenderness a few minutes early. The result is a little more floral and a touch softer in the center.
Add more crunch
Toast the pecans before adding them to the crumble if you want a deeper nutty flavor. This doesn’t change the structure of the topping, but it gives the finished dish a stronger roasted note and keeps the nuts from tasting flat against the sweet squash.
Storage and Reheating
- Refrigerator: Store leftovers covered for up to 4 days. The topping softens in the fridge, but the flavor holds up well.
- Freezer: It freezes, but the crumble loses some of its crispness. Freeze in a tightly wrapped portion for up to 2 months and expect a softer topping after thawing.
- Reheating: Warm in a 350F oven until heated through and the top starts to crisp again. The microwave will heat the filling, but it turns the crumble soft and steamy, which is the main thing to avoid.
Answers to the Questions Worth Asking
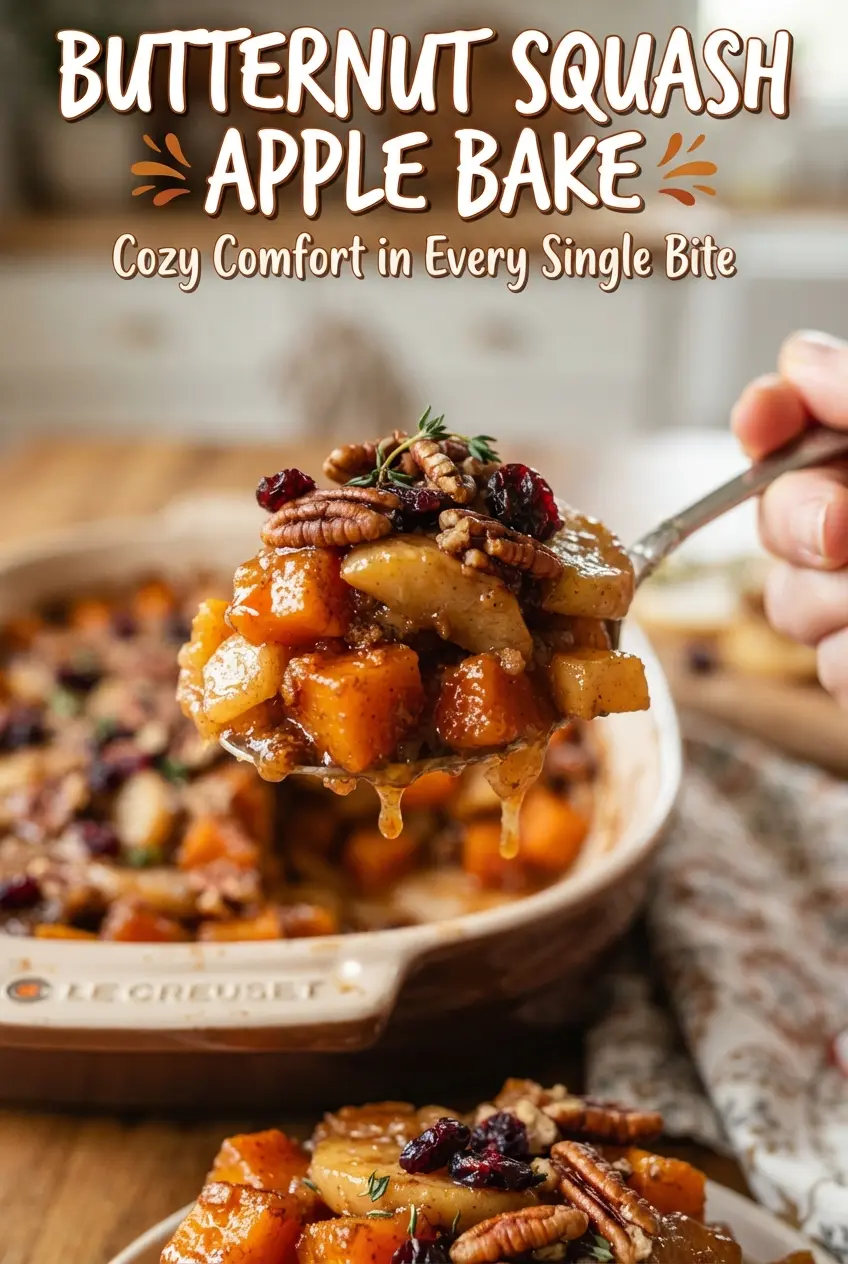
Butternut Squash Apple Bake
Ingredients
Equipment
Method
- Preheat the oven to 375F and grease a 9x13-inch baking dish. Use a thin, even coat so the squash and apples release easily.
- Toss the butternut squash cubes and apple slices with packed brown sugar, melted butter, ground cinnamon, nutmeg, and salt, then spread them in the dish. Ensure everything is coated and the pieces sit in a single layer where possible.
- Cover the dish with foil and bake for 30 minutes at 375F. Look for steam rising through the foil and slightly softened edges on the squash.
- Rub together the oats, chopped pecans, all-purpose flour, brown sugar, and cold cubed butter until crumbly. The mixture should look like uneven sand with some pea-size bits of butter.
- Uncover the dish, sprinkle the oat-pecan crumble over the squash and apples, and bake uncovered for 18-20 minutes at 375F. Bake until the squash is tender when pierced and the topping is golden brown.