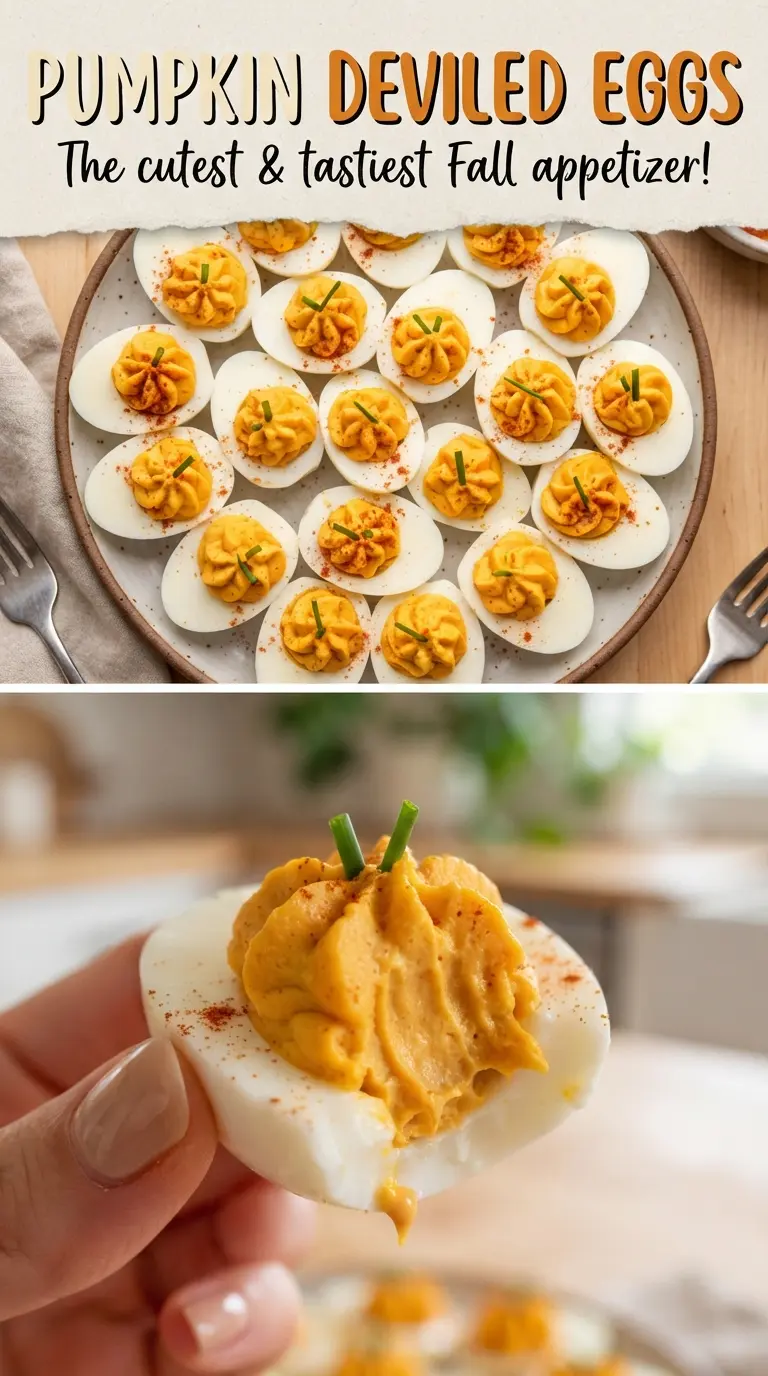
Pumpkin deviled eggs always get attention because they look playful before anyone takes a bite, then the filling seals the deal. The yolks stay smooth and creamy, the Dijon keeps them sharp enough to taste like more than just mayo, and the smoked paprika gives the filling a deeper orange color that reads as pumpkin without turning the eggs sweet. The ridge marks on top are what make them work on a platter, but the real win is how balanced the filling tastes once it’s chilled.
The texture comes down to two things: fully cooked yolks and a filling that’s mashed until there are no dry pockets left. A splash of apple cider vinegar loosens the mixture and wakes up the richness, while just a little cayenne keeps the flavor from going flat. If you want the pumpkin look to land cleanly, pipe or mound the filling first, then score it with the back of a knife while it’s still soft.
Below, I’ve included the small details that help these hold their shape, plus a couple of smart variations if you want to adjust the heat or skip the food coloring.
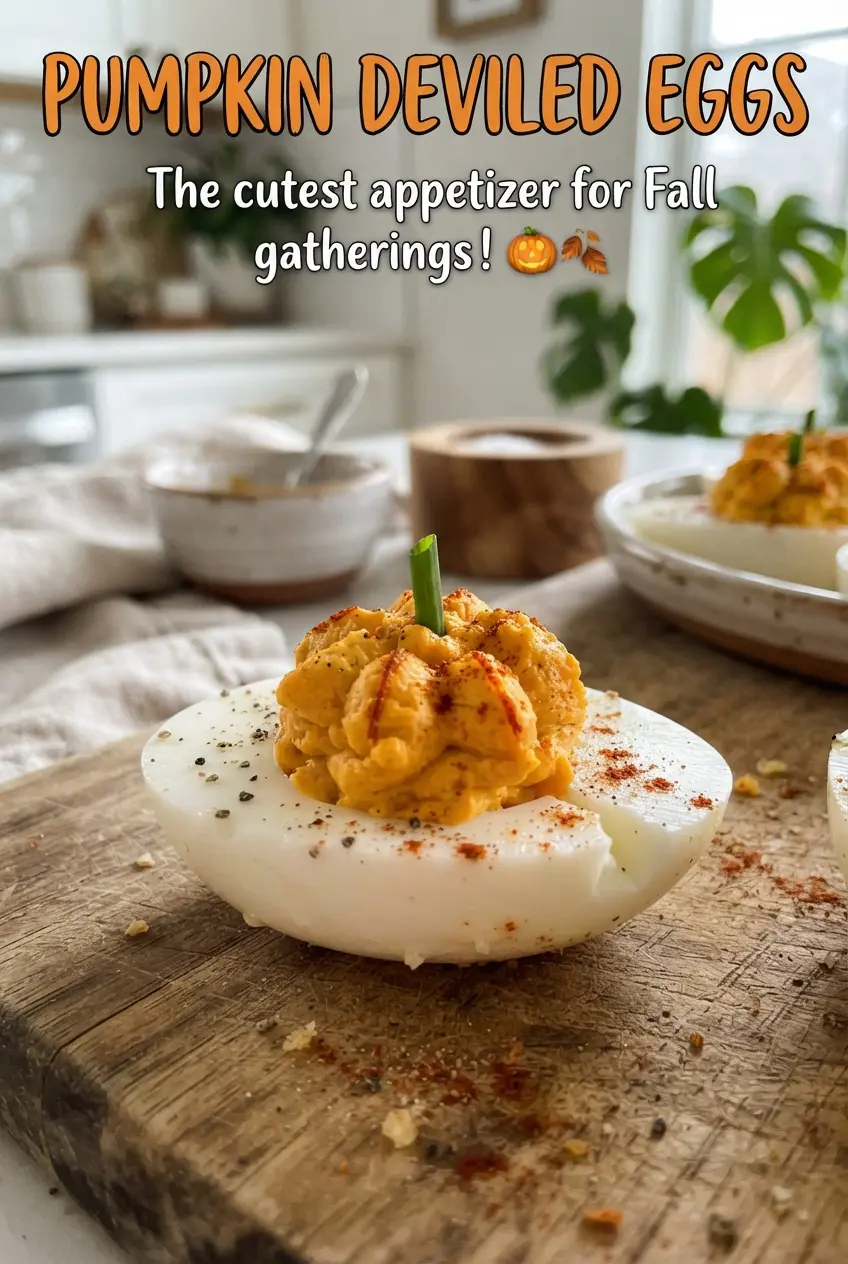
The filling was silky and held its shape beautifully, and the little chive stems made them look like tiny pumpkins without any fuss.
Save these pumpkin deviled eggs for an appetizer that looks festive, pipes neatly, and still tastes classic and creamy.
The Trick to Pumpkin Deviled Eggs That Hold Their Shape
Deviled eggs fall apart most often because the filling is too loose or the eggs weren’t chilled before piping. For this version, the yolks need to be mashed until smooth, then mixed just until creamy enough to mound cleanly in the whites. If the mixture turns runny, the ridges won’t hold and the pumpkin look disappears under a soft blob of filling.
The other detail that matters is temperature. Warm filling slides around; cold filling pipes with more control and keeps the scored lines crisp. Chill the eggs after filling them if you can spare the time, because that short rest helps the flavors settle and gives the tops a cleaner finish.
What Each Ingredient Is Doing in the Filling
- Eggs — Large eggs give you the right ratio of white to filling, which matters here because the pumpkin shape depends on a full, rounded mound. Older eggs peel a little more easily than the freshest ones, so if you’re planning ahead, that helps.
- Mayonnaise — This is what turns dry yolks into a smooth filling. Use a mayo you actually like, because its flavor comes through. If you want a lighter result, swap in part Greek yogurt, but the filling will be tangier and a little less rich.
- Dijon mustard and apple cider vinegar — Dijon gives the filling backbone, and vinegar sharpens the flavor so it doesn’t taste flat. Lemon juice works in a pinch, but it tastes brighter and less rounded than vinegar.
- Smoked paprika and cayenne — Smoked paprika adds color and a warm, savory edge; cayenne keeps the flavor from drifting too sweet or bland. Regular paprika works for color, but you’ll lose that deeper smoky note.
- Orange gel food coloring — Optional, but helpful if you want the filling to read clearly as pumpkin orange. Gel color is better than liquid because it won’t thin the filling.
- Chives and parsley — These are the final visual cue. The chive piece looks like a stem, and the little parsley leaf gives the top a fresh, garden-like finish.
Building the Filling and the Pumpkin Look
Cooking the Eggs Evenly
Put the eggs in a pot and cover them with cold water before you turn on the heat. Bringing them up gradually helps reduce cracking and gives you a more even set. Once the water boils, cover the pot, pull it off the heat, and let the eggs sit for 12 minutes. If you leave them too long, the yolks pick up a gray edge and the filling tastes chalky instead of creamy.
Chilling and Peeling Without a Mess
Move the eggs straight into an ice bath after the timer goes off. That stops the cooking and helps the shells release more cleanly. Crack the eggs all over and peel them under cool running water if needed. If the whites tear, the eggs are still usable, but the pumpkin look is cleaner when the halves stay intact.
Mashing the Yolks Until Smooth
Cut the eggs in half lengthwise and pop the yolks into a bowl. Mash them well before adding the mayonnaise, mustard, vinegar, paprika, and cayenne. The goal is a filling with no dry crumbs left behind; any little lump shows up once it’s piped. Stir in the orange coloring only if you want a brighter finish, then season with salt and pepper until the flavor tastes full, not just salty.
Scoring the Tops Like Little Pumpkins
Spoon or pipe the filling into the egg whites in a rounded mound. Use the back of a knife to draw shallow ridges down the sides of each mound, working lightly so you don’t drag the filling off the egg. Press a short chive piece into the top for the stem and tuck a parsley leaf beside it. A quick chill before serving helps the lines stay sharp.
Three Smart Ways to Change These Up
Skip the Food Coloring
The smoked paprika already gives the filling a warm orange tone, so you can leave out the gel color and still get a pumpkin-like look. The result is a little more natural and a touch softer in color, but the flavor stays the same.
Make Them a Little Spicier
Add a pinch more cayenne or a few drops of hot sauce to the yolk mixture. That gives the filling a sharper finish, which works well if you’re serving these alongside milder appetizers.
Dairy-Free Version
These are already naturally dairy-free as written, so there’s nothing extra to change. If you swap the mayonnaise for a dairy-free mayo, the texture stays just as creamy and the pumpkin decoration still works.
Storage and Reheating
- Refrigerator: Store covered for up to 2 days. The tops may lose a little of their sharp ridge detail, but the flavor stays good.
- Freezer: Don’t freeze deviled eggs. The whites turn rubbery and watery after thawing.
- Reheating: These are meant to be served cold. If they’ve been refrigerated, let them sit out for 10 to 15 minutes so the filling loses its chill and tastes softer, but don’t warm them up.
Questions I Get Asked About This Recipe
Pumpkin Deviled Eggs
Ingredients
Equipment
Method
- Place 12 large eggs in a pot and cover with cold water, then bring to a boil over high heat until the water reaches a rolling boil. Visual cue: active bubbles across the bottom and sides of the pot.
- Cover the pot, remove from heat, and let stand for 12 minutes. Visual cue: eggs set with no visible jiggle when carefully lifted from the water.
- Chill the eggs in an ice bath, then peel. Visual cue: shells loosen easily and the egg whites look fully chilled and firm.
- Halve the peeled eggs lengthwise, then mash the yolks with mayonnaise, Dijon mustard, apple cider vinegar, smoked paprika, and cayenne until smooth. Visual cue: mixture turns glossy and uniform with no yolk lumps.
- Stir in orange gel food coloring for a bright pumpkin orange, then season with salt and pepper to taste. Visual cue: filling color is vivid orange and evenly distributed.
- Spoon or pipe the filling into the egg white halves in a round mound. Visual cue: each mound sits high above the egg white.
- Score the top with the back of a knife to create pumpkin ridges. Visual cue: shallow parallel lines form a textured pumpkin pattern.
- Press a chive piece in as a stem and place a small parsley leaf beside it. Visual cue: each egg has a visible stem and leaf “face,” then chill until serving.