Maple caramel bacon crack bites hit every note that makes a party snack disappear fast: crisp bacon, a shiny sticky glaze, and a salty cracker base that stays just sturdy enough to hold everything together. The first bite gives you crunch, then smoke, then that sweet-savory finish that keeps people reaching for one more.
The trick is getting the bacon thin enough to crisp in the time it takes the glaze to caramelize. Thick-cut bacon stays chewy here and the crackers can turn soft before the edges catch up. A wire rack helps too, since it lets the fat render away instead of pooling underneath and turning the bottoms greasy.
Below, I’ll walk through the small details that matter most: how to keep the bacon wrapped tight, how thick the maple-brown sugar paste should be, and why the cooling time is part of the recipe, not an afterthought.
The bacon got crisp all the way through and the maple glaze set up on the rack instead of running off. I made a double batch and they were gone before the second tray cooled.
Save these maple caramel bacon crack bites for the appetizer tray when you want something crisp, sticky, and gone in minutes.
The Reason the Glaze Stays Sticky Instead of Sliding Off
The glaze needs to be a paste before it hits the bacon. If it’s loose, it runs onto the pan, burns at the edges, and leaves the tops patchy instead of lacquered. Brown sugar, maple syrup, and melted butter create a coating that clings long enough to caramelize in the oven, while black pepper and cayenne cut through the sweetness and keep the bites from tasting flat.
The other thing that matters is the rack. Bacon wrapped around crackers releases a lot of fat as it bakes, and if the bites sit directly on a sheet pan, the bottoms soften before the tops finish crisping. The rack lets hot air move underneath, which gives you better texture on both sides without having to flip anything halfway through.
What Each Ingredient Is Actually Doing in These Bites
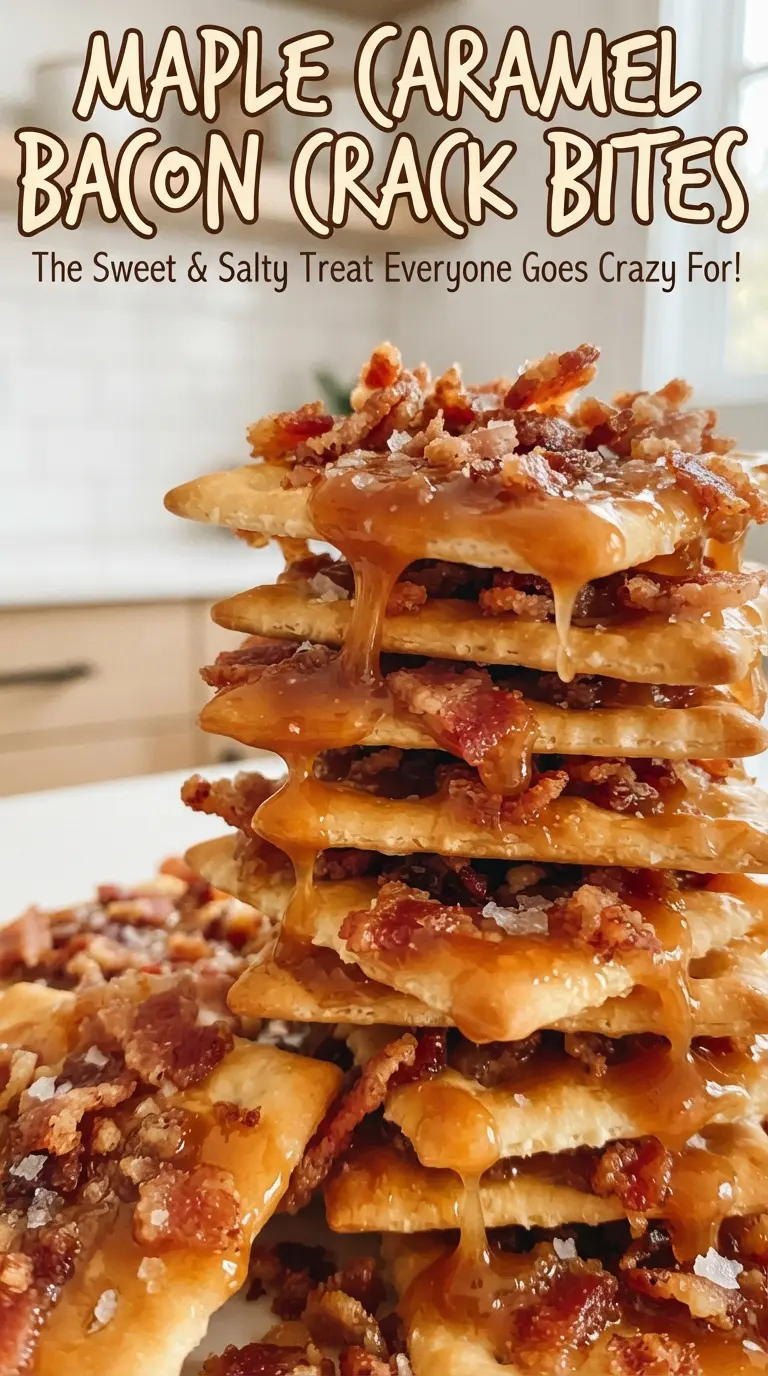
- Club crackers or saltines — These give you the salty, snappy base that makes the whole bite work. Saltines are a little leaner and crisper; club crackers are a touch richer and sturdier. Either one works, but avoid crackers that crumble easily, because once they’re wrapped and glazed, they need to hold their shape.
- Thin-cut bacon — Thin bacon is the difference between crisp edges and chewy strips. It cooks through in the same window that the sugar mixture turns glossy and caramelized. If all you have is regular bacon, stretch the bake time and watch closely, because the glaze can darken before the bacon finishes.
- Brown sugar and maple syrup — This is the sticky backbone of the recipe. Brown sugar brings depth and helps the top crust set, while maple syrup adds flavor and keeps the mixture spreadable. Don’t swap in pancake syrup here; it tastes flatter and can turn the topping watery.
- Black pepper and cayenne — These keep the bites from landing in pure candy territory. The pepper shows up most at the end, and the cayenne adds a small, welcome burn. Leave them in, even if you’re nervous; they’re what makes the sweet bacon taste balanced instead of one-note.
- Butter — Butter loosens the glaze just enough to spread in a thin layer and helps the sugar bubble into a smooth finish. Melted butter is the right move here because it mixes quickly and distributes the spices evenly.
Wrapping, Glazing, and Baking Without Losing the Crunch
Wrapping the Cracker Cleanly
Lay each cracker flat and wrap it with a half slice of bacon, stretching the bacon just enough to cover the top without tearing it. Place the seam side down so the bacon stays put as it cooks. If the bacon overlaps too much, trim it; thick bundles stay soft in the middle and make the cracker greasy before the edges crisp.
Spreading the Maple Paste
Stir the brown sugar, maple syrup, butter, black pepper, and cayenne until you have a thick, spreadable paste. It should look glossy and hold together on a spoon, not pour like sauce. Spoon a thin layer over each wrapped cracker and spread it gently; too much topping will puddle on the rack and can burn before the bacon is done.
Baking Until the Glaze Sets
Bake at 350°F for 22 to 25 minutes until the bacon looks crisp at the edges and the glaze is bubbling across the tops. You’re waiting for caramelization, not just color, so the bites should look deeply glazed and a little lacquered. If they come out pale, give them another couple of minutes; if the sugar starts to smell sharp or bitter, they’ve gone too far.
Cooling So the Caramel Hardens
Let the bites cool for 10 minutes on the rack before serving. That cooling time is what turns the glaze from sticky to snappy, and it’s the difference between a crisp finish and a messy one. If you move them too early, the sugar stays soft and the crackers can slump under the heat.
How to Adapt These for Different Crowds and Diets
Make Them Spicier for a Game-Day Tray
Add an extra pinch of cayenne or a little cracked black pepper to the glaze. The heat doesn’t overpower the maple; it sharpens the sweet-smoky finish and makes the bites feel less candy-like. This is the version I’d make when they’re sitting next to cold drinks and a big snack spread.
Gluten-Free with the Same Crispy Finish
Use a gluten-free cracker that holds up under heat, ideally one with a firm, dry texture. The bacon and glaze carry most of the flavor, but the cracker still needs enough structure to survive the bake without turning soggy. Softer gluten-free crackers tend to collapse, so choose the sturdiest option you can find.
Using Regular Bacon Instead of Thin-Cut
Regular bacon works, but it needs a little more oven time and closer watching. The risk is that the glaze darkens before the bacon crisps, so keep the bites on the rack and check for a deep golden color rather than going strictly by the clock. If the tops are browning too quickly, tent the pan loosely with foil for the last few minutes.
Storage and Reheating
- Refrigerator: Store leftovers in an airtight container for up to 3 days. The bacon stays tasty, but the cracker softens a bit once chilled.
- Freezer: These don’t freeze well after baking because the cracker loses its crisp texture when thawed. If you need to get ahead, assemble them and freeze unbaked for a short stretch, then bake from cold and add a couple of minutes.
- Reheating: Warm them on a wire rack in a 325°F oven for 5 to 8 minutes. Skip the microwave; it turns the bacon limp and remelts the caramel into a sticky mess.
Answers to the Questions Worth Asking
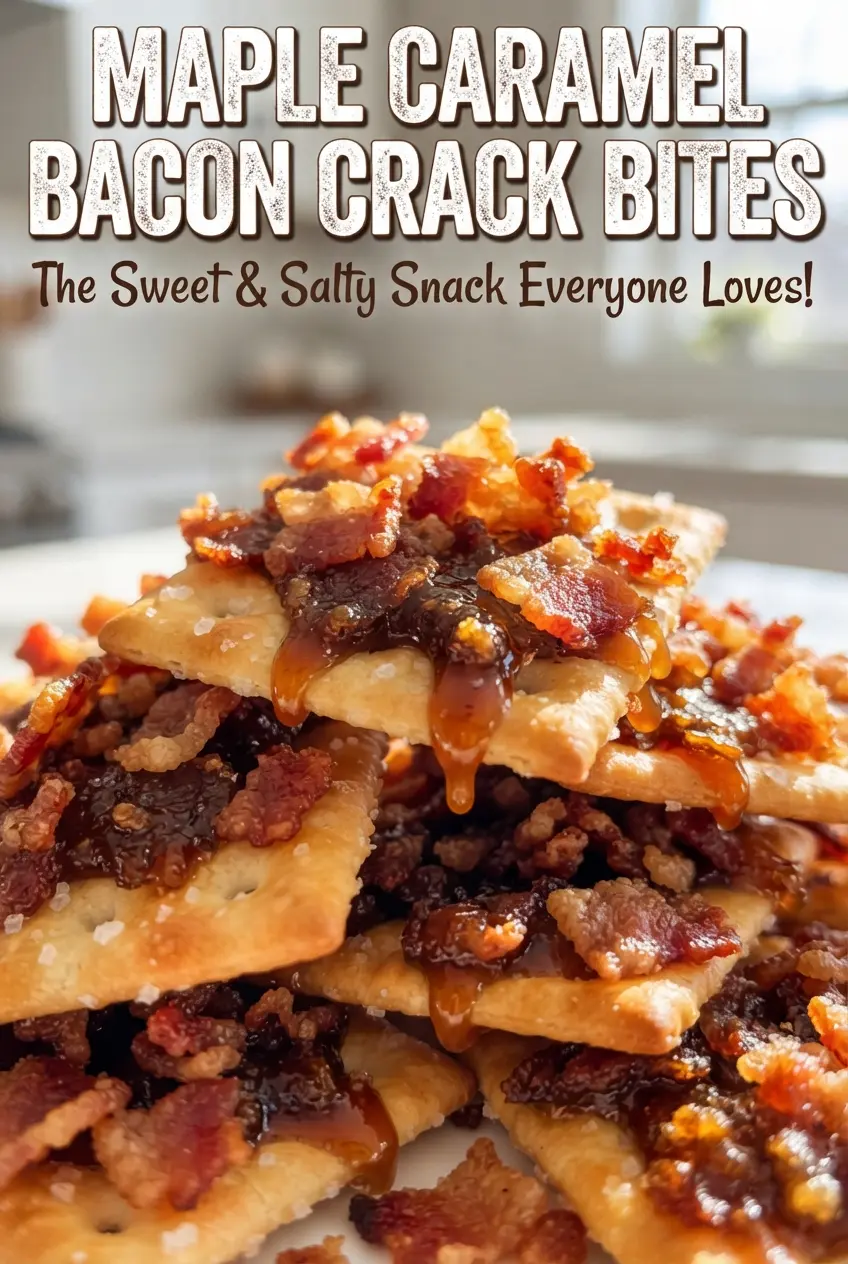
Maple Caramel Bacon Crack Bites
Ingredients
Equipment
Method
- Preheat oven to 350F, then set a wire rack over a foil-lined baking sheet for even crisping.
- Wrap each cracker in a half slice of bacon, stretching it to cover, and place seam-side down on the rack.
- Stir brown sugar, maple syrup, melted butter, black pepper, and cayenne into a thick paste.
- Spread a thin layer of the maple mixture over each bite so the surface is glossy and coated.
- Bake 22-25 minutes at 350F until the bacon is crisp and the glaze is bubbling and caramelized.
- Cool 10 minutes on the rack so the caramel hardens before serving.