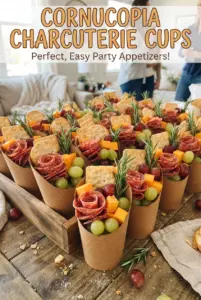
Cornucopia charcuterie cups turn a grazing board into something easier to carry, easier to serve, and a lot more fun to look at. Each cup comes out tall, full, and balanced: salty salami, creamy cheese, sweet fruit, crunchy nuts, and that one upright breadstick that makes the whole thing feel abundant instead of scattered. They’re the kind of appetizer people hover around because every cup looks finished and intentional.
What makes these work is the layering. The nuts go in first to anchor the cup and keep the skewers from sinking, then the breadstick and skewer give height, and the fruit gets tucked around the sides to create that overflowing cornucopia shape. Use firm cheeses that hold their edges and fold the salami rather than rolling it tight; the folds catch light better and make the cups look fuller without stuffing them.
Below you’ll find the small details that make these party-ready, plus a few smart swaps for changing the flavors without losing the look.
I made these for Friendsgiving and they held up beautifully on the table. The rosemary sprig and folded salami made each cup look full, and the grapes kept everything from feeling too heavy.
Save these cornucopia charcuterie cups for the easiest way to serve a festive party board in individual portions.
The Order of the Fillers Is What Keeps These Cups from Sagging
The biggest mistake with assembled party cups is loading the soft ingredients first. Once the fruit and crackers go in, anything tall or delicate starts leaning and the whole cup loses that overstuffed cornucopia shape. The fix is simple: build from the bottom up with weight first, then height, then the prettier items that spill outward.
That matters even more here because the cups aren’t just holding food; they’re creating the display. The almonds or pecans act like a base, the skewer gives structure, and the rosemary finishes the look without taking up much room. If the cup looks crowded before you add the fruit, stop there. These should look abundant, not jammed.
What Each Ingredient Is Actually Doing in These Charcuterie Cups
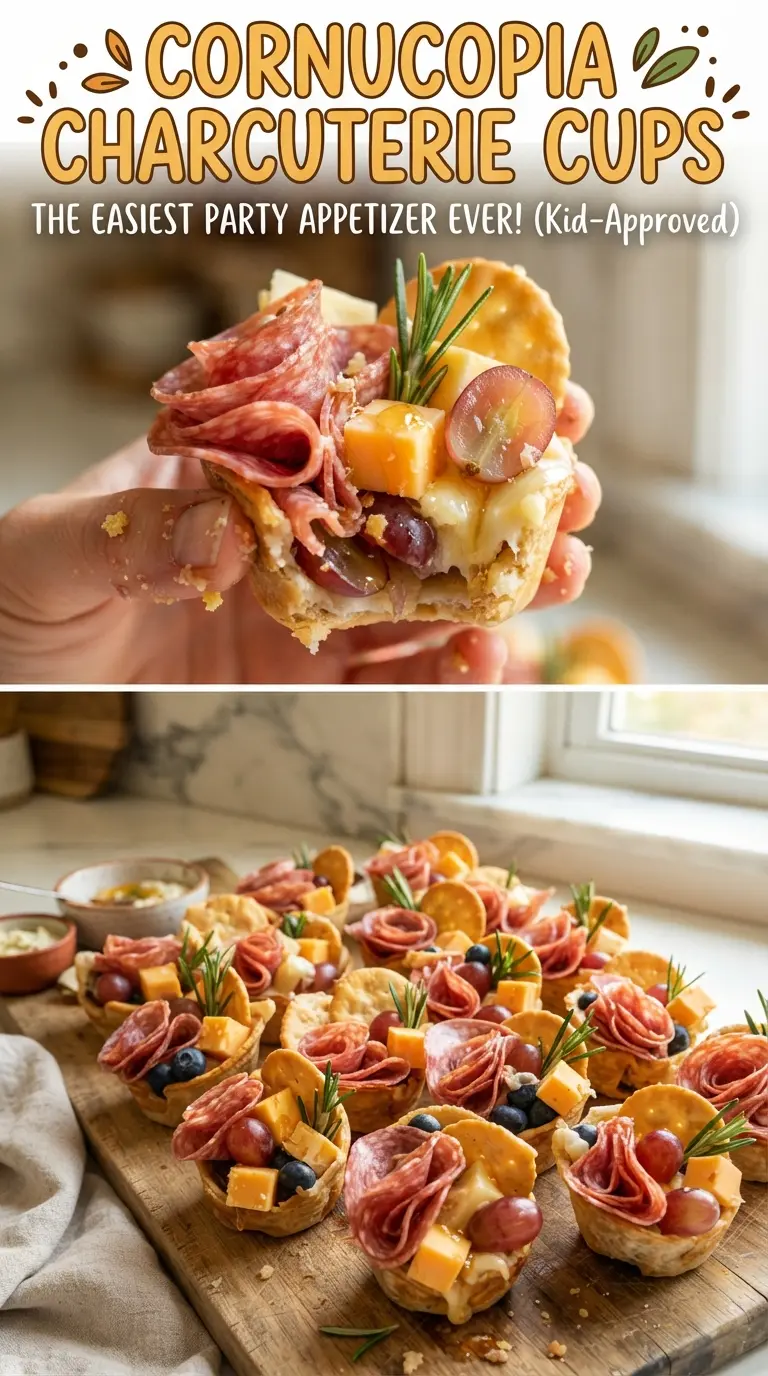
- Clear party cups — The transparency is the whole point. You need to see the layers and color contrast from the side, which is what makes these read as cornucopia cups instead of a random snack cup.
- Salami and prosciutto — Salami gives chew and salt, while prosciutto adds a lighter, more delicate ribbon on top. Folding the salami instead of laying it flat creates more volume in less space.
- White cheddar and pepper jack or gouda — A firm cheese cuts cleanly and stays put on the skewer. Soft cheeses turn slippery and make the cups harder to stack neatly.
- Grapes and dried apricots — You need one juicy element and one chewy-sweet element so the cups don’t feel one-note. Fresh grapes also help break up the richness of the meats and cheese.
- Marcona almonds or candied pecans — These create the base and add crunch from the first bite. Marcona almonds taste more savory; candied pecans push the cups toward a sweeter holiday-style snack.
- Breadsticks and crackers — The breadstick gives the tall cornucopia shape, and the crackers fill gaps without much effort. Use sturdy crackers so they don’t crumble under the other ingredients.
- Rosemary sprigs — This is the visual finish. Fresh rosemary gives the cups that gathered-from-the-garden look and adds a woodsy scent when people lean in.
How to Build the Cups So They Look Full Without Falling Over
Start with the anchor layer
Spoon a small handful of nuts into the bottom of each cup first. This keeps the base from sliding and gives the skewer something to settle into. If you skip this step, the breadstick and cheese will tip as soon as the cup gets moved.
Stack the tallest pieces next
Thread the salami and cheese onto the skewers, then stand the breadstick beside it. The cup should already look tall before you add the fruit. If the skewer feels too heavy, use fewer pieces of cheese; overloading the top is what makes the whole thing slump sideways.
Hide the gaps with fruit and crackers
Tuck grapes, apricots, and crackers around the sides until the cup looks full from every angle. Don’t press everything straight down; let a few pieces lean outward so it looks abundant and gathered. The goal is a natural overflow, not a packed lunch box.
Finish with the herb and chill
Wrap prosciutto around the top of the breadstick, then add a rosemary sprig for the final touch. Chill the cups until serving so the cheese stays firm and the fruit stays fresh. If you’re making them more than a few hours ahead, hold the crackers back and add them at the end so they stay crisp.
How to Adapt These Charcuterie Cups for Different Guests and Events
Vegetarian Cornucopia Cups
Skip the salami and prosciutto and replace them with extra cheese cubes, marinated artichokes, olives, or marinated mozzarella balls. You’ll lose the layered cured-meat look, but the cups still feel generous and varied. Keep the nuts, fruit, and rosemary so the shape and color story stay intact.
Gluten-Free Version
Swap the breadsticks and crackers for gluten-free versions with enough structure to stand upright. Some gluten-free crackers crumble easily, so choose a sturdy style or use extra cheese and fruit to fill the space instead. The cup still works as long as you preserve the height and the mix of salty, sweet, and crunchy elements.
More Elegant, Less Casual
Use all prosciutto, gouda, and marcona almonds if you want a softer, more polished flavor mix. This version reads a little more upscale and less snacky, especially if you keep the fruit to grapes and dried apricots only. It’s a small change, but it makes the cups feel better suited to a wine party or holiday open house.
Storage and Reheating
- Refrigerator: Assemble up to 6 hours ahead. After that, the crackers start softening and the breadsticks can pick up moisture from the fruit.
- Freezer: Don’t freeze these. The fruit, cheese, and crackers lose their texture once thawed, and the whole cup turns watery.
- Reheating: No reheating needed. If the cups have been chilled, let them sit at room temperature for 10 to 15 minutes before serving so the cheese loses its fridge chill and tastes better.
Questions I Get Asked About This Recipe
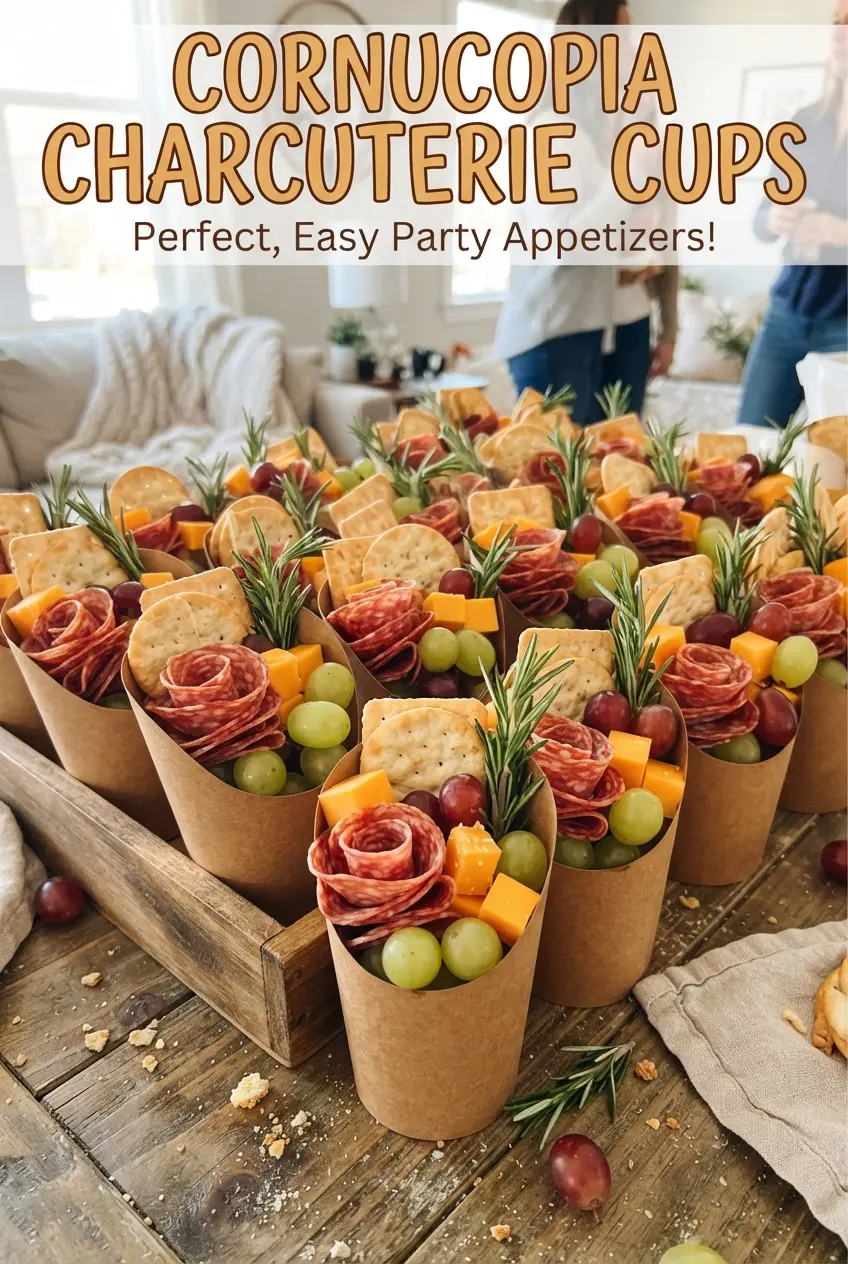
Cornucopia Charcuterie Cups
Ingredients
Method
- Place a small handful of marcona almonds or candied pecans in the bottom of each clear 9-ounce party cup. Set cups upright on a board so they stay stable while you assemble.
- Thread salami and white cheddar and pepper jack or gouda cubes onto each short skewer. Keep the pieces snug so they stand up neatly when placed in the cups.
- Stand a breadstick, a salami-and-cheese skewer, and a few crackers upright in each cup. Space them so the tops stay visible above the rim for the cornucopia look.
- Wrap prosciutto around the top of the breadstick. Tuck the prosciutto so it clings to the breadstick and frames the upright items.
- Tuck red grapes and dried apricots around the sides so the cups look full and overflowing. Pack in a mix of fruit along the outside edges to create the piled, multilevel effect.
- Finish each cup with a small rosemary sprig, letting it spill upward for a cornucopia silhouette. Place cups in the refrigerator until serving.