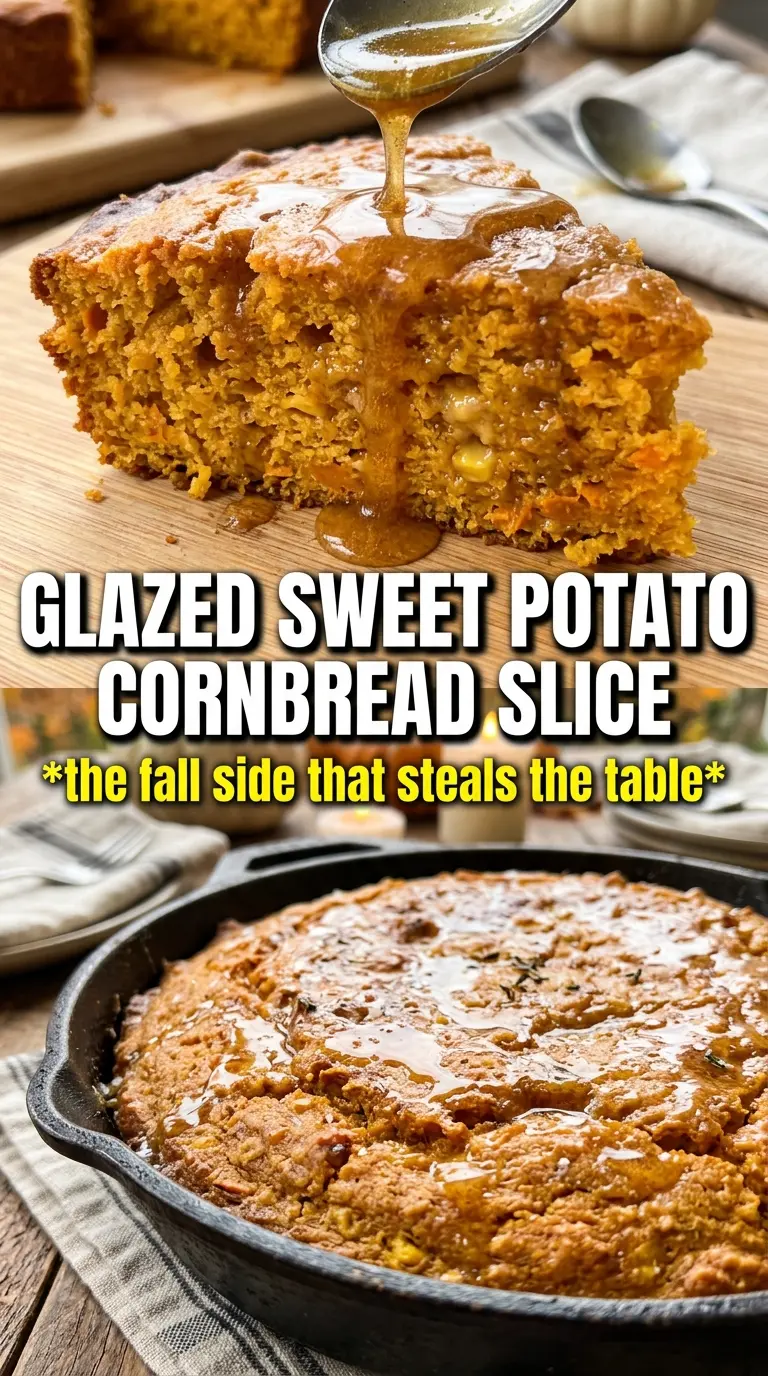
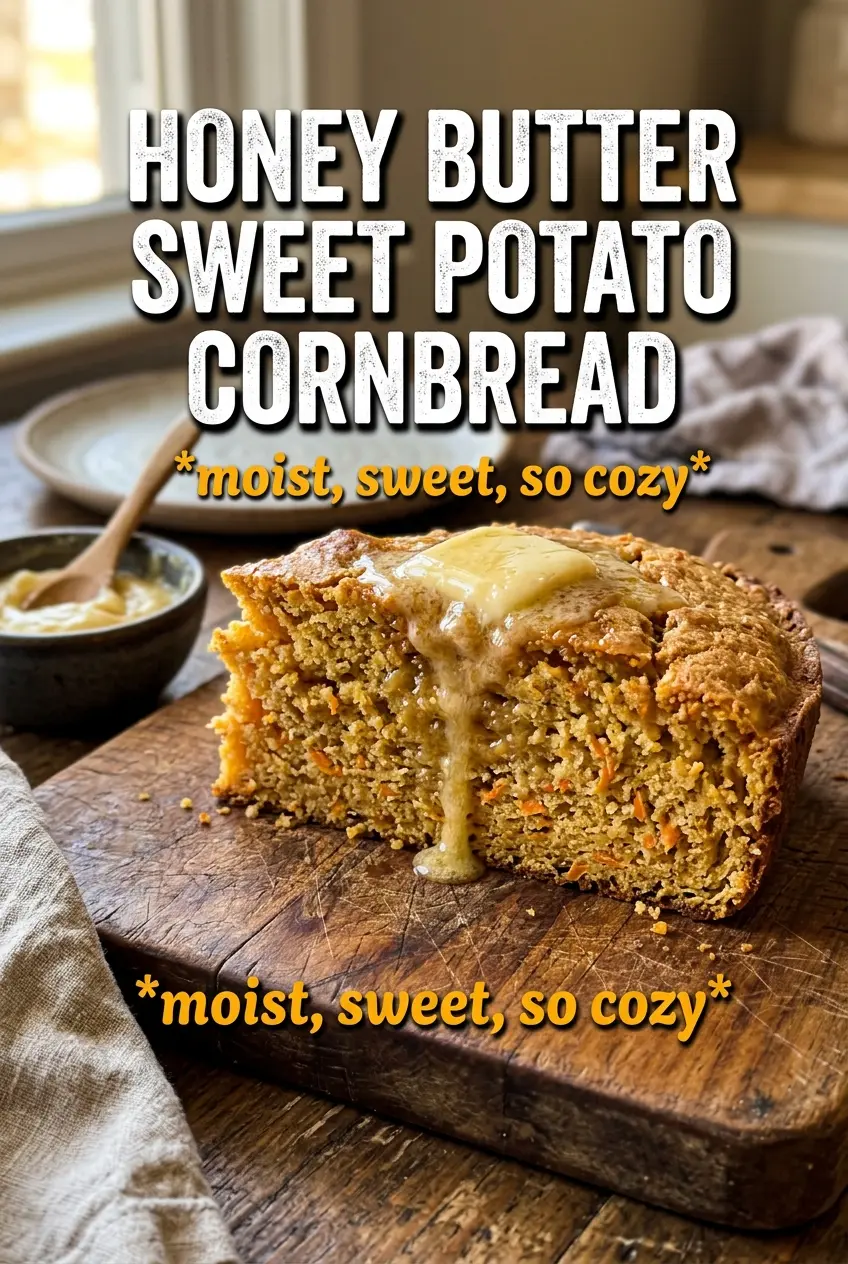
Honey butter sweet potato cornbread bakes up with crisp, caramelized edges, a tender golden-orange crumb, and just enough sweetness to make a second slice feel inevitable. The sweet potato keeps it moist without turning it cakey, and the honey butter brushed on while it’s warm melts into the top and settles into every rough little ridge of the crust.
What makes this version work is balance. Cornmeal gives it grit and structure, flour keeps it from falling apart, and the sweet potato adds body plus a subtle earthiness that plays well with the honey and cinnamon. The batter comes together fast, but the order matters: mix the wet ingredients until smooth first, then fold them into the dry ingredients only until the flour disappears. Overmixing tightens cornbread, and that’s the quickest way to lose the soft, tender crumb you want here.
Below, I’ve included the small details that matter most, from getting the pan hot enough to brown the edges to the best way to whip the honey butter so it melts cleanly over the top. If you’ve ever had cornbread that was dry in the middle or too sweet to serve with dinner, this one solves both problems.
The honey butter on top melted into the crust and the center stayed moist for two days. I baked it in a cast iron skillet and the edges came out caramelized and crisp, just like the photo.
Save this honey butter sweet potato cornbread for the nights when you want a tender, lightly sweet skillet cornbread with crisp edges and a glossy honey butter finish.
The Sweet Potato Keeps This Cornbread From Drying Out
Most cornbread goes wrong in one of two ways: it bakes up dry and crumbly, or it turns soft but loses the structure that makes cornbread worth serving. Sweet potato solves part of that problem by adding moisture and a little starch, which helps the crumb stay tender without needing a heavy batter. The other part is handled by the cornmeal-flour balance. You still get that cornbread texture, but it slices cleanly instead of collapsing.
The pan matters here too. A buttered cast iron skillet or well-greased baking pan helps the edges set fast, which gives you those caramelized corners people always fight over. If the batter sits around too long after mixing, the baking powder starts working early and the lift gets weaker, so get it into the oven as soon as the dry and wet ingredients come together.
- Sweet potato puree — Roasted sweet potato gives the best flavor because it’s naturally concentrated and less watery than boiled. If you use canned puree, drain it if it looks loose so the batter doesn’t get gummy.
- Cornmeal — Yellow cornmeal brings the classic flavor and that fine, gentle grit. Stone-ground cornmeal works too, but the texture will be a little more rustic.
- Honey — Honey does more than sweeten. It rounds out the sweet potato and helps the top brown. Maple syrup will work in a pinch, but it changes the flavor and browns a little less evenly.
- Cast iron skillet or square pan — Cast iron gives the deepest crust. A square metal pan is the next best choice if you want something a little easier to portion.
What Each Ingredient Is Actually Doing in This Recipe
- Primary ingredient (the star) — Quality matters most. Choose the best you can find.
- Cooking medium (oil, butter, or broth) — This carries flavors and prevents dryness.
- Seasonings (salt, pepper, spices, herbs) — Layer flavors so nothing overpowers. Build depth gradually.
- Aromatics (garlic, onion, herbs) — Cook with fat to bloom flavors. Become the foundation.
- Supporting ingredients — Complement the main ingredient without overpowering it.
- Sauce or liquid (if applicable) — Brings flavors together. Balance richness with acid.
- Acid (lemon, vinegar, wine, or other) — Brightens and prevents flat-tasting results.
- Final finish (garnish, glaze, or sauce) — Prevents one-dimensional taste and adds visual appeal.
Building the Batter So It Stays Tender
Mix the Dry Ingredients First
Whisk the cornmeal, flour, sugar, baking powder, cinnamon, and salt until the mixture looks even and there are no streaks of baking powder left. That step matters more than it sounds like it should, because uneven baking powder can leave bitter pockets and patchy rise. Break up any lumps in the brown sugar or flour now, before the wet ingredients go in.
Whisk the Wet Ingredients Until Smooth
In a separate bowl, whisk the sweet potato puree, eggs, milk, melted butter, honey, and vanilla until the mixture looks glossy and completely smooth. If the butter is too hot, it can scramble the eggs or leave greasy streaks, so let it cool for a minute before mixing. The batter will look a little thick, and that’s what you want.
Stop Mixing the Moment the Flour Disappears
Fold the wet ingredients into the dry ingredients just until no dry flour remains. A few small streaks are better than overworking the batter, because too much stirring develops the flour and makes the cornbread dense. Pour it right into the prepared pan and smooth the top only once.
Watch the Edges, Not Just the Timer
Bake until the top is deep golden and a toothpick in the center comes out clean or with a few moist crumbs. The edges should pull away slightly from the pan and look set and browned. If the center still jiggles like batter, give it a few more minutes; if the top is getting too dark before the middle is done, lay a loose piece of foil over it.
The Honey Butter Finish
Whip the softened butter, honey, and cinnamon together until it looks pale and fluffy. Brush it over the cornbread while it’s still warm so it melts into the cracks instead of sitting on top in a greasy layer. If you wait until the cornbread cools, the topping won’t soak in the same way and the crust won’t get that glossy finish.
Ways to Adjust the Pan, the Sweetness, and the Dairy
Gluten-Free Version
Swap the all-purpose flour for a good 1:1 gluten-free baking blend. The cornbread will still be tender, but it may be a little more delicate when warm, so let it rest before slicing. Choose a blend that already includes xanthan gum if possible, since that helps hold the crumb together.
Dairy-Free Swap
Use melted plant-based butter in the batter and a dairy-free butter substitute for the topping. The flavor stays close, though the top won’t brown quite as richly as it does with real butter. Oat milk or almond milk both work in place of whole milk.
Less Sweet, More Savory
Cut the granulated sugar down to 2 tablespoons and skip the honey butter topping if you want a cornbread that leans more toward dinner bread than dessert. You’ll still keep the sweet potato’s natural sweetness, but the flavor will sit closer to classic Southern cornbread.
Storage and Reheating
- Refrigerator: Store covered for up to 4 days. The crumb stays moist, but the edges soften after the first day.
- Freezer: Freeze individual squares wrapped tightly and placed in a freezer bag for up to 2 months. Thaw at room temperature before reheating so the center warms evenly.
- Reheating: Warm slices in a 300F oven for 8 to 10 minutes, or use a skillet over low heat for a crisper edge. The mistake to avoid is blasting it in the microwave too long, which turns the crumb rubbery and makes the honey butter separate.
Questions I Get Asked About This Recipe
Honey Butter Sweet Potato Cornbread
Ingredients
Equipment
Method
- Preheat the oven to 400F and butter an 8-inch square pan or cast iron skillet so the cornbread releases cleanly.
- Whisk yellow cornmeal, all-purpose flour, granulated sugar, baking powder, cinnamon, and salt until evenly combined and no dry clumps remain.
- Whisk sweet potato puree, eggs, whole milk, melted unsalted butter, honey, and vanilla extract until smooth and glossy.
- Fold the wet mixture into the dry ingredients until just combined, stopping as soon as no flour streaks remain.
- Pour the batter into the prepared pan and bake 25-30 minutes at 400F until golden and a toothpick comes out clean.
- Brush generously with honey butter while warm so it melts into a glossy coating and clings to the caramelized edges.