Caramel Apple Pie Bombs bake up into little golden parcels with a crisp cinnamon-sugar shell and a soft, gooey center that tastes like apple pie got a shortcut without losing the good part. The biscuit dough turns tender on the inside while the outside bakes into a lightly crackly crust, and the caramel melts into the apple filling so every bite has that sticky, warm finish people keep reaching for. They look playful on the plate, but they eat like a proper dessert.
The trick is cooking the apple filling first until it has lost its excess moisture and cooled completely before it goes anywhere near the dough. If the filling is wet or hot, the biscuits split, leak, and bake up pale where they should be sealed and crisp. The caramel candy goes in whole, not chopped, so it melts into a pocket instead of disappearing into the apples.
Below, I’ve included the small details that keep these sealed, round, and evenly browned, plus a few variations for when you want to change the filling or make them fit what’s already in your kitchen.
The filling stayed put and the biscuit dough baked up crisp on the outside instead of doughy. I loved that the caramel melted into the apples without turning everything runny.
Save these Caramel Apple Pie Bombs for a warm dessert with a crisp cinnamon-sugar shell and a gooey caramel-apple center.
The Part That Keeps the Filling Inside Instead of on the Pan
The filling needs two things before it can go into the dough: it has to be thick, and it has to be cool. Apples release a lot of moisture as they cook, and if that liquid is still hanging around, it turns into steam inside the biscuit and forces the seam open. Cooking the apples with cornstarch solves both problems at once, because the starch binds the juices into a spoonable filling instead of a loose syrup.
The other common miss is overstuffing. One tablespoon of apple filling and one caramel candy is enough. If you pile in more, the dough won’t seal cleanly and the bombs will split where the seam is weakest. A smooth, tight seal matters more than a perfect ball shape at the start; the rolling comes after the pinch.
- Apples — Peel and dice them small so they soften in the short cooking time. Large chunks stay too firm and poke through the dough.
- Cornstarch — This thickens the juices before baking. Arrowroot works in a pinch, but cornstarch gives the most reliable set here.
- Caramel candies — Use soft wrapped caramels, not hard caramels or caramel bits. They melt into a pocket instead of disappearing into the filling.
- Refrigerated biscuit dough — This is what makes the recipe fast and forgiving. Crescent dough can work, but the texture bakes a little flakier and less puffy.
What Each Ingredient Is Actually Doing in This Recipe

- Primary ingredient (the star) — Quality matters most. Choose the best you can find.
- Cooking medium (oil, butter, or broth) — This carries flavors and prevents dryness.
- Seasonings (salt, pepper, spices, herbs) — Layer flavors so nothing overpowers. Build depth gradually.
- Aromatics (garlic, onion, herbs) — Cook with fat to bloom flavors. Become the foundation.
- Supporting ingredients — Complement the main ingredient without overpowering it.
- Sauce or liquid (if applicable) — Brings flavors together. Balance richness with acid.
- Acid (lemon, vinegar, wine, or other) — Brightens and prevents flat-tasting results.
- Final finish (garnish, glaze, or sauce) — Prevents one-dimensional taste and adds visual appeal.
Building the Bombs So They Seal, Brown, and Drizzle Cleanly
Cooking Down the Apple Filling
Cook the diced apples with butter, brown sugar, cinnamon, nutmeg, and cornstarch over medium heat until the pieces are tender and the mixture looks thick and glossy, about 5 to 7 minutes. You want the filling to mound on a spoon, not puddle. If you still see loose liquid in the pan, keep cooking for another minute or two. Spread the filling on a plate so it cools completely before you start assembling.
Shaping the Dough
Flatten each biscuit into a 4-inch circle, pressing the center a little thinner than the edges. That gives you more dough where the seam needs to close. If the dough springs back while you work, let it rest for a minute and then press again. Cold, stiff dough tears more easily, so work with it gently but confidently.
Filling and Sealing
Spoon the apple mixture into the center, top it with one caramel candy, and bring the edges up and over the filling. Pinch the seam tightly, then roll the bundle between your palms until it looks smooth and sealed. Any gap, even a small one, gives the caramel a path out while baking. Place the bombs seam-side down on the parchment so gravity helps hold everything in place.
Butter, Sugar, and the Final Bake
Brush each bomb with melted butter, then roll it in the cinnamon-sugar mixture until coated. That buttery layer helps the sugar cling and gives the tops a deeper, more even color. Bake until the biscuits are deeply golden all over, not just pale gold on top. If they still look light, the centers usually need another minute or two to finish baking through.
Pear Pie Bombs
Swap the apples for peeled, finely diced pears and keep the same cinnamon and cornstarch approach. Pears soften faster than apples, so watch the pan closely and pull the filling as soon as it thickens. The result is a little softer and more floral, with the same warm caramel center.
Dairy-Free Version
Use plant-based butter for both the filling and the coating, and choose a dairy-free caramel candy or sauce. The texture stays close to the original, though some vegan caramels melt a little less smoothly. If the candies hold their shape too much, chop them in half before filling.
Extra-Spiced Filling
Add a pinch of cloves or allspice if you want the bombs to taste closer to a classic holiday pie. Keep the amount small; too much turns the filling sharp instead of warm. This version pairs especially well with a lighter drizzle of caramel so the spice stays balanced.
Storage and Reheating
- Refrigerator: Store in an airtight container for up to 3 days. The sugar coating softens a bit, but the centers stay gooey.
- Freezer: Freeze after baking, once completely cool. Wrap individually and thaw in the refrigerator before reheating for the best texture.
- Reheating: Warm in a 325°F oven for 8 to 10 minutes. The microwave works in a pinch, but it softens the biscuit and can make the caramel filling unevenly hot.
Answers to the Questions Worth Asking
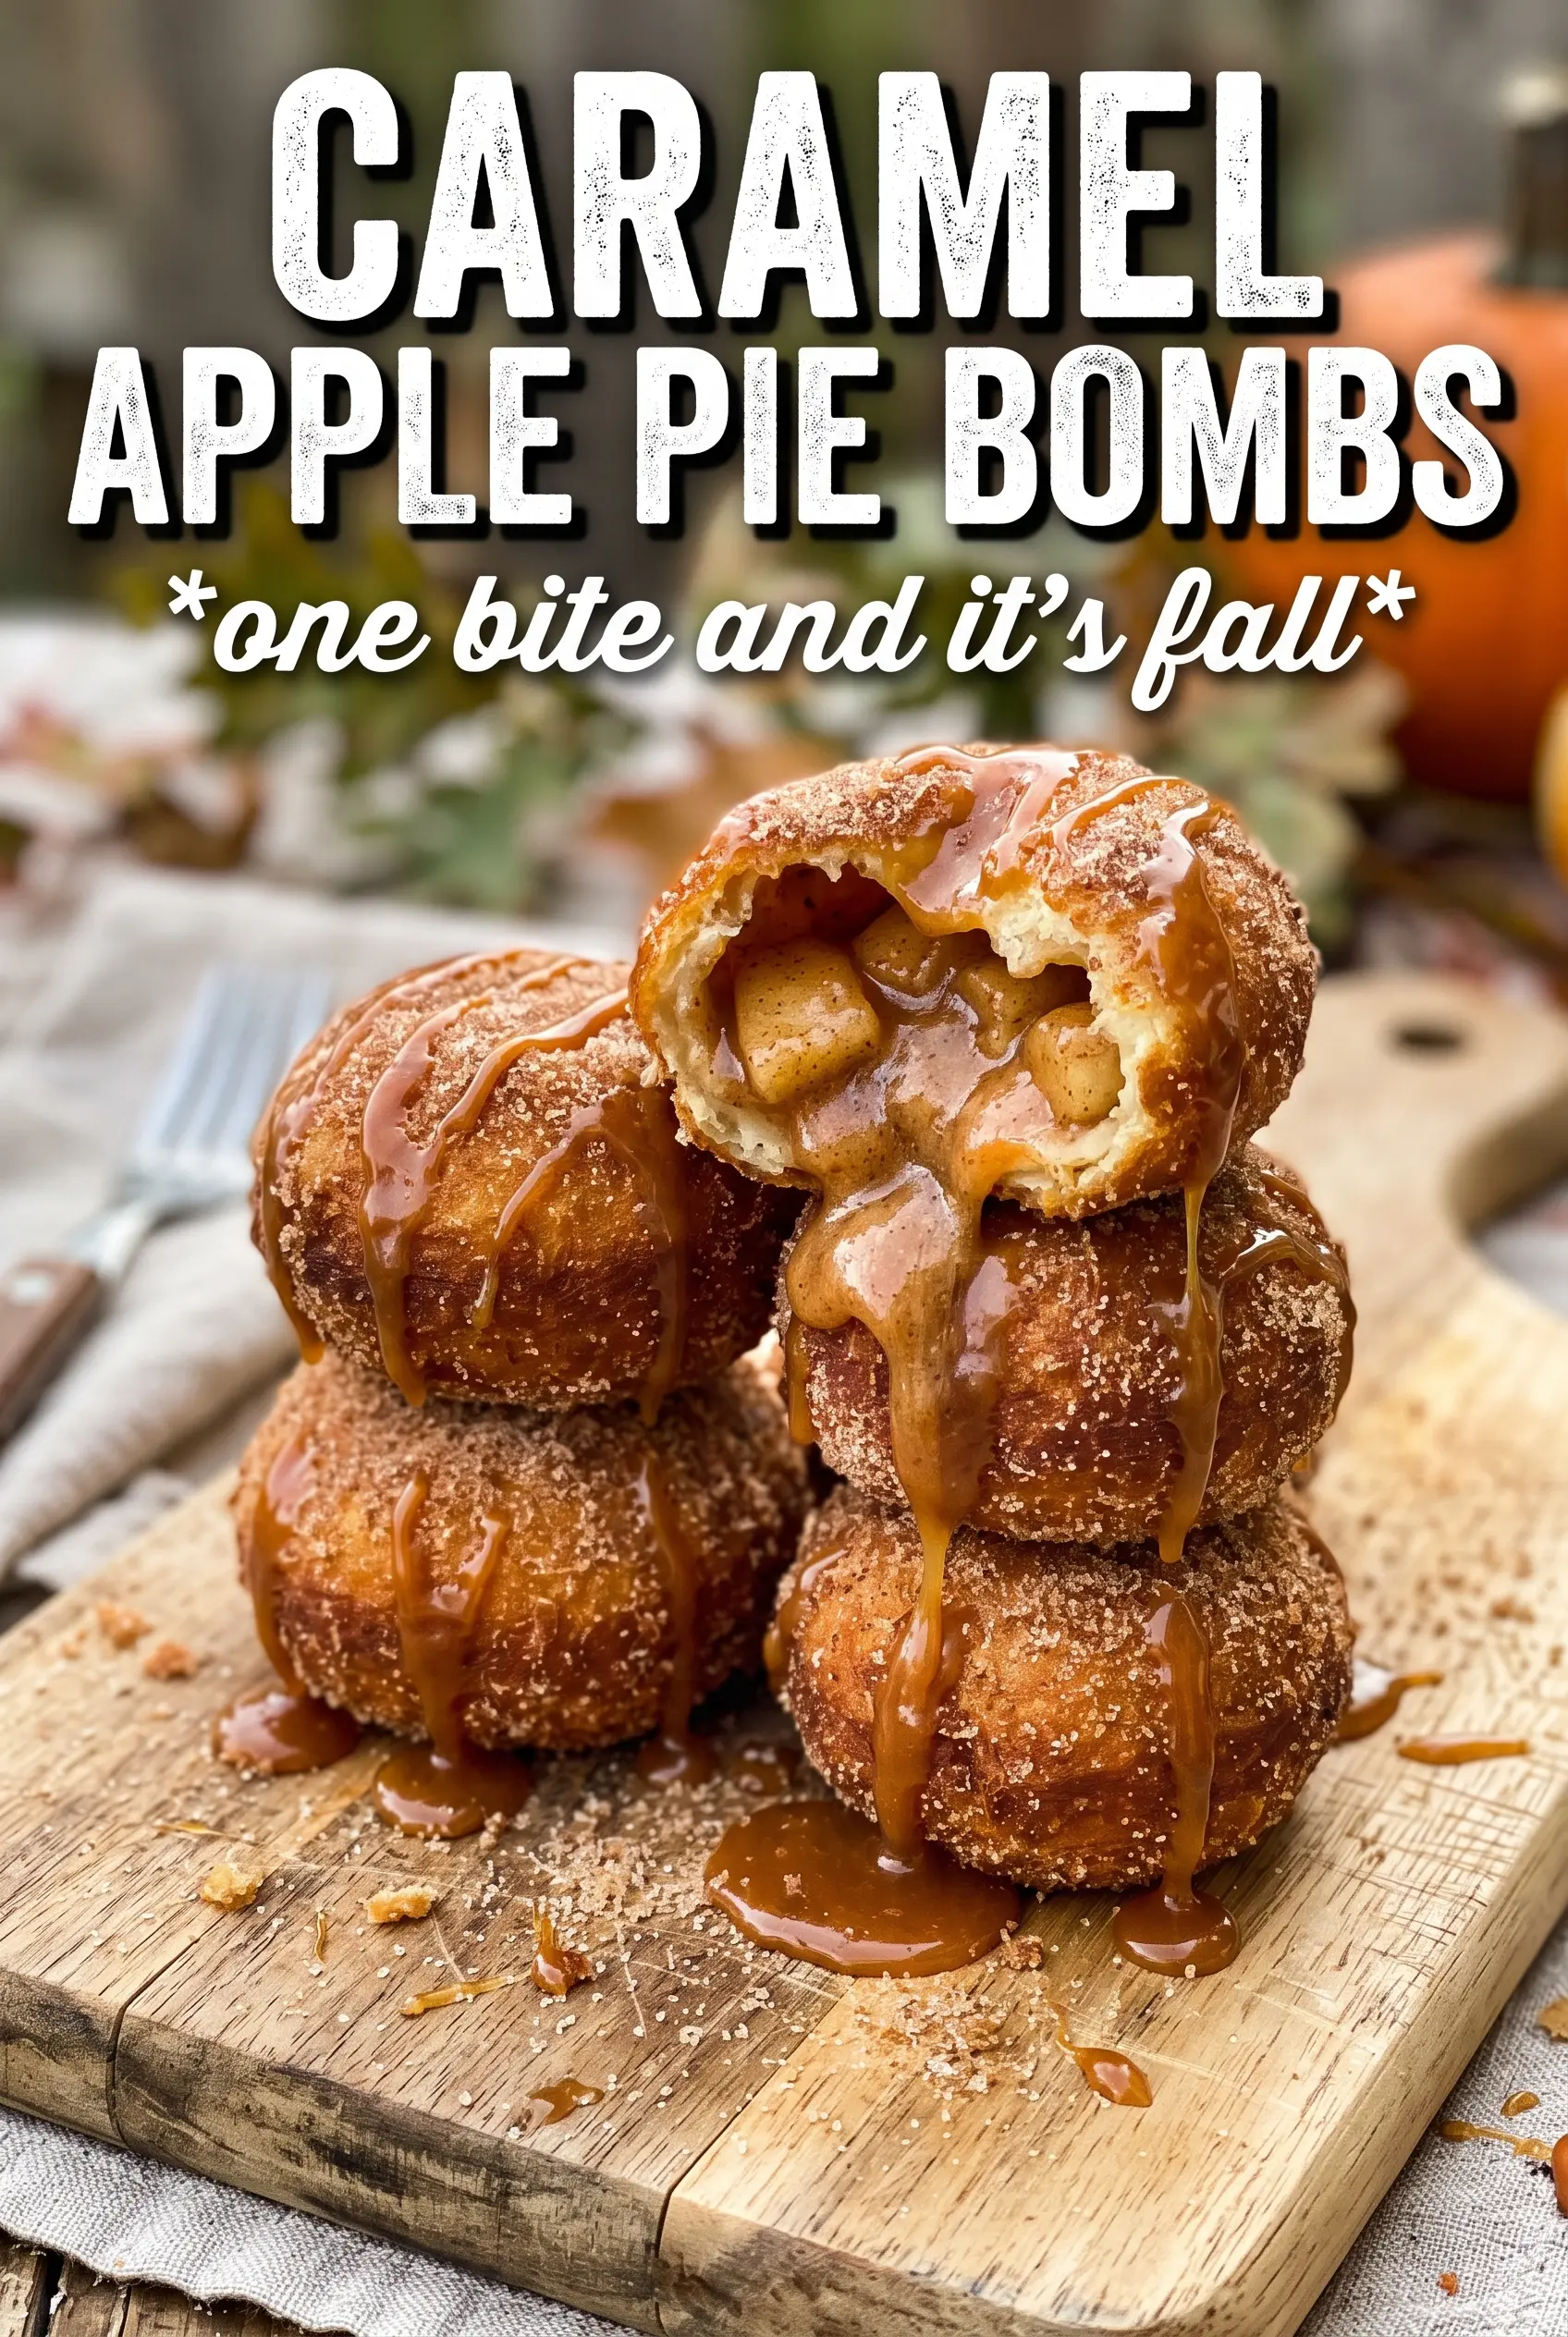
Caramel Apple Pie Bombs
Ingredients
Equipment
Method
- Cook the diced apples with 1 tablespoon butter, 3 tablespoons brown sugar, 1 1/2 teaspoons cinnamon, 1/4 teaspoon nutmeg, and 1 tablespoon cornstarch over medium heat for 5-7 minutes until thickened and glossy. Transfer to a bowl and cool completely before assembling.
- Preheat the oven to 375F and line a baking sheet with parchment. Set it aside while you assemble the bombs.
- Separate the refrigerated biscuit dough and flatten each piece into a 4-inch circle. Keep the dough covered as you work to prevent drying.
- Place 1 tablespoon cooled apple filling and 1 soft caramel candy in the center of each biscuit circle. Aim for the fillings to stay away from the edges for easier sealing.
- Wrap the dough around the filling and pinch firmly to seal, then roll into a smooth ball. Ensure there are no gaps at the seam.
- Brush each ball with melted unsalted butter, then roll in cinnamon sugar to coat all sides. Let any excess fall back onto the tray.
- Bake at 375F for 18-20 minutes until the bombs are deeply golden. Cool for 2-3 minutes on the tray so the filling sets slightly before drizzling.
- Drizzle with caramel sauce and serve warm. Keep leftovers covered in the refrigerator.