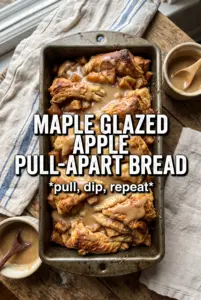
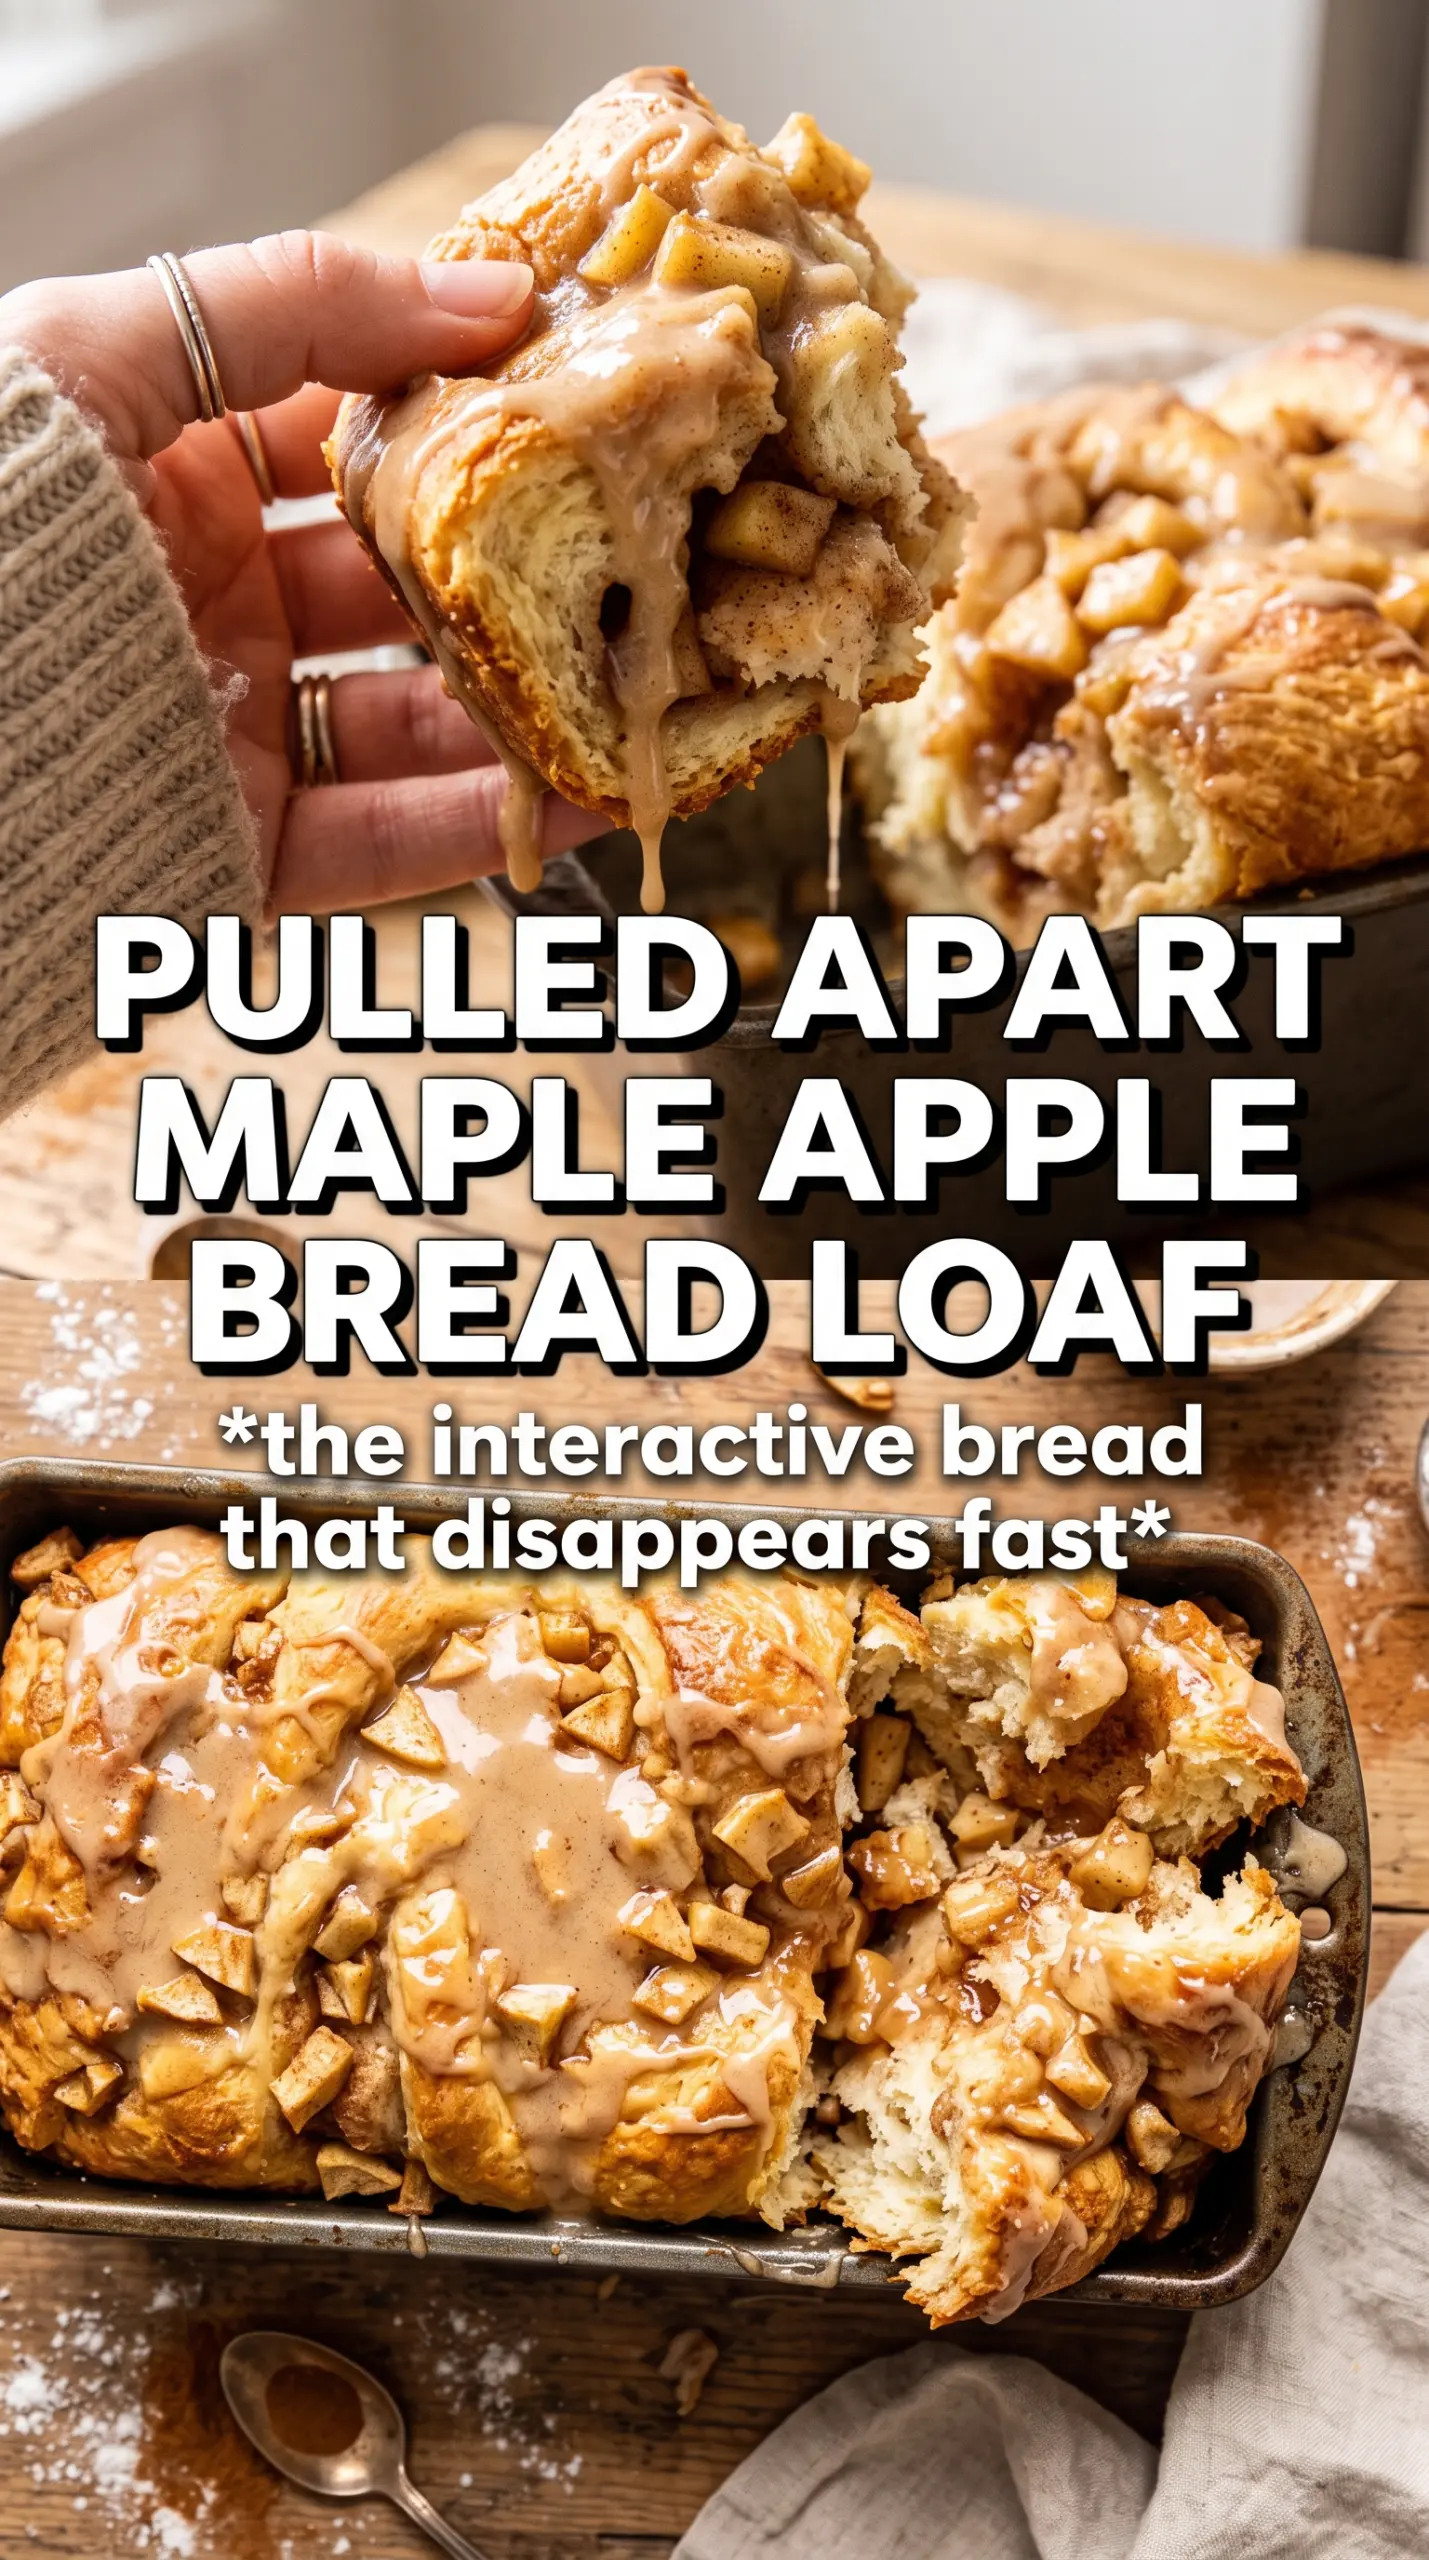
Soft, layered bread, caramelized apple filling, and a maple glaze that sinks into every ridge make this pull-apart loaf one of those breakfast bakes people keep reaching for while it's still warm. The top turns deeply golden, the apples soften just enough to stay juicy, and each stack pulls away in tender, buttery pieces instead of collapsing into a dense loaf.
The texture depends on two things: giving the dough enough time to rise and cutting the apple filling small enough that it stays tucked between the layers. The butter in the filling helps the cinnamon sugar cling to the apples, while the maple glaze goes on after baking so it can drip into the bread instead of scorching in the oven. That's what gives each slice that sticky, bakery-style finish without making the loaf heavy.
Below, I'll walk through the part that matters most when you're stacking the dough, plus a few smart swaps and troubleshooting notes for when your apples are extra juicy or your kitchen runs cool.
The layers baked up light and fluffy, and the apples stayed in place instead of sliding to the bottom. I covered mine with foil at the halfway point and the loaf came out perfectly golden with no burnt edges.
Save this maple glazed apple pull-apart bread for a sticky, layered breakfast loaf with caramelized apples in every pull-apart section.
The Part That Keeps the Loaf from Sinking in the Middle
The biggest mistake with pull-apart bread is rushing the rise or packing the layers too tightly into the pan. That sounds minor, but it's what turns a light breakfast loaf into a gummy center with raw seams. This dough needs enough time to puff before baking, because the layers have to expand around the apple filling instead of squeezing it into a dense block.
The other thing that matters is the way the stacked strips are placed in the pan. Laying the stacks on their sides creates those tall, separated layers that bake up into pull-apart sections. If the stacks are shoved in too tightly, the dough can't lift evenly and the glaze won't have those good little pockets to settle into.
- Yeast — Active yeast gives the loaf its height and airy crumb. Warm milk should feel like bath water, not hot; if it's too warm, it can kill the yeast before the dough ever rises.
- Apples — A firm baking apple holds its shape better than a soft dessert apple. If your apples are extra juicy, dice them small so they soften without flooding the layers.
- Brown sugar and cinnamon — This is what turns the filling into a sticky, spiced ribbon between the bread layers. Granulated sugar won't give you the same caramel depth or moisture.
- Butter — Softened butter helps the filling cling to the dough instead of falling out as the loaf bakes. Melted butter belongs in the dough; softened butter belongs in the filling.
What Each Ingredient Is Actually Doing in This Recipe
- Primary ingredient (the star) — Quality matters most. Choose the best you can find.
- Cooking medium (oil, butter, or broth) — This carries flavors and prevents dryness.
- Seasonings (salt, pepper, spices, herbs) — Layer flavors so nothing overpowers. Build depth gradually.
- Aromatics (garlic, onion, herbs) — Cook with fat to bloom flavors. Become the foundation.
- Supporting ingredients — Complement the main ingredient without overpowering it.
- Sauce or liquid (if applicable) — Brings flavors together. Balance richness with acid.
- Acid (lemon, vinegar, wine, or other) — Brightens and prevents flat-tasting results.
- Final finish (garnish, glaze, or sauce) — Prevents one-dimensional taste and adds visual appeal.
Building the Layers So the Apples Stay Put
Mix the yeast with the warm milk and sugar first and give it a few minutes to look foamy. That's your sign the yeast is awake. Once the dough comes together, knead it until it feels smooth and elastic, about 6 to 8 minutes. If it tears easily or feels rough, it needs more kneading before the first rise.
Mixing and Kneading the Dough
Work the flour in gradually until the dough pulls away from the bowl and feels soft but not sticky. A slightly tacky dough is fine; a dry dough bakes up heavy. After kneading, cover it and let it rise until doubled. If your kitchen runs cool, give it the full hour or a little more instead of relying on the clock alone.
Shaping the Apple Layers
Roll the dough into a 12×18 rectangle, then spread the softened butter over the surface and scatter the apple mixture evenly. Cut long strips, stack them, and then cut those stacks into squares so each layer has a little filling tucked inside. The goal is loose, uneven layers that can separate in the oven; if the stacks are too neat and compressed, the bread loses that pull-apart texture.
Baking Until the Center Cooks Through
Set the stacks upright in a greased 9×5 loaf pan and let the shaped loaf rise again until puffy. Bake at 350°F until the top is deep golden and the center feels set, not squishy, when gently pressed. Cover loosely with foil halfway through so the top doesn't overbrown before the middle catches up. If the loaf looks done on top but still feels soft in the center, it needs more time; the apple filling adds moisture and can hide an underbaked middle.
Finishing with the Maple Glaze
Stir the powdered sugar, maple syrup, milk, and cinnamon until smooth, then drizzle it over the loaf while it's still warm. Warm bread grabs the glaze and pulls it down between the layers. If you wait until the loaf is cold, the glaze sits on top instead of soaking in, which is a wasted finish on a bread like this.
Pear and Maple Version
Swap the apples for firm pears if that's what you have. Pears soften faster and bring a more delicate sweetness, so cut them a little larger and keep an eye on the bake time; they can turn soft sooner than apples.
Dairy-Free Version
Use a plant-based milk, vegan butter, and a dairy-free glaze. The loaf still rises and bakes well, but the crumb will be a touch less rich and the filling won't have quite the same buttery sheen.
Less-Sweet Breakfast Loaf
Reduce the brown sugar in the filling by a few tablespoons and use a thinner maple glaze. You'll get more apple-cinnamon flavor and less sticky sweetness, which works well if you're serving it with coffee or other sweet sides.
Storage and Reheating
- Refrigerator: Store covered for up to 3 days. The bread will firm up a little in the fridge, especially around the glaze.
- Freezer: Freeze the baked loaf without the glaze for best texture, tightly wrapped, for up to 2 months. Add the glaze after thawing so it stays glossy.
- Reheating: Warm slices in the oven at 300°F or in short bursts in the microwave. If you reheat too long, the sugar filling turns chewy and the bread dries out.
Answers to the Questions Worth Asking
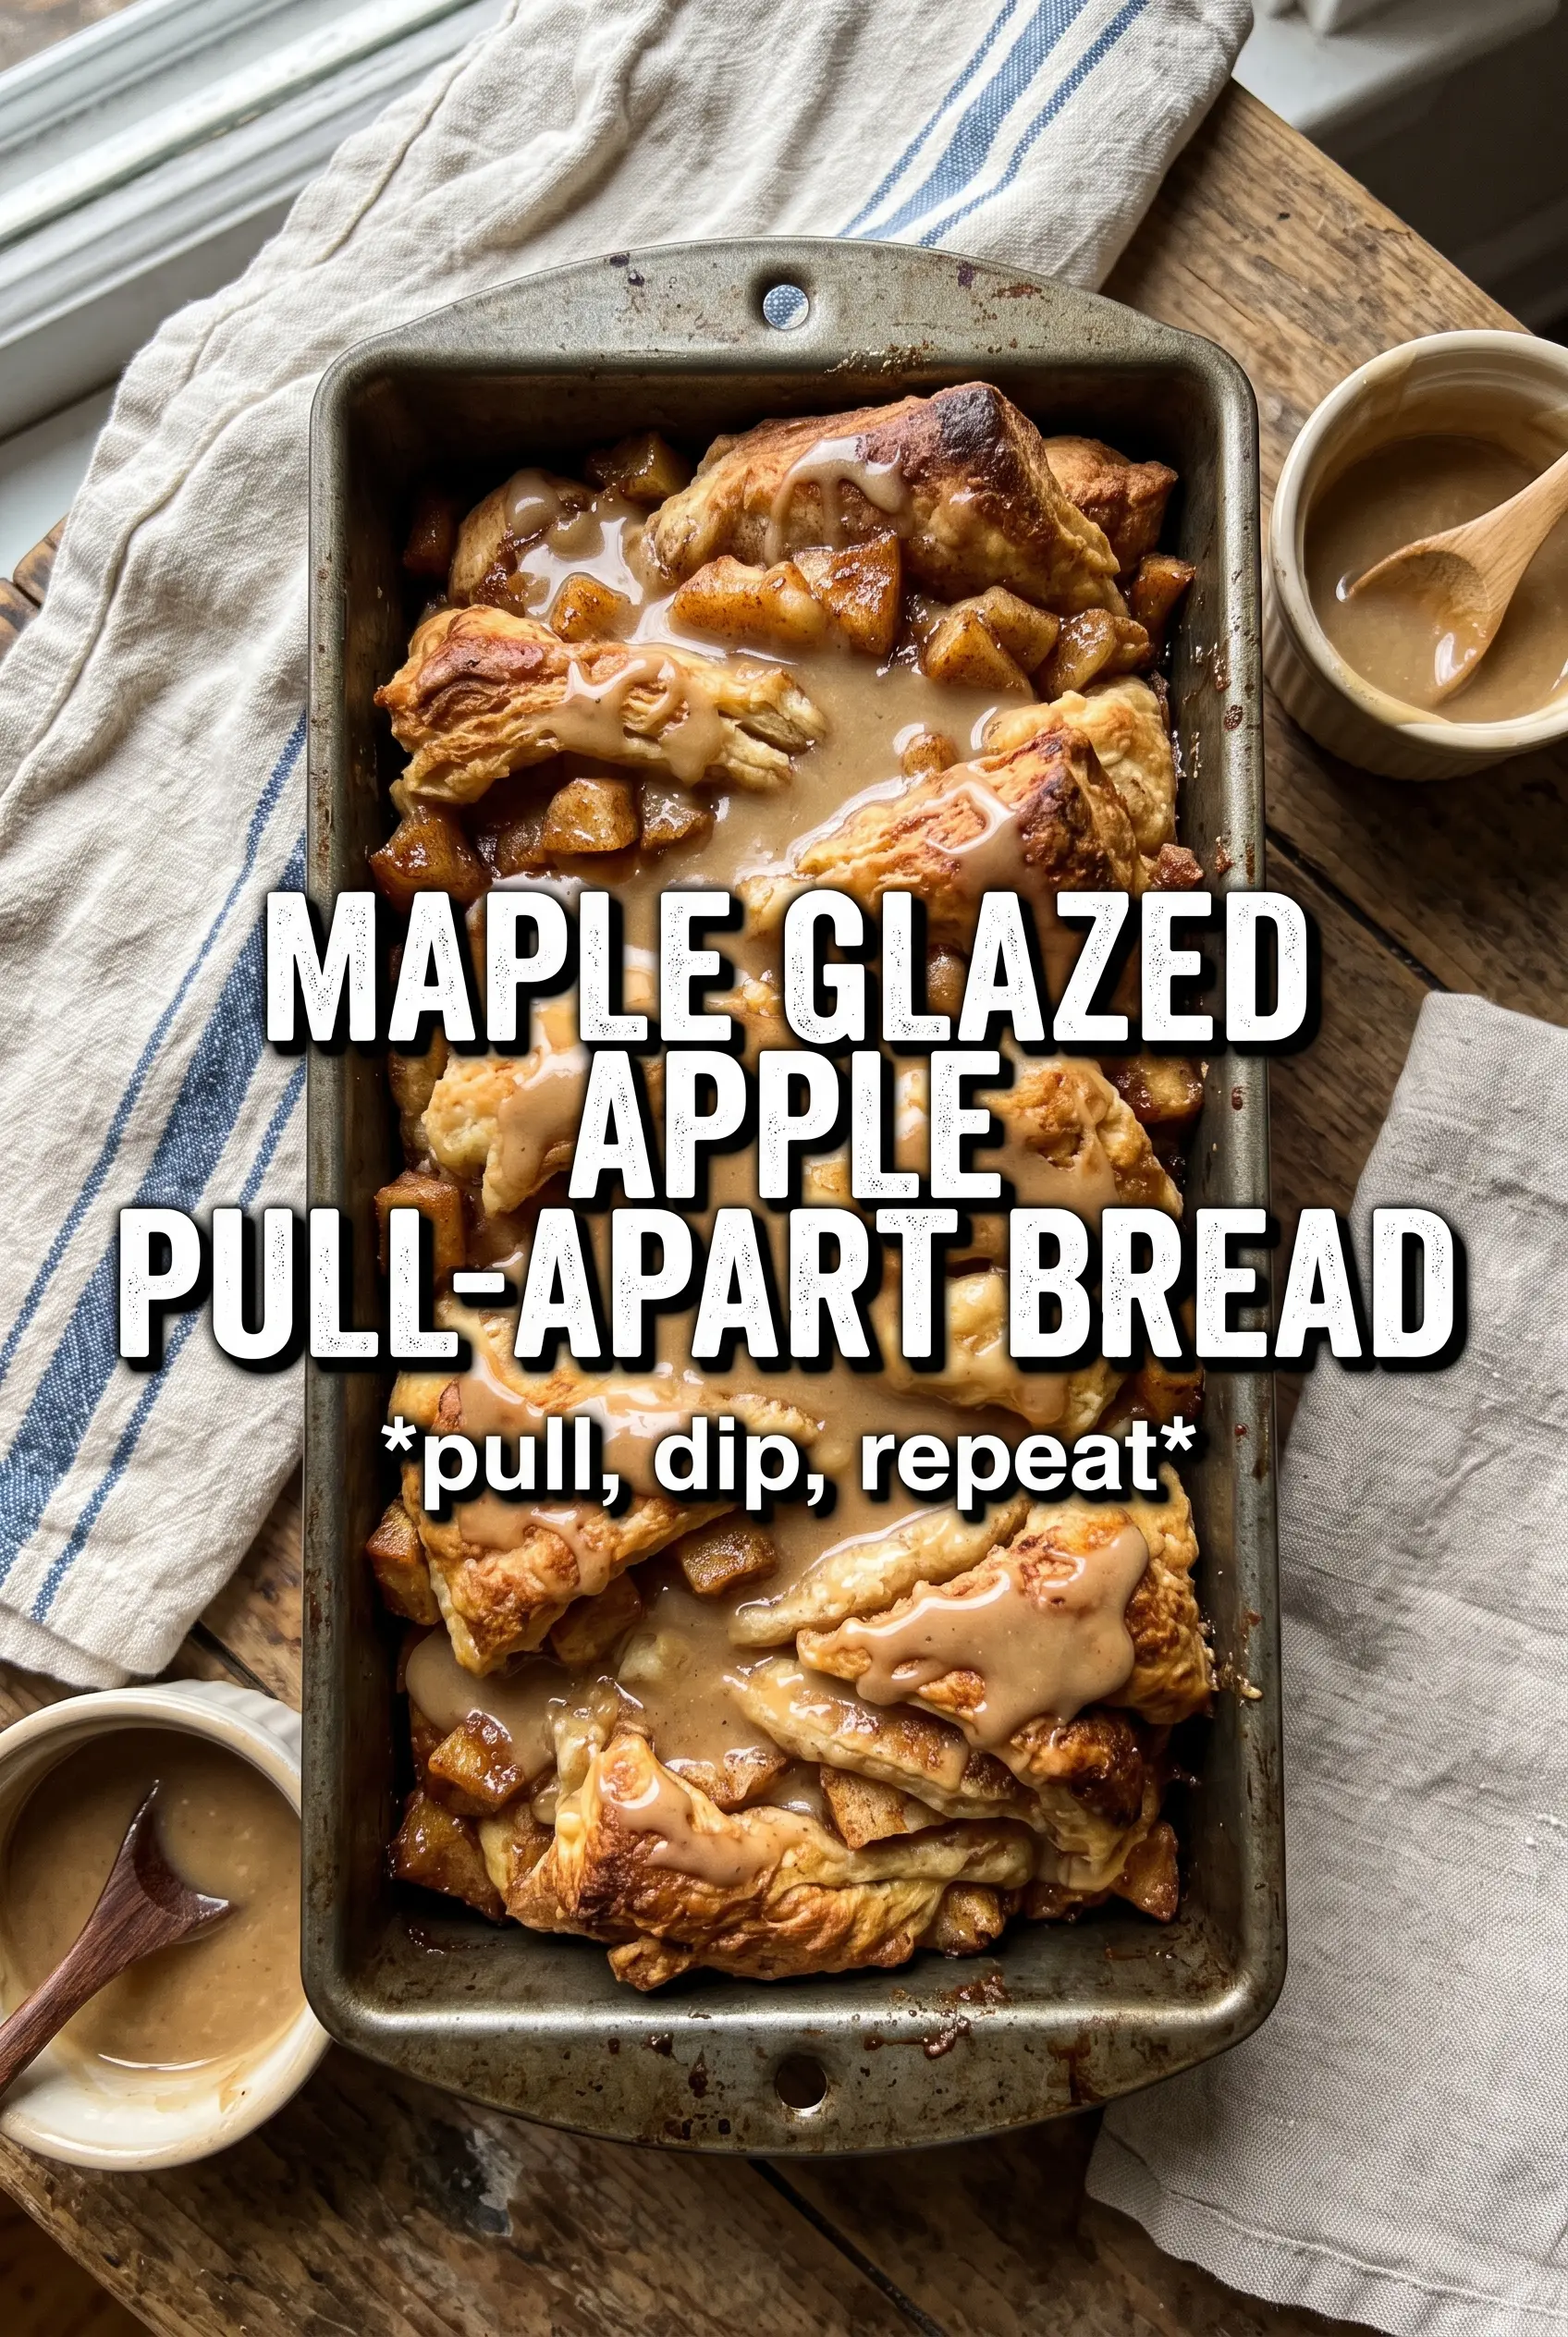
Maple Glazed Apple Pull-Apart Bread
Ingredients
Equipment
Method
- Combine warm milk and yeast in a mixing bowl and let sit until foamy, about 5 minutes, for a clear yeast start (visual cue: bubbles around the surface).
- Add sugar, melted butter, eggs, and vanilla; mix until smooth, then sprinkle in flour and salt (visual cue: no dry flour pockets remain).
- Knead dough for 6-8 minutes until elastic and slightly tacky; if it feels very dry, add a teaspoon of warm water at a time.
- Cover and rise for 1 hour at warm room temperature until doubled in size (visual cue: dough springs back slowly when pressed).
- Roll the dough into a 12x18 rectangle, then spread softened butter over the surface in an even layer (visual cue: dough looks lightly coated).
- Scatter the apple cinnamon filling mixture over the buttered dough so it covers most of the rectangle.
- Cut the rectangle into 5 long strips, then stack the strips together into 5 high, creating layered bands (visual cue: visible stripes stacked neatly).
- Cut the stacked strips into 6 square stacks, keeping cut edges intact for clear layers.
- Grease a 9x5 loaf pan, then layer the square stacks on their sides inside the pan (visual cue: cut faces visible).
- Cover and rise for 30 minutes until puffy and slightly risen above the pan rim (visual cue: layers fill out and look aerated).
- Bake at 350°F for 40-45 minutes until deep golden, tenting with foil halfway through if the top darkens too quickly (visual cue: top is browned and bread sounds hollow when tapped).
- While warm, drizzle generously with maple glaze so it pools slightly between layers for a sticky finish (visual cue: glaze turns glossy and clings to the crust).