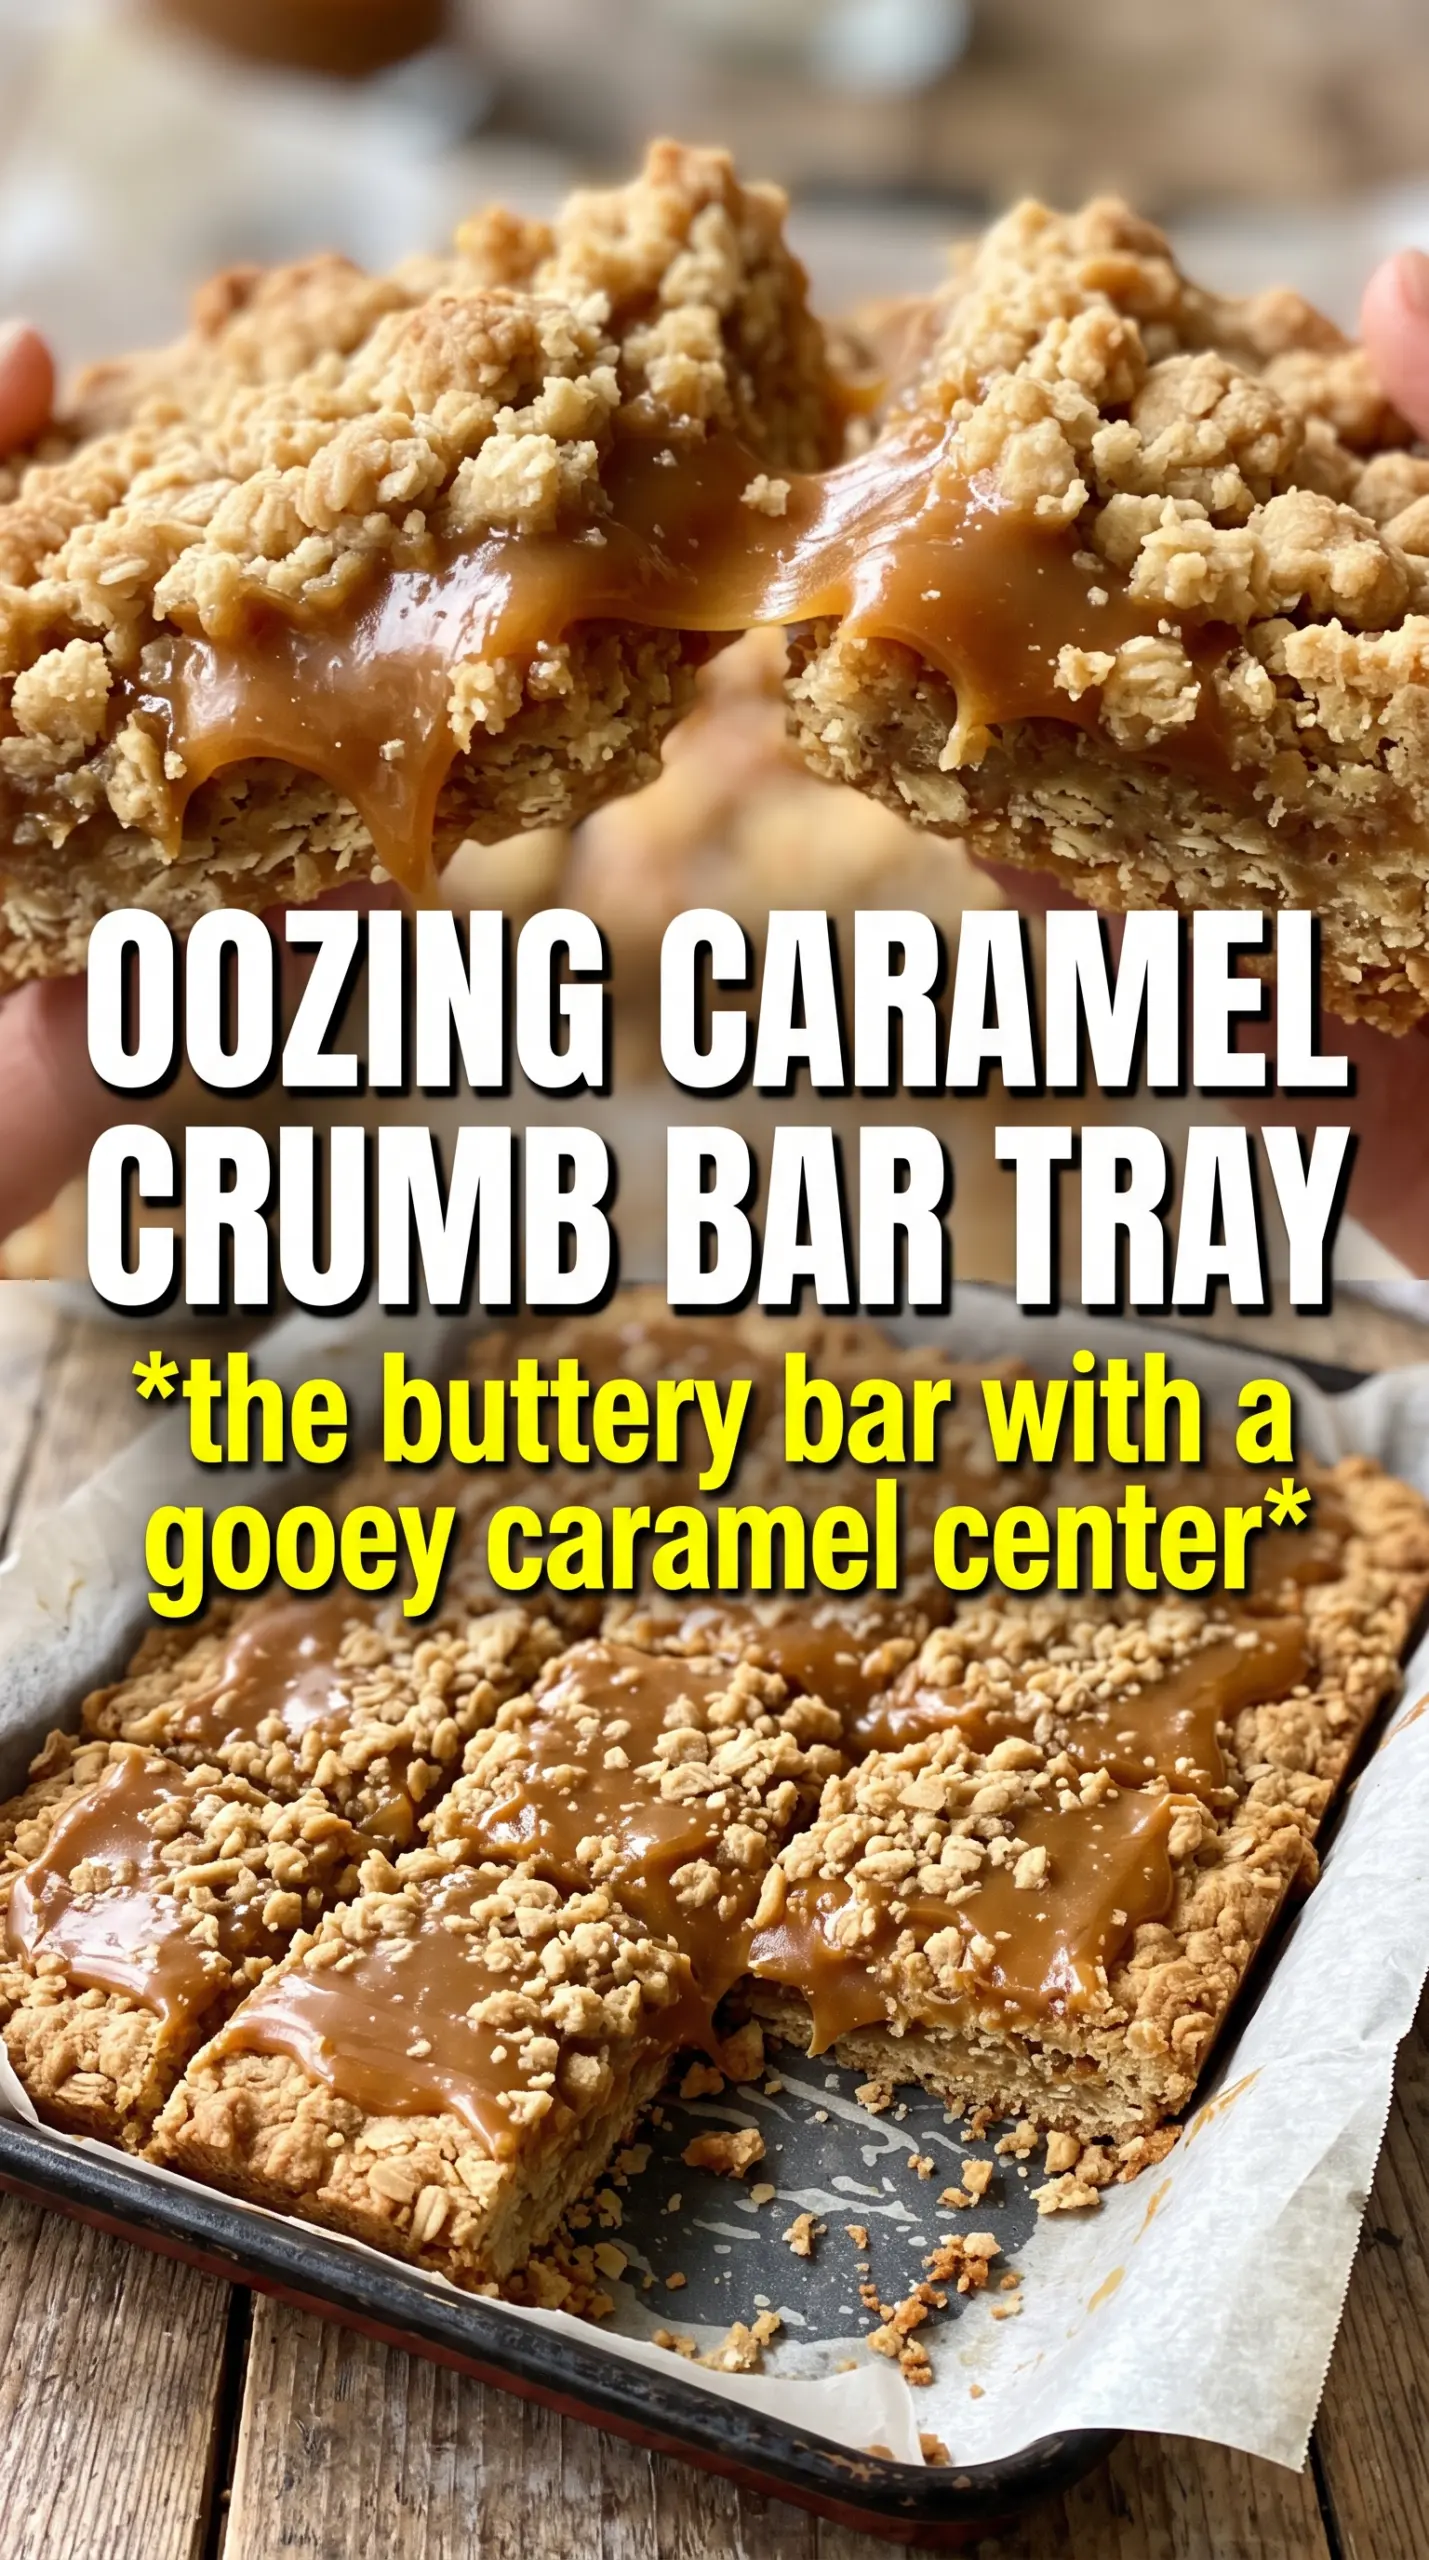
These caramel crumb bars bake up with a buttery oat crust, a thick middle of gooey caramel, and a crisp crumble top that cuts cleanly once cooled. The contrast is what keeps people reaching for a second piece: tender underneath, chewy in the center, and just salty enough on top to keep the sweetness in check.
The key here is separating the crumble into two jobs. One part gets pressed into the pan and baked first so it can hold the caramel instead of turning soggy, and the rest goes on top for texture. The caramel also needs to cook past the loose, sauce-like stage; if it stays too thin, it leaks into the base and never sets into that soft, sliceable layer.
Below, I’ll walk through the part that matters most: how to judge the caramel temperature without guessing, how to press the base so it doesn’t crumble apart, and what to do if you want to make these ahead for a party or lunchbox treat.
The caramel set up beautifully and the bars held together after cooling. I loved the salty finish on top — it kept them from tasting too sweet.
Make these caramel crumb bars when you want a gooey center, a crisp oat topping, and clean slices that don’t fall apart.
The One Caramel Mistake That Makes These Bars Leak
The filling needs to reach a true soft-ball stage, not just a melted-sugar stage. If you pour in a thin caramel, it will slide into the base and stay loose even after cooling, leaving you with a sticky mess instead of a distinct middle layer. Cooking it to 235F gives you that thick, chewy set without turning the bars hard.
The other point that matters is the first bake on the base. That short head start dries the bottom layer enough to act like a barrier, so the caramel sits on top instead of soaking straight through. Press it firmly and evenly; patchy packing is how you end up with uneven slices and crumbly corners.
- Rolled oats — Old-fashioned oats give the bars their nubby, bakery-style texture. Quick oats work in a pinch, but they make the crumble denser and less defined.
- Brown sugar — This pulls double duty: it sweetens and also keeps the crumble tender. Light or dark brown sugar both work, though dark brown sugar gives the caramel and crust a deeper molasses note.
- Cold butter for the crumble — Cold cubes are nonnegotiable here. They create little pockets that melt during baking, which is what keeps the topping from turning greasy or sandy.
- Heavy cream — This is what turns the caramel from grainy sugar into a smooth filling. Half-and-half can work, but the caramel won’t taste as rich and may set a little softer.
- Light corn syrup — It helps keep the caramel smooth and reduces crystallization. If you skip it, stir carefully and watch for sugar crystals clinging to the sides of the pan.
What Each Ingredient Is Actually Doing in This Recipe
- Primary ingredient (the star) — Quality matters most. Choose the best you can find.
- Cooking medium (oil, butter, or broth) — This carries flavors and prevents dryness.
- Seasonings (salt, pepper, spices, herbs) — Layer flavors so nothing overpowers. Build depth gradually.
- Aromatics (garlic, onion, herbs) — Cook with fat to bloom flavors. Become the foundation.
- Supporting ingredients — Complement the main ingredient without overpowering it.
- Sauce or liquid (if applicable) — Brings flavors together. Balance richness with acid.
- Acid (lemon, vinegar, wine, or other) — Brightens and prevents flat-tasting results.
- Final finish (garnish, glaze, or sauce) — Prevents one-dimensional taste and adds visual appeal.
Building the Layers So the Bars Slice Cleanly
Mixing the Crumble
Combine the dry ingredients first, then cut in the cold butter until the mixture looks like coarse crumbs with some pea-sized bits still visible. Those bigger pieces matter because they melt into the crisp, craggy top layer. If the mixture turns pasty, the butter got too warm and the finished bars will bake up heavy instead of crumbly.
Pressing and Prebaking the Base
Take about two-thirds of the crumble and press it firmly into a parchment-lined 9×13 pan. Use the bottom of a measuring cup to pack it evenly into the corners so the caramel doesn’t find weak spots and sink through. Bake just until the edges look set and the surface starts to dull, not until it browns deeply.
Cooking the Caramel to the Right Stage
Melt the butter and brown sugar over medium heat, then add the cream and corn syrup and keep cooking until the mixture hits 235F. Stir often enough to keep the sugar from catching, but don’t whip air into it. If you don’t have a thermometer, watch for a thick, slow-moving bubble and a caramel that coats the spoon heavily instead of running off in a thin sheet.
Finishing the Bake
Pour the caramel over the hot base right away, then scatter the remaining crumble over the top while the filling is still warm and tacky. That last bake should leave the top golden and the filling bubbling at the edges. Finish with flaky salt while the bars are still warm so it sticks, then cool them completely before cutting; if you rush this part, the caramel will ooze out instead of setting.
How to Adapt These Bars Without Losing the Texture
Gluten-Free Version
Swap the all-purpose flour for a good 1:1 gluten-free baking blend that includes xanthan gum. The bars will still hold together, but they may be a touch more delicate, so let them cool fully before lifting them from the pan.
Dairy-Free Caramel Crumb Bars
Use plant-based butter sticks in both the crumble and the caramel, plus full-fat coconut cream in place of heavy cream. The flavor shifts slightly toward coconut, and the caramel won’t taste quite as buttery, but the bars still bake up with a clean middle layer.
Extra-Salty Finish
If you like the sweet-salty contrast to lean harder savory, add an extra pinch of flaky salt after baking. Don’t add it before the oven; the flakes dissolve and lose that sharp little crunch that makes the top finish pop.
Storage and Reheating
- Refrigerator: Store in an airtight container for up to 5 days. The caramel firms up in the fridge, so the bars taste a little chewier when chilled.
- Freezer: These freeze well. Wrap the cut bars individually, then store in a freezer bag for up to 2 months; thaw in the fridge so condensation doesn’t soften the topping.
- Reheating: You usually don’t need to reheat them, but a 10-second microwave hit takes the chill off. Don’t heat them too long or the caramel will loosen and the layers will slide apart.
Answers to the Questions Worth Asking
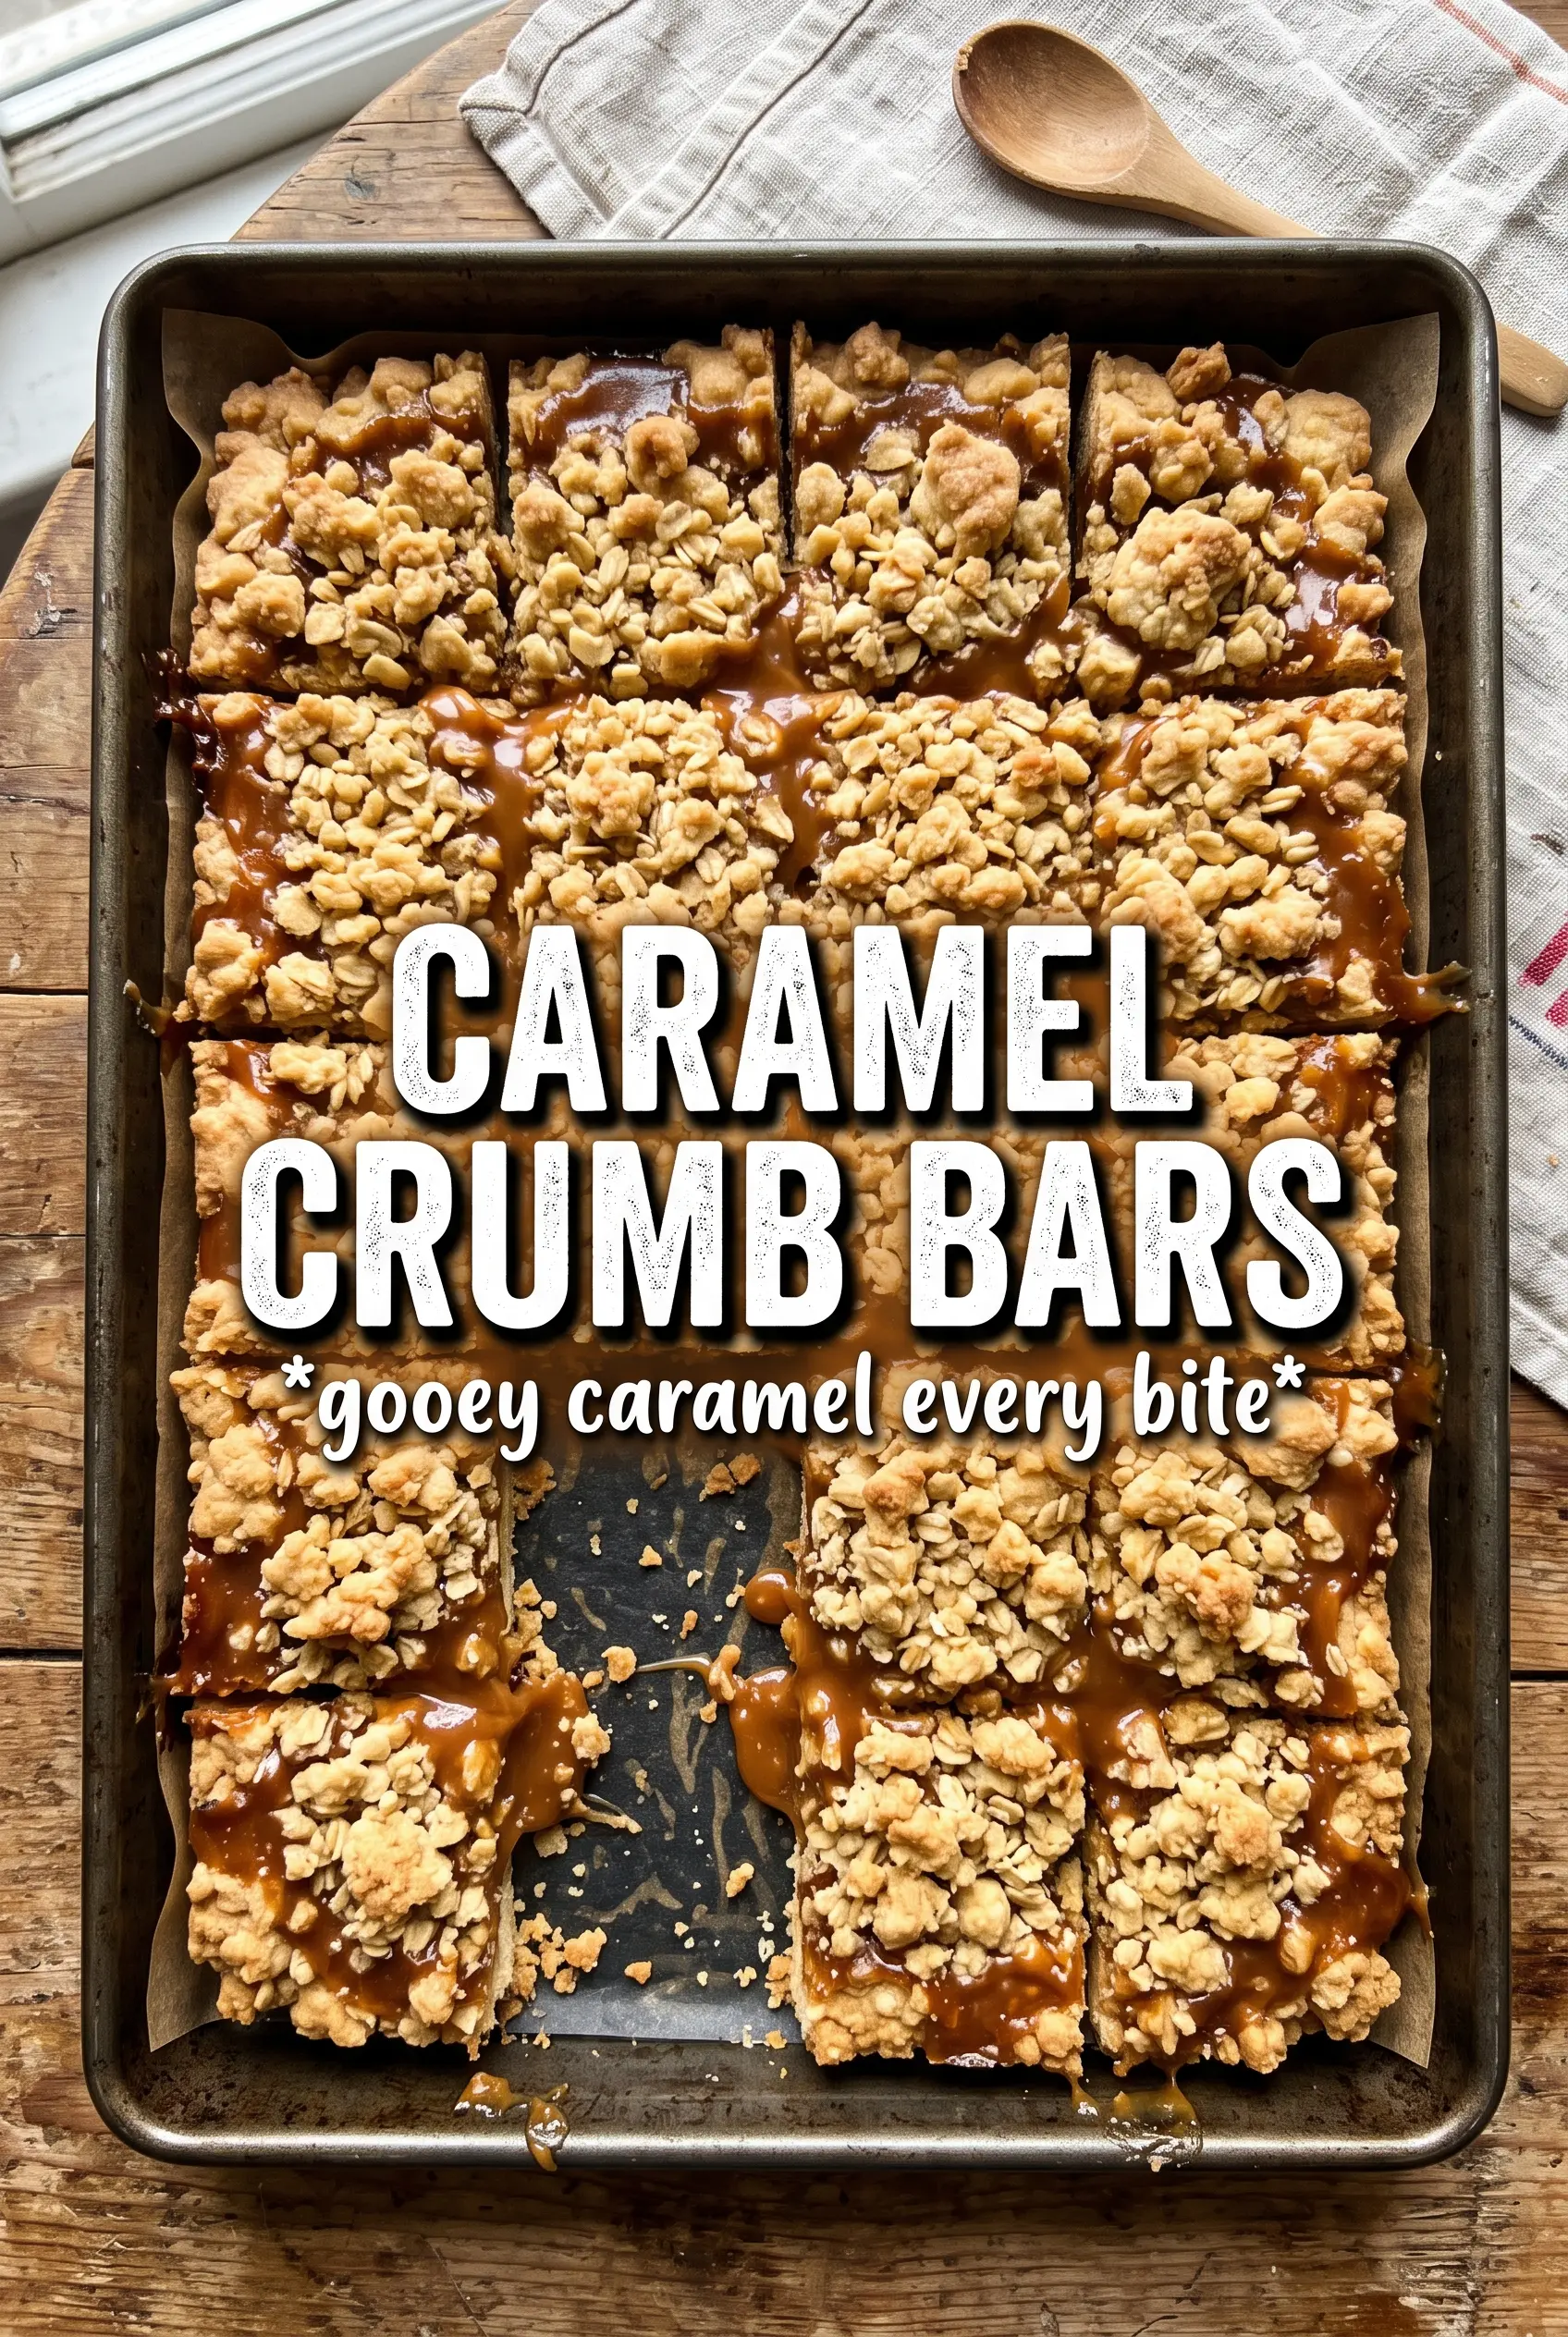
Caramel Crumb Bars
Ingredients
Equipment
Method
- Preheat the oven to 350°F, then line a 9x13 pan with parchment. Keep the parchment overhang so the bars lift out cleanly.
- Make the crumble by combining flour, oats, brown sugar, cinnamon, baking soda, and salt, then cut in the cold butter until crumbly. Stop when the butter is evenly distributed and the mixture looks like coarse crumbs.
- Press 2/3 of the crumble firmly into the prepared pan. Bake for 12 minutes at 350°F until set and lightly golden at the edges.
- Make the caramel by melting butter and brown sugar over medium heat. Stir until smooth and glossy.
- Add the heavy cream and corn syrup, then cook to 235°F. Keep stirring so the caramel reaches the correct temperature evenly without scorching.
- Remove the caramel from the heat and stir in vanilla and salt. Pour the caramel over the hot base right away.
- Crumble the remaining mixture over the caramel in an even layer. Bake for 18 to 20 minutes at 350°F until the top is deep golden.
- Sprinkle with flaky sea salt, then cool completely before cutting. Letting it cool fully prevents caramel from oozing out when you slice.