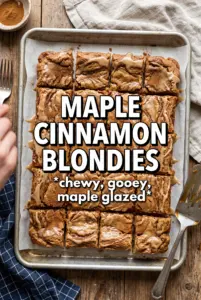
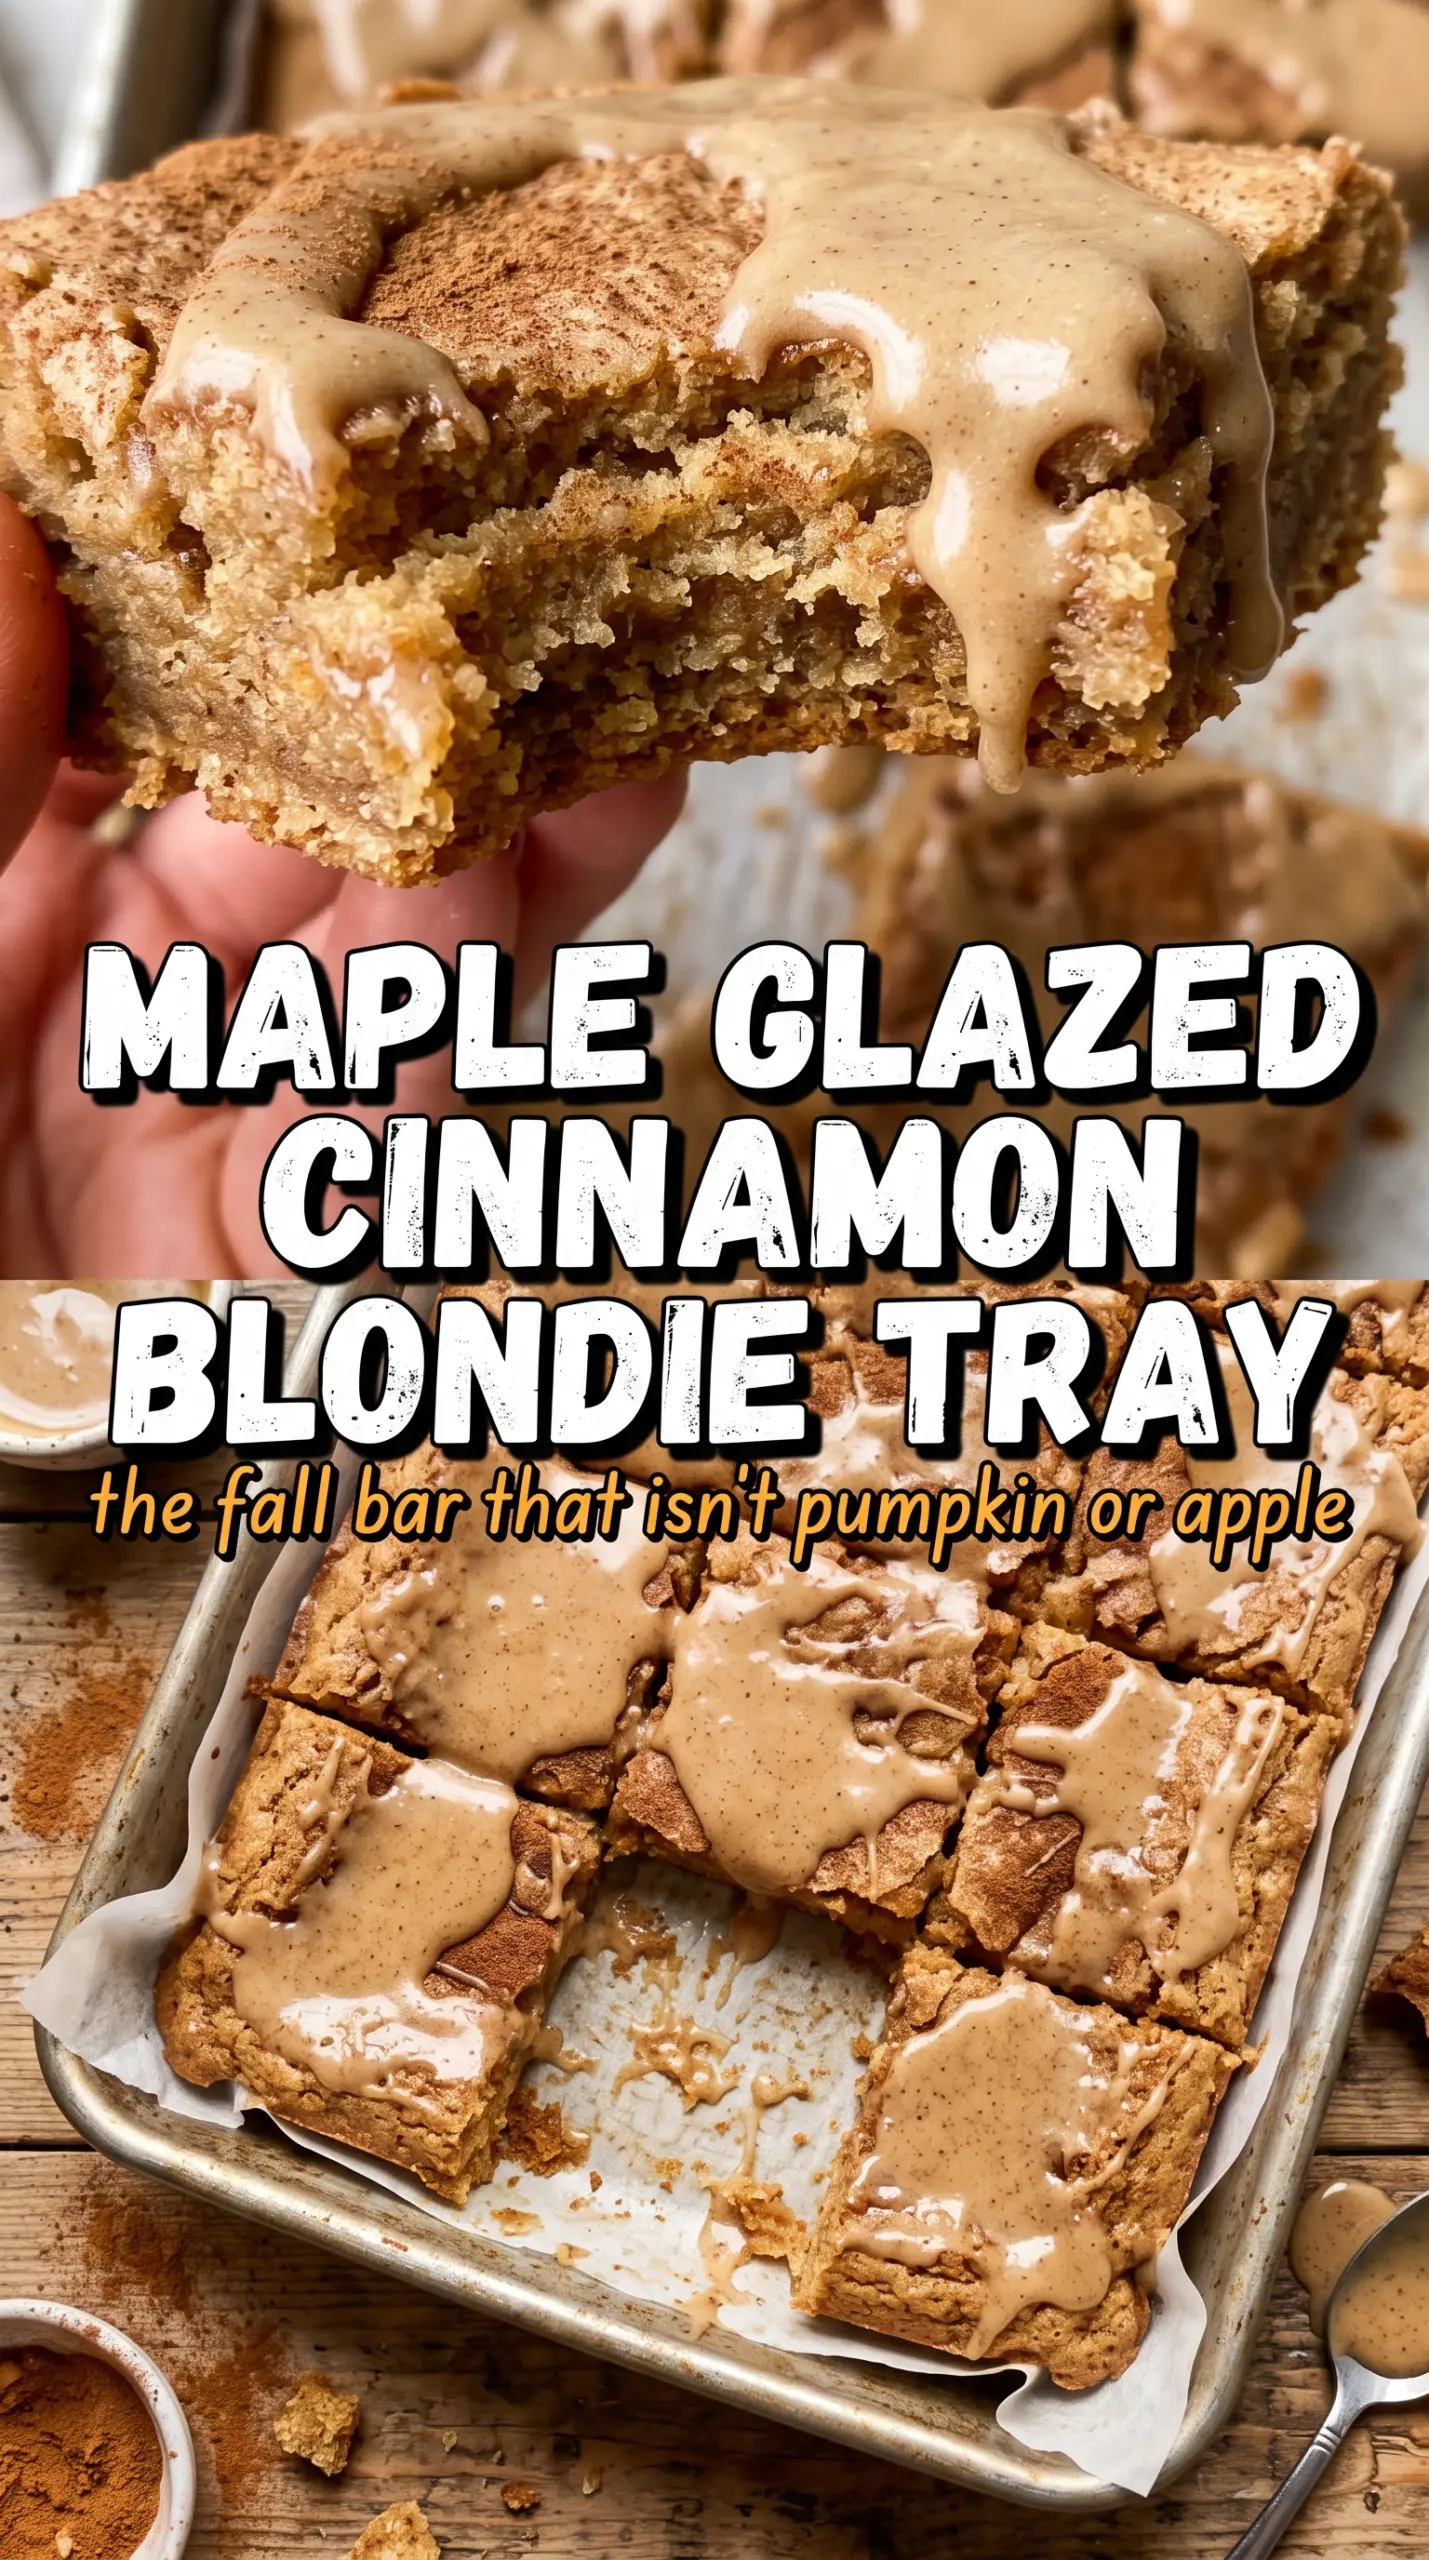
These maple cinnamon blondies bake up thick, chewy, and deeply flavored, with browned butter giving the bars a toasty edge that keeps the sweetness in check. The crumb stays soft in the center, the top turns glossy and lightly crackly, and the maple glaze settles into every bite without making the bars cakey. A pinch of flaky sea salt on top pulls all of it together.
What makes this version stand out is the browned butter and the maple extract working together. Browned butter adds the nutty depth you can’t get from melted butter alone, and maple extract reinforces the syrup so the flavor holds up after baking instead of fading into the background. The batter comes together fast, but the cooling step matters because warm blondies will soak up the glaze instead of letting it sit in that pretty finish on top.
Below, I’ve laid out the part that matters most: how to brown the butter without pushing it too far, how to know when the bars are baked just enough, and a few smart swaps if you need to adjust for what’s in your pantry.
The browned butter made these taste bakery-level, and the center stayed chewy even after cooling. I baked mine right at 28 minutes, and the glaze set up perfectly without sinking in.
Save these maple cinnamon blondies for the days when you want chewy bars, a glossy maple glaze, and that browned-butter finish.
The Difference Between Chewy Blondies and Dry Ones Is in the Butter and the Bake
Blondies can turn dry fast when they’re baked like cake batter instead of treated like a dense bar cookie. The first mistake is overmixing after the flour goes in, which builds too much structure and gives you a tighter crumb than you want. The second is baking until the center looks fully set in the pan; by then, the bars usually carry on cooking into a firmer texture than needed.
Browning the butter changes the whole personality of the blondies. It deepens the flavor before anything else even hits the bowl, so the finished bars taste warm and toasted instead of just sweet. The maple syrup and maple extract bring out that same richness, but they need the brown sugar and butter to give them enough body to stay noticeable after baking.
- Browned butter — This is the flavor anchor. Melted butter will work in a pinch, but it won’t give you the nutty depth that makes these taste layered instead of plain.
- Brown sugar — Packed brown sugar keeps the bars moist and chewy. Don’t swap in white sugar here unless you want a drier, more brittle texture.
- Maple extract — The syrup alone adds sweetness, but the extract is what makes the maple flavor carry through the bake. If you leave it out, the bars still work, but the maple note gets softer.
- Flaky sea salt — This is not decoration. A light sprinkle on top sharpens the glaze and keeps the bars from tasting flat.
What Each Ingredient Is Actually Doing in This Recipe
- Primary ingredient (the star) — Quality matters most. Choose the best you can find.
- Cooking medium (oil, butter, or broth) — This carries flavors and prevents dryness.
- Seasonings (salt, pepper, spices, herbs) — Layer flavors so nothing overpowers. Build depth gradually.
- Aromatics (garlic, onion, herbs) — Cook with fat to bloom flavors. Become the foundation.
- Supporting ingredients — Complement the main ingredient without overpowering it.
- Sauce or liquid (if applicable) — Brings flavors together. Balance richness with acid.
- Acid (lemon, vinegar, wine, or other) — Brightens and prevents flat-tasting results.
- Final finish (garnish, glaze, or sauce) — Prevents one-dimensional taste and adds visual appeal.
How to Build the Batter So the Center Stays Soft
Brown the Butter First
Cook the butter over medium heat until it foams, then the foam thins and the milk solids at the bottom turn golden and smell nutty. Pull it off the heat as soon as you see amber bits, because it can go from browned to burnt in seconds. Let it cool for about 10 minutes so it won’t melt the sugar into a greasy paste or scramble the eggs later.
Whisk the Wet Ingredients Until They Look Glossy
Stir the browned butter with the brown sugar and maple syrup until the mixture looks thick and shiny, then whisk in the eggs, vanilla, and maple extract. It won’t get fluffy like cake batter, and that’s fine. What you want is a smooth, cohesive base with no streaks of egg floating through it.
Fold, Don’t Beat, the Flour In
Add the dry ingredients and stir only until the flour disappears. A few streaks are better than overworking the batter, because too much mixing tightens the crumb and takes away that chewy blondie texture. Spread it into the pan in an even layer; the batter is thick, so a spatula helps press it into the corners without smearing it around forever.
Watch the Center, Not the Clock
Bake until the edges are set and lightly golden and the center still has a slight jiggle. A toothpick should come out with a few moist crumbs, not wet batter. If the top looks done but the middle is still glossy and sloshy, give it a few more minutes; if it’s fully dry, you’ve gone too far and the bars will firm up as they cool.
For a nuttier finish, brown the butter a shade deeper
Let the butter cook until the milk solids turn a deeper amber and smell almost like toasted hazelnuts. This adds more depth, but you need to stay close to the pan so it doesn’t cross from nutty to bitter. If you prefer a softer, sweeter bar, stop the browning just as the solids turn golden.
For a dairy-free version, use plant butter with a neutral flavor
A good plant butter works here, but you’ll lose the nutty edge that browned dairy butter gives the bars. Keep the rest of the recipe the same, and don’t overbake while compensating for the missing flavor; that just dries out the texture. The blondies will still be chewy and maple-forward.
For a gluten-free pan, use a 1:1 baking blend with xanthan gum
A solid cup-for-cup blend usually gives the closest texture to the original recipe. The crumb may be a little more tender, so let the bars cool completely before slicing or they can crumble at the edges. Skip heavy stirring once the flour goes in so the structure stays as even as possible.
For a cleaner finish, leave off the glaze and dust with salt only
The bars are rich enough to stand on their own if you want less sweetness. A light sprinkle of flaky salt on the warm, cooled bars keeps the maple and cinnamon front and center without the extra drip from the glaze. This version slices a little neater for lunchboxes or dessert trays.
Storage and Reheating
- Refrigerator: Store covered for up to 5 days. The bars firm up a bit in the fridge, but they stay chewy.
- Freezer: Freeze unglazed bars tightly wrapped for up to 2 months. Thaw at room temperature, then glaze after they’ve fully come back to room temp.
- Reheating: These are best at room temperature, but if you want a warm square, microwave one for 8 to 10 seconds. Heat too long and the glaze melts off and the edges turn tough.
Answers to the Questions Worth Asking
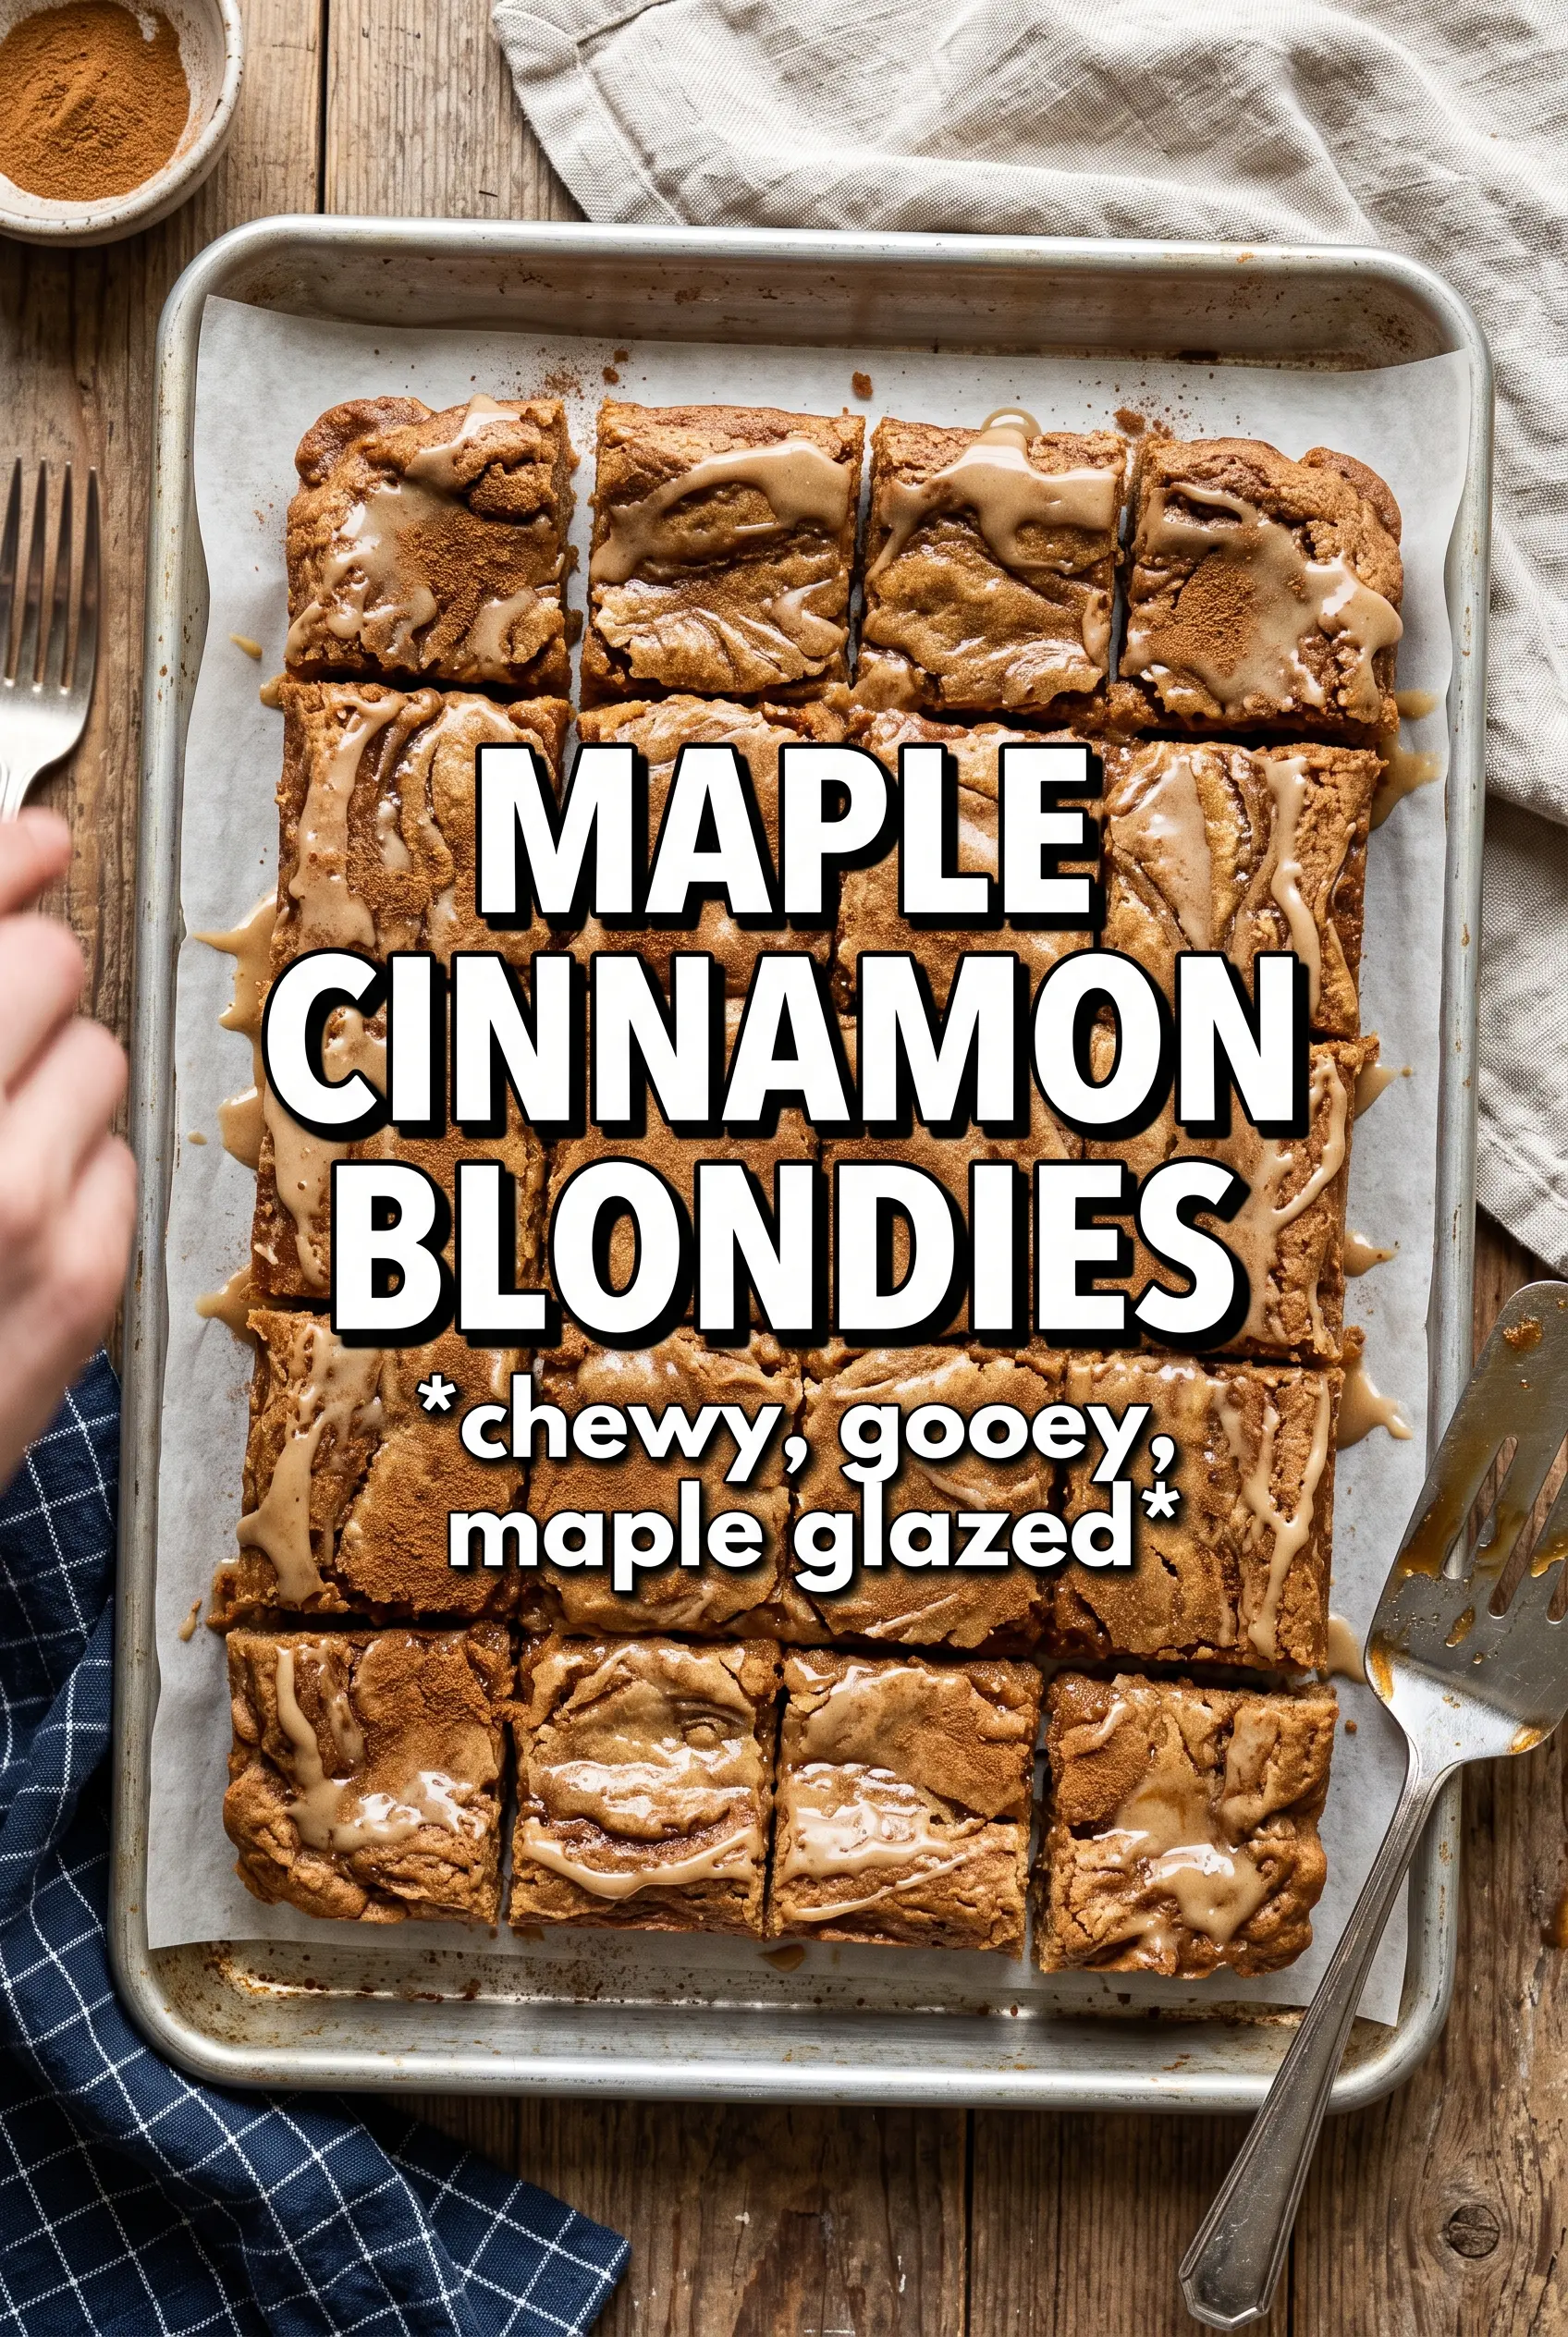
Maple Cinnamon Blondies
Ingredients
Equipment
Method
- Brown the butter in a cast iron skillet until golden and nutty, then remove from heat and cool for 10 minutes.
- Preheat the oven to 350F and grease a 9x13 pan.
- Whisk together all-purpose flour, baking powder, cinnamon, nutmeg, and salt in a bowl.
- Whisk browned butter, packed brown sugar, and pure maple syrup until smooth.
- Whisk in eggs, vanilla, and maple extract until the mixture looks glossy.
- Fold the flour mixture into the wet ingredients, then spread the batter evenly in the greased 9x13 pan.
- Bake at 350F for 25-30 minutes, until a toothpick has just a few moist crumbs.
- Cool completely before glazing so the drizzle stays shiny.
- Whisk powdered sugar, maple syrup, milk, and cinnamon until smooth, then drizzle over the cooled blondies.
- Sprinkle flaky sea salt on top for finishing.