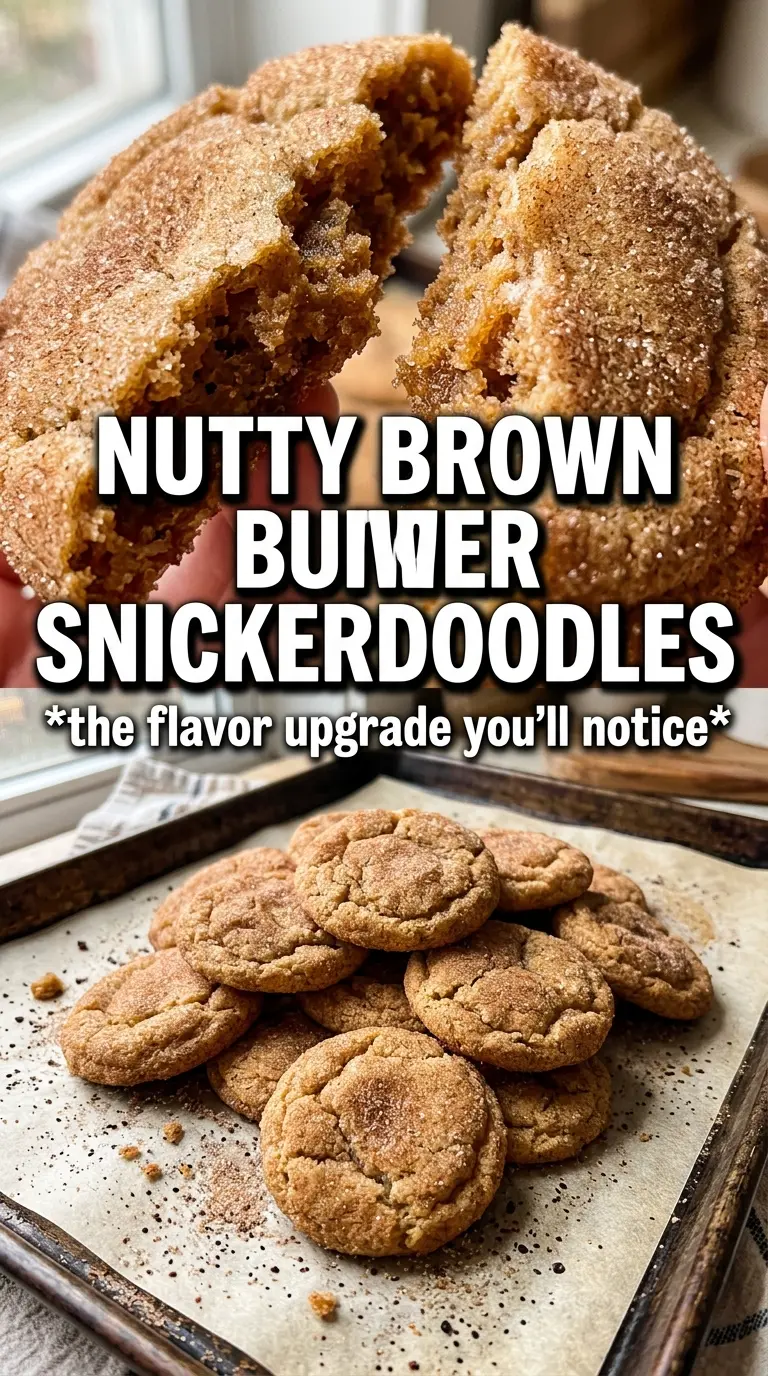
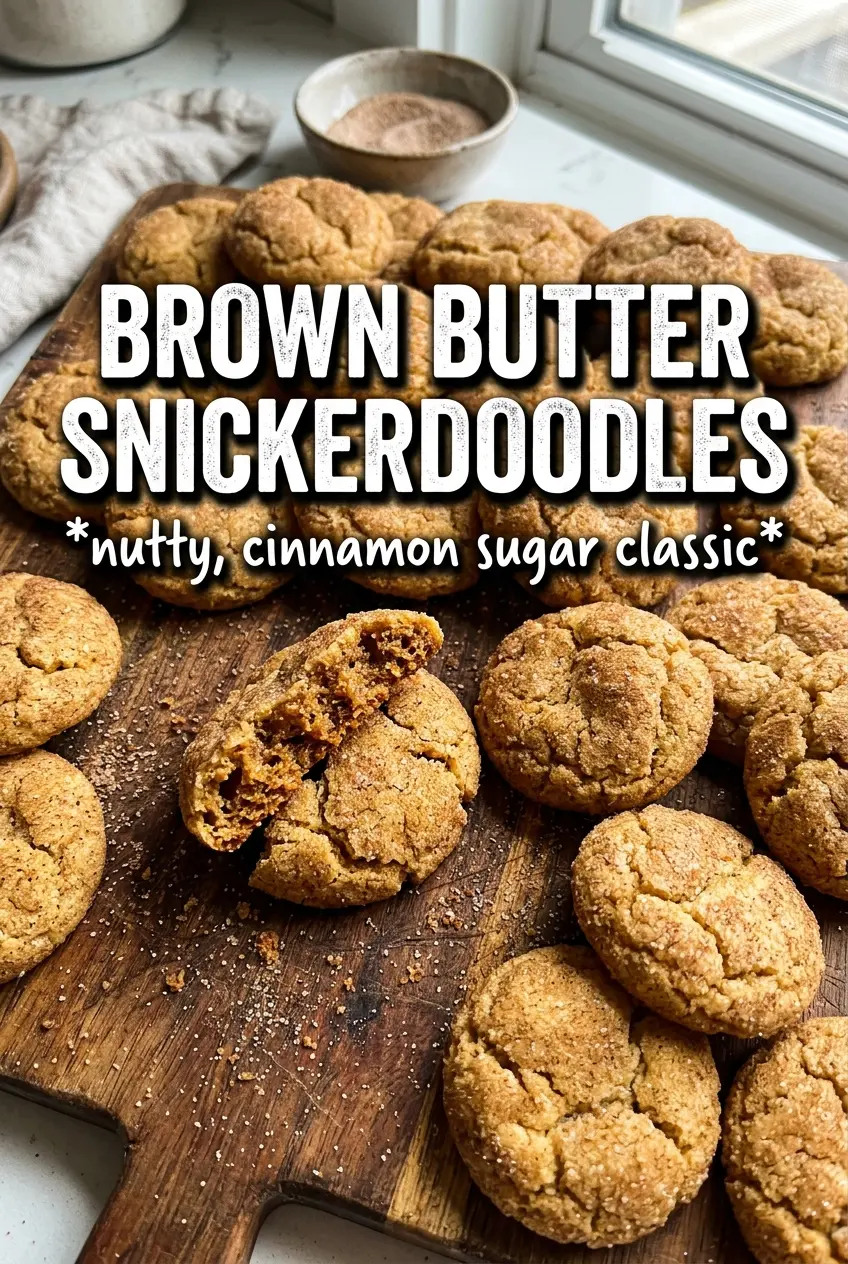
Brown butter snickerdoodles bake up with crisp, cinnamon-sugar edges, chewy centers, and a deeper, nuttier flavor than the classic version. The brown butter doesn’t just add color; it gives the cookie a toasted caramel note that makes every bite taste a little more grown-up without losing the soft, crackly snickerdoodle texture people expect.
The key is patience at the start. Browning the butter builds flavor, but it has to cool back down and solidify before you cream it with the sugar, or the dough turns greasy and spreads too fast. Cream of tartar keeps the cookies tangy and gives them that signature snickerdoodle bite, while the cinnamon in the dough plus the heavier cinnamon-sugar coating makes the outside extra fragrant.
Below, I’ve included the one texture cue that matters most during baking, plus a few swaps and storage notes so you can make these with confidence.
The brown butter flavor came through beautifully, and the cookies stayed thick with those crackly tops I was hoping for. Mine were perfect right at 11 minutes.
Save these brown butter snickerdoodles for when you want a classic cookie with deeper, toasted flavor and crackly cinnamon-sugar tops.
The Trick Is Letting the Brown Butter Set Before You Cream It
Brown butter changes the whole cookie, but it also changes the texture of the dough if you rush it. Warm brown butter melts the sugar too early, and that leads to thin cookies that spread before the centers have time to set. Once the butter has cooled and solidified, it creams like regular butter and traps air the way it should, which gives these cookies their lift and those pretty crinkled tops.
- Brown butter: This is where the flavor lives. Cook it until you see amber flecks and smell toasted hazelnut, then cool it completely. If it’s still soft but not melted, that’s the sweet spot for creaming.
- Cream of tartar: Don’t skip it. It gives snickerdoodles their tang and helps the cookies bake up with that classic soft-chewy bite instead of turning into plain cinnamon sugar cookies.
- Cinnamon in the dough and coating: The dough gets a subtle base layer of spice, while the rolling mixture gives you the bold cinnamon crunch on the outside. That double hit is what makes each bite taste full, not one-note.
- Nutmeg in the rolling mix: It’s a small amount, but it rounds out the cinnamon and makes the coating taste warmer. If you don’t have it, leave it out rather than adding too much.
What Each Ingredient Is Actually Doing in This Recipe
- Primary ingredient (the star) — Quality matters most. Choose the best you can find.
- Cooking medium (oil, butter, or broth) — This carries flavors and prevents dryness.
- Seasonings (salt, pepper, spices, herbs) — Layer flavors so nothing overpowers. Build depth gradually.
- Aromatics (garlic, onion, herbs) — Cook with fat to bloom flavors. Become the foundation.
- Supporting ingredients — Complement the main ingredient without overpowering it.
- Sauce or liquid (if applicable) — Brings flavors together. Balance richness with acid.
- Acid (lemon, vinegar, wine, or other) — Brightens and prevents flat-tasting results.
- Final finish (garnish, glaze, or sauce) — Prevents one-dimensional taste and adds visual appeal.
How to Keep the Centers Chewy While the Edges Set
Brown the Butter Until It Smells Nutty
Cook the butter over medium heat until the milk solids turn golden brown and the pan smells like toasted nuts and caramel. Pull it off the heat as soon as you see the color you want, because butter can go from brown to burnt in seconds. Pour it into a bowl right away so the residual heat doesn’t keep cooking it. Refrigerate it until it’s solid but still spoonable; that texture tells you it’s ready to cream.
Mix the Dough Without Overworking It
Cream the solidified brown butter with the sugar until it looks fluffy and lightened in color, then beat in the eggs and vanilla. Add the dry ingredients and mix only until the flour disappears. If you keep going after that point, the cookies turn tougher and lose the tender center that makes snickerdoodles so good. The dough should be soft enough to scoop but not sticky enough to smear everywhere.
Bake for Crinkles, Not Dryness
Roll the dough generously in the cinnamon sugar so the coating forms a thick shell in the oven. Bake just until the edges are set and the tops have those little cracks across them; the centers will still look slightly underdone when you pull them out. That’s what you want. Let them sit on the pan for 5 minutes, because they finish setting there and stay chewy instead of drying out on the baking sheet.
How to Adapt These Brown Butter Snickerdoodles Without Losing the Good Part
Dairy-Free Brown Butter Style
Use a plant-based butter that browns well, but watch it closely because many alternatives foam less and can scorch faster. The cookies will still bake up with a cinnamon-sugar shell, though the nutty depth will be a little softer than with real butter.
Gluten-Free Version
Swap in a cup-for-cup gluten-free flour blend with xanthan gum already included. The cookies should still hold their shape, but don’t overbake them or the edges will dry out before the centers finish setting.
Extra-Spiced Coating
Add a pinch of cardamom or cloves to the rolling sugar if you want a deeper spice profile. Keep the amount small so the cookies still taste like snickerdoodles, not spice cookies.
Make-Ahead Dough Balls
Roll the dough into balls, coat them in cinnamon sugar, and freeze them on a tray before transferring to a bag. Bake from frozen, adding 1 to 2 minutes, and you’ll get thick cookies with a slightly deeper caramelized edge.
Storage and Reheating
- Refrigerator: Store baked cookies in an airtight container for up to 5 days. They soften a little as they sit, which is exactly what you want in a snickerdoodle.
- Freezer: Freeze baked cookies for up to 2 months or freeze the dough balls for longer storage. Layer with parchment so the cinnamon sugar coating doesn’t rub off.
- Reheating: Warm cookies in a 300F oven for 3 to 5 minutes. Microwaving makes the centers soft but can turn the edges rubbery, so the oven is the better choice if you want that fresh-baked texture back.
Answers to the Questions Worth Asking
Brown Butter Snickerdoodles
Ingredients
Equipment
Method
- Brown the unsalted butter until golden and nutty, then let it solidify. Refrigerate until firm, about 1 hour, so it creams well later.
- Preheat the oven to 375°F and line baking sheets with parchment. Keep sheets ready so the dough can be shaped and baked right away.
- Whisk all-purpose flour, cream of tartar, baking soda, cinnamon, and salt in a bowl. Whisk until the dry ingredients look evenly speckled.
- Beat the solidified browned butter and granulated sugar until creamy. Mix until the mixture looks lighter in color and smooth.
- Add the eggs one at a time and mix until combined, then add vanilla extract. Stop when the dough looks glossy and cohesive.
- Fold the flour mixture into the wet ingredients until no dry streaks remain. Mix just until the dough comes together.
- Stir the rolling granulated sugar, cinnamon, and nutmeg in a shallow bowl. Make sure the spices are evenly distributed for a uniform coating.
- Scoop dough into 1-1/2 tablespoon balls, then roll generously in the cinnamon sugar mixture. Press lightly so the coating adheres thickly.
- Bake 10–12 minutes at 375°F until deeply crinkled and the edges are set. The centers should still look slightly soft when you pull them from the oven.
- Cool the cookies on the pan for 5 minutes. Transfer to a rack after resting so they finish setting without steaming.