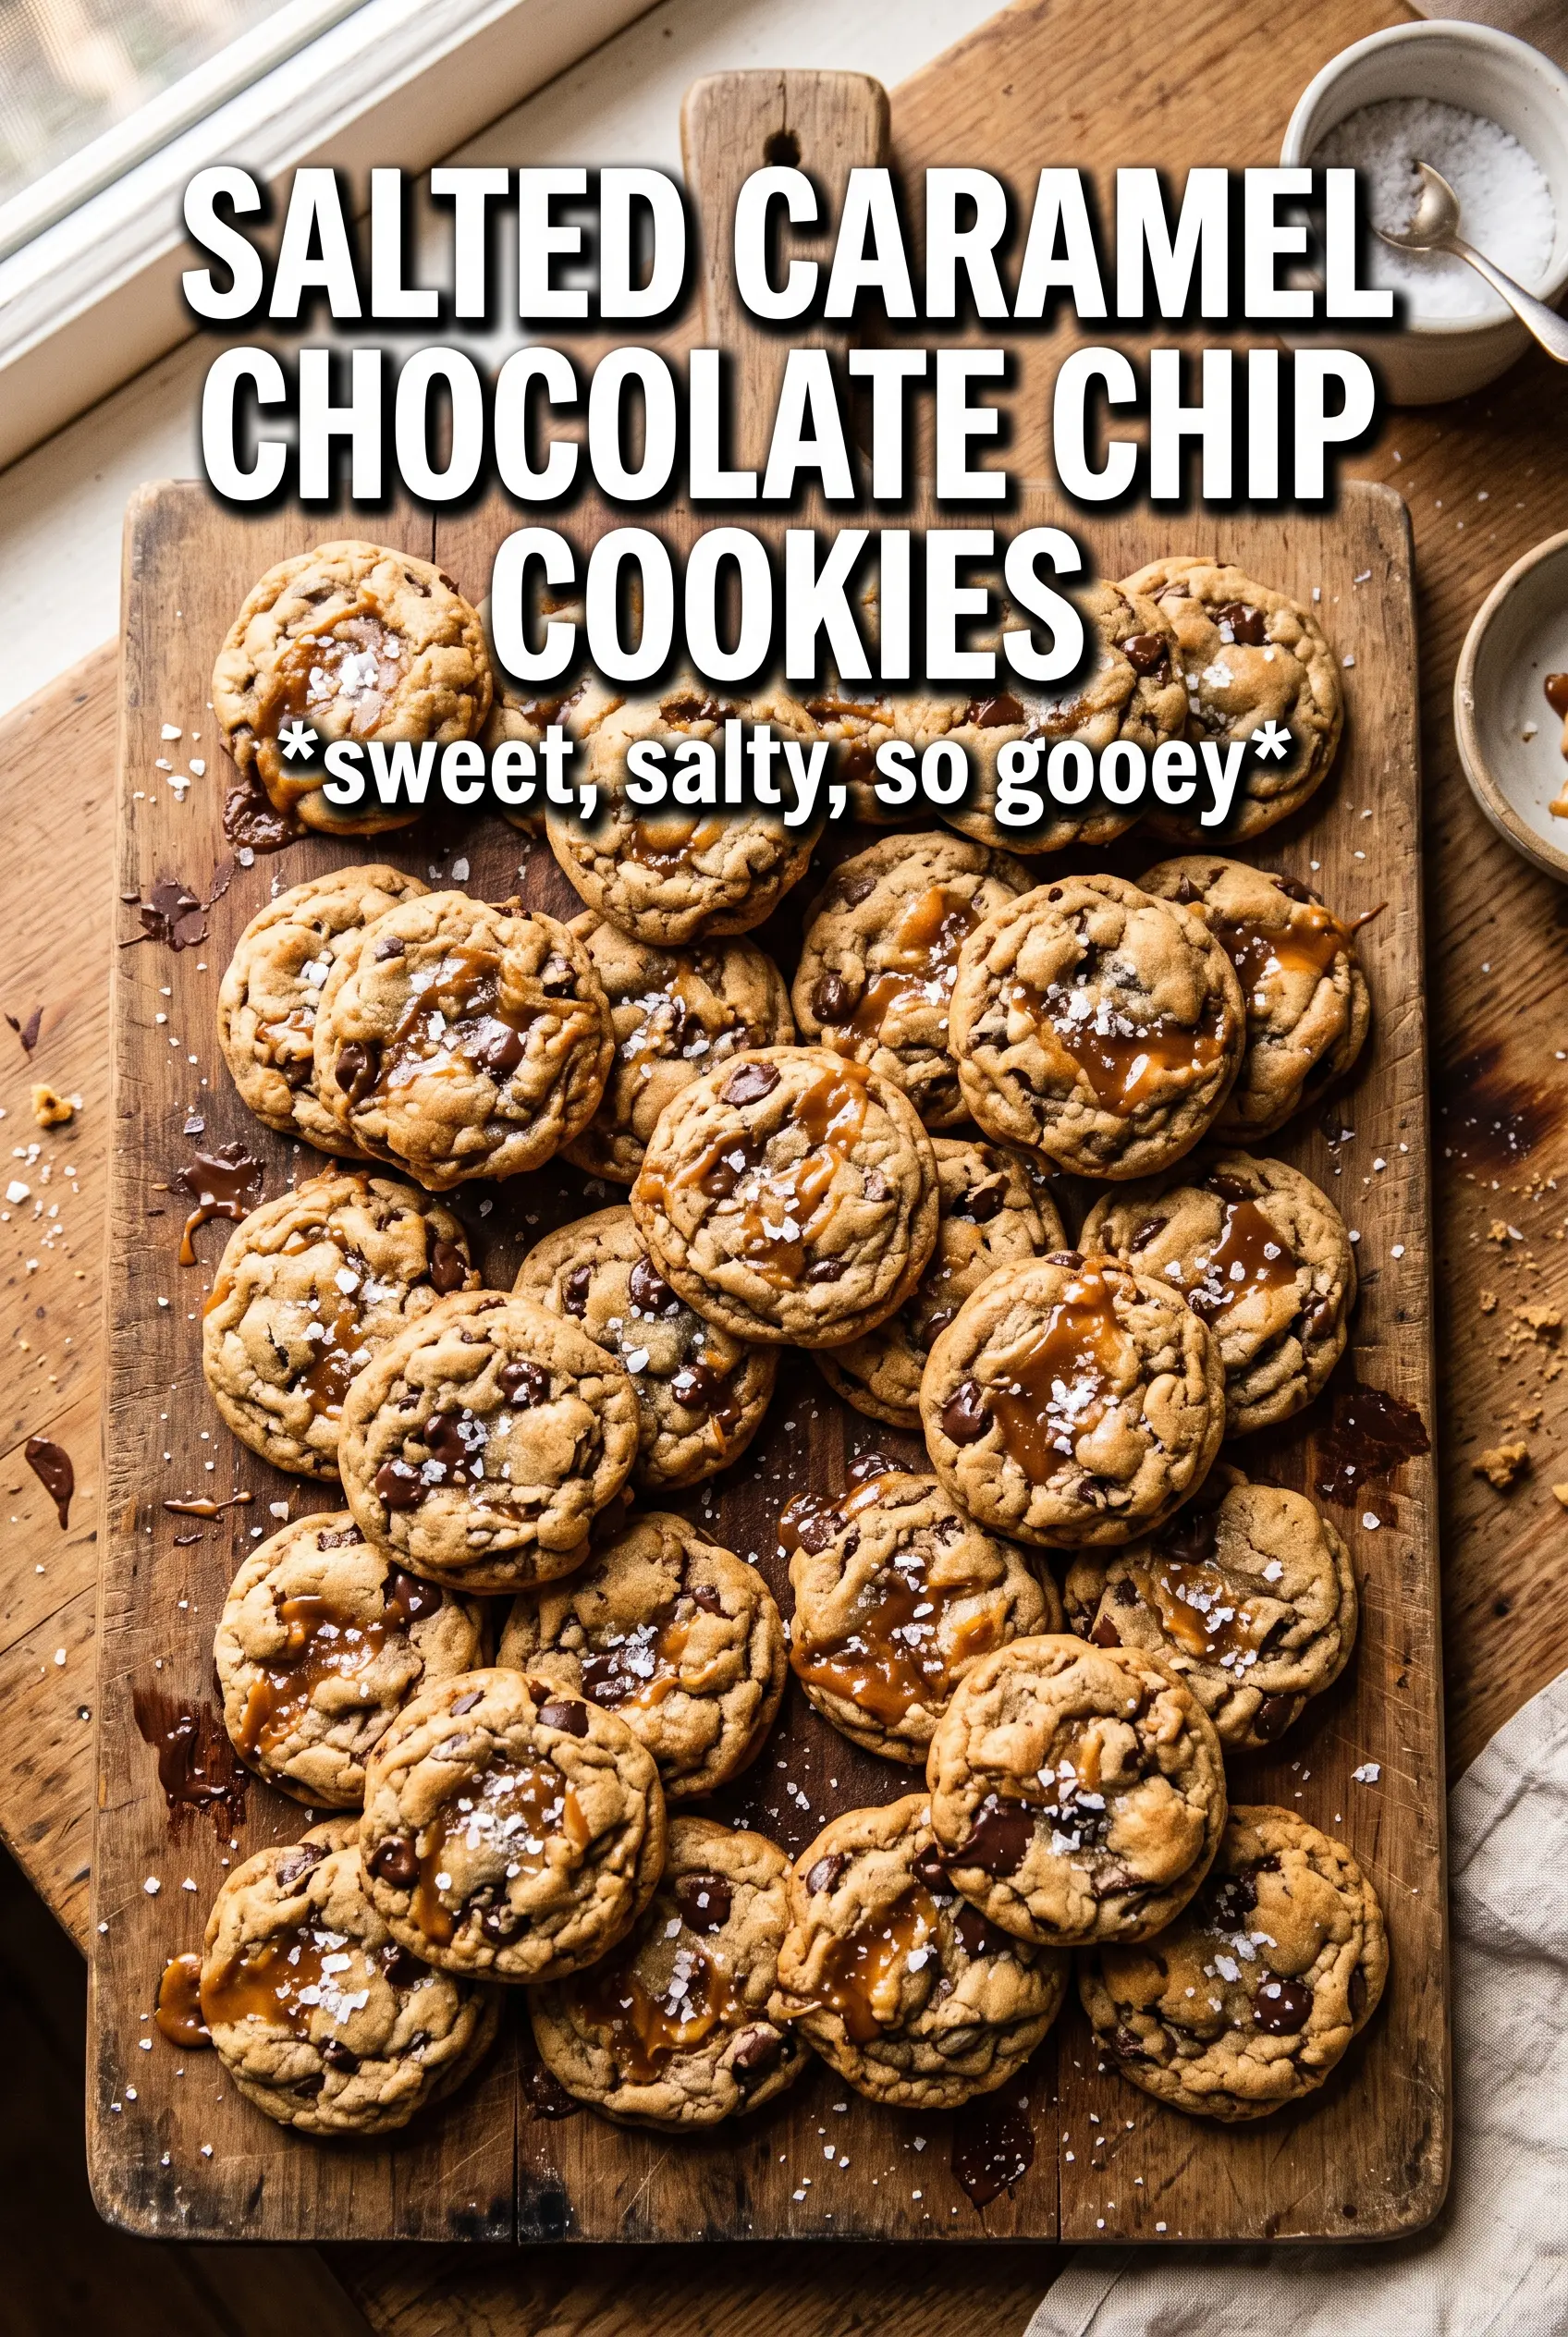
Salted caramel chocolate chip cookies hit that sweet spot between bakery-style and homemade in the best way: crisp edges, thick centers, and little pockets of melted caramel that turn chewy as they cool. The chocolate stays in glossy puddles, and the flaky sea salt keeps every bite from tipping too far into sweet. They disappear fast, but they’re sturdy enough to stack on a plate without falling apart.
What makes this version work is the mix of cornstarch in the dough and the way the cookies are baked just until the centers still look a touch underdone. That keeps them soft instead of dense. Soft caramel bits work best because they melt into the dough without turning into hard candy. If you only have chopped soft caramels, use small pieces and expect a few caramel streaks to spread as they bake.
Below, I’ve included the one baking cue that matters most, plus a few smart swaps and storage notes so you can get the texture right the first time.
The centers stayed soft for days and the caramel bits turned chewy without making the cookies greasy. I followed the bake time exactly and the sea salt on top made the chocolate taste deeper, not sweeter.
Save these salted caramel chocolate chip cookies for the batch with chewy caramel pockets, glossy chocolate, and flaky sea salt on top.
The Reason These Cookies Stay Soft Instead of Spreading Thin
The difference between a thick cookie and a flat one usually comes down to the butter temperature and the amount of structure in the dough. Softened butter should give when pressed, not look oily or melty. If it’s too warm, the cookies spread before the flour has a chance to set the shape.
Cornstarch does quiet work here. It softens the crumb and helps the centers stay tender even after the cookies cool. That’s especially useful with caramel bits, which can weigh a dough down and create greasy spots if the base is already too soft. Baking just until the edges turn golden and the centers still look slightly underdone keeps the texture balanced once the cookies finish on the hot pan.
- Butter — Use unsalted butter so you control the salt level. It needs to be softened, not melted; melted butter changes the structure and gives you wider cookies with less lift.
- Brown sugar — This adds moisture and chew, plus a deeper caramel note that pairs with the caramel bits. Light or dark brown sugar both work, though dark brown sugar gives a slightly richer finish.
- Cornstarch — Don’t skip it if you want that soft, bakery-style middle. Flour alone makes these cookies a little firmer and less plush.
- Caramel bits or soft caramels — Soft caramel bits are the easiest choice because they melt into pockets instead of disappearing. If you chop soft caramels, toss the pieces with a spoonful of flour so they don’t clump in one spot.
What Each Ingredient Is Actually Doing in This Recipe

- Primary ingredient (the star) — Quality matters most. Choose the best you can find.
- Cooking medium (oil, butter, or broth) — This carries flavors and prevents dryness.
- Seasonings (salt, pepper, spices, herbs) — Layer flavors so nothing overpowers. Build depth gradually.
- Aromatics (garlic, onion, herbs) — Cook with fat to bloom flavors. Become the foundation.
- Supporting ingredients — Complement the main ingredient without overpowering it.
- Sauce or liquid (if applicable) — Brings flavors together. Balance richness with acid.
- Acid (lemon, vinegar, wine, or other) — Brightens and prevents flat-tasting results.
- Final finish (garnish, glaze, or sauce) — Prevents one-dimensional taste and adds visual appeal.
Building the Dough So the Caramel Stays in Pockets, Not Puddles
Whisk the Dry Ingredients First
Mix the flour, baking soda, cornstarch, and salt before anything else. That gives the leavener and starch an even distribution, which matters once the dough gets heavy with chocolate and caramel. If the dry mix isn’t blended well, you’ll get uneven spread and a few cookies that brown faster than the rest.
Beat the Butter and Sugars Until They Look Lighter
Beat the softened butter with both sugars until the mixture turns pale and fluffy. You’re looking for a texture that holds a trail from the mixer instead of looking grainy and dense. Add the eggs one at a time so the dough emulsifies cleanly; if you dump them in together, the batter can look curdled and less stable.
Fold, Don’t Overwork
Once the flour goes in, switch to a gentle fold. Overmixing after the flour is added tightens the dough and makes the cookies tougher. Stir in the chocolate chips and caramel bits just until they’re evenly scattered, then stop. The dough should look thick and scoopable, not glossy or overbeaten.
Bake Until the Edges Set
Scoop the dough into 2-tablespoon rounds and bake until the edges are golden but the centers still look a little soft. That slight underbake is intentional. The cookies keep cooking on the sheet pan for a few minutes after they come out, and that carryover heat is what keeps them chewy instead of dry.
Salted Peanut Butter Caramel Cookies
Swap 1/2 cup of the flour for creamy peanut butter and add the peanut butter with the butter and sugars. The cookies bake up a little denser and more savory, which works well with the caramel but softens the pure chocolate-chip flavor.
Gluten-Free Version
Use a cup-for-cup gluten-free flour blend in place of the all-purpose flour. The cookies still hold together well because of the eggs and cornstarch, though they may need an extra minute in the oven to set fully.
Dairy-Free Swap
Use a plant-based butter stick and dairy-free chocolate chips, then skip the caramel bits unless you find a dairy-free version that stays soft when baked. The texture will still be chewy, but you’ll lose some of the buttery depth that makes the original taste like a classic bakery cookie.
Storage and Reheating
- Refrigerator: Store in an airtight container for up to 5 days. The caramel stays chewy, but the cookies firm up a little as they chill.
- Freezer: Freeze baked cookies for up to 2 months, or freeze scooped dough balls and bake from frozen with 1 to 2 extra minutes.
- Reheating: Warm a cookie for 8 to 10 seconds in the microwave or a few minutes in a low oven. Don’t overheat them or the caramel will turn sticky and the chocolate will lose its soft edges.
Questions I Get Asked About This Recipe
Salted Caramel Chocolate Chip Cookies
Ingredients
Equipment
Method
- Preheat the oven to 375F and line baking sheets with parchment. Make sure the sheets are ready so you can scoop cookies right after mixing.
- Whisk all-purpose flour, baking soda, cornstarch, and salt until evenly combined. The mixture should look uniform in color with no streaks.
- Beat unsalted butter, brown sugar, and granulated sugar until very light and fluffy. Add eggs one at a time and then mix in vanilla extract until smooth and thick.
- Fold the flour mixture into the wet ingredients just until no dry flour remains. Keep folding gently so the dough stays tender.
- Fold in semi-sweet chocolate chips and soft caramel bits or chopped soft caramels. Stop when the chips and caramel are evenly distributed throughout the dough.
- Scoop dough into 2-tablespoon rounds and place them on the parchment-lined sheets. Bake for 10-12 minutes at 375F until the edges are golden but the centers still look slightly underdone.
- Immediately press extra chocolate chips and caramel onto the tops if desired while the cookies are still hot and soft. Sprinkle generously with flaky sea salt.
- Cool on the pan for 5 minutes. The cookies will finish setting as they cool and the salt will adhere to the warm surface.