Maple brown sugar cookies bake up soft in the center with those crackled tops that make a cookie tray look finished and inviting. The brown sugar brings a deep caramel note, while the maple keeps the sweetness warm instead of flat. Finished with a thin glaze and a pinch of flaky salt, they land somewhere between a bakery-style cookie and the kind you keep sneaking from the cooling rack.
What makes this version work is the balance of ingredients. Brown sugar does most of the heavy lifting for chew and color, while a smaller amount of pure maple syrup adds flavor without making the dough spread too much. Cream of tartar gives the cookies a little lift and a softer bite, so the centers stay tender even after the edges set. The glaze is kept simple on purpose; it should drape over the tops, not flood them.
Below, I’ve included the one timing detail that keeps these cookies soft instead of dry, plus a couple of swaps that actually work if you’re short on an ingredient.
The cookies stayed soft for days and the maple glaze set up just enough that the flaky salt didn’t melt right in. I baked them for 11 minutes and the centers were perfect.
Save these maple brown sugar cookies for the nights when you want a soft brown-sugar cookie with a maple glaze and a salty finish.
The Difference Between Soft Centers and Dry Cookies
These cookies look done before they’re actually done, and that’s the trick. The edges should be set and lightly browned, but the centers need to look a little underbaked when they leave the oven. If you wait until the whole cookie looks firm, the residual heat will push them past soft and into dry.
The other thing that matters here is the balance between moisture and structure. Brown sugar and maple syrup both add softness, but the flour, cream of tartar, and baking soda keep the cookies from spreading into thin puddles. That’s why the dough can look a little rich before baking and still hold a proper cookie shape on the sheet.
- Cream of tartar — This gives the cookies a softer, slightly more tender bite and helps create that crinkled top. If you skip it, the texture turns a little flatter and less distinct.
- Pure maple syrup — Use real maple syrup here. Pancake syrup won’t give the same woodsy, caramel note, and the dough will taste sweeter than it tastes maple.
- Brown sugar — Pack it firmly. That moisture is part of what keeps the cookies chewy, and loose-packed sugar can make the dough too dry.
- Flaky salt — Don’t bury it in the dough. It belongs on top, where it can cut through the glaze and make the maple taste cleaner.
What Each Ingredient Is Doing in the Dough
- All-purpose flour — Gives the cookies enough structure to hold their shape without turning cakey. Spoon and level it if you can; packed flour is one of the fastest ways to get dry cookies.
- Butter — Softened butter creams with the brown sugar and traps air, which helps the cookies bake up lighter. If the butter is melted or greasy, the dough will spread before it sets.
- Brown sugar — This is the cookie’s backbone. It brings moisture, chew, and that deep caramel color you want from the first bite.
- Eggs — They bind the dough and add enough structure for the cookies to stay thick. Room temperature eggs blend more evenly, which helps the dough come together without overmixing.
- Maple extract — This intensifies the maple flavor without adding extra liquid. If you don’t have it, the cookies will still work with extra vanilla, but the maple note will be softer.
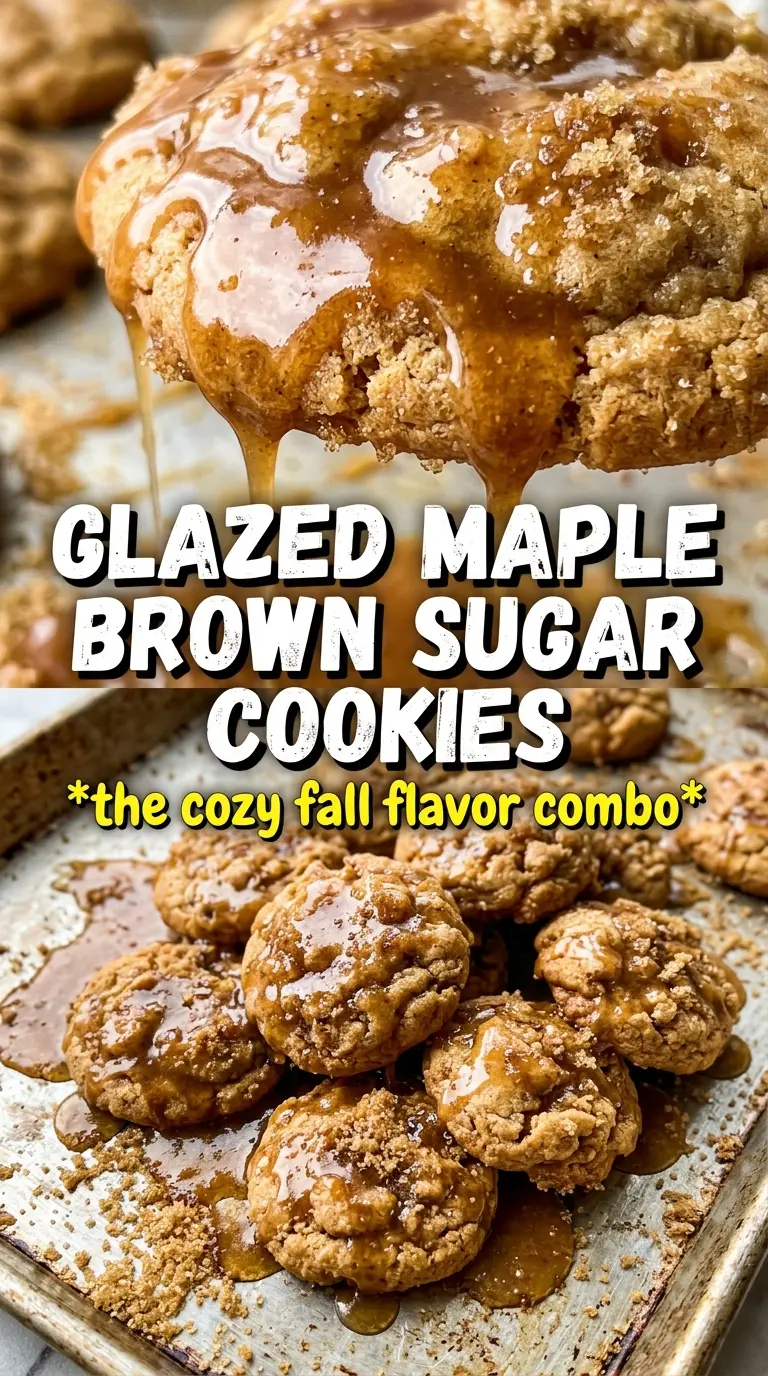
- Maple syrup glaze — Powdered sugar and maple syrup make the glaze set with a smooth finish. Add the milk slowly so it stays thick enough to drizzle instead of running off the cookies.
Building the Dough So the Cookies Stay Thick
Creaming the Butter and Sugar
Beat the softened butter and brown sugar until the mixture looks lighter in color and a little fluffy. That step isn’t just about mixing; it’s what gives the cookies lift before they ever hit the oven. If the butter is too cold, the sugar won’t cut into it properly. If it’s too warm, the dough goes slack and spreads.
Bringing in the Wet Ingredients
Add the eggs, maple syrup, vanilla, and maple extract and mix just until combined. The dough should look smooth and glossy, not whipped. Overbeating at this stage can add too much air and make the cookies bake unevenly, with puffed centers that collapse later.
Folding in the Dry Mixture
Add the flour mixture and stir only until no dry streaks remain. Stop as soon as the dough comes together. Overmixing develops the flour and turns a soft cookie into something tighter and tougher. A rich dough like this should look dense and scoopable.
Baking to the Right Finish
Scoop 2-tablespoon portions and leave a little space between them on the parchment-lined sheets. Bake until the edges are set and the centers still look slightly soft, usually 10 to 12 minutes. Pull them before they look fully finished in the middle. They’ll settle on the pan and stay chewy once cooled.
Glazing and Salting
Let the cookies cool completely before you drizzle on the glaze. If they’re warm, the glaze melts into the tops instead of sitting there in a neat ribbon. Add the flaky salt right after glazing so it sticks before the glaze sets. That last pinch keeps the cookies from tasting one-note.
How to Adapt These Cookies Without Losing the Soft Maple Center
Gluten-Free Version
Use a good 1:1 gluten-free baking blend in place of the all-purpose flour. The cookies will still be soft, but they may spread a little less and bake up with a more delicate crumb. Let the dough rest for 10 minutes before scooping so the flour has time to hydrate.
Dairy-Free Swap
Use a plant-based butter that behaves like stick butter, not a soft tub spread. The flavor will shift slightly, but the structure stays close if the substitute is firm enough to cream with the sugar. Skip the milk in the glaze and thin it with a few drops of maple syrup or water instead.
Extra Maple, Deeper Caramel
If you want a stronger maple note, replace 1 tablespoon of the brown sugar with maple sugar if you have it, or add an extra 1/2 teaspoon maple extract. Don’t add more maple syrup to the dough unless you’re willing to lose some structure, because too much liquid makes the cookies spread.
Storage and Reheating
- Refrigerator: Store in an airtight container for up to 5 days. The glaze holds up well, though the salt will soften a little after the first day.
- Freezer: Freeze the baked cookies without glaze for the best texture, then glaze after thawing. They keep for about 2 months.
- Reheating: If you want that just-baked feel, warm an unglazed cookie for 5 to 8 seconds in the microwave. Don’t heat glazed cookies too long or the topping turns sticky and runs.
Questions I Get Asked About This Recipe
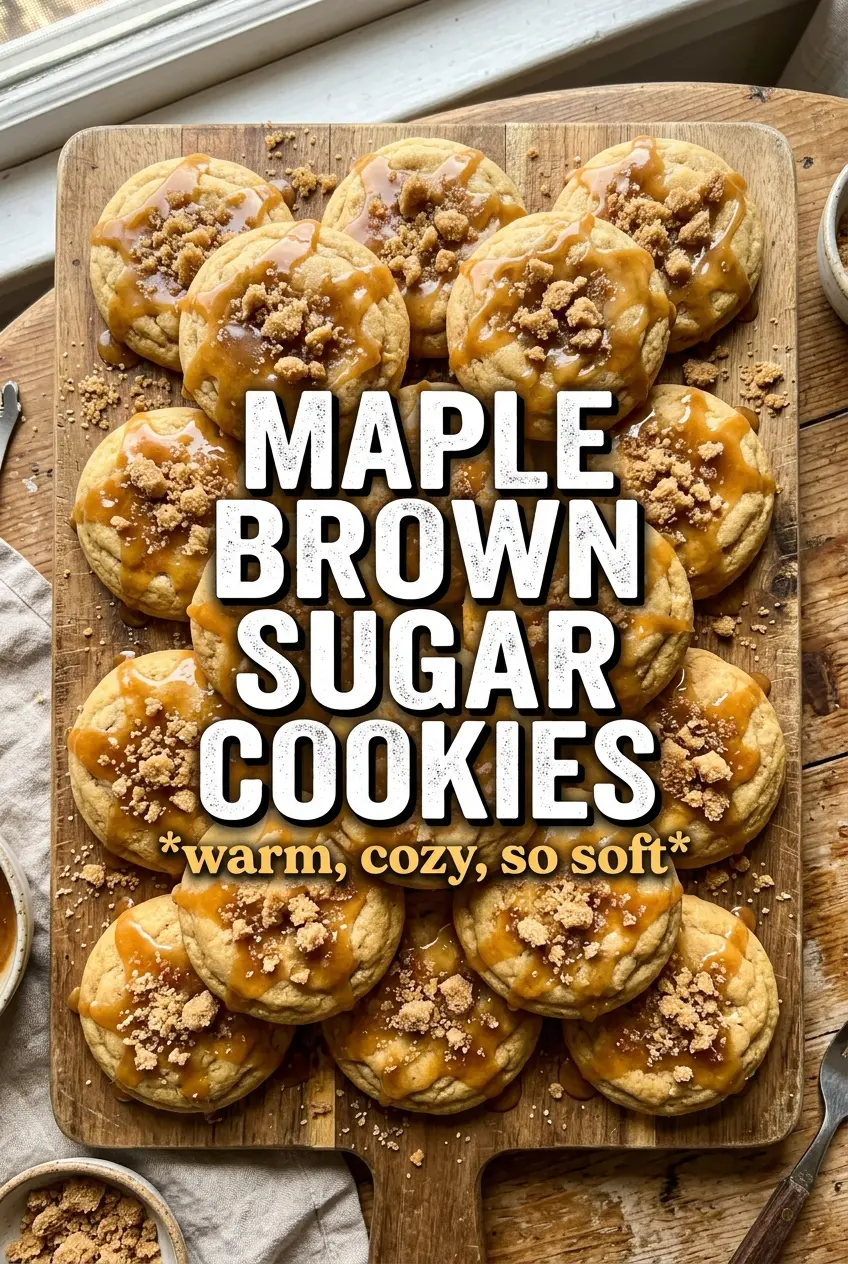
Maple Brown Sugar Cookies
Ingredients
Equipment
Method
- Preheat oven to 375F and line baking sheets with parchment, keeping the sheets ready for scooping later.
- Whisk all-purpose flour, baking soda, cream of tartar, cinnamon, and salt in a bowl until evenly combined.
- Beat softened unsalted butter and packed brown sugar until light and fluffy, about 2–3 minutes.
- Add eggs, pure maple syrup, vanilla extract, and maple extract, then beat just until the mixture looks smooth and cohesive.
- Fold the flour mixture into the wet ingredients until no dry streaks remain.
- Scoop dough into 2-tablespoon rounds and place them on the lined baking sheets, leaving space between cookies.
- Bake at 375F for 10–12 minutes until edges are set and centers still look slightly soft.
- Cool cookies completely, then drizzle maple glaze over the crinkled tops.
- Finish by sprinkling flaky sea salt over the glazed cookies so it catches on the surface.