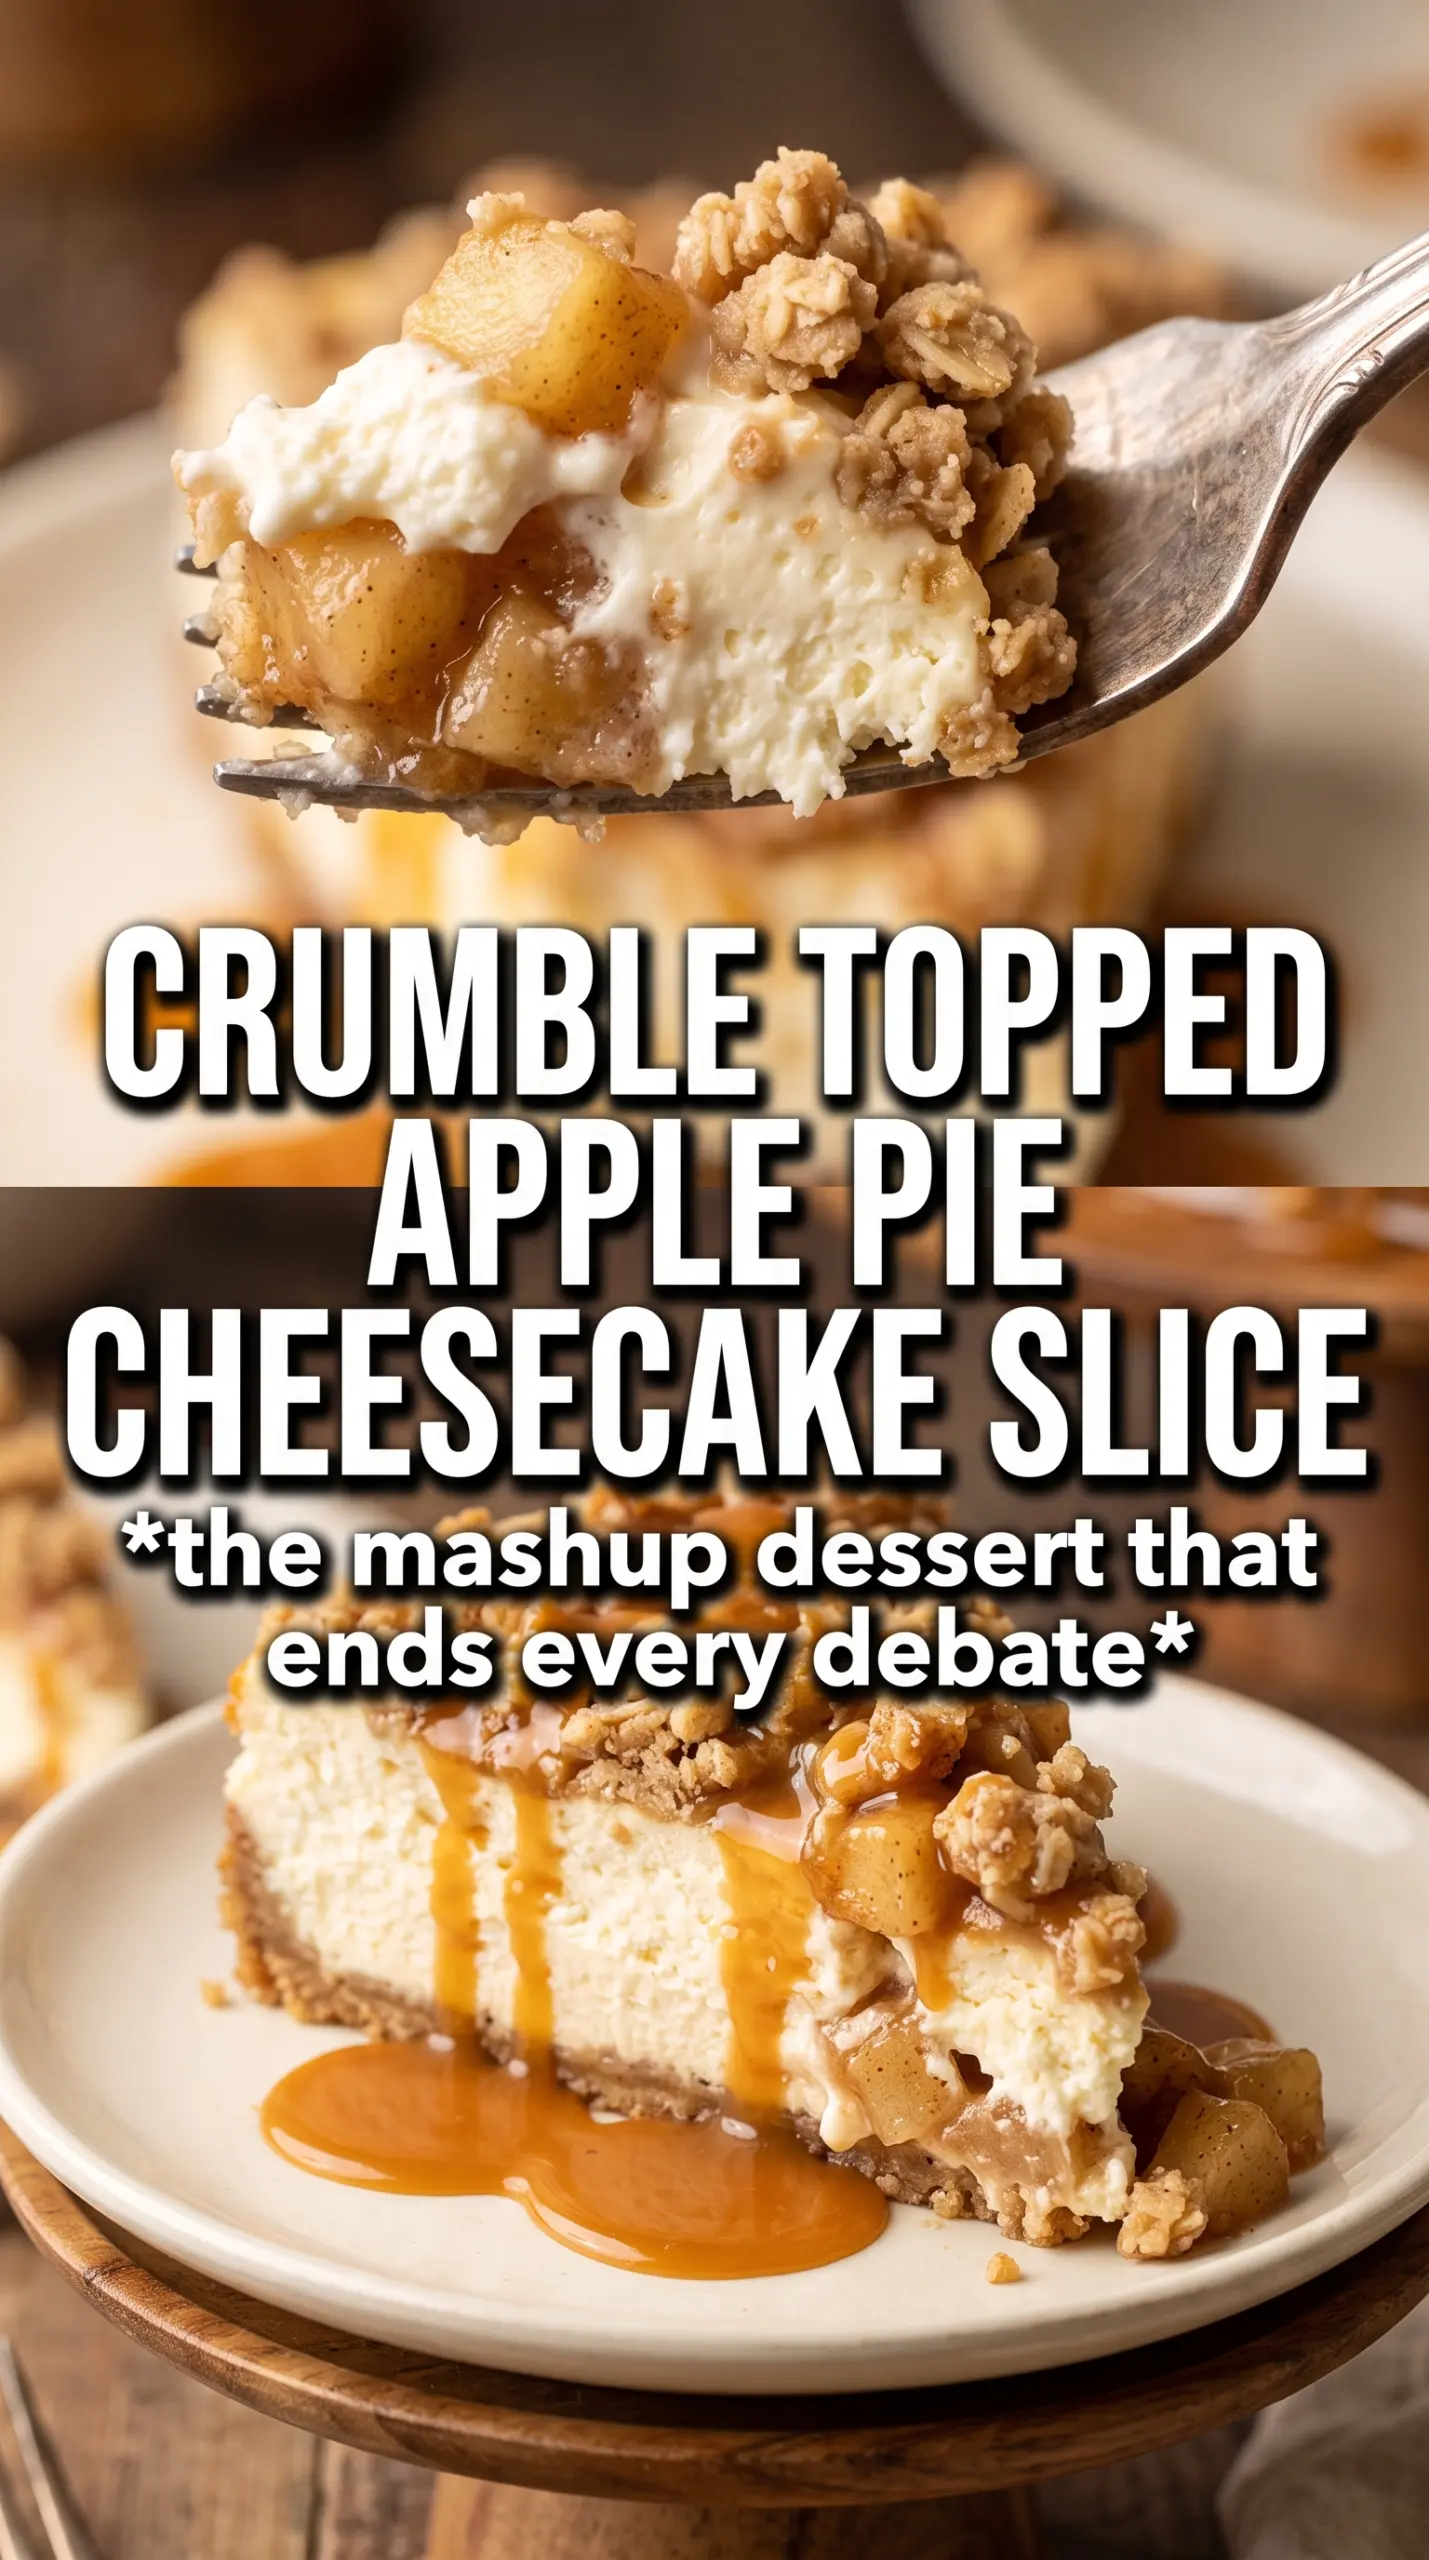
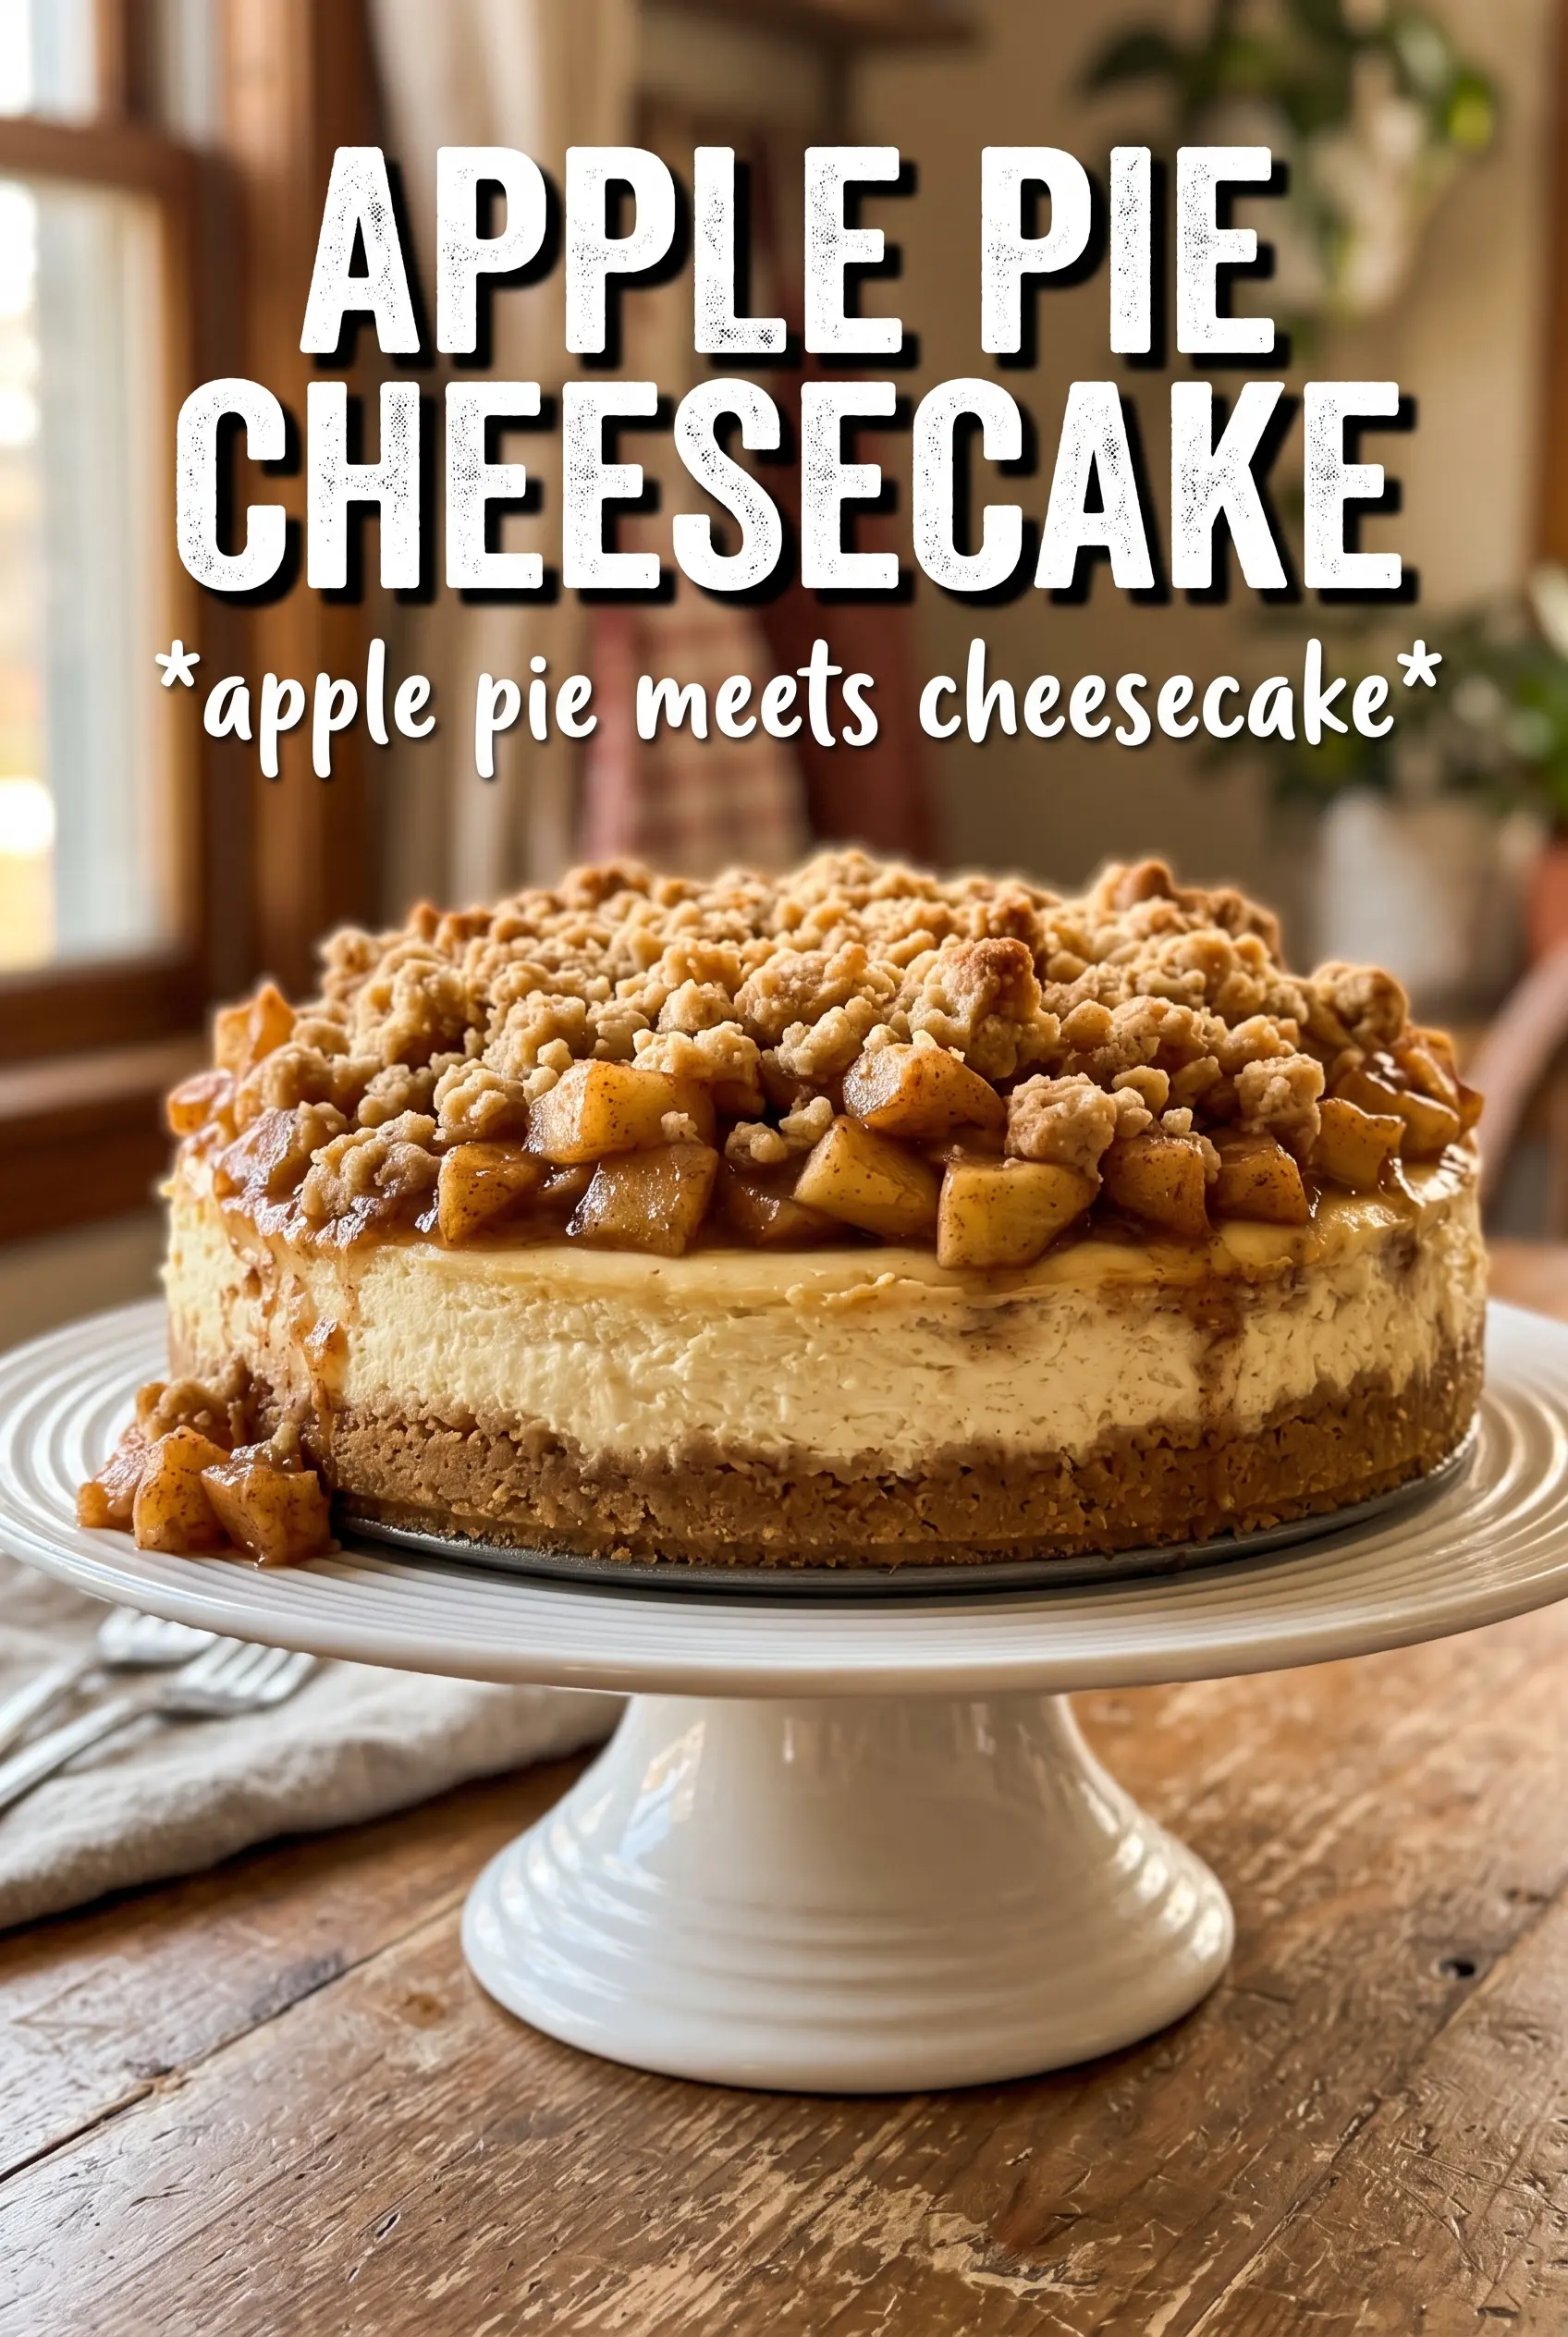
Apple pie cheesecake lands in that sweet spot where a dessert feels familiar, but each bite still has a little surprise. The cinnamon graham crust brings a toasty base, the cheesecake stays creamy and dense, and the spiced apple layer cuts through all that richness with just enough tartness to keep you going back for another slice. The streusel on top adds the kind of crumbly contrast that makes every forkful feel complete.
What makes this version work is the way the layers are handled separately before they ever meet in the pan. The apple mixture gets cooked first so it thickens before baking, which keeps it from leaking into the cheesecake. The water bath matters here too; it gives the filling a gentler bake, so the center sets without turning grainy or cracked. Finish it with caramel after chilling, and the whole dessert slices cleanly instead of slumping on the plate.
Below, I’ve included the timing details that keep the layers distinct, plus a few smart swaps if you need to work around what’s already in your kitchen.
The apple layer stayed put, the cheesecake baked up smooth, and the streusel still had crunch after chilling overnight. I sliced it for Sunday dinner and every layer held beautifully.
Save this apple pie cheesecake for the day you want a clean slice, a thick apple layer, and caramel on top without a soggy crust.
The Part That Keeps the Cheesecake from Turning Watery
The biggest mistake in a layered cheesecake like this is letting the apple filling stay loose. If the apples go into the oven raw, they keep releasing juice while the cheesecake sets, and you end up with a soft, wet middle that won’t slice neatly. Cooking the apple layer first changes that completely. The cornstarch has a chance to thicken the juices, and the apples soften just enough to taste baked, not mushy.
The other detail that matters is the order of assembly. The crust goes in first and gets a short bake so it firms up before the filling is added. Then the cheesecake batter goes in smooth, the cooled apple layer sits on top, and the streusel finishes it off without sinking. That layering keeps each bite balanced instead of muddy.
What Each Layer Is Really Doing Here
- Cinnamon graham crumbs — These give you more flavor than a plain cookie crumb crust. The cinnamon echoes the apple filling, and the graham crumbs stay sturdy enough to hold the creamy center without turning soft too fast.
- Cream cheese — Use full-fat blocks here. Tub-style cream cheese holds more water and can make the filling looser. Let it soften fully so the batter mixes smooth without overbeating.
- Sour cream — This adds tang and keeps the cheesecake from tasting flat. You can swap in full-fat Greek yogurt in a pinch, but the texture will be a little less plush.
- Apples — A firm baking apple matters because it keeps its shape after the stovetop cook and the oven bake. Granny Smith, Honeycrisp, or a mix of tart and sweet apples all work well. Softer apples break down too much and turn the filling pasty.
- Streusel butter — Cold butter is what gives the topping its crumbly texture. If the butter is soft, the topping turns sandy and dense instead of crisping into golden clusters.
- Caramel sauce — This is the finish that ties everything together. A thicker sauce drapes over the chilled cheesecake better than a thin drizzle, which can slide right off the top.
Building the Layers Without Disturbing the Bake
Pressing and Prebaking the Crust
Mix the cinnamon graham crumbs, sugar, and melted butter until the texture looks like damp sand, then press it firmly into the bottom of a 9-inch springform pan. You want an even layer with no loose patches, especially at the edge, because thin spots can get soggy later. Bake it just long enough to smell toasted and look set, not dark. That short head start keeps the crust from collapsing under the cheesecake batter.
Cooking the Apples Until They Hold Together
Cook the diced apples with the brown sugar, cinnamon, nutmeg, cornstarch, and butter until the juices bubble and thicken around the fruit. The filling should look glossy and spoonable, not watery. Pull it off the heat before the apples go completely soft; they’ll keep cooking in the oven. Let it cool before you spread it on the cheesecake, or it can warm the batter and affect the bake.
Baking the Cheesecake in a Water Bath
Beat the cream cheese mixture until it’s smooth, but stop as soon as it comes together. Too much air in the batter can cause cracks and a fluffy texture that doesn’t belong in cheesecake. Set the pan in a water bath and bake until the edges look firm and the center still has a slight wobble when you nudge the pan. That gentle finish is what gives you a creamy slice instead of a dry one.
Cooling Before the Caramel Goes On
Let the cheesecake cool all the way, then chill it for the full six hours before slicing. If you cut too early, the layers will smear and the center will feel unset even if it’s baked through. Add the caramel right before serving so the topping stays glossy and the streusel keeps some crunch. A sharp knife wiped clean between slices gives you the neatest layers.
How to Adapt This Apple Pie Cheesecake Without Ruining the Texture
Gluten-Free Version
Use gluten-free graham-style crumbs for the crust and a 1:1 gluten-free flour blend in the streusel. The filling is naturally gluten-free, so the texture stays close to the original as long as your crumb mixture still holds together with the butter.
Dairy-Free Adaptation
Use dairy-free cream cheese and a thick plant-based yogurt in place of sour cream. The filling will be a little softer, so chill it fully before slicing. Swap the butter in the crust, apple layer, and streusel for a plant-based butter with at least 80% fat so the texture stays crisp and stable.
Different Apple Choices
Tart apples give the best contrast against the sweet cheesecake, but a mix works well too. If you use only sweeter apples, reduce the brown sugar in the apple layer a little so the dessert doesn’t lose its balance. Avoid very soft apples, since they can turn the filling into applesauce instead of distinct slices.
Storage and Reheating
- Refrigerator: Store covered for up to 5 days. The streusel softens a bit, but the flavor holds well.
- Freezer: Freeze individual slices wrapped tightly, then tucked into a container for up to 2 months. Thaw overnight in the fridge for the cleanest texture.
- Reheating: Serve this chilled or just slightly cool. Don’t microwave the whole slice, or the cheesecake can turn greasy and the topping will go soft.
Answers to the Questions Worth Asking
Apple Pie Cheesecake
Ingredients
Equipment
Method
- Preheat oven to 325F. Press the crust mixture into a 9-inch springform pan and bake for 10 minutes, until set and lightly fragrant.
- Cook the apple layer ingredients until the mixture thickens and the apples turn tender, stirring frequently over medium heat. Let it cool completely so it won’t loosen the cheesecake batter.
- Beat the cheesecake filling until smooth and lump-free, then pour it over the baked crust. Spread evenly to form a level base.
- Spread the cooled apple layer over the cheesecake and scatter the streusel on top. Bake in a water bath at 325F for 65-70 minutes, until the center is just set with a slight wobble.
- Cool the cheesecake, then refrigerate for 6 hours to fully firm. This gives clean slices with distinct layers.
- Drizzle caramel sauce over the top right before serving for a glossy finish and sweet contrast.