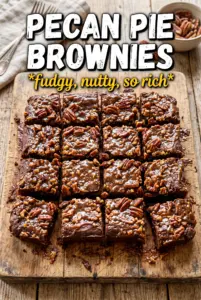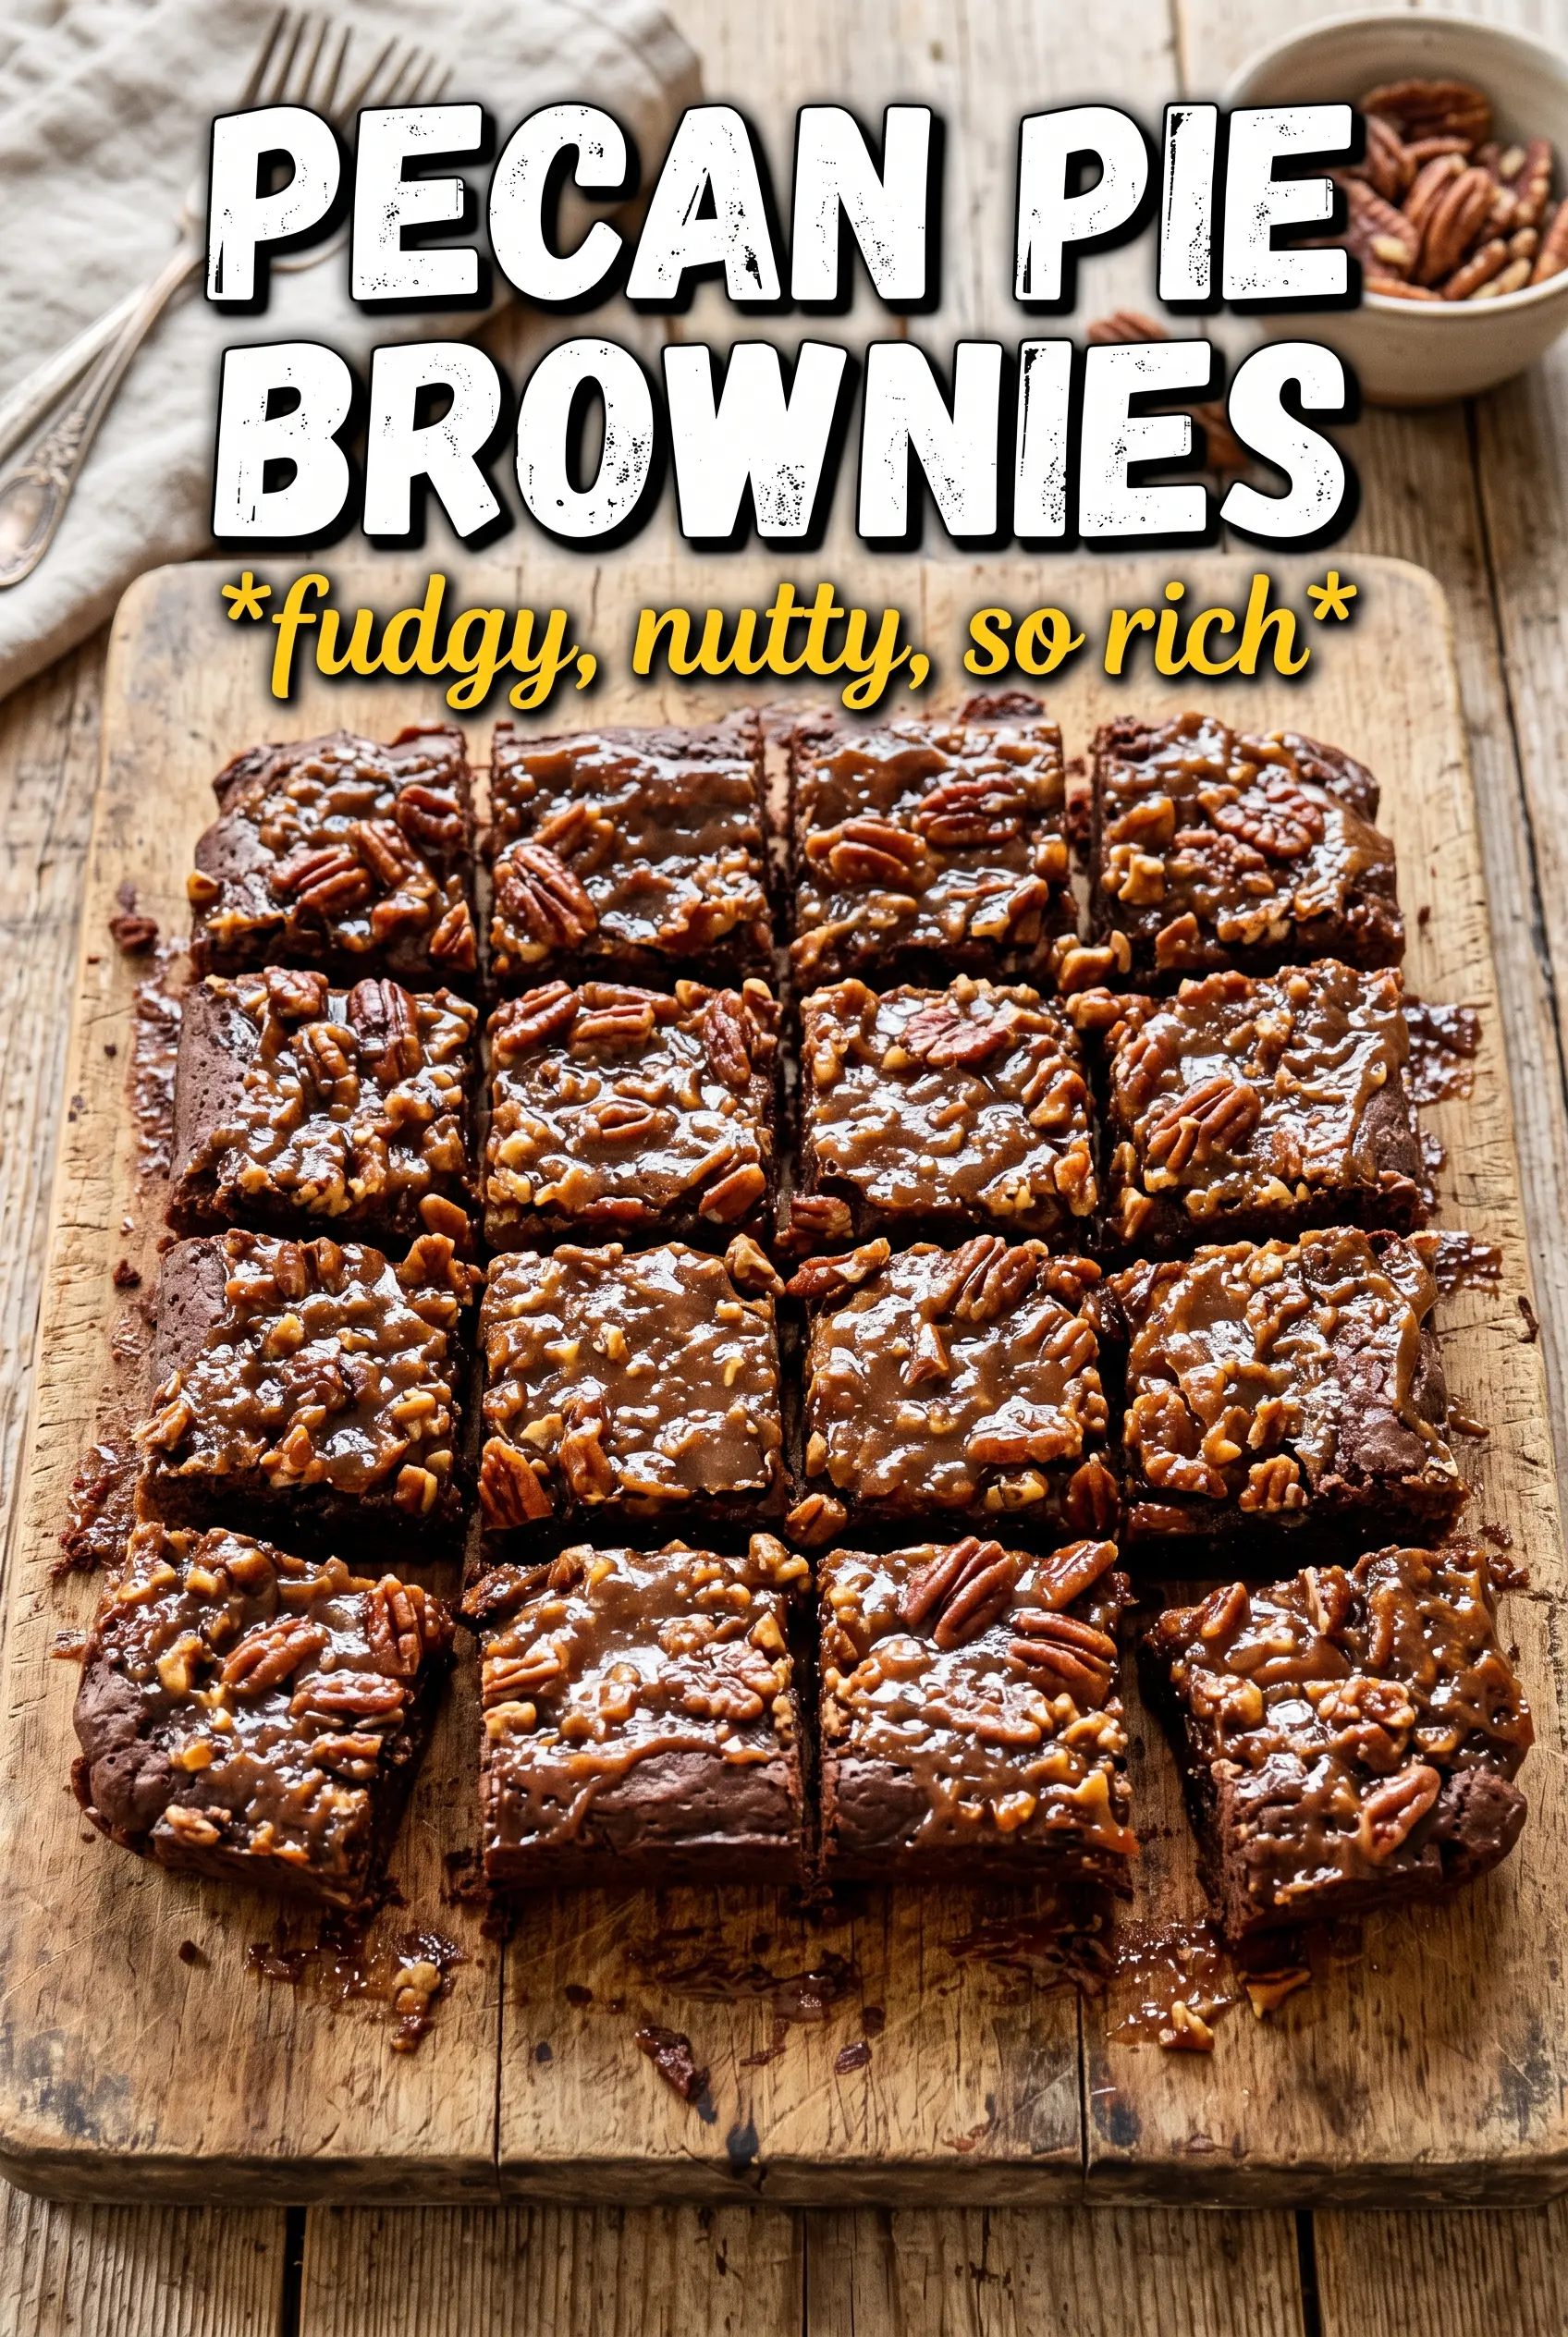
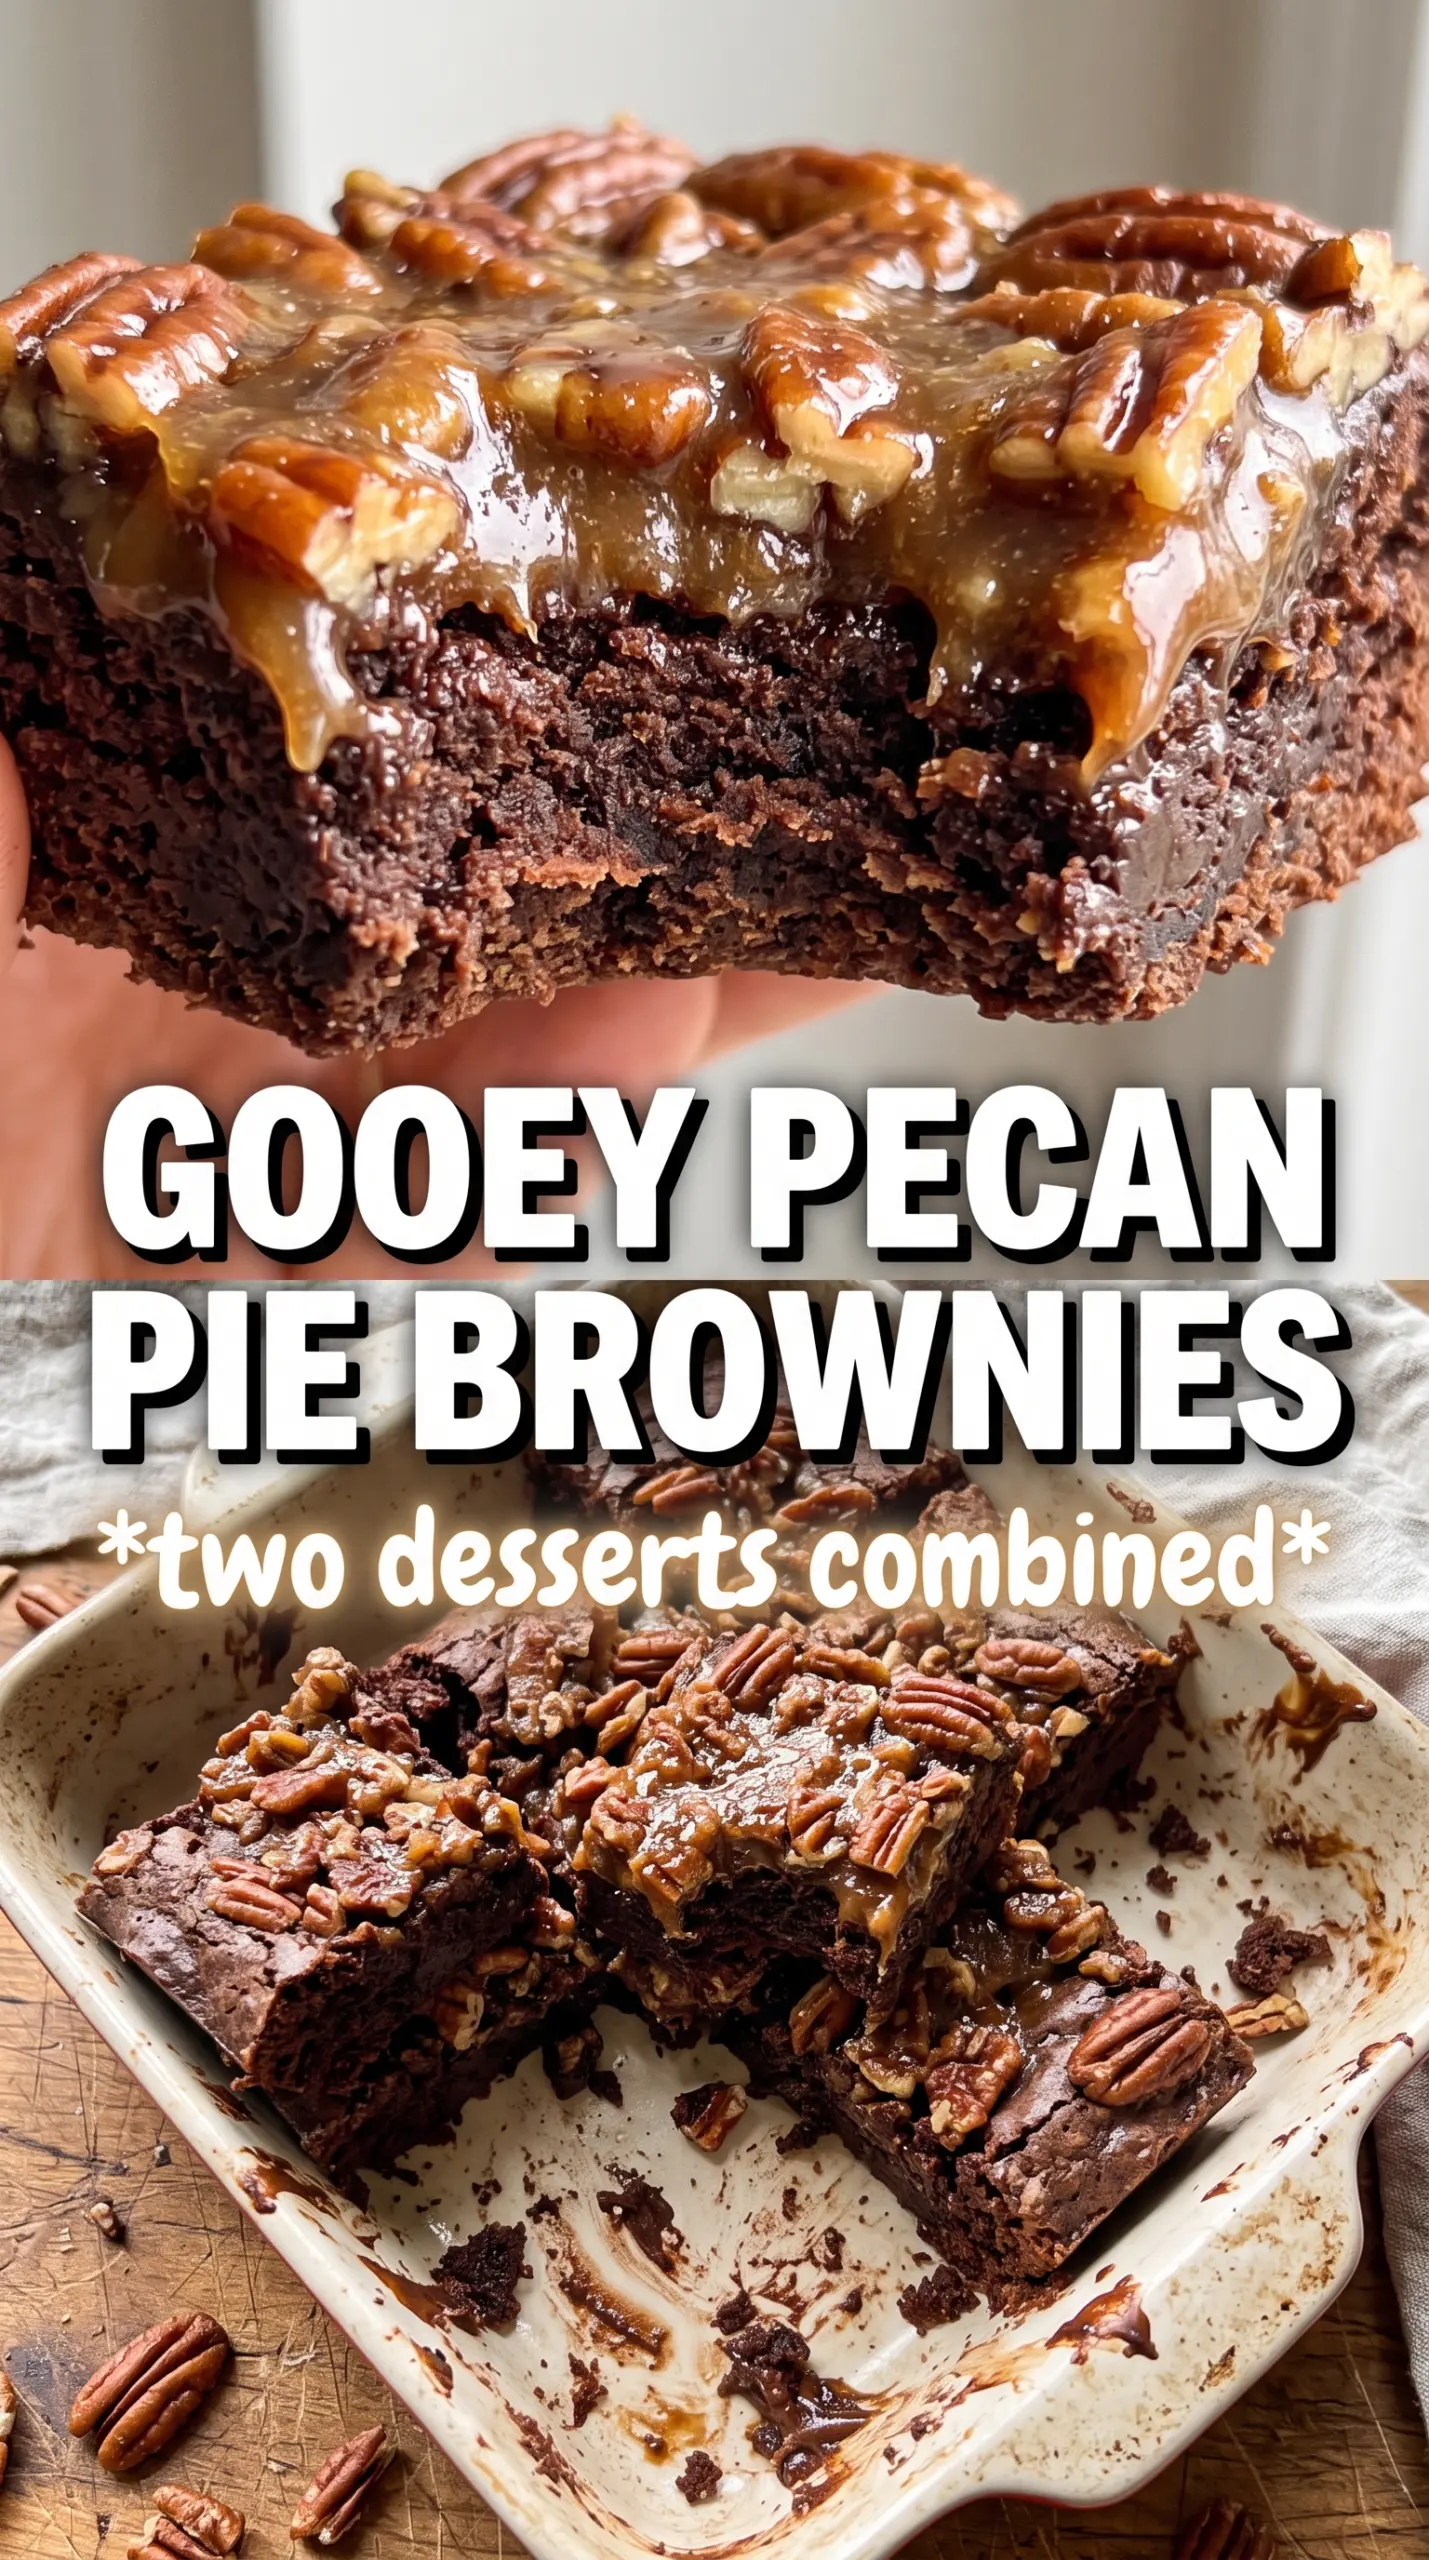
Pecan Pie Brownies hit that sweet spot between a fudgy pan of brownies and the glossy, sticky top you expect from pecan pie. The bottom bakes up dense and chocolatey with a crackly edge, then the pecan layer sets into a caramel-like crown that stays slightly chewy instead of turning hard or grainy. A tiny finish of flaky salt keeps the whole thing from leaning too sweet.
What makes this version work is the timing. The brownie base gets a head start in the oven so it can set enough to support the topping, and the pecan filling cools just long enough that the eggs don’t scramble when you whisk them in. That short pause is the difference between a smooth, sliceable layer and a messy one that seeps into the chocolate.
Below you’ll find the small details that matter here: how to know when the brownie base is ready for its topping, why the pecan mixture needs that brief cool-down, and how to cut clean squares without losing the layers.
The brownie layer stayed fudgy even under the pecan topping, and the filling set up with that perfect sticky bite instead of running all over the pan.
Save these Pecan Pie Brownies for the days when you want a fudgy chocolate square with a sticky pecan pie top and a little flaky salt on finish.
The Brownie Base Needs a Head Start Before the Pecan Layer Goes On
The biggest mistake with a layered brownie like this is baking everything together from the start. The brownie batter is thick and heavy, and the pecan mixture is loose enough that it needs something underneath it that has already begun to set. That 15-minute bake gives the brownie base enough structure to support the topping without turning cakey.
You also want the brownie batter spread evenly all the way into the corners of the pan before it goes into the oven. If the layer is uneven, the pecan filling will pool in the thinner spots and bake up with a softer, almost custardy patch that slices messy. A flat, even base gives you those clean layers you can actually cut and serve.
What the Butter, Syrup, and Pecans Are Each Doing Here
- Unsalted butter — The butter in both layers gives you that rich, dense finish, but it also helps the topping set without becoming greasy. Unsalted is best here because the brownie and pecan layers each get their own salt balance.
- Light corn syrup — This is what keeps the pecan topping glossy and sliceable. You can swap in dark corn syrup for a deeper flavor, but the topping will taste a little more molasses-heavy and darker in color.
- Brown sugar — Packed brown sugar brings moisture and that caramel note you want in pecan pie. Granulated sugar won’t give the same soft chew, and the topping will taste flatter.
- Pecan halves — Use halves if you want a prettier top and better bite. Chopped pecans work in a pinch, but the surface looks less distinct and the texture reads less like pecan pie.
- Cocoa powder — This gives the brownie base its deep chocolate flavor without making the batter too loose. Natural or Dutch-process both work, but Dutch-process will taste a little darker and smoother.
How to Build the Layers Without Scrambling the Filling
Mixing the Brownie Batter
Melt the butter first, then whisk in the sugar while the butter is still warm. That helps the sugar start dissolving, which gives the brownies a denser, shinier top. Add the eggs and vanilla next, then fold in the dry ingredients just until no streaks of flour remain. If you beat it hard after the flour goes in, the brownies can bake up tougher than you want.
Baking the Base Until It Can Hold Up
Spread the batter in a parchment-lined 9×13 pan and bake it for 15 minutes. You want the surface to look set around the edges but still soft in the center. It should not be fully baked at this point; if it is, the topping won’t sink in just enough to bond with the brownie layer. The goal is a base that’s stable, not finished.
Cooking the Pecan Filling the Right Way
Melt the butter, brown sugar, and corn syrup together until the mixture looks smooth and glossy, then let it sit for about 5 minutes before adding the eggs. That short cool-down matters because hot syrup will cook the eggs on contact and leave you with little bits of scrambled egg in the topping. Once the eggs, vanilla, and salt are whisked in, fold in the pecans and pour the mixture over the par-baked brownie layer.
Finishing the Bake and Cutting Clean Squares
Bake until the pecan filling looks set at the edges and only gives the slightest wobble in the center. The top should look shiny, not wet. Sprinkle flaky salt on top while the pan is still warm, then let the brownies cool completely before slicing. If you cut them hot, the layers will smear and the pecan topping will slide instead of holding its shape.
Three Ways to Adjust These Brownies Without Losing the Structure
Make Them Gluten-Free
Swap the all-purpose flour in the brownie base for a good 1:1 gluten-free baking blend. The topping is naturally gluten-free, so the only real change is in the base texture, which will still stay fudgy if you don’t overmix the batter.
Use Dark Corn Syrup for a Deeper Pecan Pie Flavor
Dark corn syrup gives the filling a more molasses-like taste and a slightly darker color. It works well if you want a richer, more old-fashioned pecan pie note, but the topping will taste less bright and a little heavier.
Turn It Into a Dairy-Free Dessert
Use a good dairy-free butter substitute in both layers. The texture stays close to the original because the recipe depends more on the sugar and eggs for structure than on the butter alone, but the flavor will be a touch less rich and the top may finish a little less glossy.
Storage and Reheating
- Refrigerator: Store in an airtight container for up to 5 days. The pecan layer firms up as it chills, so the brownies slice even cleaner the next day.
- Freezer: Freeze cut squares tightly wrapped and layered with parchment for up to 2 months. Thaw in the refrigerator overnight so the topping doesn’t sweat and get sticky.
- Reheating: Warm individual squares for 10 to 15 seconds in the microwave if you want the brownie base a little softer. Don’t heat them too long or the pecan layer can turn tacky and separate.