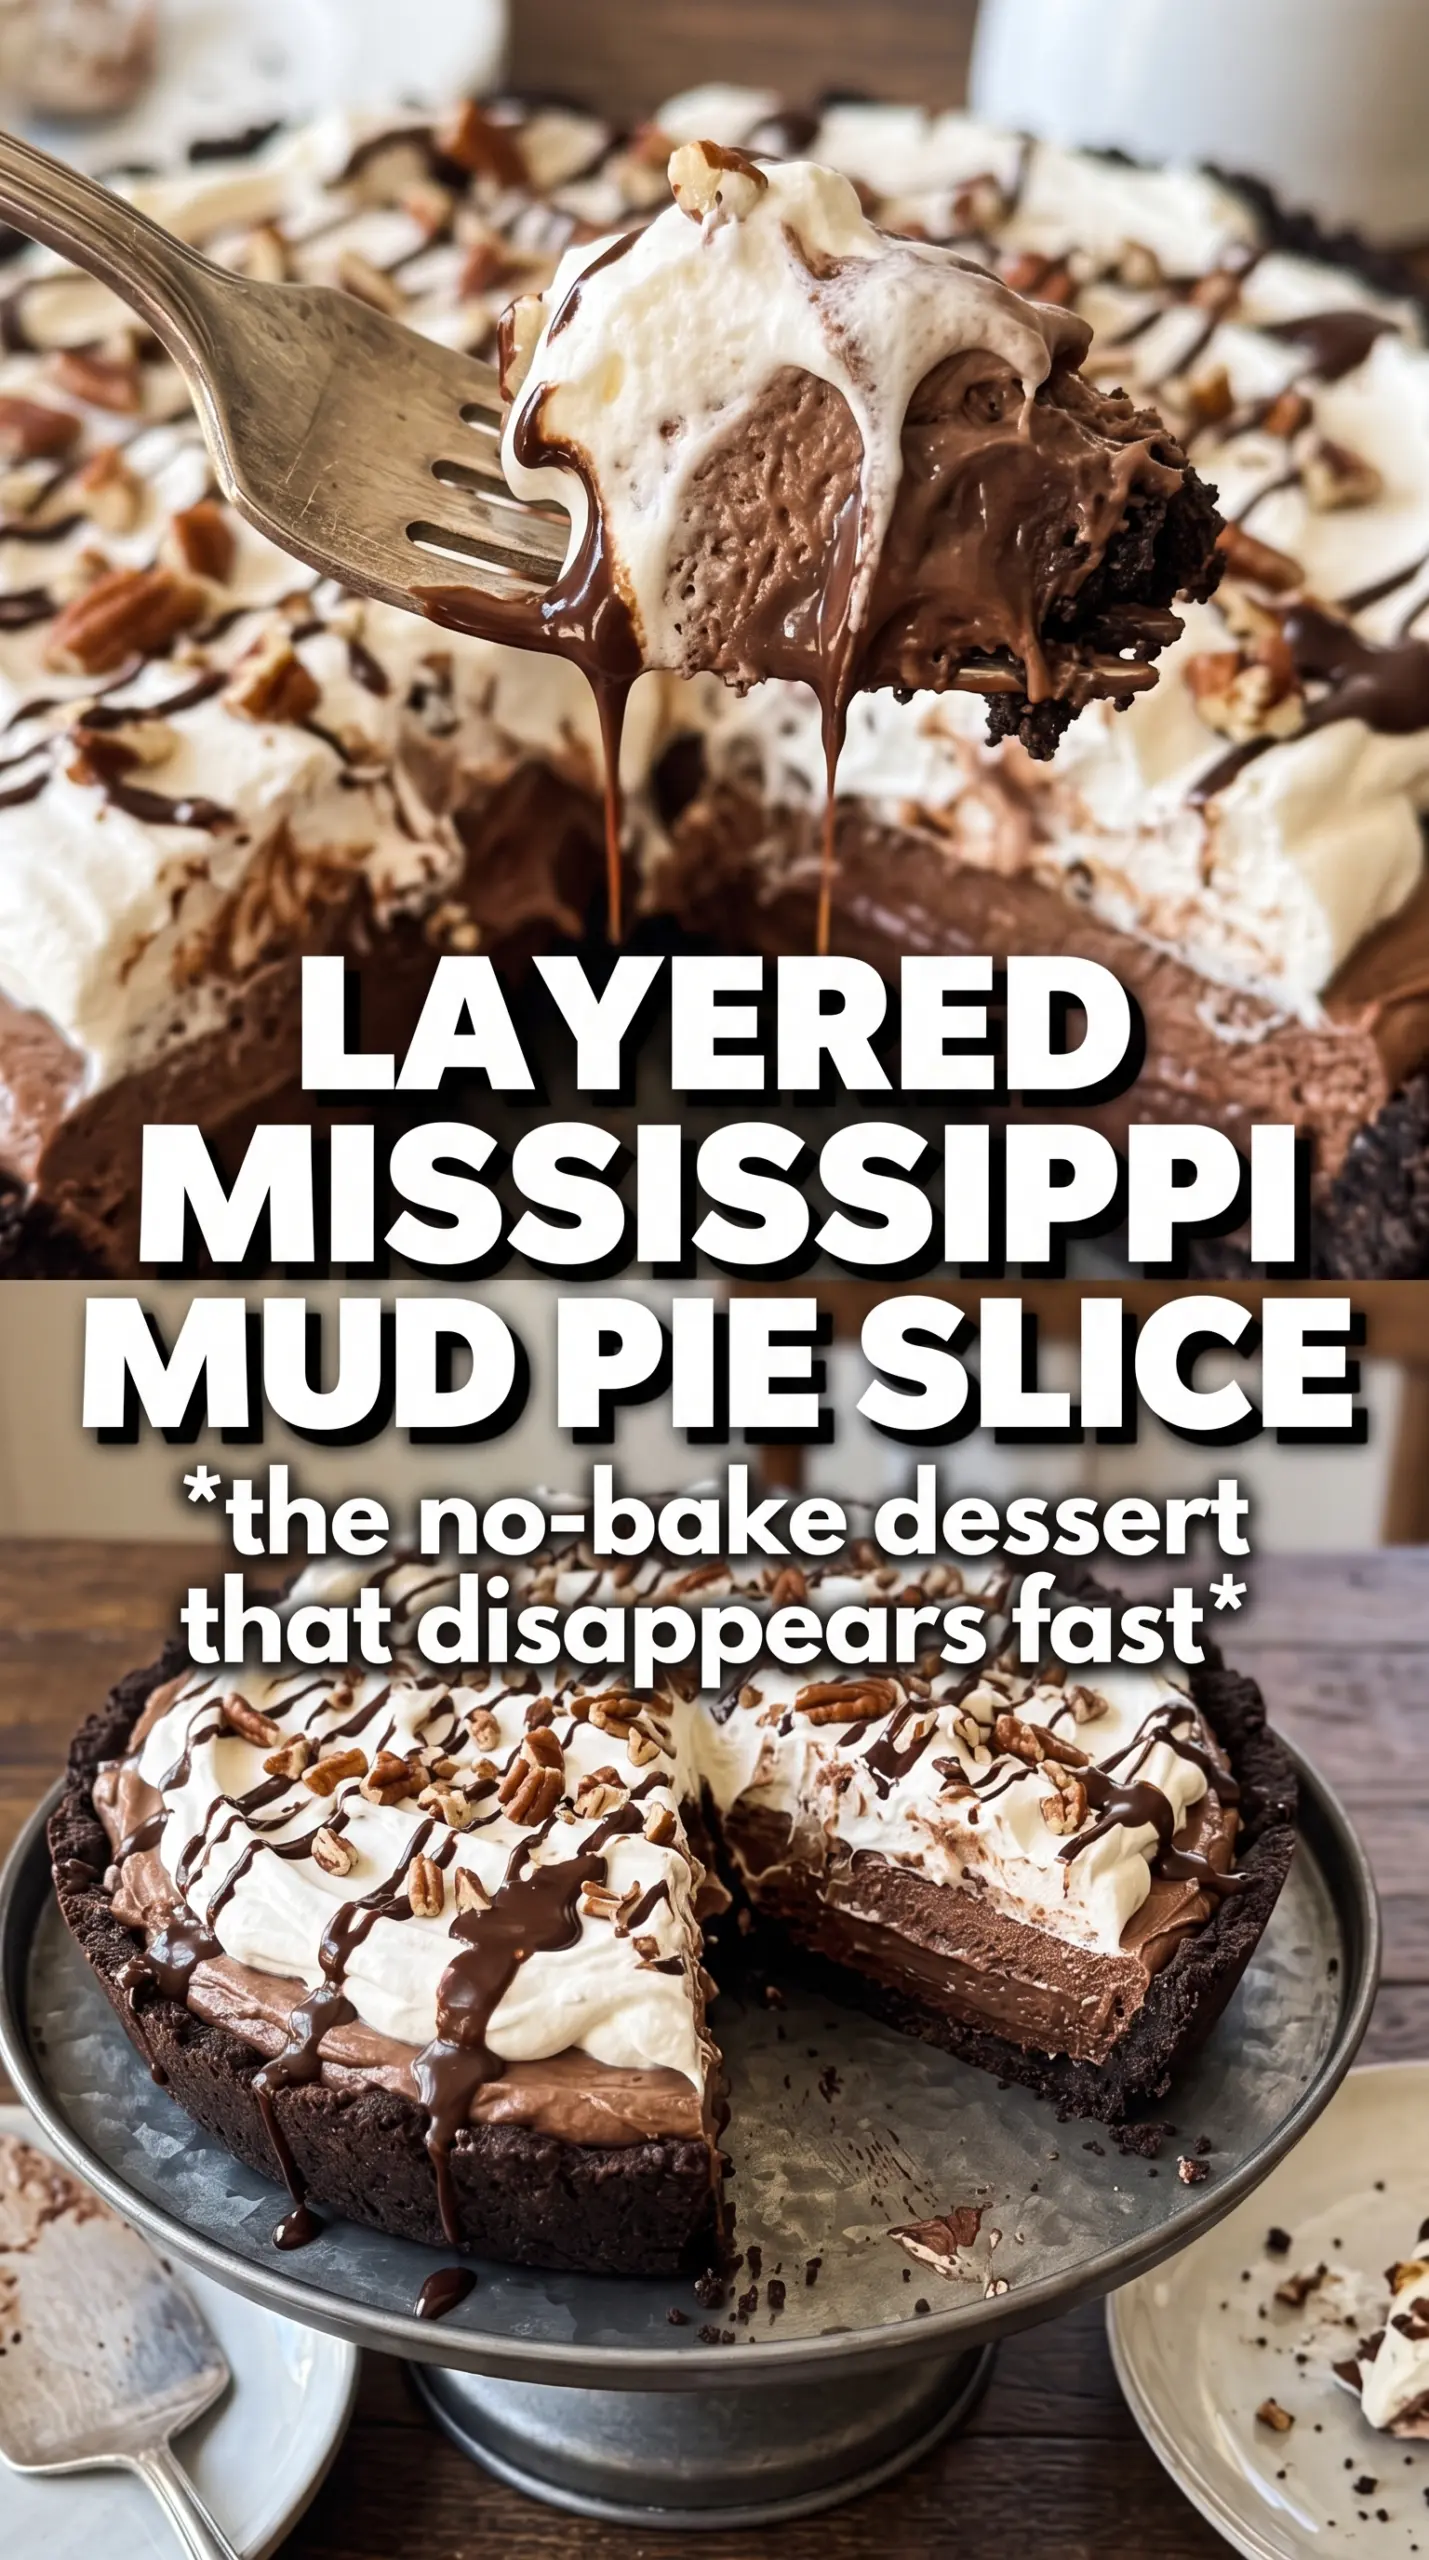
Mississippi mud pie lands somewhere between a brownie and a bar dessert, but the payoff is bigger than either one on its own: a fudgy chocolate base, a gooey marshmallow layer, and a glossy frosting that sets up just enough to slice cleanly. The textures change as you bite through it. First comes the dense crumb of the brownie, then the soft stretch of marshmallow, then the smooth chocolate topping with a little crunch from the nuts.
What makes this version work is timing. The marshmallows go on while the brownies are still hot, so they melt just enough to form that signature puffy layer without disappearing completely. The frosting comes together on the stovetop, then gets poured over while still warm so it spreads easily and settles into an even blanket across the top. Chill time matters here, too. If you cut it too early, the layers slide and the squares lose their shape.
Below, you’ll find the small details that keep the base fudgy instead of dry, plus a few ways to adapt the topping if you want to change the nuts or make it a little easier to serve for a crowd.
The brownie layer stayed fudgy, the marshmallows melted into that perfect gooey middle, and the frosting set up enough to cut clean squares after chilling. My family kept sneaking slices straight from the fridge.
Like this Mississippi mud pie? Save it to Pinterest for the fudgy brownie base, gooey marshmallow middle, and glossy chocolate topping with walnuts.
The Marshmallow Layer Has to Go on While the Brownies Are Still Hot
Most mud pie mistakes start with hesitation. If the brownies cool before the marshmallows hit the surface, the marshmallows sit on top instead of melting into that signature soft layer, and you lose the contrast that makes the dessert worth making. The pan should come straight from the oven to the marshmallows, then back in just long enough for them to puff and gloss over.
The other place people get tripped up is the bake time on the brownie base. You want it set at the edges with a slightly soft center, not baked until the whole slab feels firm in the pan. It finishes setting as it cools, and that softer texture keeps the final dessert dense and fudgy instead of dry.
- Doneness cue: The brownies should look set around the perimeter and slightly underdone in the center when they come out. That last bit of carryover cooking matters.
- Marshmallow timing: Scatter them over the hot surface right away so they start softening on contact. A 3- to 4-minute return to the oven is enough.
- Chill time: The full 2 hours in the fridge gives the frosting enough structure to slice without smearing.
What Each Layer Is Doing in the Pan
- Unsalted butter: In both the brownie base and frosting, butter carries the chocolate flavor and gives the dessert its rich, dense texture. Salted butter works in a pinch, but cut back the added salt a little if you use it.
- Cocoa powder: This is the deep chocolate backbone of the whole pie. Use a good unsweetened cocoa; there isn’t a shortcut ingredient that gives the same dark, fudgy result.
- Mini marshmallows: Mini marshmallows melt more evenly than large ones and create a more uniform layer. If you only have big marshmallows, cut them up first so they soften at the same rate.
- Powdered sugar: It thickens the frosting without needing a stovetop boil. That’s what gives you a spreadable topping that sets after chilling instead of staying runny.
- Walnuts or pecans: Both work, but pecans taste a little sweeter and walnuts bring a more assertive bite. Chop them roughly so you get a little crunch without making the top hard to cut.
Building the Layers Without Losing the Texture
Mixing the Brownie Base
Melt the butter first, then whisk in the sugar, eggs, and vanilla until the mixture looks glossy and slightly thickened. That shine tells you the batter has enough structure for a dense brownie layer. Fold in the flour, cocoa, and salt just until no dry streaks remain. If you overmix here, the base bakes up tougher than it should.
Baking to the Right Stage
Spread the batter evenly in a greased 9×13 pan and bake at 350°F until the edges are set and the center no longer looks wet. In most ovens that takes 25 to 28 minutes. Pull it before the center goes fully firm; the brownies should still have a little softness because the marshmallows and frosting add their own weight on top.
Melting the Marshmallow Layer
As soon as the pan comes out, scatter the mini marshmallows over the hot surface and return it to the oven for just a few minutes. You want them puffed and glossy, not browned all over or melted into nothing. If they sit too long before going on, they won’t fuse with the brownie layer the same way.
Finishing With Warm Frosting
Cook the frosting ingredients together just until the butter melts, then pull the pan off the heat before adding the powdered sugar and vanilla. Whisk until smooth and pour it over the marshmallow layer while it’s still warm. The frosting should flow easily, but if it’s too hot it can thin out and soak down into the marshmallows instead of sitting on top.
Chocolate Pecan Version
Use pecans instead of walnuts for a sweeter, softer crunch that leans a little more like a classic Southern chocolate dessert. The flavor is rounder, and the topping feels less bitter against the marshmallow layer.
Gluten-Free Pan Swap
A cup-for-cup gluten-free flour blend works here because the base is already rich and dense. Don’t use almond flour alone; it changes the structure too much and the brownie layer won’t slice cleanly.
Dairy-Free Adaptation
Use a good plant-based butter and unsweetened non-dairy milk in the frosting. The texture stays close to the original, though the topping will set a little softer, so chill it fully before slicing.
Storage and Reheating
- Refrigerator: Store covered for up to 5 days. The marshmallow layer firms up in the fridge, but the texture stays good.
- Freezer: Freeze tightly wrapped slices for up to 2 months. Thaw in the refrigerator overnight for the cleanest texture; don’t freeze it uncovered or the frosting can pick up frost.
- Reheating: This dessert is best served cold or at cool room temperature. If you want a softer bite, let a slice sit out for 15 to 20 minutes instead of microwaving it, which can make the marshmallow layer collapse.
Answers to the Questions Worth Asking
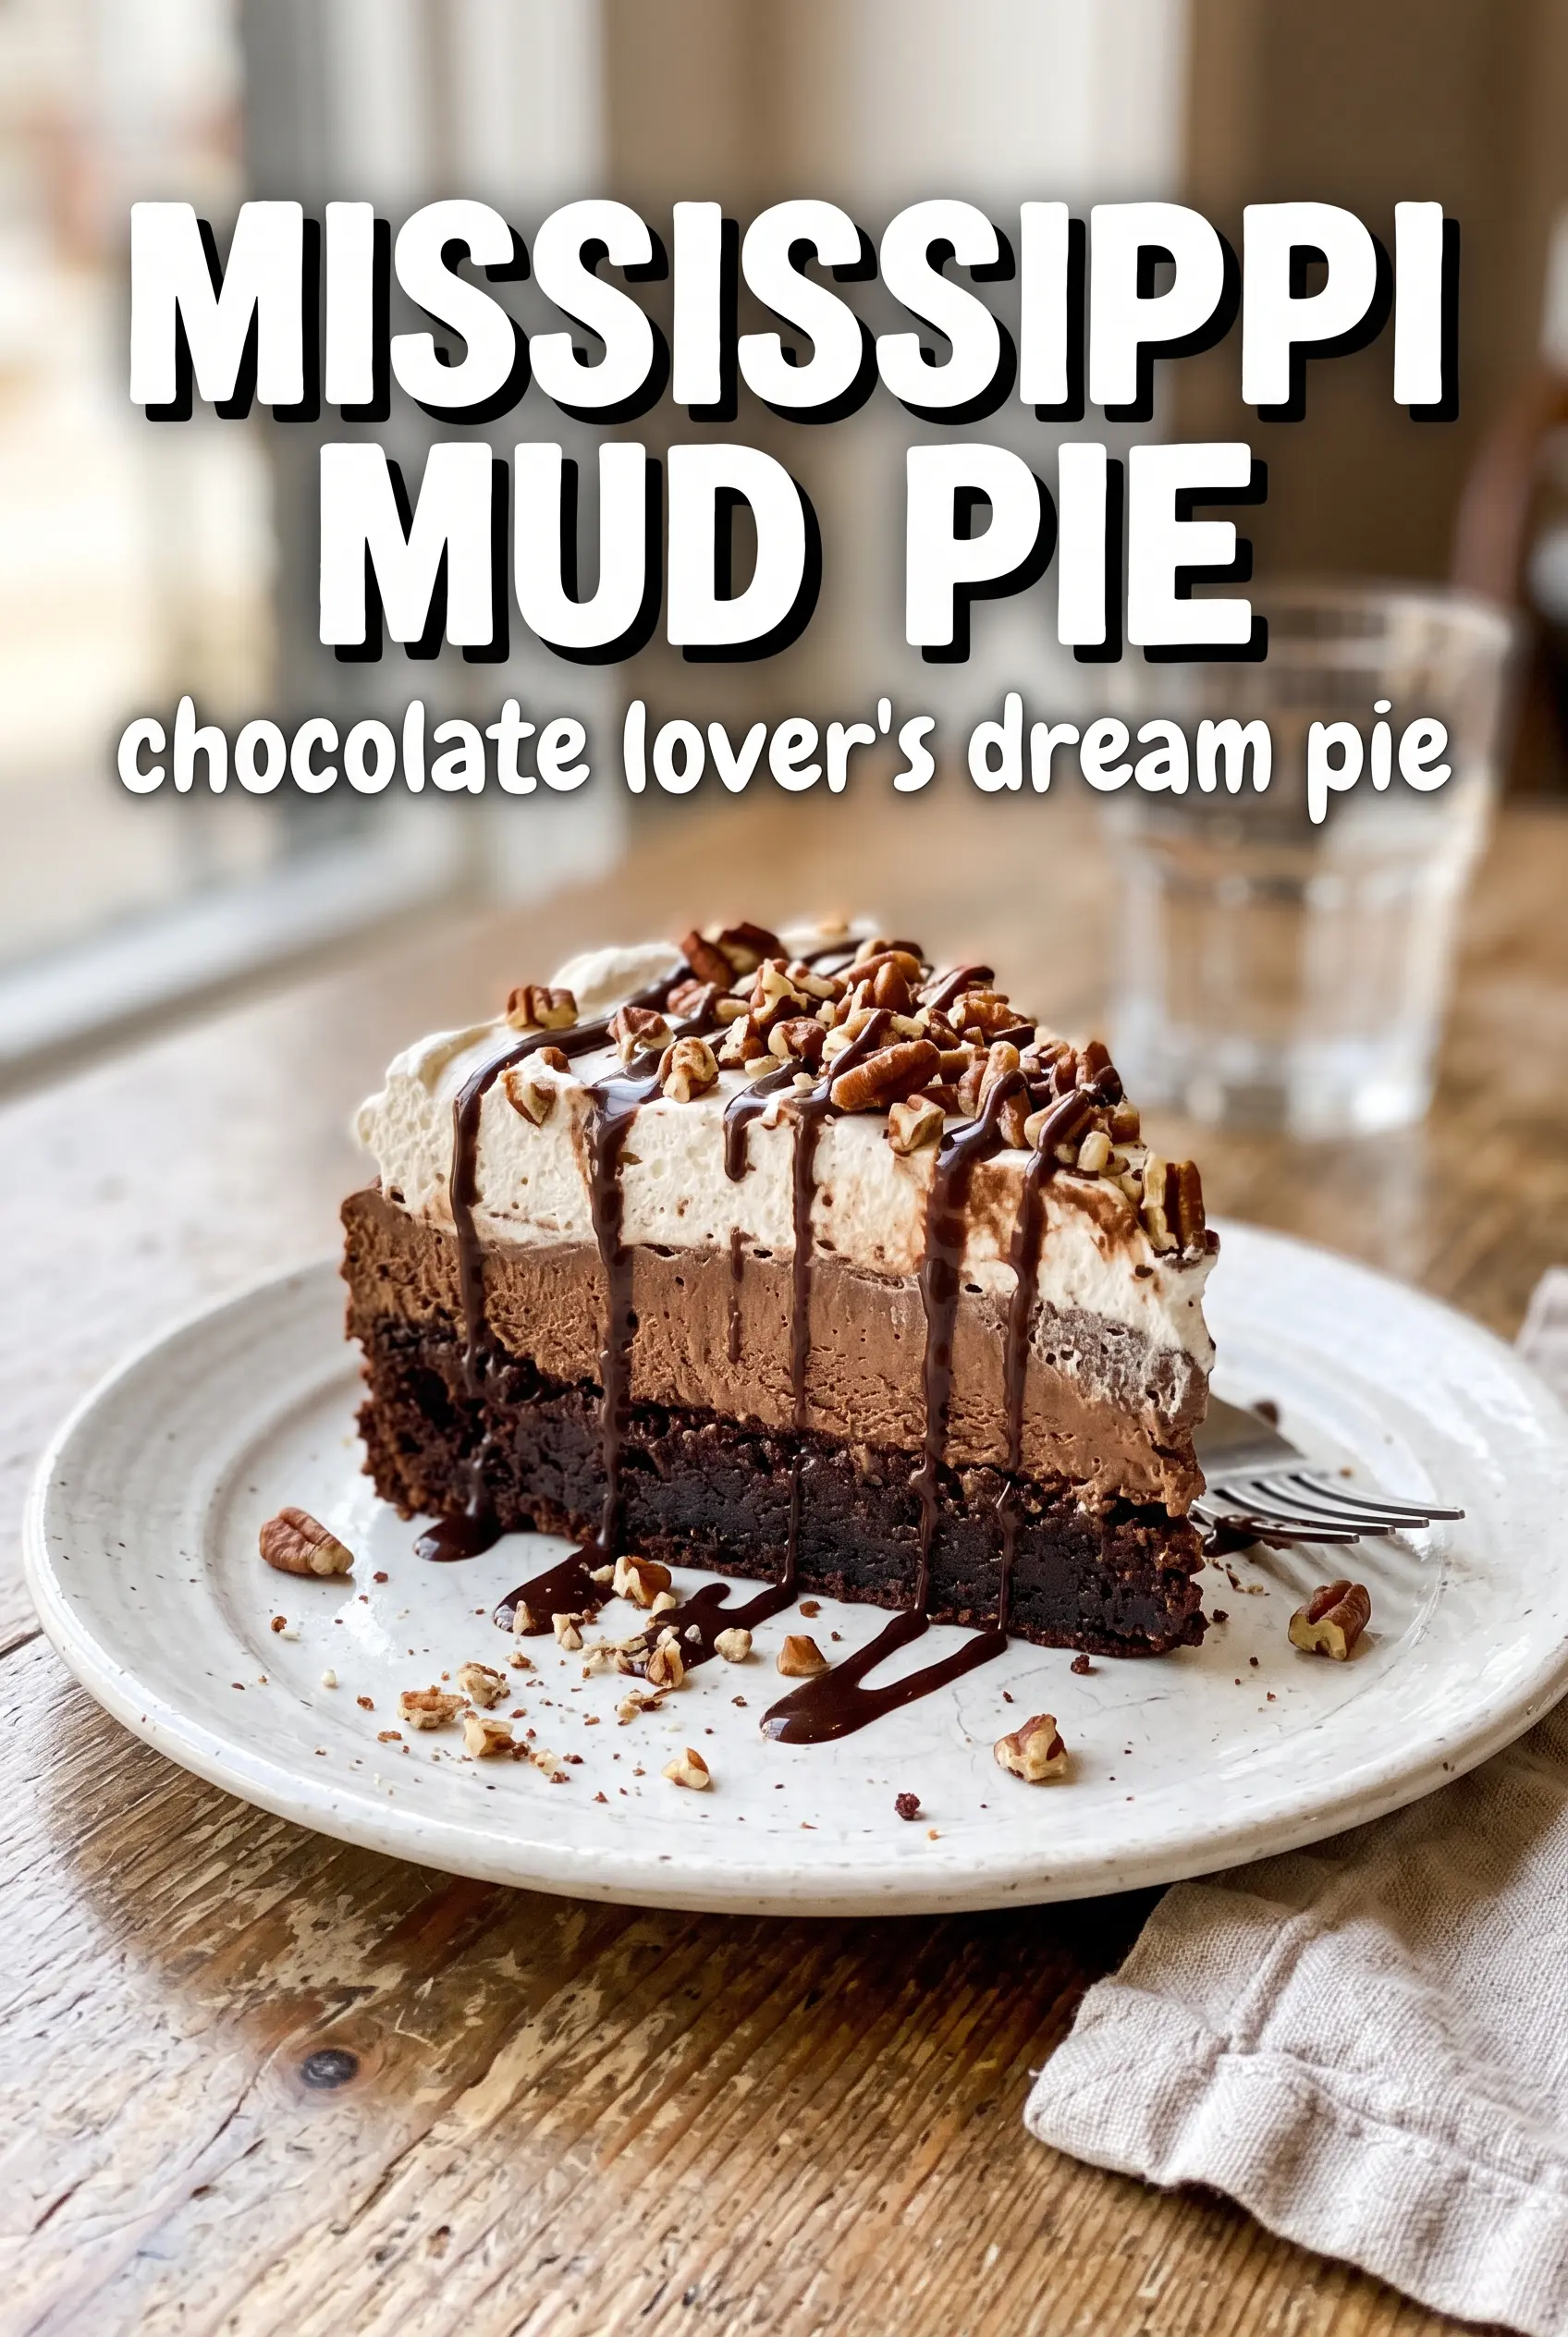
Mississippi Mud Pie
Ingredients
Equipment
Method
- Preheat oven to 350F and grease a 9x13 pan.
- Melt butter, then whisk in sugar, eggs, and vanilla until smooth.
- Fold in flour, cocoa, and salt just until no dry streaks remain.
- Spread batter into the greased pan and bake for 25-28 minutes, until the center looks set.
- Immediately scatter mini marshmallows over the hot brownies.
- Return to the oven for 3-4 minutes, until marshmallows are puffed and golden.
- Melt butter for the frosting, then whisk in cocoa powder and whole milk and remove from heat.
- Whisk in powdered sugar and vanilla until the frosting is smooth.
- Pour warm frosting over the marshmallow layer, then scatter walnuts or pecans over the top.
- Refrigerate for 2 hours, until firm enough to cut clean slices.