Deep, mahogany-colored beef stew earns its place in the rotation because it tastes like it cooked all afternoon, even though most of the work happens in the first 20 minutes. The beef turns spoon-tender, the potatoes hold their shape without going chalky, and the broth settles into that rich, savory gravy that clings to every bite. It’s the kind of pot you set on the stove and know dinner is handled.
The trick is building flavor in layers instead of dumping everything in at once. Tossing the beef in flour before searing gives you a light crust and helps thicken the stew naturally as it simmers. Tomato paste needs a minute in the hot pan to lose its raw edge, and the red wine lifts all those browned bits off the bottom so the broth starts with real depth instead of just saltiness.
Below, I’ll walk through the sear, the simmer, and the timing that keeps the potatoes from falling apart before the beef is tender. I’ve also included the swaps I’d actually use on a weeknight and the storage notes that matter when you’ve got a pot this big.
The broth turned silky and the beef was fall-apart tender right on schedule. I added the peas at the very end like you said and they stayed bright instead of mushy.
Save this beef stew for the night you want tender chuck, red wine broth, and a pot that tastes even better the next day.
The Sear Is Where the Stew Gets Its Depth
If the beef goes into the pot pale, the stew tastes flat no matter how long it simmers. You want a deep brown crust on the outside of each batch, not a gray steam. That crust is where the flavor starts, and the flour on the meat helps you get there while also giving the broth a little body as it cooks.
The other place people lose flavor is crowding the pan. When too much beef goes in at once, the meat steams and drops liquid instead of browning. Work in batches and let each piece sit until it releases on its own. If it sticks hard, it needs another minute; if it lifts easily, the crust is there.
What Each Ingredient Is Actually Doing in the Pot

- Beef chuck — This is the right cut because it has enough connective tissue to turn silky after a long simmer. Leaner stew meat can work in a pinch, but it dries out before the broth has time to do its job.
- Red wine — It deglazes the pan and brings acidity, which keeps the stew from tasting heavy. Use a dry wine you’d actually cook with; if you skip it, replace it with more broth plus a splash of red wine vinegar at the end for balance.
- Tomato paste and diced tomatoes — The paste gives concentrated depth, and the canned tomatoes add body without turning the stew into tomato sauce. Cooking the paste for a minute or two matters, because raw tomato paste tastes sharp and metallic.
- Yukon gold potatoes — They hold their shape better than russets and give the stew a creamy bite instead of falling apart. Cut them into even chunks so they finish at the same time.
- Frozen peas — They go in at the end for color and a little sweetness. If they simmer too long, they lose that bright pop and turn dull and wrinkled.
- Worcestershire — This adds the savory background that makes the broth taste rounded. There isn’t a perfect substitute, but a small amount of soy sauce can cover some of the same ground if that’s what you have.
Building the Pot in the Right Order
Coating and Browning the Beef
Toss the beef with the flour, salt, and pepper until every piece is lightly dusted, then shake off the excess before it hits the pan. Too much flour burns before the meat browns. Sear in hot olive oil until the crust is deep brown on several sides, then move the meat out of the pan while it still looks a little undercooked in the center. That’s fine; the simmer finishes the job.
Sweating the Vegetables and Toasting the Paste
The onion, carrots, and celery need a few minutes in the drippings to soften and pick up color from the pan. Once the garlic and tomato paste go in, keep them moving so the garlic doesn’t scorch and the paste darkens slightly. When the paste smells sweet and less sharp, you’re ready for the wine. If it starts sticking too aggressively, lower the heat before it burns.
Deglazing and Slow Simmering
Pour in the wine and scrape the bottom until the browned bits dissolve into the liquid. That step matters because those bits are concentrated beef flavor, and they disappear into the stew instead of sitting on the pan. Add the broth, tomatoes, Worcestershire, thyme, bay leaves, and beef, then bring it just to a boil before lowering the heat. A hard boil will tighten the meat instead of tenderizing it.
Finishing the Potatoes and Peas
The potatoes go in after the beef has had time to soften, not at the beginning. If they cook the full length of the stew, they’ll break down and cloud the broth. Simmer until the potatoes are just tender, then stir in the peas for the final few minutes. Pull the bay leaves out before serving and taste for salt at the end, because the broth concentrates as it cooks.
How to Adapt This Beef Stew Without Losing the Point
Make It Gluten-Free
Skip the all-purpose flour and dust the beef with a gluten-free flour blend or cornstarch instead. Cornstarch gives a slightly cleaner finish, while gluten-free flour behaves more like the original and helps the broth thicken as it simmers.
Make It Dairy-Free Already? Keep It That Way
This stew is naturally dairy-free as written, so the main job is avoiding buttery swaps in the sear. Use olive oil or another neutral cooking oil and keep the browned bits in the pan; that’s where the richness comes from, not from cream or butter.
Swap the Wine for a No-Alcohol Version
Use an equal amount of beef broth plus 1 to 2 teaspoons of red wine vinegar or balsamic vinegar at the end to bring back the missing brightness. Without that acid, the stew can taste heavy and a little one-note.
Add Mushrooms for a Deeper, Earthier Pot
Brown sliced mushrooms after the beef, then set them aside with the meat or cook them alongside the onions. They add another layer of savory flavor, but they also release liquid, so give them enough time to brown before the broth goes in.
Storage and Reheating
- Refrigerator: 4 days in a sealed container. The broth thickens as it chills, so it may look almost stew-like straight from the fridge.
- Freezer: Freezes well for up to 3 months. Cool it completely first and leave a little headspace in the container; the potatoes may soften slightly after thawing, but the flavor holds up.
- Reheating: Warm it gently on the stove over medium-low heat with a splash of broth or water if needed. A hard boil can make the beef tougher and break down the potatoes too much, so go slow and stir often.
Questions I Get Asked About This Beef Stew
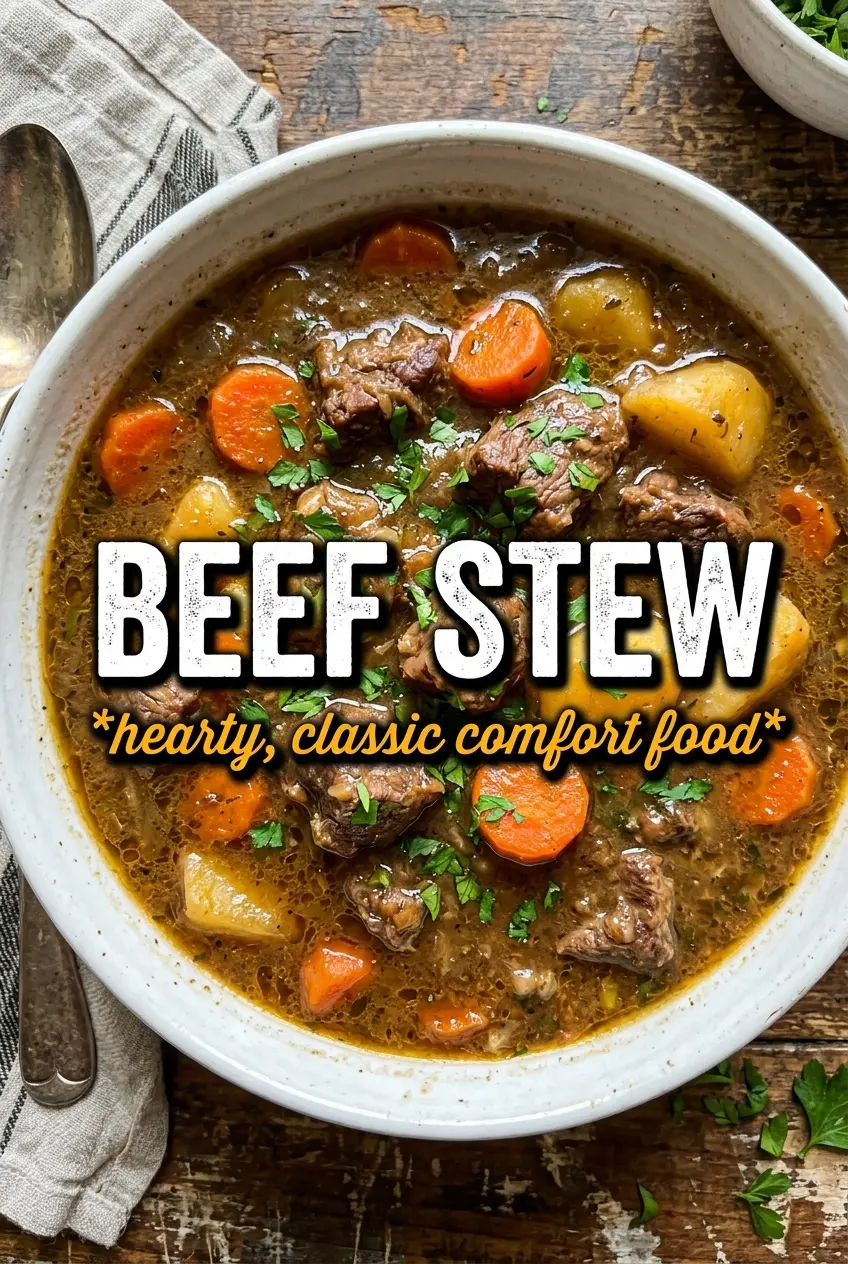
Beef Stew
Ingredients
Equipment
Method
- Toss the beef chuck with the flour until coated. Heat olive oil in a Dutch oven over high heat until shimmering, then sear the beef in batches for about 2-3 minutes per side until deeply browned, with a dark crust forming; remove to a plate.
- Add onion, carrots, and celery to the same Dutch oven and sauté over medium-high heat for 5 minutes, stirring often, until they begin to soften and smell fragrant. Stir in garlic and tomato paste and cook for 2 minutes, until the tomato paste darkens slightly.
- Pour in the red wine to deglaze, scraping up the browned bits from the bottom; simmer for 2 minutes until slightly reduced and glossy. Add beef broth, diced tomatoes, Worcestershire, dried thyme, bay leaves, and the browned beef, then bring to a boil with bubbling throughout.
- Reduce heat to maintain a gentle simmer, cover, and cook 60-75 minutes, until the beef is very tender when pierced and the broth looks thickened; occasional bubbling should be visible at the edges.
- Stir in the Yukon gold potatoes and simmer, covered, for 20 minutes, until the potatoes are tender and a knife slides through easily with minimal resistance. Add the frozen peas and cook 3 minutes, until they turn bright green.
- Remove bay leaves, then season with salt and pepper to taste. Taste the broth and adjust seasoning so the flavor is balanced, with a final simmer of about 1-2 minutes if needed.