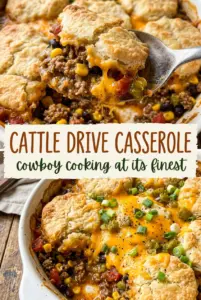
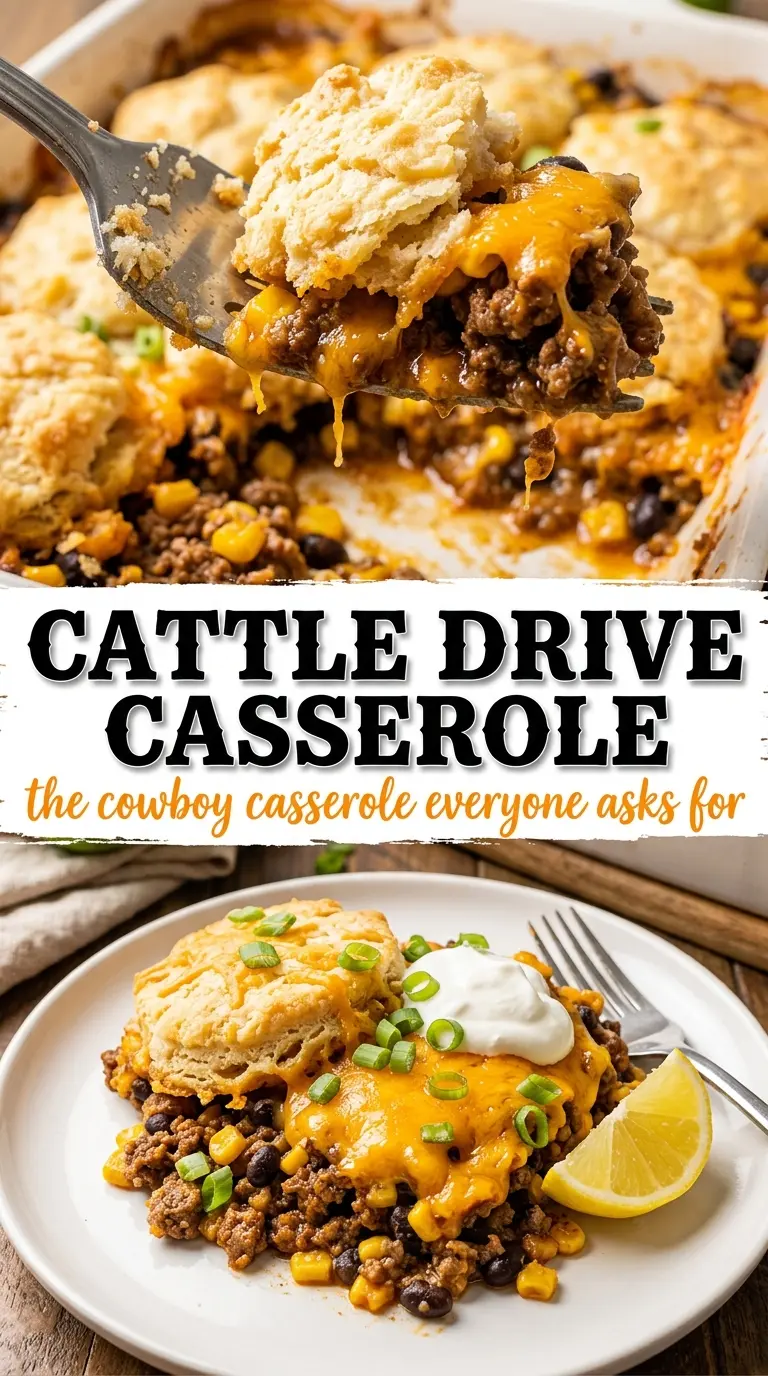
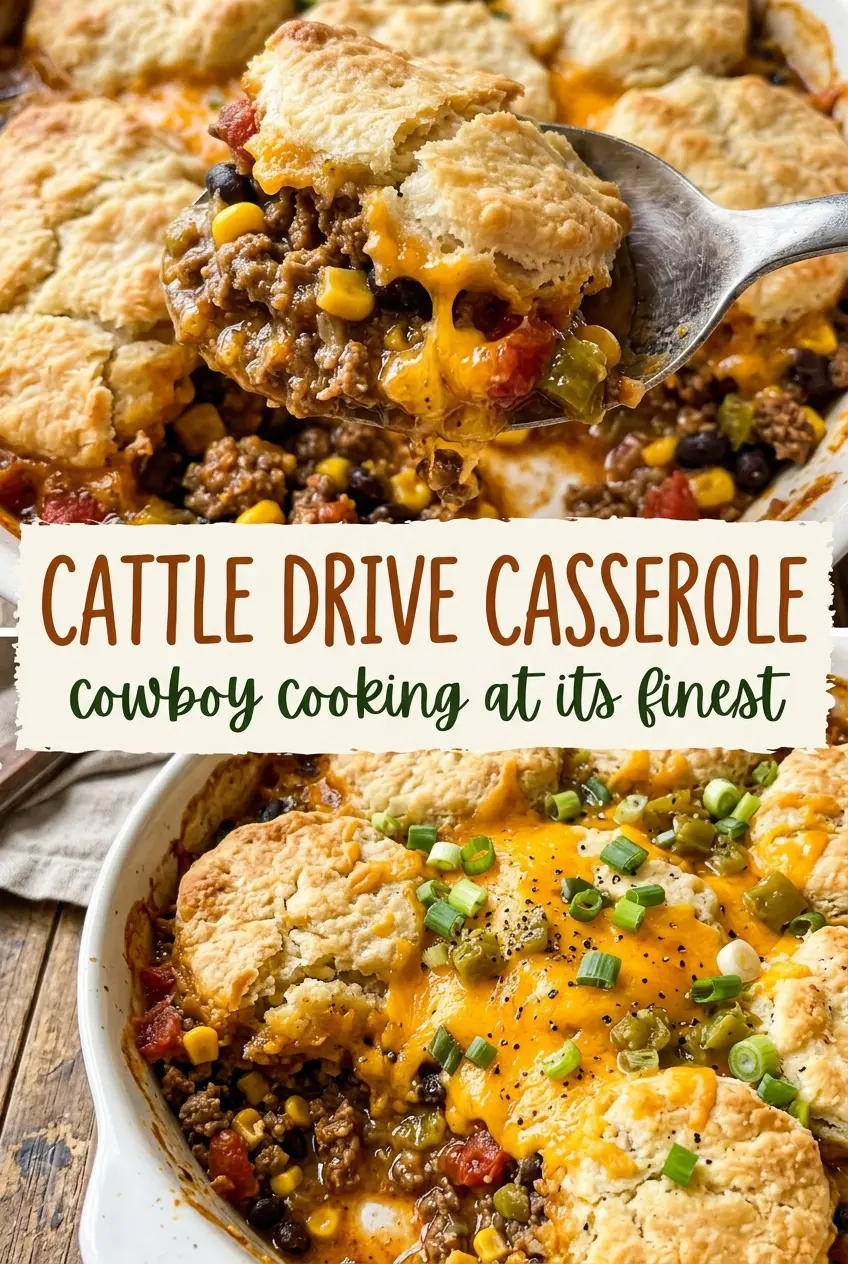
Golden biscuit topping, bubbling beefy filling, and enough cheddar to pull everything together — this is the kind of casserole that disappears fast once it hits the table. The bottom layer is hearty and savory, with seasoned ground beef, beans, corn, and tomatoes giving every bite a little bit of everything. The top bakes up crisp and browned while the filling stays creamy underneath, which is exactly what you want in a casserole like this.
The trick is keeping the filling thick before the dough goes on. If it’s too loose, the bottom of the biscuits will steam instead of bake, and you lose that clean, golden finish. Stirring the sour cream and cheddar in off the heat helps the cheese melt smoothly without turning grainy, and the short simmer gives the beans and corn time to pick up the taco seasoning instead of tasting separate.
Below, I’ve included the small details that matter most — which dough gives the best top, how to keep the casserole from turning watery, and how to change it up without losing that hearty cowboy-casserole feel.
The filling thickened up nicely and the biscuit top baked through without getting soggy. I used crescent dough, and the edges came out crisp while the center stayed soft. My husband asked if I could put this in the rotation.
Save this cattle drive casserole for nights when you want a biscuit-topped beef casserole with a bubbling cheesy center.
Why the Bottom Layer Has to Be Thick Before the Dough Goes On
Most casserole problems start with too much liquid. Beans, tomatoes, and sour cream can turn a beef filling into something that looks rich but bakes up soupy, and once that happens the biscuit or crescent layer sits on wet steam instead of hot filling. The fix is simple: simmer the meat mixture long enough for the tomatoes to cook down and for the seasoning to cling to the beef and beans.
The other thing people miss is heat control when the dairy goes in. Sour cream can go grainy if it’s stirred into a pan that’s still ripping hot, especially after the tomatoes have been simmering. Pull the skillet off the burner before adding it, then fold in the cheese. The mixture should look thick, glossy, and scoopable before you cover it with dough.
What the Ingredients Are Doing in This Cattle Drive Casserole
- Ground beef — This is the backbone of the casserole. An 80/20 blend gives you enough flavor without making the filling greasy, but anything leaner works if you drain it well after browning.
- Rotel tomatoes — These bring acidity, heat, and enough moisture to help the taco seasoning bloom. Plain diced tomatoes can work in a pinch, but you’ll lose that Tex-Mex edge unless you add a little diced green chile or extra seasoning.
- Kidney beans — They add body and make the casserole feel complete. Black beans are the easiest swap if that’s what you keep on hand, and they hold their shape a little better than kidney beans.
- Sour cream — It softens the filling and gives the casserole a creamy middle instead of a loose chili base. Stir it in off the heat so it stays smooth; that step matters more than the brand you buy.
- Sharp cheddar — Sharp cheddar gives you enough flavor to stand up to the beef and beans. Mild cheddar melts fine, but the casserole tastes flatter.
- Crescent roll dough or biscuits — Crescent dough gives a softer, more tender top, while biscuits bake up a little more substantial. Both work, but biscuits need to be sealed well so the filling doesn’t bubble through the seams too early.
Building the Filling and Baking the Top Without Soggy Spots
Brown the Beef Until the Pan Tells You It’s Ready
Cook the ground beef over medium-high heat until it loses its pink color and starts to pick up some browned bits on the bottom of the pan. Those bits add flavor, so don’t rush this stage by crowding the skillet or turning the heat too low. Drain off the excess fat before the next ingredients go in, because too much grease makes the filling slide around under the dough.
Let the Seasoning Simmer Into the Beans and Corn
Stir in the taco seasoning, kidney beans, corn, and Rotel, then let everything simmer for about five minutes. The liquid should reduce a bit and the mixture should look thicker than chili but still spoonable. If it still looks thin, give it another minute or two; that extra time keeps the top from sinking into the filling.
Finish the Filling Off the Heat
Remove the skillet from the burner before you add the sour cream and one cup of cheddar. Stir until the filling looks creamy and evenly coated, with no streaks of sour cream left behind. This is the point where the filling should mound slightly on a spoon. If it pours like soup, it needs a little more simmering before the dough goes on.
Seal the Dough and Bake Until the Edges Bubble
Lay the crescent dough or biscuits over the filling and press the edges together so there aren’t open gaps for steam to escape. Sprinkle the remaining cheddar over the top, then bake until the dough is deep golden and the filling is bubbling at the edges. If the top browns before the center feels set, tent it loosely with foil for the last few minutes so the dough finishes without burning.
How to Adjust It for What’s in Your Kitchen
Make It Gluten-Free
Use a gluten-free biscuit dough that bakes well on top of casseroles. The filling itself is already naturally gluten-free as long as your taco seasoning is certified gluten-free, but the topping is where the usual wheat sneaks in.
Swap in Ground Turkey
Ground turkey works if you want something a little lighter, but it needs the seasoning and cheese to carry the flavor. Add a tablespoon of oil when browning it, since turkey dries out faster than beef and can taste lean if it isn’t handled well.
Use Crescent Dough for a Softer Top
Crescent dough gives you a lighter, more tender finish that soaks up a little of the cheesy steam underneath. It won’t have the same sturdy bite as biscuits, but it browns quickly and slices cleanly when the filling is thick.
Storage and Reheating
- Refrigerator: Store leftovers covered for up to 4 days. The biscuit topping softens a little, but the flavor holds up well.
- Freezer: This freezes best without the dough topping. Freeze the filling in a tightly sealed container for up to 2 months, then add fresh dough and bake when you’re ready.
- Reheating: Warm portions in a 350°F oven until heated through. The microwave works in a pinch, but the topping stays softer; the oven brings back some of the texture and keeps the filling from turning greasy.
Questions I Get Asked About This Recipe
Cattle Drive Casserole
Ingredients
Equipment
Method
- Preheat the oven to 375°F so it’s ready for the casserole as soon as the filling is assembled.
- Brown the ground beef in a large oven-safe skillet over medium-high heat and drain the fat.
- Add the taco seasoning, kidney beans, corn, and Rotel tomatoes to the skillet and stir to combine, then simmer for 5 minutes.
- Remove from heat, then stir in the sour cream and 1 cup cheddar cheese until smooth and thick.
- Unroll the crescent dough or biscuits and lay it over the top of the beef mixture, pressing the edges to seal.
- Sprinkle the remaining cheddar over the dough, then bake for 18–22 minutes until the biscuits are golden and the filling is bubbling at the edges.