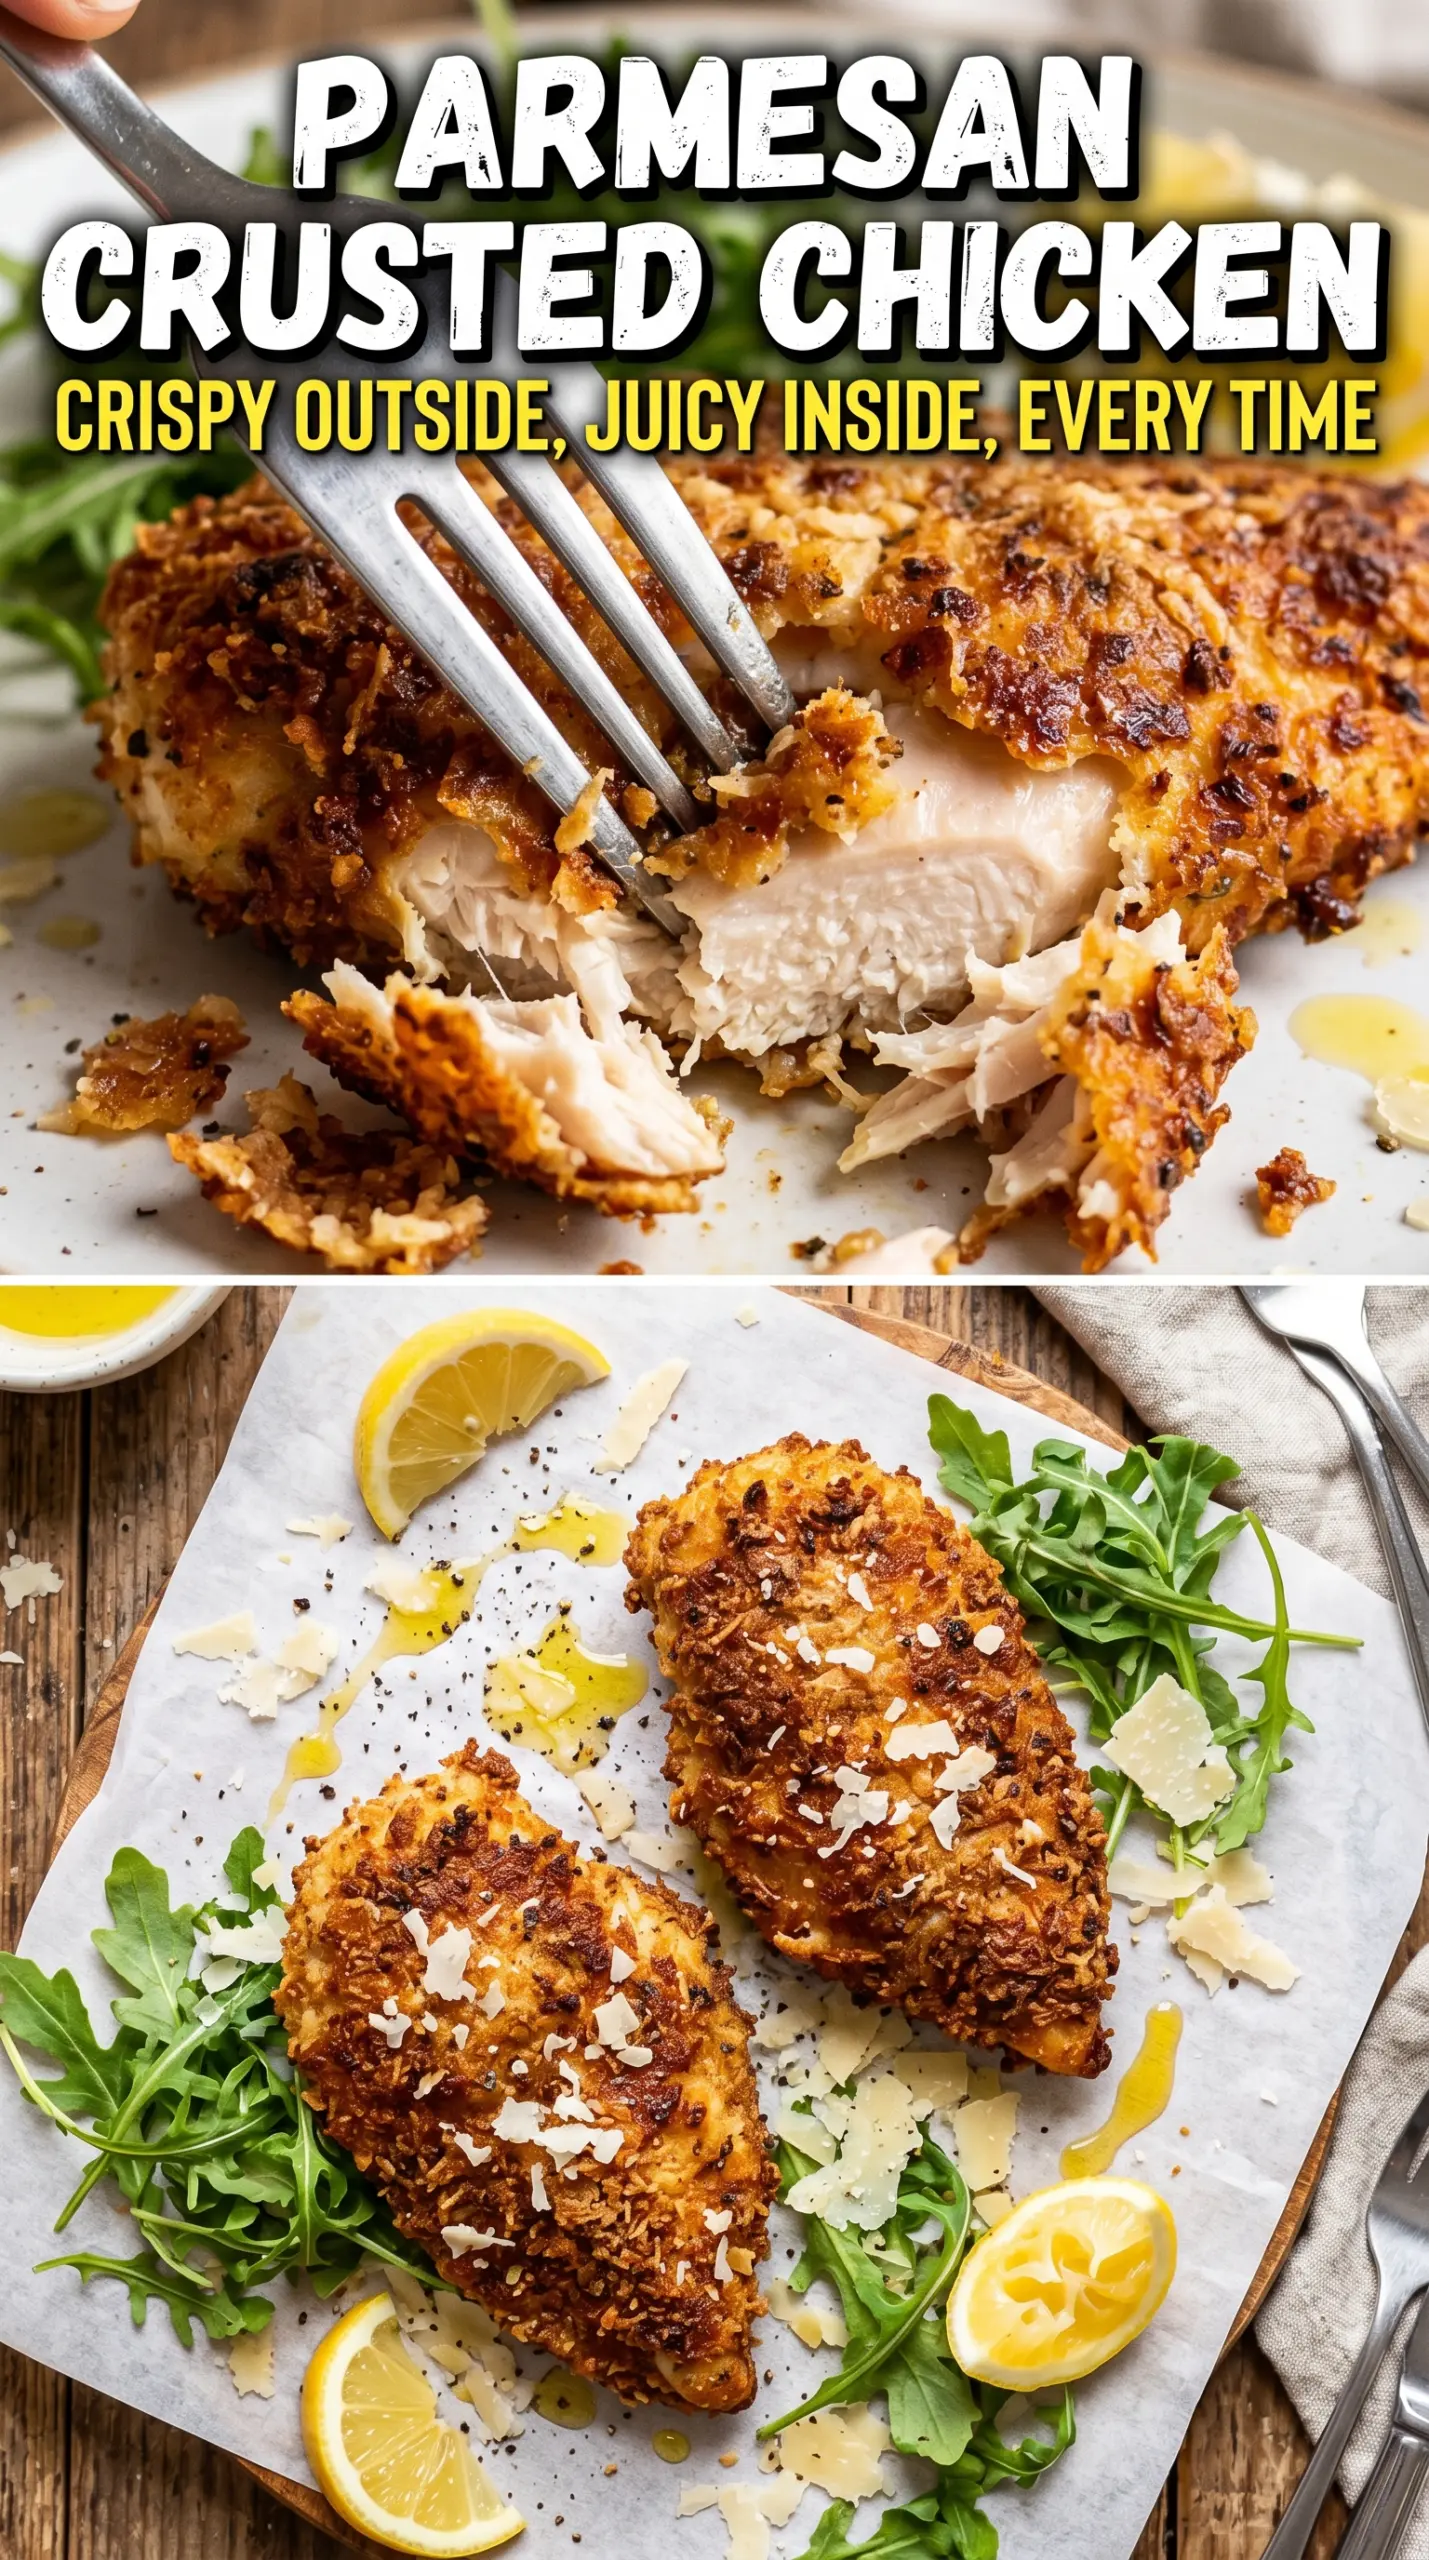
Parmesan crusted chicken earns its place in the weeknight rotation because it delivers that crackly, golden coating without a skillet full of oil. The crust bakes up shatteringly crisp, the Parmesan turns nutty and fragrant, and the chicken stays juicy when it’s pounded to an even thickness. You get the crunch of fried chicken with a lot less fuss and none of the splatter.
The trick is in the breading order and the heat. Flour gives the egg something to cling to, the egg helps the panko-Parmesan mix stick, and the wire rack lets hot air move under the chicken so the bottom doesn’t go soft. Freshly grated Parmesan matters here because the finer, drier texture melts into the crumb instead of sitting in greasy clumps. A quick hit of olive oil on top helps the crust brown deeply before the chicken overcooks.
Below, I’ve included the one step that keeps the coating from sliding off, plus a few swaps that still give you a crisp finish if you need to work around what’s in your kitchen.
The crust stayed on every piece and turned out crunchy all the way around, even on the bottom. I used the wire rack like you said and the chicken was still juicy at 22 minutes.
Save this Parmesan crusted chicken for nights when you want a crunchy baked chicken dinner without frying.
The Reason the Crust Stays Crisp Instead of Going Soggy
Most baked breaded chicken turns soft for one simple reason: the coating sits flat against a wet pan and traps steam. The wire rack changes that completely. Hot air can circulate under the chicken, so the bottom dries and browns instead of steaming itself into a dull, bready layer.
Even thickness matters just as much. Thick ends take longer than thin ones, and by the time the center is safe, the thinner parts are already overcooked and the coating has started to darken. Pounding the chicken to an even thickness gives you a much better window for a crisp crust and juicy meat at the same time.
- Wire rack: This is the difference between crisp and limp on the underside.
- Even thickness: It keeps the chicken cooking at the same rate from end to end.
- Olive oil on top: It helps the crumb color without needing a heavy layer of oil.
What Each Ingredient Is Actually Doing in the Crust
- Chicken breasts: Boneless skinless breasts work best here because they give you a broad surface for the crust and cook quickly. Pound them to an even thickness so the crust finishes at the same time the center reaches 165°F.
- Panko breadcrumbs: Panko gives the coating its jagged, crunchy texture. Regular breadcrumbs work in a pinch, but they make a finer crust that won’t shatter the same way.
- Parmesan cheese: Freshly grated Parmesan melts into the panko and adds that salty, nutty edge. The shelf-stable finely shredded kind can work, but it often browns unevenly and can taste dry.
- Eggs and flour: The flour dries the chicken surface just enough for the egg to grab on, and the egg acts like glue for the coating. Skip either one and the crust is much more likely to slide off.
- Italian seasoning, garlic powder, smoked paprika: These season the crust itself, which matters more than seasoning the chicken alone. Smoked paprika adds color and a subtle warmth without making the crust taste smoky.
Building the Breading So It Clings and Browns
Set Up the Three Stations First
Lay out the flour, beaten eggs, and the panko-Parmesan mixture in separate shallow dishes before the chicken comes anywhere near them. A clean setup keeps your hands from turning into breaded gloves and helps the coating stay dry where it should. Season the chicken before dredging so the meat itself tastes seasoned, not just the crust.
Press the Crumbs On, Don’t Just Dip and Hope
After the egg wash, press each breast firmly into the panko mixture on both sides. This is where people lose half the crust later: a light dip leaves loose crumbs that fall away in the oven. Use your palm to really set the coating into the surface, especially on the thicker edges and any uneven spots.
Bake on a Rack Until Deep Golden
Place the coated chicken on the prepared rack and drizzle or spray the tops with olive oil before baking. You’re looking for a crust that turns deep golden and feels dry to the touch, not pale and powdery. If the top looks done but the center is short on temperature, tent loosely with foil for the last few minutes so the crust doesn’t overbrown while the chicken finishes.
Rest Before Slicing
Let the chicken rest for three minutes after it comes out of the oven. That short pause keeps the juices from flooding the crust when you cut in, and it gives the coating a moment to set. Slice too soon and the crust can crack off the top instead of staying attached in one clean piece.
Gluten-Free Parmesan Crusted Chicken
Use a gluten-free all-purpose flour and gluten-free panko. The texture stays crisp, though the coating will be a touch more delicate, so press it on firmly and move the chicken carefully to the rack.
Dairy-Free Version
Replace the Parmesan with a dairy-free Parmesan-style alternative that grates finely. You’ll lose some of the nutty melt-in quality, so the crust will taste a little drier, but the panko still gives you a good crunch.
Chicken Thigh Swap
Boneless skinless thighs work if you want richer meat, but they’re less uniform and may need a few extra minutes in the oven. Use smaller pieces or trim them into even portions so the crust doesn’t overbrown before the chicken cooks through.
Make It Ahead for Faster Dinner
You can bread the chicken a few hours ahead and keep it uncovered in the fridge on a rack-lined tray. That chill actually helps the coating set up, but don’t leave it overnight or the crumbs start to absorb moisture and lose their crunch.
Storage and Reheating
- Refrigerator: Store leftovers in an airtight container for up to 3 days. The crust will soften, but it still reheats well.
- Freezer: Freeze cooked chicken on a tray until firm, then wrap and store for up to 2 months. The coating won’t stay as crisp after freezing, but it’s still worth saving.
- Reheating: Reheat on a rack in a 375°F oven or air fryer until hot and crisp again. Skip the microwave if you want the coating to stay crunchy; it steams the crust and turns the Parmesan layer leathery.
Questions I Get Asked About This Recipe

Parmesan Crusted Chicken
Ingredients
Equipment
Method
- Preheat the oven to 425°F and line a baking sheet with a wire rack; spray the rack with cooking spray for an evenly crisp bottom.
- Season the chicken with salt, pepper, and garlic powder, then set up a three-station breading line with flour, beaten eggs, and the Parmesan-panko mixture.
- In the flour station, keep all-purpose flour ready; in the egg station, have beaten large eggs; in the third station, mix panko breadcrumbs, Parmesan cheese, Italian seasoning, garlic powder, and smoked paprika until evenly combined.
- Dredge each chicken breast in all-purpose flour, shaking off excess for a dry surface that helps the crust adhere.
- Dip the floured chicken into beaten eggs so the coating is evenly wet, giving the panko something to cling to.
- Press the chicken firmly into the Parmesan panko so all sides are coated for a thick, shatter-crisp crust.
- Drizzle or spray olive oil over the breaded chicken on the prepared wire rack to help the breading turn deep golden.
- Bake for 20-22 minutes at 425°F until the crust is deep golden and the internal temperature reaches 165°F, looking crisp and set around the edges.
- Rest the baked chicken for 3 minutes so the juices settle and the crust holds its crunch.
- Garnish with fresh parsley and serve with lemon wedges for bright, citrus-fresh flavor alongside the Parmesan crust.


