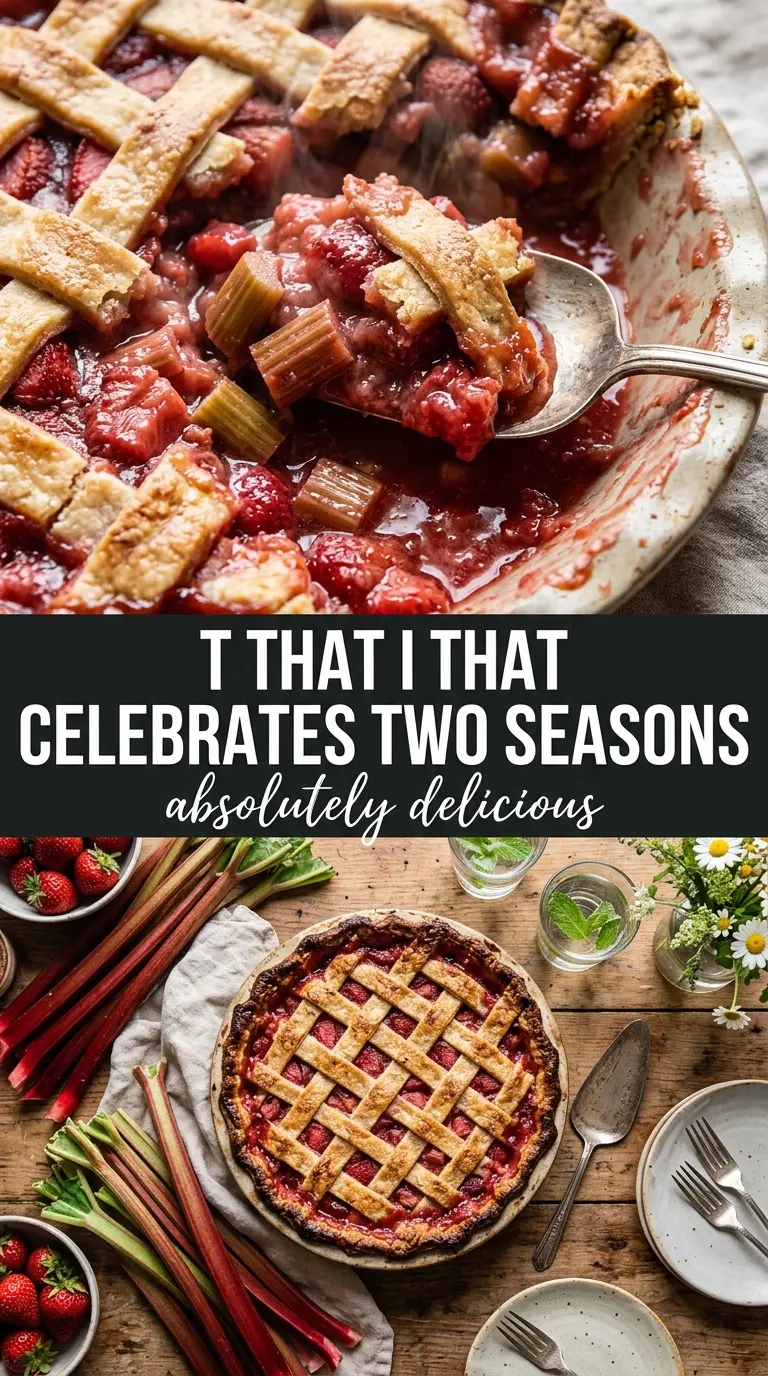
Flaky crust, glossy pink filling, and that sweet-tart bite that makes a second slice hard to resist — fresh strawberry rhubarb pie earns its place in the dessert rotation because it tastes bright without turning watery. The strawberries soften into jammy pockets while the rhubarb keeps enough structure to give each slice a clean edge and a little pop of texture.
The trick is giving the fruit a short rest with sugar and cornstarch before it goes into the shell. That draws out some juice early, and the cornstarch starts working before the pie hits the oven, which helps the filling set instead of spilling out thin and loose. A hot start also matters here: the first blast of heat helps the bottom crust cook before the filling has time to soak in.
Below, you’ll find the exact timing that keeps the crust flaky, the one cooling step you shouldn’t rush, and a few practical swaps if you need to use frozen fruit or a different topping.
The filling set up beautifully after the full cooling time, and the lattice stayed crisp instead of getting soggy. The sweet-tart balance was spot on.
Save this strawberry rhubarb pie for the kind of dessert that needs a flaky crust, a bubbling lattice, and a proper cool-down.
The Part That Keeps Strawberry Rhubarb Pie From Going Runny
Most fruit pies fail at the same point: they look done before the filling has actually thickened. Strawberry rhubarb gives you a head start because rhubarb releases plenty of juice as it bakes, but that juice needs enough starch and enough heat to turn into a sliceable filling. If you cut the pie early, the center will spill like syrup instead of holding its shape.
The other mistake is underbaking the bottom crust. A pie can have a beautiful top and still eat like wet fruit in a shell if the base never gets time to brown. That’s why the two-temperature bake matters here. The hotter first stretch sets the structure, then the lower temperature finishes the fruit without burning the crust.
- The 10-minute rest matters — sugar pulls juice from the fruit before baking, and cornstarch starts hydrating right away.
- Start hot, then lower the oven — the crust gets a head start before the filling has time to flood it.
- Let the pie cool completely — the filling finishes setting as it cools, not while it’s bubbling in the oven.
What the Fruit, Thickener, and Crust Are Each Doing Here
- Fresh rhubarb — This is the backbone of the pie. Its tartness keeps the filling from tasting flat, and its natural juiciness gives the pie that classic soft-set texture. Frozen rhubarb can work, but thaw and drain it well or the filling will need extra time in the oven.
- Fresh strawberries — They soften into sweet pockets and balance rhubarb’s sharp edge. Use ripe berries with good flavor, because bland berries make the whole pie taste dull. If the berries are huge, halve or quarter them so they cook at the same pace as the rhubarb.
- Cornstarch — This is what turns fruit juice into a sliceable filling. Flour will work in a pinch, but it makes the filling look cloudy and usually needs a little more baking time to lose its raw taste. Stir it in evenly so you don’t end up with thin pockets of juice.
- Pie crust — A sturdy, cold crust is worth more than a fancy topping here. Store-bought works fine, but keep it cold until the pie is assembled so it stays flaky in the oven. If the dough warms up too much, the edges slump before the filling is done.
Building the Pie So the Bottom Stays Crisp
Mixing the Fruit Filling
Combine the rhubarb, strawberries, sugar, cornstarch, and salt in a large bowl and let the mixture sit for 10 minutes. The fruit will start to glisten as juice collects in the bowl, and that’s what you want. Stir once or twice so the cornstarch doesn’t clump in one spot. If you skip this rest, the filling has to thicken from scratch in the oven and usually ends up looser.
Filling and Topping the Shell
Pour the fruit into the bottom crust and dot the top with butter. The butter melts into the fruit and gives the filling a little richness without making it heavy. Add the top crust as a full lid or lattice, then trim and crimp the edges so they seal well. If the edges are left loose, the filling can bubble out and burn on the pan.
Baking Until the Center Bubbles
Bake at 400°F for 20 minutes, then reduce the heat to 350°F and bake 30 to 35 minutes more. You’re looking for a deep golden crust and active bubbling in the center, not just along the edge. Those bubbles tell you the cornstarch has fully thickened the juices. If the top browns too fast, tent it loosely with foil while the filling finishes.
The Cooling Time That Sets the Slice
Let the pie cool for at least 3 hours before slicing. This is where the filling turns from hot syrup into a clean slice. Cutting early is the fastest way to end up with fruit sliding out across the plate. The pie can still be warm when served, but it needs enough time to settle first.
How to Adapt This Pie When You Need a Different Crust or Fruit
Lattice Top for the Best Texture
A lattice lets steam escape more easily, which helps the filling thicken without turning soggy under a sealed lid. It also gives the fruit more direct exposure to heat, so the top bubbles visibly and the crust browns evenly.
All-Butter or Store-Bought Crust
An all-butter crust gives you the flakiest, most flavorful bite, but a good store-bought crust keeps this pie practical and still bakes up well. If you use packaged dough, keep it cold and handle it gently so it doesn’t shrink in the oven.
Gluten-Free Swap
Use a gluten-free double-crust pie dough and add a little extra chill time before baking, since GF doughs can be softer and more fragile. The filling stays the same, but the crust may brown a little faster, so watch the edges during the last 15 minutes.
Frozen Fruit in a Pinch
You can use frozen strawberries or rhubarb, but don’t thaw them fully before baking or the filling can get watery. Toss the fruit with the sugar and cornstarch straight from frozen, then expect the pie to need a little extra bake time to get the center bubbling.
Storage and Reheating
- Refrigerator: Store covered for up to 4 days. The crust will soften a bit, but the filling holds well.
- Freezer: Bake and cool completely, then wrap tightly and freeze for up to 2 months. Thaw in the refrigerator overnight before reheating.
- Reheating: Warm slices in a 300°F oven until the crust perks back up, about 10 to 15 minutes. The microwave softens the crust and makes the filling slide.
Answers to the Questions Worth Asking

Fresh Strawberry Rhubarb Pie
Ingredients
Equipment
Method
- Preheat the oven to 400°F and line a 9-inch pie plate with the bottom crust, leaving it fitted against the sides. Place the pie plate on a sheet pan for easier handling.
- Combine the rhubarb, strawberries, sugar, cornstarch, and salt in a bowl and let sit for 10 minutes. Stir once so the fruit starts releasing juices.
- Pour the fruit mixture into the lined pie crust and dot with the butter. Spread it evenly so the filling bakes uniformly.
- Top with the second crust (whole or lattice), then trim and crimp the edges. Press lightly around the perimeter to seal.
- Brush the crust with the beaten egg wash and sprinkle with sugar for a lightly crisp finish. If using a solid top crust, cut vents so steam can escape.
- Bake for 20 minutes at 400°F until the crust begins to set and turn light golden. You should see early bubbling at the fruit seams.
- Reduce the heat to 350°F and bake for 30–35 minutes more until the crust is golden and the filling is bubbling. Look for active bubbles through the lattice or vents as the cue.
- Cool the pie completely for at least 3 hours before slicing. The filling should thicken as it cools so the first slice holds its shape.