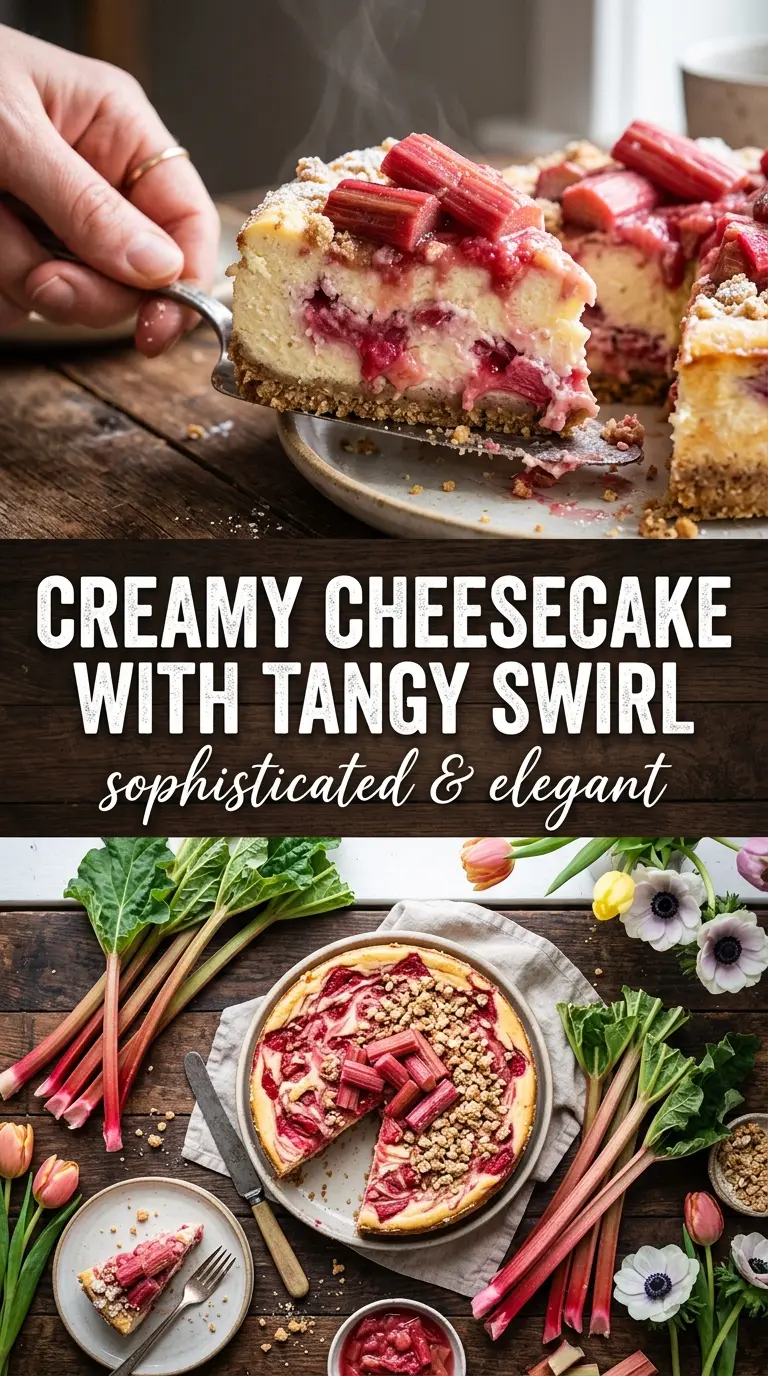
Creamy rhubarb cheesecake has that contrast I always want in a good dessert: a crisp graham cracker crust, a dense and silky filling, and a bright pink topping that cuts through all the richness. The rhubarb softens into a glossy compote that sits right on top without sliding off, so every slice looks as good as it tastes.
What makes this version work is the balance. The cheesecake batter stays plain and clean, which gives the rhubarb room to shine, and the water bath keeps the filling from drying out or cracking. I also cook the topping until the fruit is fully tender before adding the cornstarch, which gives you a smoother finish instead of a cloudy, starchy sauce.
Below, I’ve included the small details that matter most: how to keep the crust from getting soggy, what the center should look like when the cheesecake comes out of the oven, and how far ahead to make the topping so the whole dessert slices neatly.
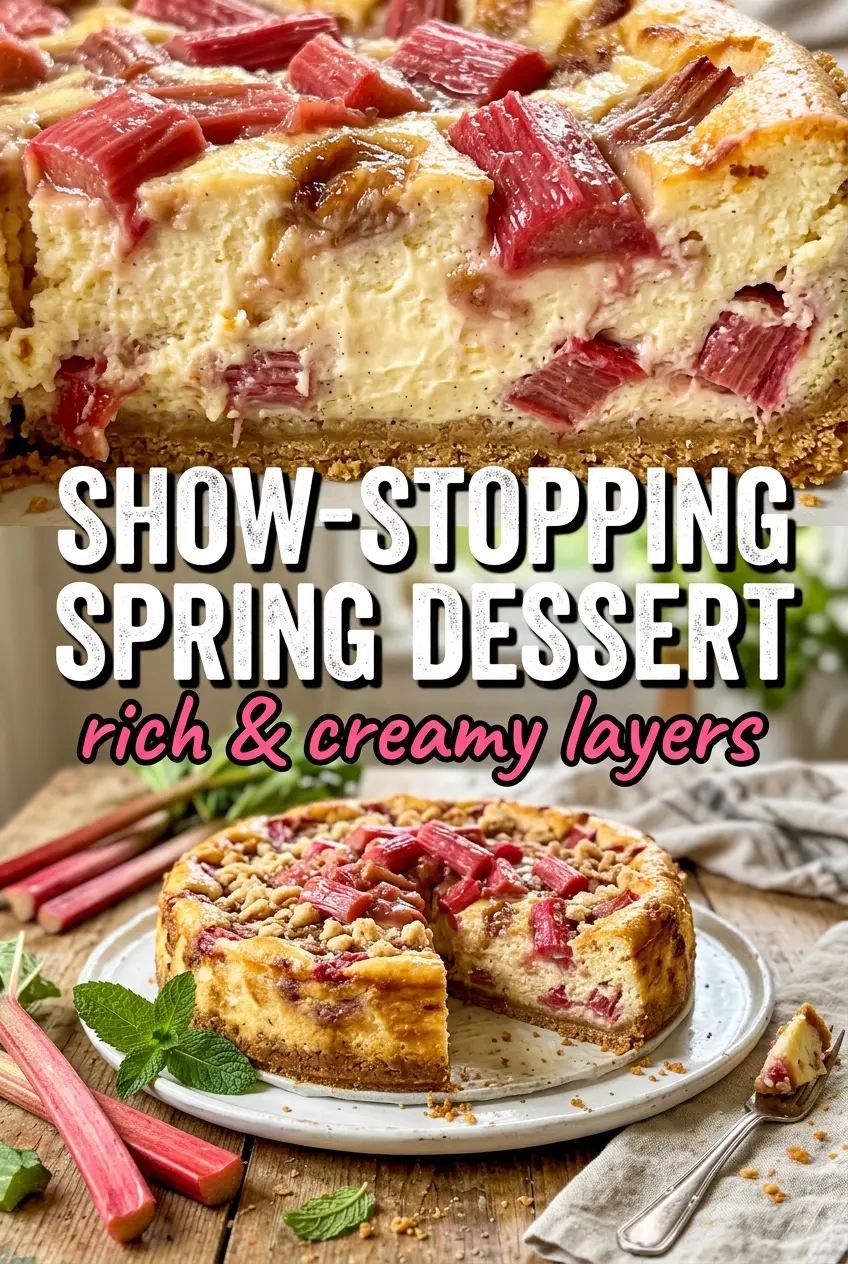
The rhubarb topping set up beautifully and didn’t run all over the plate. I baked it the full hour and the center still had that slight wobble that turned into the creamiest cheesecake after chilling.
Save this rhubarb cheesecake for the kind of dessert that needs a crisp crust, a silky center, and a glossy pink topping.
The Trick to a Cheesecake That Sets Without Cracking
Most cheesecake problems start with heat. Bake it too hot and the edges tighten before the center has a chance to set, which leads to cracks, grainy texture, and a dry ring around the pan. The water bath buffers the oven heat, and the cracked oven door during the cool-down gives the filling time to relax instead of shocking it.
The other thing that matters is the bake itself. You want set edges and a center that still jiggles in a small, soft wave when you nudge the pan. If the middle looks fully firm in the oven, it’s already gone too far; it will finish setting in the fridge.
What the Rhubarb, Sour Cream, and Crust Are Each Doing Here
- Fresh rhubarb — Fresh stalks break down into a tart, jewel-toned topping with enough structure to sit neatly over the cheesecake. Frozen rhubarb works in a pinch, but it releases more water, so cook it a little longer before adding the thickener.
- Cream cheese — This is the backbone of the filling, so use full-fat cream cheese and let it soften all the way. Cold cream cheese leaves tiny lumps that never fully disappear, no matter how long you beat the batter.
- Sour cream — This loosens the filling just enough to keep it creamy and adds a gentle tang that keeps the dessert from tasting flat. Plain Greek yogurt can stand in, but the texture will be a little lighter and less plush.
- Graham cracker crumbs — The crust needs fine crumbs and enough butter to hold together when pressed firmly into the pan. If the crust is too loose, it will crumble when you slice the cheesecake, so pack it down with the bottom of a measuring cup.
- Cornstarch — This thickens the rhubarb topping into a glossy layer instead of a runny compote. Mix it with a little water before adding it to the pan so it disperses evenly and doesn’t clump.
Building the Layers Without Softening the Crust
Press and Prebake the Base
Mix the graham crumbs, melted butter, and sugar until every crumb looks evenly moistened, then press the mixture firmly into the bottom of the springform pan. Bake it for 10 minutes so it sets before the filling goes in; that short bake keeps the crust from tasting sandy and helps it hold up under the cheesecake. Let it cool just enough that it’s no longer piping hot before pouring in the batter.
Mix the Filling Without Whipping in Too Much Air
Beat the cream cheese and sugar until completely smooth first, then add the eggs one at a time and stop mixing as soon as each one disappears. Too much air is what causes tall, dramatic cracking later, so use a low to medium speed and keep the batter dense and glossy. Stir in the sour cream and vanilla at the end until the mixture looks silky and uniform.
Bake in a Gentle Oven Bath
Set the foil-wrapped pan in a larger pan and add hot water around it before baking. That water bath keeps the oven heat even and gentle, which is what gives you that clean, creamy slice instead of a dry, curdled edge. Pull the cheesecake when the sides are set and the center still wobbles slightly; don’t wait for the middle to look firm, because the residual heat will finish the job.
Cook the Rhubarb Topping Until It Glosses
Simmer the rhubarb, sugar, and water until the fruit is tender and starting to fall apart, then add the cornstarch mixture. Keep stirring as it thickens so the texture stays smooth and glossy rather than pasty. Cool it completely before spooning it over the chilled cheesecake, or it will melt the top layer and slip right off.
How to Adjust This Cheesecake for Different Kitchens and Crowds
Gluten-Free Crust Swap
Use gluten-free graham-style crumbs or crushed gluten-free vanilla cookies in the same amount. You’ll get the same sturdy base, though the flavor may be a little sweeter and less toasty depending on the cookie you choose.
Dairy-Free Cheesecake Filling
Use a high-quality dairy-free cream cheese and dairy-free sour cream alternative with a similar thickness. The texture will be slightly softer and less tangy, so chill it an extra hour before slicing to help it hold its shape.
Strawberry-Rhubarb Topping
Replace 1 cup of the rhubarb with diced strawberries for a sweeter topping that softens rhubarb’s sharp edge. The color turns deeper pink and the flavor gets rounder, but keep the same cornstarch amount so the topping still slices neatly.
Make-Ahead Storage
The cheesecake tastes best after an overnight chill, so this is a good dessert to make a day ahead. Keep it covered in the refrigerator for up to 5 days. You can freeze the baked, untopped cheesecake for up to 2 months; thaw it in the refrigerator, then add the rhubarb topping after it’s fully defrosted. Don’t freeze the finished topping if you want a clean, glossy finish, because it can turn loose after thawing.
Questions I Get Asked About This Recipe
Rhubarb Cheesecake
Ingredients
Equipment
Method
- Preheat the oven to 325°F and wrap the outside of a 9-inch springform pan with foil to help prevent leaks.
- Mix graham cracker crumbs, melted butter, and sugar, then press the mixture firmly into the bottom of the pan.
- Bake the crust for 10 minutes, then remove and keep the oven on for baking the cheesecake.
- Beat cream cheese and sugar until smooth, using steady mixing to remove lumps.
- Add eggs one at a time, mixing just until each egg is incorporated before adding the next.
- Mix in sour cream and vanilla extract until the batter looks glossy and uniform.
- Pour the batter over the baked crust and bake in a water bath for 55-65 minutes, until the edges are set but the center jiggles slightly.
- Turn off the oven and let the cheesecake cool inside with the door cracked for 1 hour.
- Refrigerate the cheesecake for at least 6 hours, keeping it fully chilled before topping.
- Simmer diced rhubarb, sugar, and water until the rhubarb is tender.
- Stir cornstarch into water, add to the simmering rhubarb, and cook until thickened.
- Cool the topping, then spread the glossy rhubarb compote over the chilled cheesecake before serving.