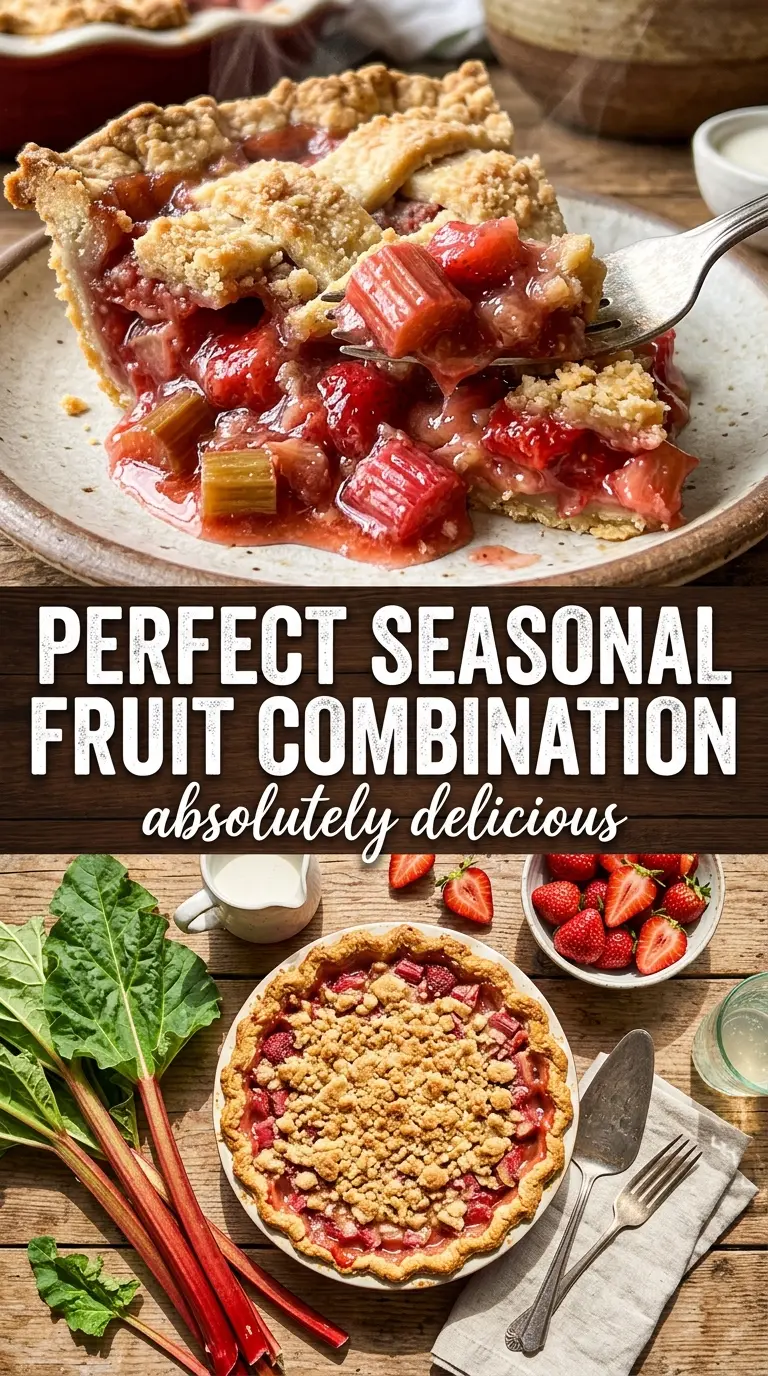
Strawberry rhubarb pie lands in that perfect place between bright and jammy, with a flaky crust that holds its shape and a filling that sets into clean slices instead of running all over the plate. The best versions taste like fruit first, sugar second, with enough sharp rhubarb to keep the strawberries from turning candy-sweet.
What makes this one work is the balance of cornstarch, rest time, and heat. The fruit sits with the sugar long enough to draw out some juice before it goes into the crust, which helps the filling cook evenly instead of bubbling violently and spilling over. Starting hot gives the crust its lift, then lowering the oven lets the center thicken without overbrowning the edges.
Below you’ll find the small details that matter most: how to keep the bottom crust from getting soggy, when the pie is actually done, and what to do if your rhubarb is especially tart. Those little choices are what turn a good pie into one you’ll want to bake again.
The filling set up beautifully and didn’t leak everywhere when I sliced it after cooling. The mix of tart rhubarb and sweet strawberries tasted just right, and the crust stayed crisp on the bottom.
Like this strawberry rhubarb pie? Save it to Pinterest for the days when you want a flaky double crust and a clean-slicing fruit filling.
The Trick to Keeping Strawberry Rhubarb Pie From Turning Watery
The biggest mistake in this pie is treating the fruit like it will behave the same way every time. Strawberries and rhubarb release different amounts of juice depending on how ripe they are, and if you skip the brief rest before filling the crust, that liquid shows up later in the oven instead of in the bowl. The result is a filling that can seep and a bottom crust that never gets a chance to crisp properly.
Cornstarch helps, but it works best when it has a little juice to bind with before baking. That’s why the fruit mixture sits for 10 minutes. It starts the thickening process early and lets you see how juicy the fruit is before you commit it to the pie plate. If there’s a puddle at the bottom of the bowl, you can leave a spoonful behind rather than dumping every drop into the crust.
What Each Ingredient Is Doing in the Filling and Crust
- Rhubarb — This is the backbone of the pie. It brings the tart edge that keeps the filling from tasting flat. Cut it into even 1/2-inch pieces so it softens at the same rate as the strawberries.
- Strawberries — They soften into the rhubarb and give the filling that ruby color. Fresh berries work best here because frozen strawberries leak more water and can make the center looser.
- Cornstarch — This is what turns fruit juice into a sliceable filling. Flour can work in a pinch, but it usually gives a softer, cloudier set. If you swap, use a little more flour and expect a less glossy pie.
- Pie crusts — Store-bought crust is fine if it bakes up cold and stays flaky, but homemade dough gives you more control over thickness and flavor. Either way, keep the crust chilled until the moment it goes into the oven.
- Butter and egg wash — The butter adds a little richness to the filling, and the egg wash gives the top crust color and helps the sugar cling. Skip both and the pie still works, but it won’t have the same finish.
How to Build the Filling So the Bottom Crust Stays Crisp
Mix the Fruit Until the Sugar Starts Pulling Juice
Combine the rhubarb, strawberries, sugar, cornstarch, salt, and vanilla in a large bowl and let it sit for 10 minutes. You’re looking for the fruit to look glossy and for the dry ingredients to begin dissolving into the juices. If you dump it straight into the crust, the filling has to do all its thickening in the oven, which is where messy overflow starts.
Assemble the Pie Cold and Move Fast
Line the pie plate with the bottom crust, then pour in the filling and dot it with butter. Add the top crust, trim the overhang, and crimp the edges so the seal is tight enough to hold bubbling juices. Work quickly here so the dough stays cold; warm dough shrinks and slumps, which makes the vents collapse and the edges burn before the center finishes.
Bake Hot First, Then Lower the Heat
Start the pie at 400°F for 20 minutes. That initial blast helps set the crust and gives the filling a strong simmer. Lowering the oven to 350°F after that lets the fruit cook through and the cornstarch finish thickening without overdarkening the top. If the crust is browning too fast, tent the edges with foil, not the whole pie.
Cool Until the Filling Sets
Let the pie cool completely for at least 4 hours before slicing. The filling keeps thickening as it cools, and cutting too early is the fastest way to end up with a runny wedge. A properly cooled pie will slice cleanly and still have that soft, jammy center that makes strawberry rhubarb worth baking in the first place.
How to Adapt This Pie When You Need a Different Finish
Gluten-Free Crust Swap
Use a gluten-free double crust that rolls well and holds its shape when cold. The filling itself is naturally gluten-free, so the only real challenge is keeping the crust tender without crumbling at the edges. Chill the assembled pie before baking so the dough has time to firm up.
Less Sweet, More Tart
If your strawberries are very ripe, reduce the sugar by a few tablespoons. The pie will taste sharper and more fruit-forward, but the filling may set a little softer because sugar also helps control texture. Don’t cut it too aggressively or the rhubarb can read harsh instead of bright.
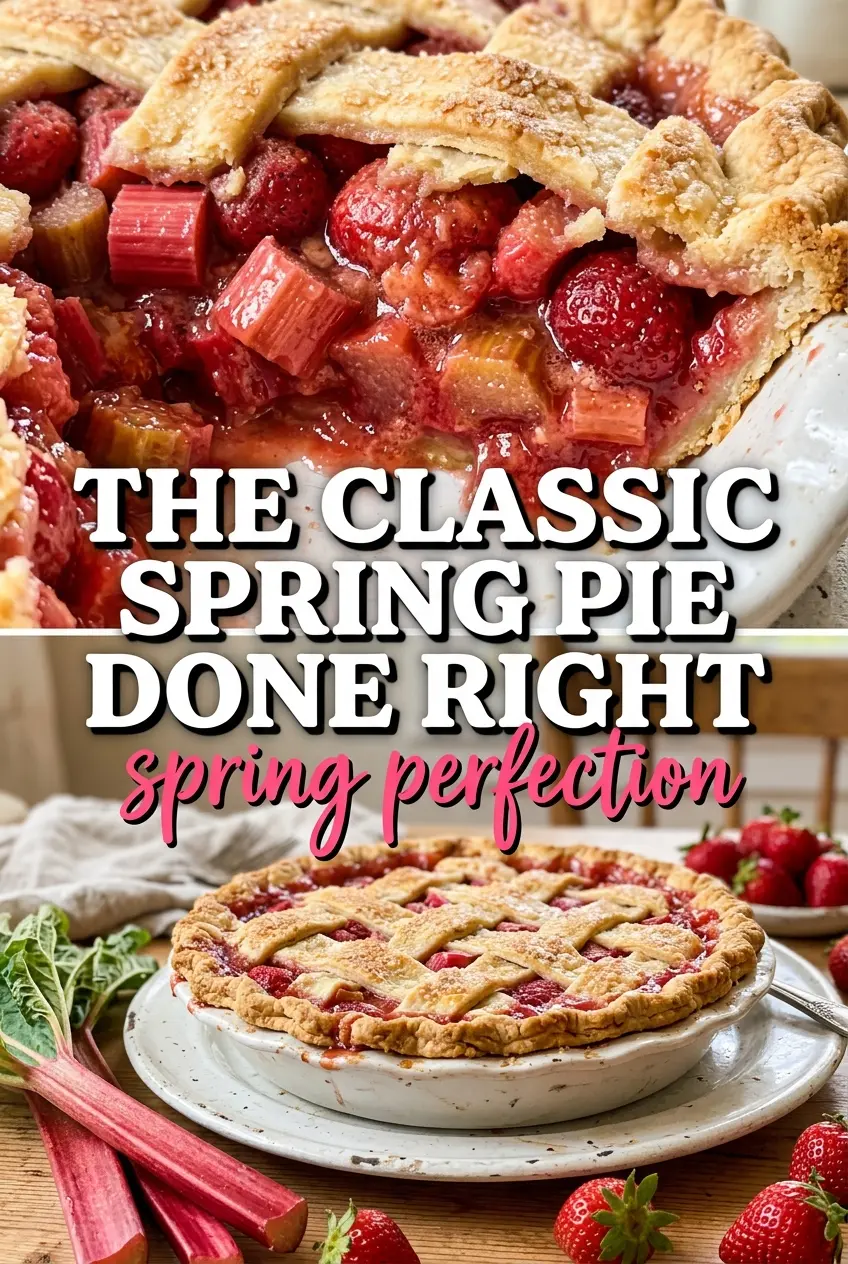
Lattice Top for Better Evaporation
A lattice top lets steam escape more easily than a solid top crust, which helps especially juicy fruit bake down without trapping extra moisture. It also gives you a clearer view of the bubbling filling, which is one of the easiest signs that the pie is actually done.
Storage and Reheating
- Refrigerator: Store covered for up to 4 days. The crust will soften a bit after the first day, but the flavor stays great.
- Freezer: This pie freezes well after baking and cooling completely. Wrap it tightly and freeze for up to 2 months, then thaw overnight in the fridge.
- Reheating: Warm slices in a 300°F oven for 10 to 15 minutes. The mistake is microwaving, which makes the crust limp and can turn the filling sloshy instead of set.
Answers to the Questions Worth Asking
Strawberry Rhubarb Pie
Ingredients
Equipment
Method
- Preheat the oven to 400°F and line a 9-inch pie plate with the bottom crust. Keep the second crust ready for topping.
- Combine rhubarb, strawberries, sugar, cornstarch, salt, and vanilla in a large bowl. Stir until the cornstarch looks evenly distributed.
- Let the fruit mixture sit for 10 minutes. You should see it start to look glossy and lightly syrupy.
- Pour the fruit mixture into the pie crust and dot with butter. Distribute the fruit evenly so it bakes uniformly.
- Top with the second crust, trim, and crimp the edges. Cut decorative vents to let steam escape.
- Brush the crust with beaten egg and sprinkle with sugar. The surface should look shiny and lightly sparkly.
- Bake for 20 minutes at 400°F. Look for the edges to set and the filling to begin bubbling through the vents.
- Reduce the oven to 350°F and bake for 35-40 minutes more. Bake until the crust is golden and the filling is actively bubbling.
- Cool completely for at least 4 hours before slicing. The filling should thicken and hold its shape when cut.


