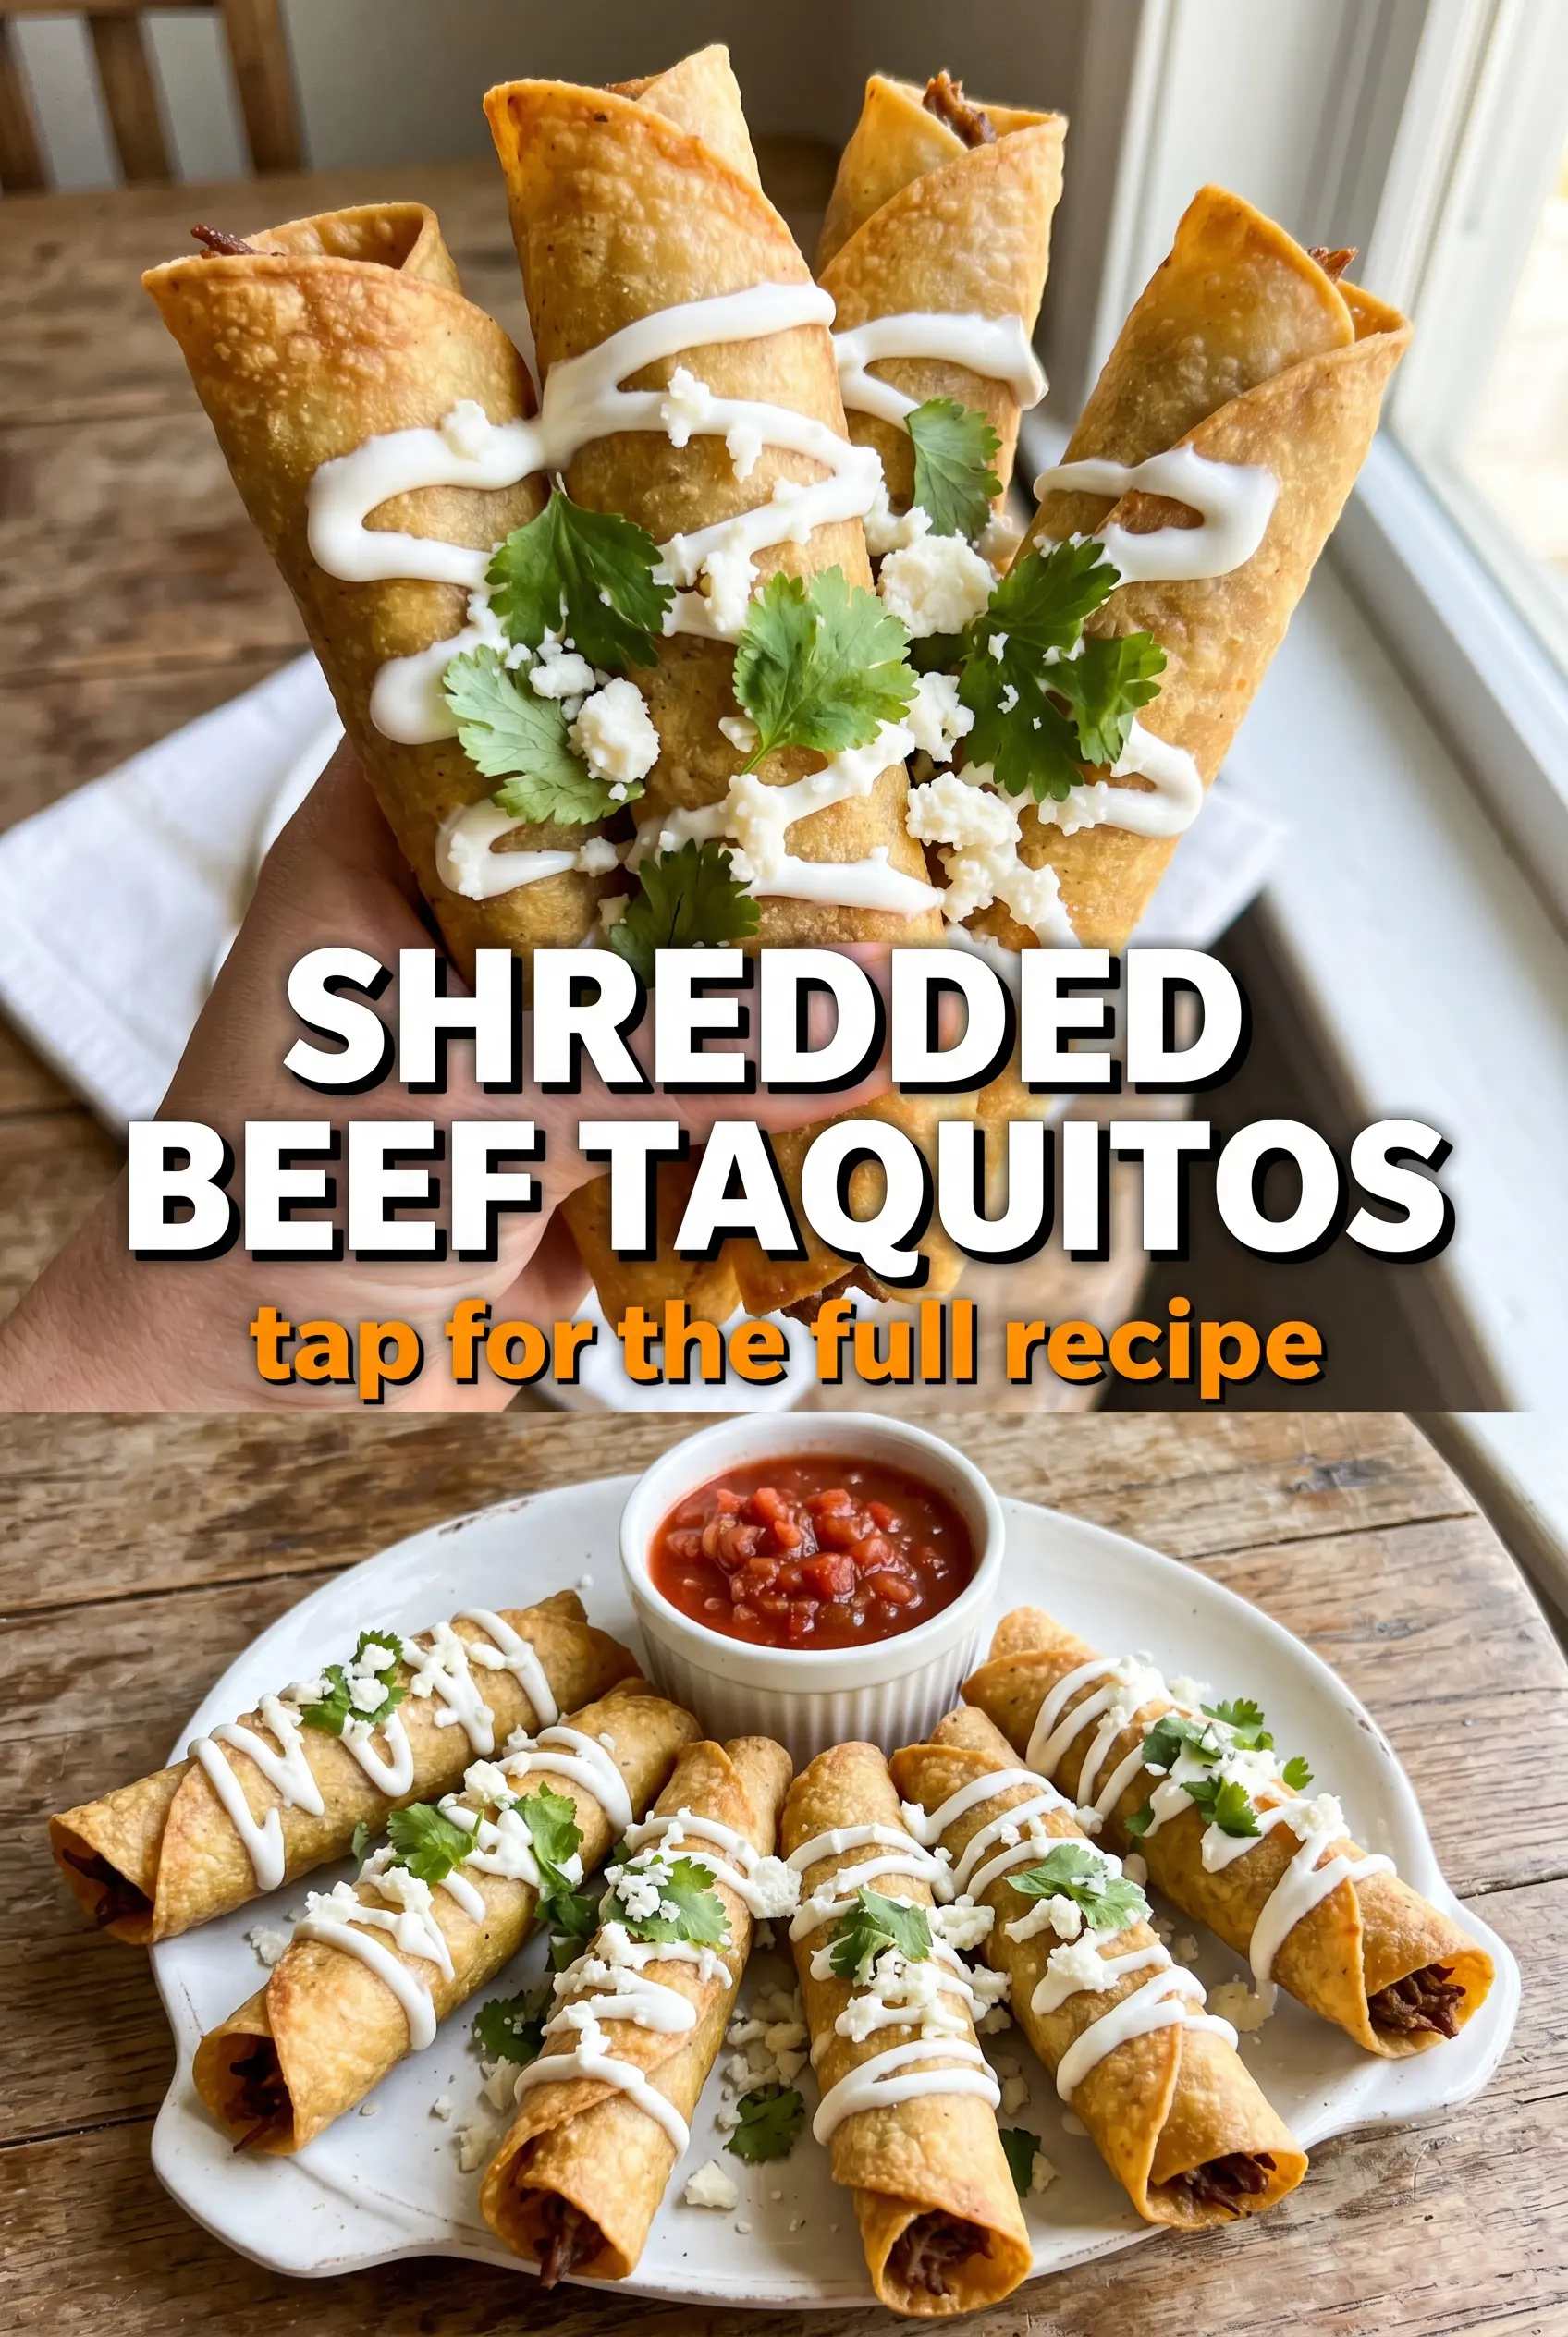
Crispy shredded beef taquitos have a way of disappearing before they ever make it to the table. The tortilla shatters when you bite into it, then the filling gives way to tender beef, melted cheddar, and just enough onion and salsa to keep every bite lively. Served with cool sour cream, they hit that perfect contrast that makes fried food worth the pan of oil.
This version works because the filling stays fairly dry and compact. Too much salsa or too much cheese and the taquitos leak before the tortillas crisp, so the beef mixture gets just enough moisture and flavor without turning sloppy. Rolling them tightly matters just as much as the oil temperature — a loose taquito opens in the fryer and lets oil slip inside instead of building that crisp shell.
Below, you’ll find the small details that keep the tortillas from unrolling, the filling from falling out, and the crust from going pale or greasy. A few minutes of attention in the setup stage makes the frying part go fast.
The beef stayed tucked inside and the tortillas got crisp without splitting open. I fried them in batches and they were still crunchy after sitting out for a few minutes, which never happens in my kitchen.
Crispy shredded beef taquitos with melted cheddar are perfect for when you want a fast fried appetizer that actually holds together.
The Difference Between Crisp Taquitos and Greasy Ones
The biggest mistake with taquitos is crowding the pan or frying at the wrong temperature. If the oil is too cool, the tortillas absorb oil before they set, which leaves them limp and heavy. If it’s too hot, the outside browns before the cheese melts and the filling heats through. Around 350°F is the sweet spot for a crisp shell and a hot center.
There’s also a difference between a taquito that stays shut and one that bursts open halfway through frying. Tight rolling matters, but so does keeping the filling in a compact strip instead of mounding it down the center. The more evenly you spread it, the easier it is to seal the tortilla around the beef without gaps.
- Shredded beef — This is the backbone of the filling. It should be tender and already cooked, not wet with sauce. If your beef is very juicy, drain it a bit first so the tortillas don’t soften before frying.
- Small flour tortillas — Flour tortillas fry up crisp and stay flexible enough to roll without cracking. Corn tortillas can work, but they’re less forgiving unless you warm them well and handle them gently.
- Cheddar cheese — The cheese adds richness and helps bind the filling as it melts. Sharp cheddar gives the best punch, but any good shredding cheese will work as long as it melts cleanly.
- Salsa — Just enough salsa wakes up the beef without turning the filling loose. Thick salsa is better here than a watery one. If yours is thin, spoon off excess liquid before mixing it in.
- Onion and cilantro — These keep the filling from tasting flat. The onion should be diced small so it softens in the fryer, and the cilantro should be chopped fine so it distributes evenly instead of clumping.
Rolling and Frying Them Before the Filling Can Escape
Mix the Filling First
Combine the shredded beef with the onion, cilantro, salsa, salt, and pepper before you touch the tortillas. The mixture should be moist enough to hold together when squeezed, but not wet enough to leave a puddle in the bowl. If you see liquid pooling, the filling is too loose and the taquitos will split or blister open in the oil.
Fill Lightly and Roll Tight
Place about 2 tablespoons of filling in each tortilla, then add a little cheese before rolling it closed. Resist the urge to overfill; a skinny taquito fries more evenly and stays sealed. Roll as tightly as you can without tearing the tortilla, and use a toothpick only if the tortilla won’t stay closed on its own.
Fry in Batches at the Right Heat
Heat the oil to 350°F and work in small batches so the temperature doesn’t drop. The taquitos should sizzle immediately when they hit the pan, then turn deep golden in about 2 minutes per side. If they’re browning too fast, the oil is too hot; if they sit there quietly, wait for the oil to recover before adding more.
Drain Them the Right Way
Lift the taquitos out and set them on paper towels or a rack right away. That quick drain keeps the bottoms from steaming and going soft. Serve them while the tortilla is still crisp and the cheese is melted inside, because once they sit too long, the shell loses that shattering bite.
How to Adapt These Taquitos for Different Kitchens
Bake Them Instead of Frying
Brush the rolled taquitos lightly with oil and bake them on a wire rack or parchment-lined sheet until browned and crisp. They won’t shatter the way fried taquitos do, but they’ll still get a firm shell and a cleaner finish with less mess.
Make Them Gluten-Free
Use gluten-free corn tortillas and warm them until flexible before rolling. Corn tortillas crack more easily than flour, so stack them under a damp towel and work quickly. The flavor stays classic, but the texture will be a little more delicate and a little less pliable.
Swap in Chicken or Leftover Pork
Any shredded cooked meat with a little structure can stand in for the beef. Chicken makes a lighter taquito, while pork brings a richer, sweeter edge. Keep the filling fairly dry no matter which meat you use so the tortillas crisp instead of soaking up grease.
Turn Them Dairy-Free
Skip the cheddar and serve the taquitos with a dairy-free dipping sauce instead of sour cream. The filling will be a little less rich and less stretchy, but the beef, salsa, and onion still carry plenty of flavor. A small spoonful of mashed avocado inside the roll can add back some creaminess if you want it.
Storage and Reheating
- Refrigerator: Store cooked taquitos in an airtight container for up to 3 days. The shell softens a little in the fridge, so expect them to lose some of that fresh-fried crackle.
- Freezer: Freeze cooked taquitos in a single layer, then transfer to a bag once solid. They reheat better from frozen than most fried snacks, but the texture is best if you re-crisp them right away rather than letting them thaw first.
- Reheating: Reheat in a 400°F oven or air fryer until hot and crisp again. Skip the microwave if you want the tortilla to stay crunchy; it turns the shell soft and steamy in minutes.
Answers to the Questions Worth Asking
Shredded Beef Taquitos
Ingredients
Equipment
Method
- Combine the shredded beef, diced onion, chopped cilantro, 2 tablespoons salsa, salt, and pepper in a bowl and mix until evenly coated, with no dry pockets visible.
- Set the filling aside while you prepare the tortillas so it stays workable for rolling.
- Lay the small flour tortillas flat on a clean surface and place about 2 tablespoons of the beef mixture in the center of each tortilla.
- Top each filling portion with some shredded cheddar cheese so it melts inside the roll.
- Roll the tortillas tightly into cylinders and secure with a toothpick if needed so the seam holds during frying.
- Pour vegetable oil into a Dutch oven and heat to 350°F so the oil reaches a steady temperature before frying.
- Fry the taquitos in batches at 350°F for about 2 minutes per side, until they’re golden and crispy with visibly browned edges.
- Drain the fried taquitos on paper towels until they look less glossy and the surface crisps further.
- Serve the taquitos warm with sour cream and additional salsa on the side so you can control the creaminess and heat.


