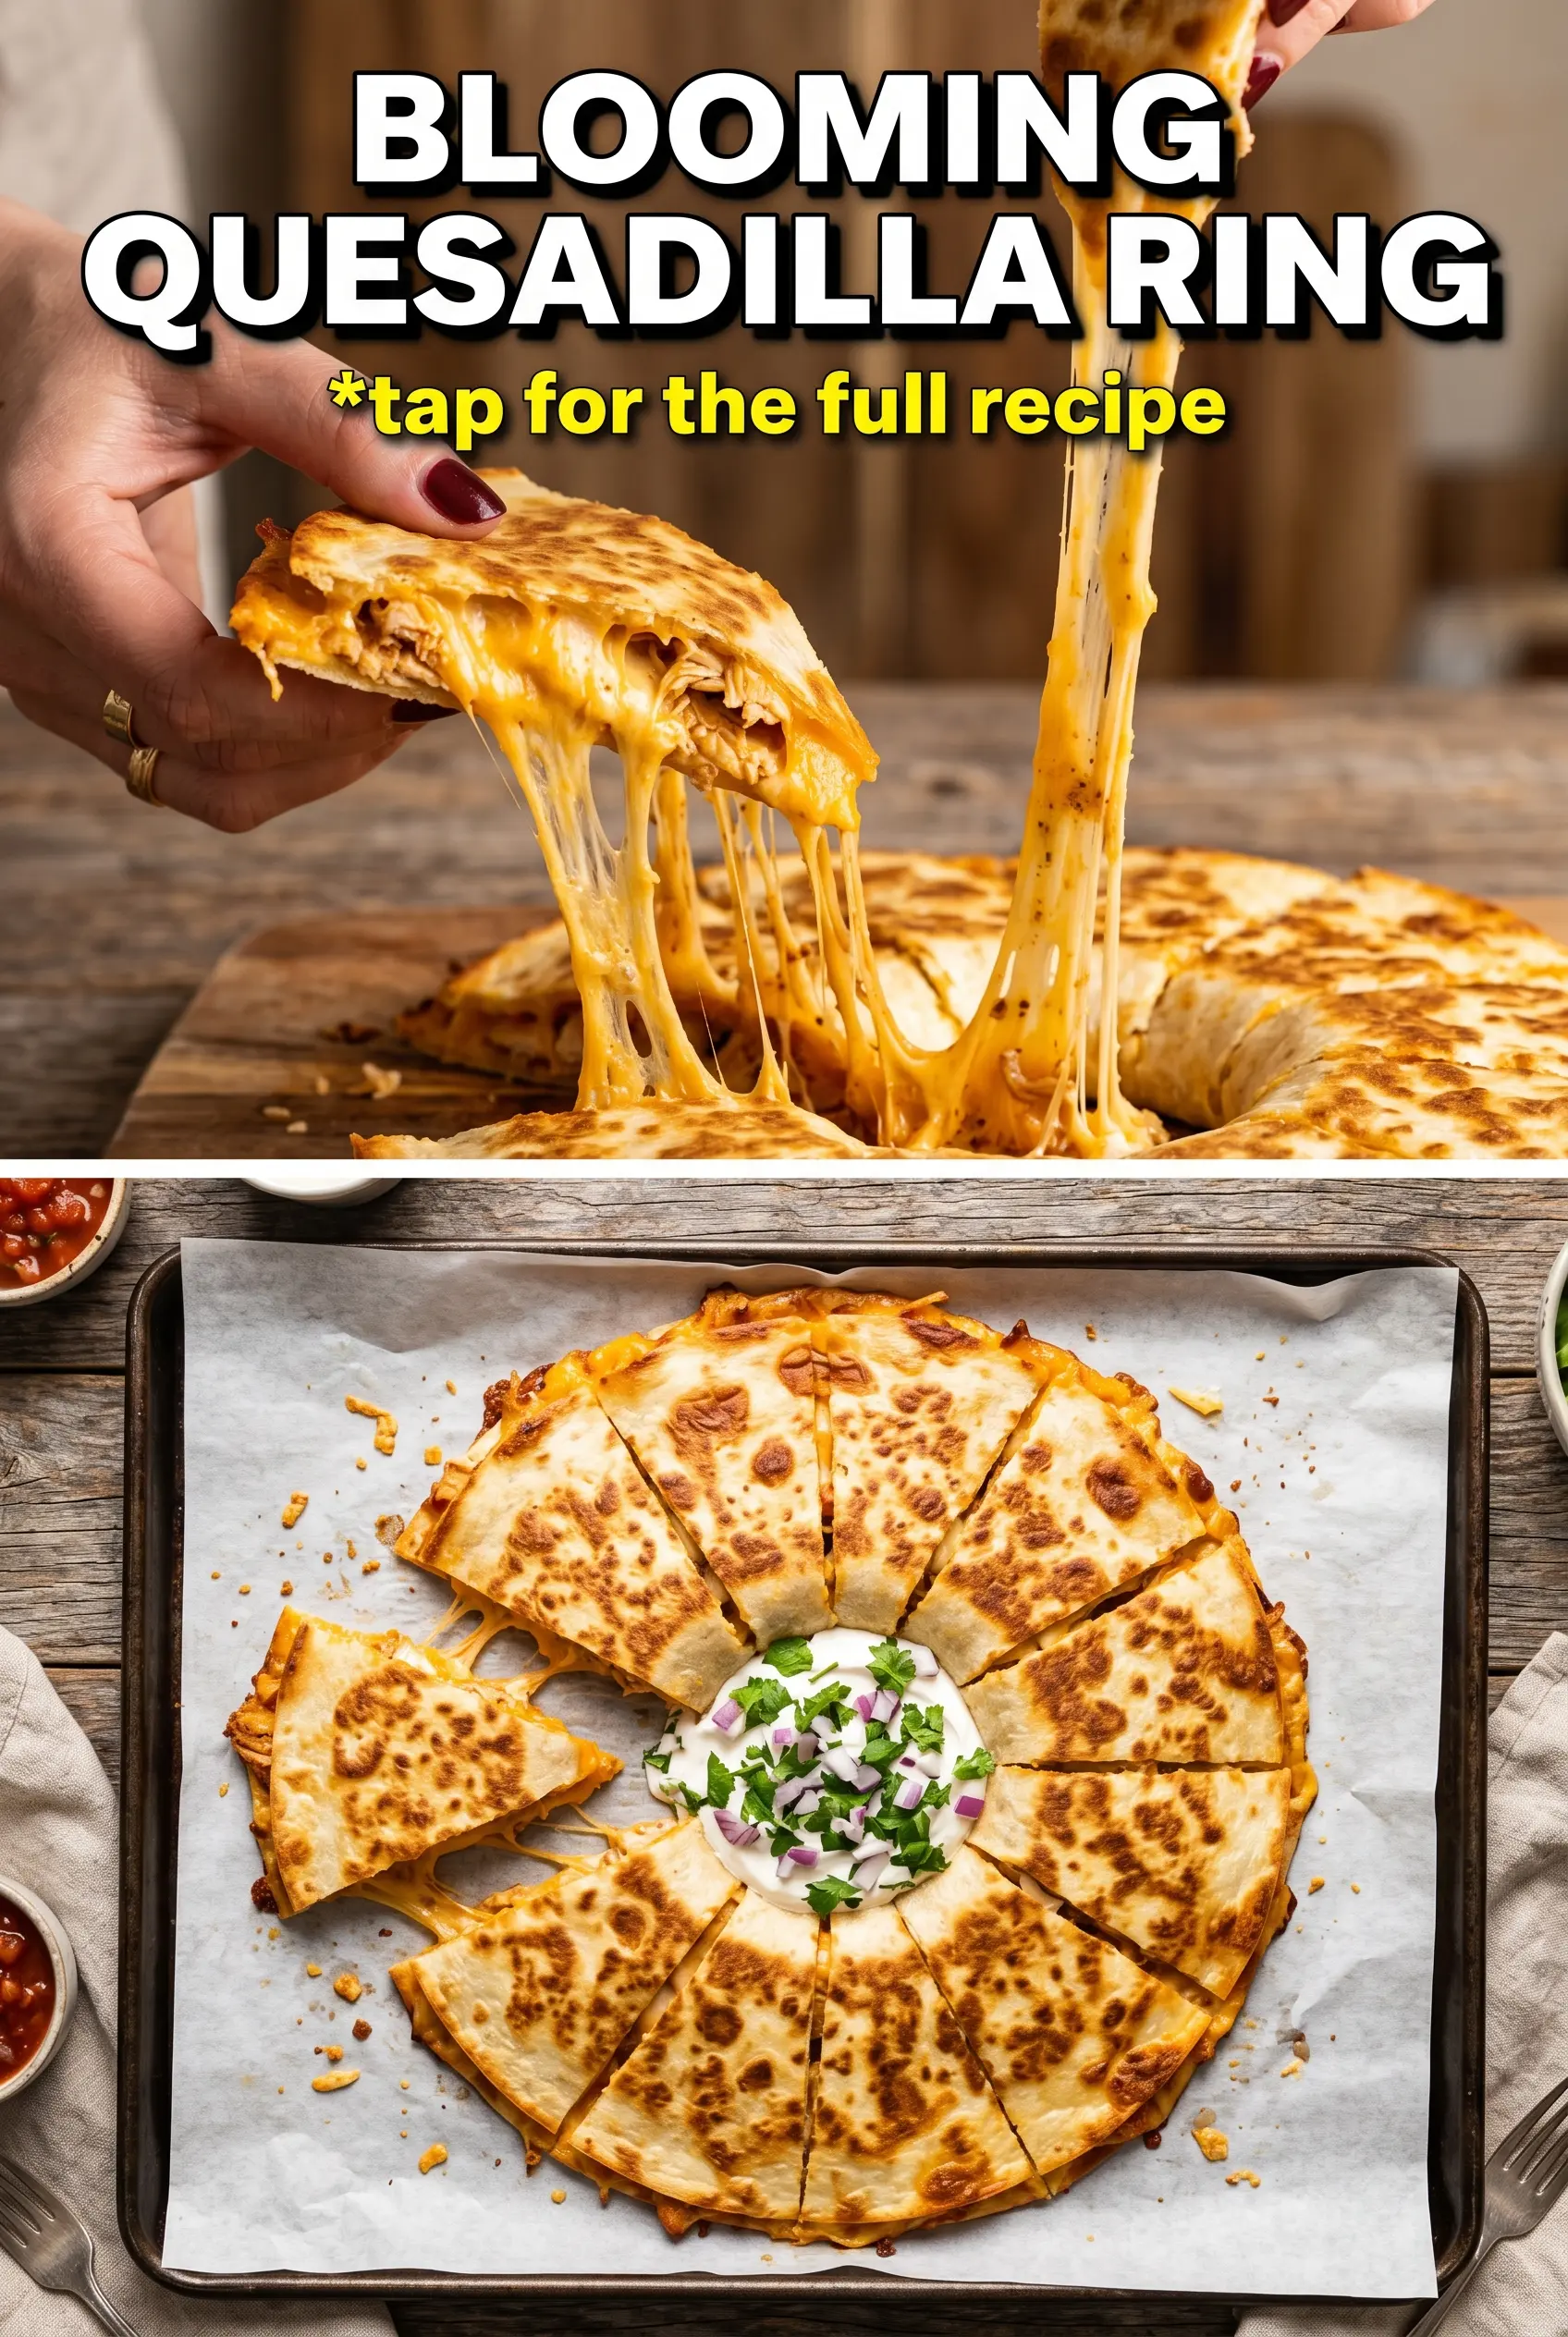
Warm, crisp quesadilla wedges arranged into a blooming ring turn a simple skillet dinner into a centerpiece that disappears fast. The edges stay snappy, the cheese melts into the filling, and every triangle gets a little of everything: beef, peppers, corn, onion, and cilantro in one bite. It looks festive without asking for any fancy shaping tricks, which is exactly why it earns a place on repeat.
The part that makes this version work is the balance between filling and structure. The tortillas need enough cheese to glue everything together, but not so much that the filling spills out when you cut and fry the triangles. Cooking the quesadillas until they’re fully set before arranging them matters too, because underdone tortillas slump in the platter and lose that clean, petal-like look.
Below you’ll find the trick for getting the triangles crisp instead of greasy, plus a few smart swaps for making the ring fit different crowds and diets.
The quesadilla triangles held together perfectly and the cheese got nice and melty without the filling falling out. I loved that the sour cream and salsa in the middle cut through the richness.
Like this blooming quesadilla ring? Save it to Pinterest for the next time you need a crispy, cheesy appetizer that looks impressive in the center of the table.
The Trick to Crisp Triangles That Don't Go Soggy in the Pan
The biggest mistake with quesadilla wedges is stuffing them too full and then rushing the heat. If the filling leaks before the tortilla has time to crisp, you end up with a greasy pan and floppy edges instead of clean, browned pieces. The goal is sealed, compact triangles with enough filling to taste rich but not so much that they burst open when you lift them.
Medium-high heat works here, but only if the pan is preheated and lightly oiled. Too little heat leaves the tortillas pale and dry before the cheese melts; too much heat burns the outside before the center loosens. You want a steady sizzle the moment the triangle hits the skillet and a golden surface that feels firm when you tap it with tongs.
- Cheese — Cheddar gives you that classic pull and enough melt to hold the filling in place. A blend with Monterey Jack works too if you want a softer stretch, but avoid pre-shredded cheese if you can; the anti-caking coating slows melting.
- Flour tortillas — Large tortillas give you enough surface area to fold, cut, and arrange into a ring. Smaller tortillas won't stand up as well on the platter and make the presentation feel cramped.
- Ground beef — The beef brings the savory backbone, so season it well before it goes into the quesadillas. Leftover taco beef works perfectly here, and that's the easiest shortcut if you're starting with cooked meat.
- Queso dip — This is the ingredient that makes the platter feel party-ready. Warm it separately and serve it on the side; putting it inside the quesadillas would make the filling too loose and heavy.
How to Build the Ring So the Fillings Stay Put
Start with the filling cold or just warm, not steaming hot. Hot filling melts the cheese too early and makes the tortilla slippery before you even get it into the pan. Layer a modest amount of cheese first, then the beef and vegetables, then a little more cheese on top so the whole stack holds together when folded.
Filling and Folding
Spoon the filling onto one half of each tortilla, leaving a border around the edge. Fold the tortilla in half and press lightly so the cheese begins to anchor the layers. Cut each folded tortilla into triangles with a sharp knife or pizza cutter; dull blades drag the filling out and make ragged edges.
Pan-Frying Until the Cheese Melts
Cook the triangles in a lightly oiled skillet over medium-high heat in batches. Let the first side go until deeply golden before flipping; if you turn too early, the tortilla won't seal and the filling can spill. When the second side is crisp and the center feels hot, the cheese will be fully melted and the triangles will hold their shape for arranging.
Arranging the Bloom
Stand the triangles slightly overlapped in a circular ring on a platter while they're still warm. That warmth helps them lean into each other instead of sliding apart. Put the sour cream and salsa mixture in the center and keep the queso separate so the middle stays creamy instead of turning watery.
Make it vegetarian with black beans
Swap the beef for well-drained black beans, lightly mashed with the same seasonings. You'll lose some of the meaty richness, but the beans bring a hearty texture that still holds up inside the tortilla and works well with the cheddar.
Use pepper jack for more heat
Replacing some or all of the cheddar with pepper jack adds a sharper melt and a little heat in every bite. It's an easy way to push the flavor without changing the technique, though it will taste less mellow than the original.
Make it gluten-free with corn tortillas
Corn tortillas can work, but they won't fold and stand the same way as flour tortillas. For the best result, use two small tortillas per quesadilla or warm them first so they bend without cracking. The ring will be a little more rustic, but the flavor stays right.
Storage and Reheating
- Refrigerator: Store leftover quesadilla pieces in an airtight container for up to 3 days. The tortillas soften a bit, but the flavor holds up well.
- Freezer: Freeze the cooked triangles in a single layer, then transfer to a bag for up to 2 months. Reheat from frozen for the best texture instead of thawing first.
- Reheating: Reheat in a skillet or air fryer until the outside crisps again and the cheese warms through. The biggest mistake is microwaving them too long, which makes the tortillas rubbery and the filling greasy.
Answers to the Questions Worth Asking
Blooming Quesadilla Ring
Ingredients
Equipment
Method
- Lay out the tortillas and layer each one with shredded cheddar, cooked seasoned ground beef, diced red and green peppers, diced onion, corn, and chopped cilantro, then fold in half.
- Cut each folded quesadilla into triangles so you have evenly sized pieces with visible melted-cheese edges when cooked.
- Heat the oil in a large skillet over medium-high heat until shimmering.
- Cook the quesadilla triangles in batches for 2-3 minutes per side, flipping once, until golden and the cheese is fully melted.
- Arrange the cooked quesadilla pieces in a circular ring on a platter, standing them up slightly overlapped so the melted cheese shows between layers.
- Mix the sour cream with the salsa and spoon it into the center of the ring.
- Serve immediately with warm queso dip on the side for dipping.